
The satisfying crunch of golden-brown bread giving way to a warm, flavorful filling is one of camping’s greatest pleasures. Campfire pie iron recipes transform simple ingredients into extraordinary meals that taste even better when cooked outdoors under an open sky. Whether you’re a seasoned camper looking to expand your culinary repertoire or a newcomer eager to try this classic outdoor cooking technique, pie irons offer endless possibilities for breakfast, lunch, dinner, and dessert.
These sturdy cast-iron devices have been camping staples for generations, and for good reason. A pie iron—sometimes called a camp pie iron, toastie iron, or pudgy pie iron—allows you to create sealed, portable meals that cook evenly over hot coals. The magic lies in the double-walled design that compresses bread or dough around your chosen filling, creating a crispy exterior while heating the interior to perfection. From gooey dessert pies to hearty savory combinations, the possibilities are limited only by your imagination.
This comprehensive guide covers everything you need to master campfire pie iron cooking, including essential techniques, preparation tips, and delicious recipes that will make you the star of any camping trip.
Essential Equipment and Preparation
Before diving into specific campfire pie iron recipes, understanding your equipment and proper preparation techniques will set you up for pie iron success. The right tools and preparation make the difference between a memorable meal and a frustrating cooking experience.
Choose the Right Pie Iron for Your Needs
Pie irons come in several varieties, each suited to different cooking styles and preferences. Traditional hinged pie irons feature two cast-iron plates hinged together, clamping bread or dough between them with a long handle for safe distance from flames. These classic designs distribute heat evenly and last generations with proper care. Deep-well pie irons accommodate more filling and create thicker, more substantial pies, ideal for heartier meals. Some models feature decorative patterns on the plates, imprinting designs onto your crust for added visual appeal.
Size matters considerably when selecting a pie iron. Standard models work well for individual servings, while larger versions can accommodate bigger appetites or feeding groups. Consider how many people you’ll typically cook for and choose accordingly. Many campers find that owning two medium-sized pie irons proves more practical than one large unit, allowing simultaneous cooking of different recipes or feeding multiple campers at once.
Season and Maintain Your Cast Iron
New cast-iron pie irons require seasoning before first use, a process that creates a protective non-stick coating. To season your pie iron, coat all metal surfaces with a thin layer of vegetable oil or melted shortening. Place the iron in a campfire or oven at 350°F for about an hour, allowing the oil to polymerize into a durable finish. Repeat this process several times for optimal results.
After each use, clean your pie iron while it’s still warm using hot water and a stiff brush. Avoid soap, which can strip seasoning, and never soak the iron in water. Dry it thoroughly immediately to prevent rust, then apply a light coat of oil before storage. Store your pie iron in a dry location with the plates slightly ajar to allow air circulation and prevent moisture accumulation.
Sweet Campfire Pie Iron Recipes
Sweet pie iron recipes represent the most popular category for campers, offering dessert options that satisfy cravings after evening fires or morning treats that start adventures on a high note. These recipes combine simple ingredients with the magical transformation that happens when sugar, butter, and heat meet inside a cast-iron pocket.
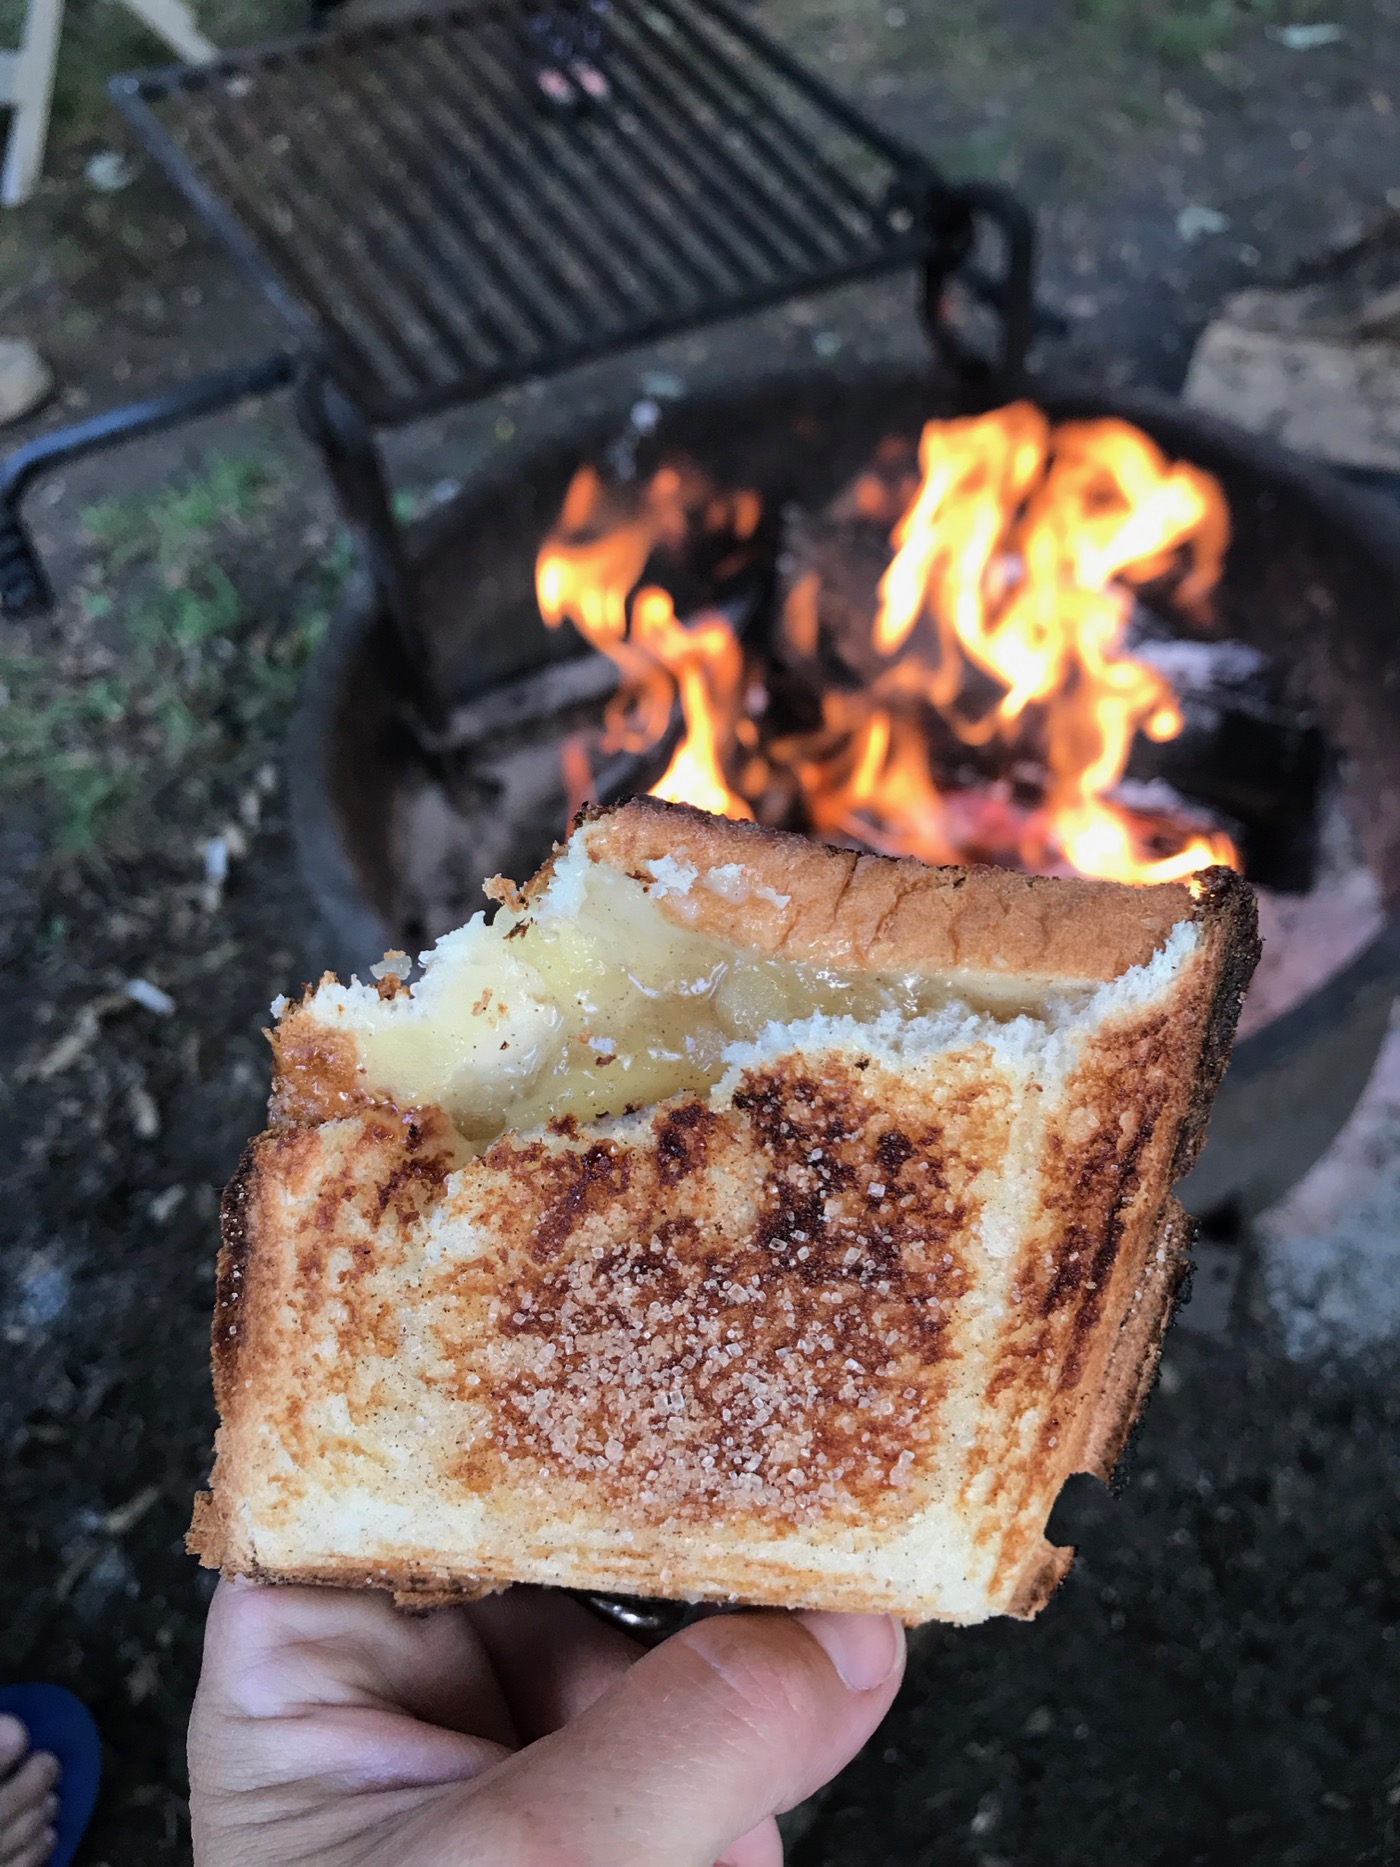
Classic Apple Pie Pocket
Nothing captures the essence of American baking quite like apple pie, and this campfire version delivers all the comfort in a portable package. The key to exceptional apple pie pockets lies in balancing sweet and tart flavors while achieving a filling that doesn’t become soggy during cooking.
For each pie pocket, you’ll need two slices of bread, approximately two tablespoons of prepared apple filling, a pinch of cinnamon, and a small pat of butter. Prepare apple filling beforehand by combining diced apples with brown sugar, cinnamon, and a squeeze of lemon juice. Cook this mixture until apples soften slightly, then allow it to cool before packing.
To assemble, flatten bread slices with a rolling pin to create a thinner base that cooks more evenly. Place one slice in the preheated pie iron, add filling, dot with butter, and top with the second slice. Close the iron and cook over medium-hot coals for three to four minutes per side, turning once when the first side reaches golden-brown perfection. The aroma of baked apples and cinnamon drifting through camp signals that your treat is nearly ready.
Chocolate Banana Dessert Pie
This decadent combination ranks among the most beloved sweet pie iron recipes, transforming simple ingredients into something extraordinary. The chocolate melts into a luscious sauce while the banana adds natural sweetness and creamy texture, creating a dessert that tastes far more sophisticated than its short ingredient list suggests.
Gather two slices of bread per pocket, two tablespoons of sliced banana, one tablespoon of chocolate chips, and optionally, a small drizzle of caramel sauce or pinch of sea salt for finishing. The preparation remains straightforward: layer bread, banana slices, chocolate chips, and another bread slice, then cook as directed.
The magic happens during cooking, when chocolate transforms from solid chips into flowing rivers of gooey goodness. Watch your pie iron carefully, as chocolate can burn if cooked too long. Two to three minutes per side usually suffices, producing a golden crust with molten chocolate waiting inside. Finish with a sprinkle of flaky sea salt if available, elevating this simple treat to something memorable.
Savory Campfire Pie Iron Recipes
While sweet options dominate pie iron popularity, savory recipes offer satisfying meals that fuel outdoor adventures. These pocket pies work brilliantly for breakfast, lunch, or dinner, providing balanced nutrition in portable, easy-to-eat format. The key to successful savory pie iron cooking lies in properly cooked fillings and appropriate seasoning.
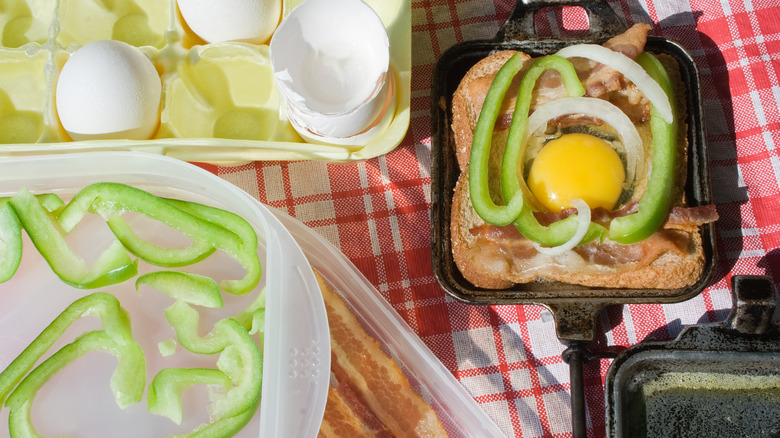
Bacon Egg and Cheese Breakfast Pocket
Start your camping morning with a protein-packed breakfast that beats any restaurant version. This classic combination transforms ordinary ingredients into something special when cooked over campfire coals, the bacon rendering fat that crisps the bread while flavoring the egg and cheese.
For each breakfast pocket, use two slices of bread, two cooked bacon strips (cut into pieces), one egg, and a generous sprinkle of shredded cheddar cheese. Pre-cook bacon at home and pack it in containers, as cooking raw bacon properly in a pie iron proves challenging. The egg should be cracked directly into the iron atop the bacon and cheese, then cooked with the iron closed.
Cook breakfast pockets for four to five minutes, checking periodically to ensure the egg sets properly without burning the bread. The result features runny yolk mixing with melted cheese and crispy bacon, all contained within a buttery, golden crust. This breakfast travels well too—cook multiple pockets, wrap in foil, and eat on morning hikes or at the campsite.
BBQ Chicken Pocket
This crowd-pleasing recipe combines tender chicken with tangy barbecue sauce in a format that travels beautifully. The sweet, smoky flavors complement campfire cooking perfectly, and the recipe scales easily for larger groups.
Shred cooked chicken thighs and mix with your favorite barbecue sauce—approximately one tablespoon per pocket. Add a small amount of diced red onion for crunch and extra flavor dimension. Use two bread slices per pocket, adding chicken mixture and optionally topping with a sprinkle of shredded cheddar or Monterey Jack cheese.
Cook BBQ chicken pockets for three to four minutes per side, watching for cheese melt and bread browning. The enclosed environment allows barbecue sauce to penetrate the bread slightly, creating flavor gradients that make each bite interesting. Serve with additional barbecue sauce on the side for dipping if desired.
Cooking Techniques and Tips
Mastering campfire pie iron cooking requires understanding heat management, timing, and technique. These skills develop with experience, but learning common principles accelerates your progress and prevents frustrating failures.
Manage Your Fire and Heat
The single most important factor in successful pie iron cooking is heat management. Too-hot flames burn the outside while leaving interiors raw, while insufficient heat produces pale, soggy results. Aim for medium-hot coals—coals that have turned grayish-white on the outside while retaining heat at their center.
Build your fire well before cooking, allowing flames to die down and coals to form. A good rule of thumb: when you can hold your hand about six inches above the coals for three to four seconds before needing to pull away, the heat is ideal for pie iron cooking. Adjust coal quantity by adding or removing as needed, and position your pie iron where heat is most consistent.
Prevent Sticking and Burning
Properly seasoned cast iron naturally releases food, but additional precautions ensure clean results. Lightly oil both plate surfaces before adding bread, particularly for sweet recipes with sugary fillings that caramelize and stick. Butter the bread itself generously, which adds flavor while creating a barrier between bread and iron.
Don’t rush the cooking process. Attempting to speed things by increasing heat typically results in burned exteriors and raw interiors. Patience rewards pie iron cooks with evenly cooked, beautifully browned results. Listen for the sizzle when the iron contacts hot plates—this sound indicates proper heat and successful cooking.
Common Mistakes to Avoid
Learning from others’ mistakes accelerates your pie iron expertise. These common errors trip up even experienced campers, but awareness helps you sidestep frustration and achieve better results from your first attempt.
Overfilling Your Pie Iron
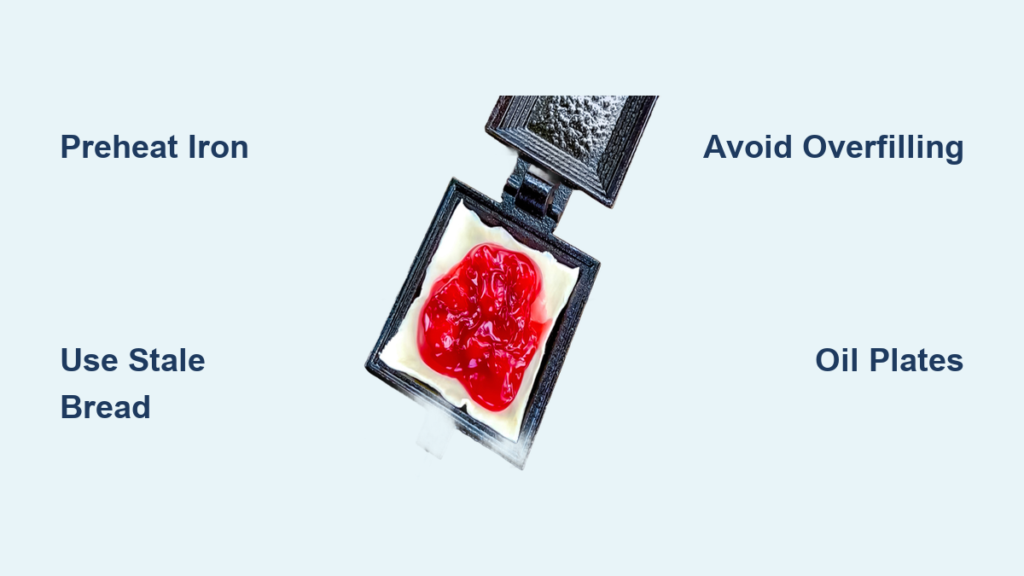
Enthusiasm for generous fillings leads to the most frequent pie iron mistake. Overfilled pies leak filling onto coals, create messy cooking surfaces, and often fail to seal properly. Use approximately one to two tablespoons of filling per pocket, slightly less than you think you need. The iron’s design requires space to close completely and compress contents into a cohesive unit.
Using Bread That’s Too Fresh
Fresh, soft bread tears easily and doesn’t hold its shape when compressed in a pie iron. Slightly stale bread works much better, as its drier texture maintains integrity during cooking. If only fresh bread is available, toast slices lightly before use or leave them uncovered overnight to dry slightly.
Neglecting Preheating
Cold pie irons produce uneven cooking and sticking. Always preheat your iron over coals for at least two minutes before adding ingredients. Test readiness by flicking a drop of water onto the plates—it should sizzle and evaporate immediately. This investment of time ensures consistent results and easier food release.
Safety Considerations for Campfire Cooking
Outdoor cooking requires attention to safety that home cooking sometimes overlooks. Pie iron cooking involves fire, hot metal, and sometimes sharp tools, making awareness essential for enjoyable, incident-free camping meals.
Handle Hot Equipment Properly
Pie iron handles conduct heat significantly, always use cloth or leather gloves when handling hot equipment. The long handle that keeps your hands away from flames becomes dangerously hot itself. Lay the iron on heat-resistant surfaces when not actively cooking, and never set a hot iron directly on plastic, fabric, or wooden surfaces that could scorch or melt.
Maintain Safe Campfire Practices
Build fires in designated fire pits when available, or create safe fire rings using rocks to contain flames. Keep flammable materials—tents, sleeping bags, fuel—well away from fire areas. Have water or dirt nearby for extinguishing flare-ups, and never leave fires unattended. Position your cooking area downwind from tents and other camp equipment to avoid smoke issues.
Cleaning and Maintenance Tips
Proper post-cooking care extends your pie iron’s lifespan significantly. These maintenance practices take only minutes but prevent rust, preserve seasoning, and ensure your investment serves for years or decades.
Immediate Cleaning After Each Use
Clean your pie iron while still warm, as cooled food residue becomes increasingly difficult to remove. Use hot water and a stiff brush or scraper to remove food particles without soap. Avoid abrasive pads that can damage seasoning. For stubborn residue, boil water in the iron or use a paste of water and baking soda as a gentle abrasive.
Drying and Oil Application
Dry the iron thoroughly immediately after cleaning, as moisture promotes rust. Place it near warm coals or in sunlight to evaporate remaining moisture completely. Once dry, apply a thin layer of vegetable oil to all metal surfaces using a paper towel or cloth. This oil penetrates the metal and maintains the seasoning layer that prevents rust and creates non-stick properties.
Campfire pie iron recipes unlock endless culinary possibilities in the great outdoors. From sweet dessert pies to hearty breakfast pockets, these versatile tools transform simple ingredients into memorable meals that taste better because they’re cooked around a campfire. With proper equipment, preparation techniques, and attention to heat management, you’ll create campfire cooking experiences that become cherished traditions. Pack your iron, prepare your ingredients, and discover why generations of campers have made these simple tools essential camping companions.


