
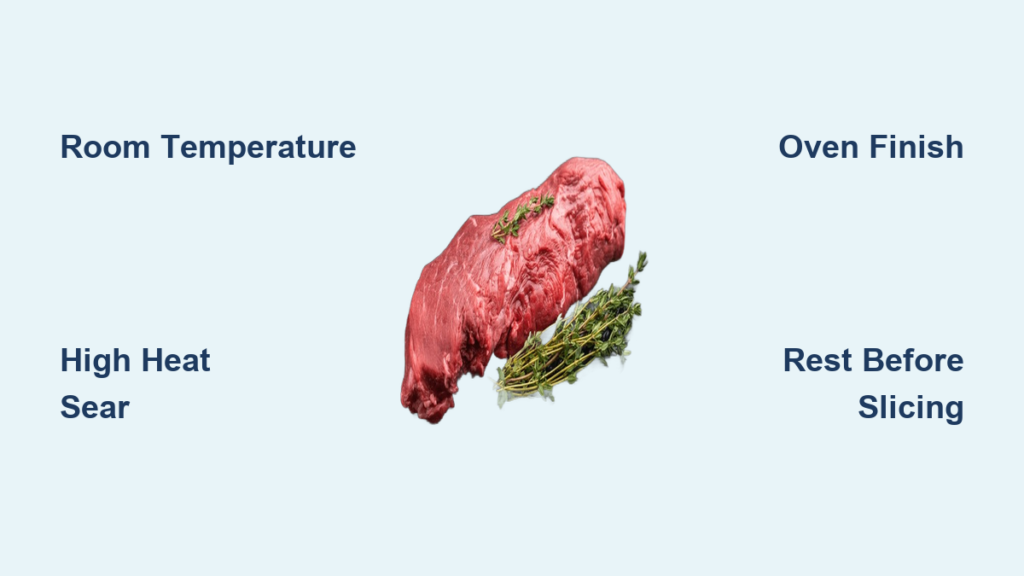
Tenderloin steak—also called filet mignon when cut from the narrower end—represents one of the most prized cuts in butchery. Its buttery texture and mild flavor make it a restaurant favorite, but achieving that same melt-in-your-mouth result at home requires the right technique. The cast iron skillet delivers exactly what tenderloin needs: blazing-hot, even heat that creates a deeply caramelized crust without overcooking the delicate meat. Unlike thinner cuts that can finish on the stovetop alone, thicker tenderloin steaks typically need a brief oven finish after searing, and your cast iron pan transitions seamlessly between both cooking zones.
Learning to cook tenderloin steak in a cast iron skillet gives you restaurant-quality results with minimal equipment. This guide walks through every step—from selecting the right thickness to reading internal temperatures—so you can serve perfectly cooked steak with confidence. Whether you prefer a rare center with a ruby-pink glow or a medium finish with a savory crust, mastering these fundamentals puts delicious results on your dinner table.
Choose the Ideal Tenderloin Thickness
Not all tenderloin steaks cook the same way, and selecting the right thickness determines your approach. Look for steaks cut from the tenderloin muscle that are at least 1.5 inches thick—thinner cuts below one inch risk overcooking before you develop a proper crust. The ideal thickness for stovetop-to-oven cooking falls between 1.5 and 2.5 inches, giving you enough time to sear the exterior without the center reaching well-done temperatures.
When shopping, examine the meat for consistent coloring throughout. Fresh tenderloin should display a bright cherry-red hue, not brown or gray edges that suggest oxidation. The fat marbling should appear fine and evenly distributed rather than thick white streaks, since excessive fat doesn’t tenderize during cooking like it does in tougher cuts. Some butchers offer “center-cut” tenderloin, which produces more uniformly thick steaks and less trimming waste.
How to Identify Quality Tenderloin
Check these visual indicators when selecting your steak:
– Color: Bright cherry-red, not dull or brown
– Texture: Moist surface without excessive liquid pooling
– Marbling: Fine, evenly distributed fat streaks
– Cut edges: Clean and uniform, not ragged
– Thickness: Minimum 1.5 inches for best results
Warm Steak to Room Temperature Before Cooking
Taking the chill off your tenderloin before it hits the hot pan makes a surprising difference in cooking results. Cold steak placed directly in a screaming-hot skillet causes the exterior to cook while the center remains refrigerated, leading to uneven doneness and a higher risk of overcooking the outer layers. Removing your steak from the refrigerator 30 to 45 minutes before cooking allows the meat to warm evenly throughout, promoting consistent penetration of heat.
Set your wrapped steak on a clean plate or sheet pan while it comes to temperature. Leaving it unwrapped on a wire rack lets air circulate around all surfaces, warming more efficiently than a plate that traps cold against the bottom. During this rest period, the muscle fibers relax and absorb some of the moisture that would otherwise pool on the surface, contributing to better browning later.
Season with Precision for Maximum Flavor
Tenderloin benefits from straightforward seasoning that enhances rather than masks its natural flavor. Apply approximately one teaspoon of kosher salt per pound of meat, coating all surfaces including the edges. Kosher salt works better than table salt—the larger crystals dissolve more slowly, drawing moisture from the meat’s surface and then reabsorbing it along with flavor compounds.
Black pepper adds earthy warmth and creates tiny textural bumps that caramelize beautifully during searing. For a more complex profile, consider adding garlic powder, smoked paprika, or dried thyme to your seasoning blend, but keep the total amount modest so these additions complement rather than compete with the meat’s natural richness.
Essential Seasoning Timing Tips
- Apply salt at least 45 minutes before cooking for deeper penetration
- Add pepper just before cooking to preserve its volatile aromatics
- Avoid rubbing seasoning vigorously, which can warm the meat prematurely
- Press seasoning gently with dry hands for better adhesion
- Let seasoned steak rest uncovered for 10-15 minutes to dry the surface
Achieve Proper Cast Iron Skillet Preheating
Cast iron requires deliberate preheating to deliver the searing power it’s famous for. Place your empty skillet on the stovetop over high heat and allow it to heat for at least five minutes—larger or thicker pans may need eight to ten minutes to fully stabilize. The pan is ready when a drop of water evaporates instantly upon contact, or when a thin sheen of smoke begins to rise from the surface.
While your pan heats, add enough high-smoke-point oil to coat the bottom generously—about one to two tablespoons for a standard 10-inch skillet. Avocado oil, grapeseed oil, or refined vegetable oil handle the high temperatures required for proper searing without breaking down. Wait until the oil shimmers and flows easily before adding your steak.
Execute Perfect Searing Technique
Carefully lay your seasoned tenderloin in the preheated skillet using tongs rather than a fork, preserving the juices that would escape through piercing. Listen to the sound—that immediate, aggressive sizzle tells you your pan was properly preheated and the searing process has begun.
Resist the urge to move or flip the steak frequently. Let the steak cook undisturbed for 3 to 4 minutes on the first side, watching for the color to change up the sides of the steak as an indicator of doneness progressing toward the center. When the bottom releases easily from the pan and shows a deep brown crust, it’s ready to flip.
How to Identify Proper Sear Readiness
- Timing: 3-4 minutes for first side (1.5″ thick steak)
- Visual cue: Deep brown crust formation
- Release test: Steak lifts easily without sticking
- Side color: Noticeable color change moving up the steak sides
- Sizzle sound: Consistent, aggressive sizzle (not spitting)
Complete Cooking with Oven Finish
:max_bytes(150000):strip_icc()/262181-cast-iron-pan-seared-steak-oven-finished-DDMFS-4x3-50c37d683f4a42c1bc9ff0fe3c24e417.jpg)
Because tenderloin’s leanness means it cooks quickly, thicker cuts benefit from a brief oven finish after initial stovetop searing. Preheat your oven to 400°F while the steak sears on the stovetop. Transfer the skillet directly from burner to oven, using oven-safe handles and protective mitts.
The oven finish takes approximately 5 to 8 minutes for a 1.5-inch steak cooked to medium-rare, with thicker cuts requiring an additional 2 to 4 minutes. For precise results, use an instant-read thermometer to check doneness:
- Rare: 125°F (remove at 120°F)
- Medium-rare: 130°F (remove at 125°F)
- Medium: 135°F-140°F (remove at 130°F)
- Medium-well: 150°F (remove at 145°F)
Remember that temperatures rise 5 to 10 degrees during resting, so factor this carryover cooking into your timing.
Rest Steak Properly for Maximum Juiciness

The final step—and one many home cooks skip—is allowing your cooked tenderloin to rest before slicing. During cooking, the intense heat forces water and juices toward the center of the steak. Cutting immediately releases this pressure, causing pink juices to flood your cutting board.
Transfer your rested steak to a clean cutting board or warm plate, loosely tented with aluminum foil. A 1.5 to 2-pound tenderloin needs at least 8 to 10 minutes of rest. While resting, pour any accumulated pan juices over the sliced meat or whisk them into your compound butter for an intensified sauce. Slice the tenderloin against the grain—perpendicular to the muscle fibers—to maximize tenderness, cutting each piece about 0.5 to 0.75 inches thick.
Avoid Critical Cooking Mistakes
Even experienced cooks encounter pitfalls when cooking tenderloin steak in cast iron. Moving the steak too frequently prevents proper crust development—the meat needs undisturbed contact with the hot surface to sear successfully. Similarly, pressing down on the steak with a spatula releases precious juices that should remain inside, resulting in dry, tough meat.
Overcrowding the pan causes steaming rather than searing, as the released moisture from one steak prevents proper browning on its neighbors. Cook one large tenderloin at a time, or if cooking multiple, use two skillets or sear in batches with adequate space between pieces. The pan should look nearly empty when you add the steak—there should be visible oil and exposed pan surface around the meat.
Store and Reheat Leftovers Correctly
Tenderloin steak leftovers require careful handling to maintain quality during storage and reheating. Refrigerate sliced or whole steaks within two hours of cooking, placing them in shallow containers that allow rapid cooling. Consume refrigerated leftovers within three to four days.
For the best results when reheating, warm the steak gently rather than applying high heat that overcooks the already-done exterior. Slice cold leftover steak thin and add it to hot sandwiches, stir-fries, or grain bowls where the residual heat warms the meat without continuing to cook it. Alternatively, wrap whole or sliced steak in foil with a splash of beef broth and warm in a 300°F oven for 10 to 15 minutes until heated through.
Mastering how to cook tenderloin steak in a cast iron skillet transforms an expensive cut into a consistently impressive meal. With proper technique focusing on temperature management, surface drying, and resting time, you’ll achieve restaurant-quality results every time. The cast iron skillet’s ability to transition from stovetop to oven makes it the perfect tool for this delicate cut, delivering a perfect crust while preserving the tenderloin’s signature buttery texture. Whether for a special occasion or an elevated weeknight dinner, these techniques ensure your tenderloin steak will become a signature dish you can prepare with confidence.


