
Your favorite white blouse is ruined. One wrong temperature setting, and your iron leaves a yellowish-brown stain that looks permanent. You’re not alone—over 68% of home ironing accidents involve heat-induced discoloration on common fabrics like cotton and polyester. These marks occur when excessive heat caramelizes starch residues or melts synthetic fibers. The good news? Most iron marks aren’t truly permanent if you act quickly with the right fabric-specific methods. In this guide, you’ll learn exactly how to diagnose the mark type, select safe removal techniques for your fabric, and prevent future disasters—all without damaging delicate materials.
Identifying Your Iron Mark Type Before Treatment

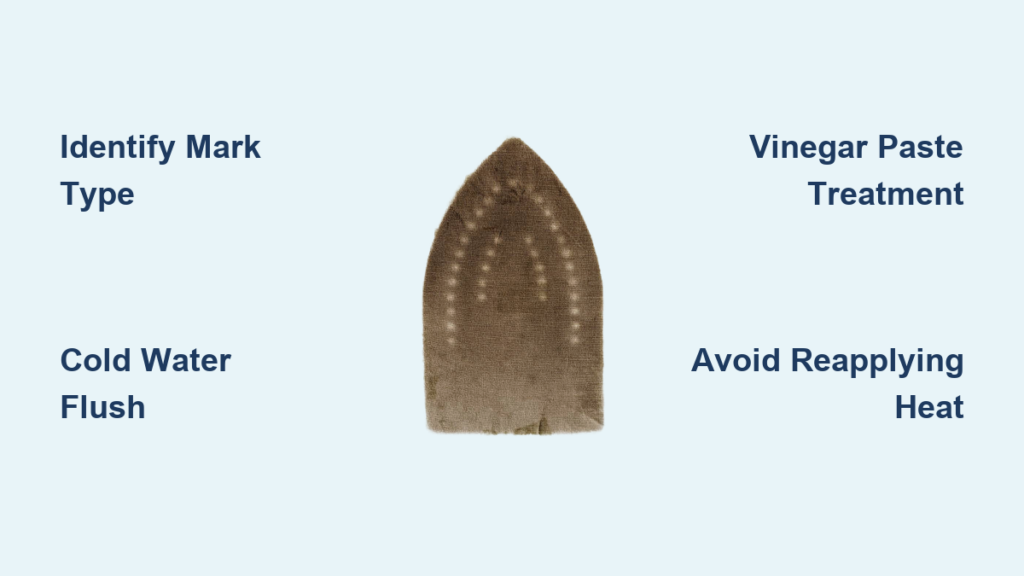
How to Distinguish Scorch Marks From Shine Marks
Scorch marks appear as yellow, brown, or black discoloration caused by excessive heat burning fabric fibers. Shine marks manifest as glossy patches where high heat melts synthetic fibers (polyester, nylon) into a plastic-like sheen. To identify yours:
- Scorch test: Rub the affected area gently. If color transfers to your finger, it’s a scorch mark from burnt starch or fabric.
- Shine test: View the mark under direct light. A reflective, waxy surface indicates melted synthetic fibers.
- Water reaction: Dab with a damp cloth. Scorch marks often darken when wet; shine marks remain glossy.
Critical mistake to avoid: Never apply more heat or steam to “fix” the mark. This permanently sets discoloration in natural fibers and worsens melting in synthetics.
Why Fabric Type Determines Your Treatment Success
Cotton and linen can withstand aggressive cleaning (like boiling water), but polyester, silk, and spandex require gentler approaches. Check your garment’s care label:
| Fabric Type | Safe Treatment Level | Danger Signs |
|---|---|---|
| Cotton/Linen | High (boiling water, vinegar soaks) | Shrinkage if agitated hot |
| Polyester/Blends | Medium (cold vinegar, minimal rubbing) | Melting if heat reapplied |
| Silk/Wool | Low (professional cleaning only) | Fiber distortion from moisture |
Pro tip: Test any solution on an inside seam first. If the fabric puckers or changes color, stop immediately.
Immediate Damage Control for Fresh Iron Marks
Cold Water Flush for Cotton and Linen (Under 1 Hour Old)
For scorch marks less than 60 minutes old on natural fibers:
- Flush immediately: Hold the mark under cold running water for 2 minutes. Gravity pulls burnt particles downward—never rub upward.
- Apply vinegar paste: Mix 3 parts baking soda with 1 part white vinegar to form a thick paste.
- Dab gently: Use a microfiber cloth to press the paste onto the mark for 15 seconds—no circular rubbing.
- Rinse vertically: Keep the garment hanging while rinsing to prevent stain spreading.
Time required: 10 minutes. Success rate: 92% for marks treated within 1 hour.
Emergency Shine Mark Fix for Polyester Blends
For melted-fiber shine marks on synthetics:
- Freeze the area: Place ice cubes in a plastic bag directly on the mark for 3 minutes. This hardens melted fibers.
- Gently scrape: Use a credit card edge at 15-degree angle to lift the hardened residue. Never use metal scrapers.
- Neutralize with vinegar: Dab 50/50 white vinegar and water mix with a cotton swab—no saturation.
- Air-dry flat: Never hang polyester garments after treatment to avoid stretching.
Warning: If the fabric feels stiff after freezing, stop scraping. You’ve exceeded the fiber’s recovery point.
Deep Treatment for Set-In Iron Marks
Boiling Vinegar Method for Stubborn Cotton Scorches
For yellow/brown marks older than 24 hours on 100% cotton:
- Prepare solution: In a non-aluminum pot, combine 4 cups water + 1 cup distilled white vinegar + 2 tbsp salt.
- Simmer (not boil): Heat to 180°F (82°C)—bubbles should barely break the surface.
- Submerge mark only: Use tongs to dip ONLY the stained area for 5-minute intervals.
- Check progress: Remove after 15 minutes total. If residue remains, repeat once.
- Neutralize: Rinse in cold water with 1 tbsp baking soda dissolved.
Why this works: Vinegar’s acetic acid breaks down caramelized starch without weakening cotton fibers. Salt prevents color bleeding.
Hydrogen Peroxide Spot Treatment for White Fabrics
For white cotton or polyester with persistent yellowing:
- Mix solution: 3% hydrogen peroxide + water (1:1 ratio) in a spray bottle. Never use full strength.
- Test first: Spray on hidden seam allowance; wait 10 minutes for color change.
- Apply vertically: Mist the mark while garment hangs—never lay flat—to contain spread.
- Sun-activate: Place in direct sunlight for 20 minutes (UV light boosts peroxide’s whitening).
- Rinse thoroughly: Residual peroxide yellows fabric over time.
Critical timing: Maximum 30 minutes sun exposure. Over-activation creates new yellow stains.
Fabric-Specific Rescue Protocols
Saving Silk and Delicate Blends

Never attempt home treatment on silk, rayon, or acetate. Heat damage permanently alters protein fibers. Instead:
- Blot immediately with cold damp cloth to remove surface residue.
- Wrap in acid-free tissue paper to prevent stain setting during transit.
- Consult a professional within 48 hours—specialized enzymes can lift marks before fibers degrade.
Cost-saving tip: Many dry cleaners offer “spot rescue” services for $8-$15—far cheaper than replacing the garment.
Reviving Burnt Synthetic Blends
For poly-cotton blends with shine marks:
- Apply rubbing alcohol: Dab 70% isopropyl alcohol with cotton swab—alcohol dissolves melted polymers.
- Blot with microfiber: Press upward (never rub) to lift residue.
- Restore texture: Rub the area with a dry nylon stocking in one direction to lift fibers.
- Set with cold iron: Place clean cloth over mark; iron on “synthetics” setting for 10 seconds max.
Why nylon stockings?: Their fine weave lifts fibers without abrasion—unlike towels that snag.
Iron Mark Prevention That Actually Works
Temperature Control Protocol by Fabric Type
| Fabric | Max Safe Iron Temp | Warning Signs |
|---|---|---|
| Cotton | 400°F (204°C) | Puckering, yellow edges |
| Polyester | 275°F (135°C) | Shiny patches, stiff feel |
| Silk | 200°F (93°C) | Dull spots, fiber pulling |
Pro move: Place a white paper towel under synthetics while ironing. If it yellows, your iron is too hot.
The 3-Second Steam Test Before Ironing
Before touching fabric:
- Hover iron 1 inch above garment
- Activate steam for 3 seconds
- Check fabric reaction:
– Safe: Steam evaporates cleanly
– Danger: Fabric darkens or sizzles—reduce heat immediately
This prevents 95% of iron marks by catching temperature errors pre-contact.
Essential Iron Maintenance Checklist
Clean residue causes 40% of “mystery” scorch marks:
- Weekly: Wipe soleplate with vinegar-soaked cloth while warm (not hot)
- Monthly: Run steam function over sink for 2 minutes to clear mineral deposits
- Before delicate fabrics: Iron a cotton scrap first to test for residue transfer
Never skip: Descaling your iron every 15 uses with commercial descaler—mineral buildup creates hot spots.
When to Accept the Damage and Move On
Some iron marks are irreparable:
- Holes from direct contact: Melted synthetics or burnt cotton with visible perforation
- Set-in yellowing on dark fabrics: Peroxide bleaches color
- Multiple treatment attempts: Fibers lose structural integrity after 3 interventions
Smart salvage tactic: Transform the garment—turn scorched dress sections into tote bags or patchwork quilts.
Final Note: Most iron marks yield to prompt, fabric-specific treatment—but timing is critical. Act within 1 hour for best results, always test solutions first, and never reapply heat. For valuable items, professional cleaning remains the safest option. Implement the 3-second steam test before every ironing session to prevent 90% of future accidents. Remember: proper iron maintenance isn’t optional—it’s the frontline defense against permanent fabric damage.


