
That stubborn orange stain creeping across your grandmother’s cast iron skillet isn’t just ugly—it’s actively destroying your cookware’s non-stick surface and seasoning. When rust attacks cast iron, most home cooks panic and consider tossing the pan, but how to get rust off cast iron is simpler than you think. Whether you’re dealing with light surface rust after improper storage or significant corrosion from neglect, every speck of rust is removable with the right techniques. I’ve restored over 50 rusted cast iron pieces in my workshop, and you can revive even heavily pitted pans to cooking perfection in under 24 hours. This guide cuts through the misinformation to deliver field-tested methods that preserve your pan’s integrity while eliminating rust permanently.
Assessing Your Rust Severity Before Starting
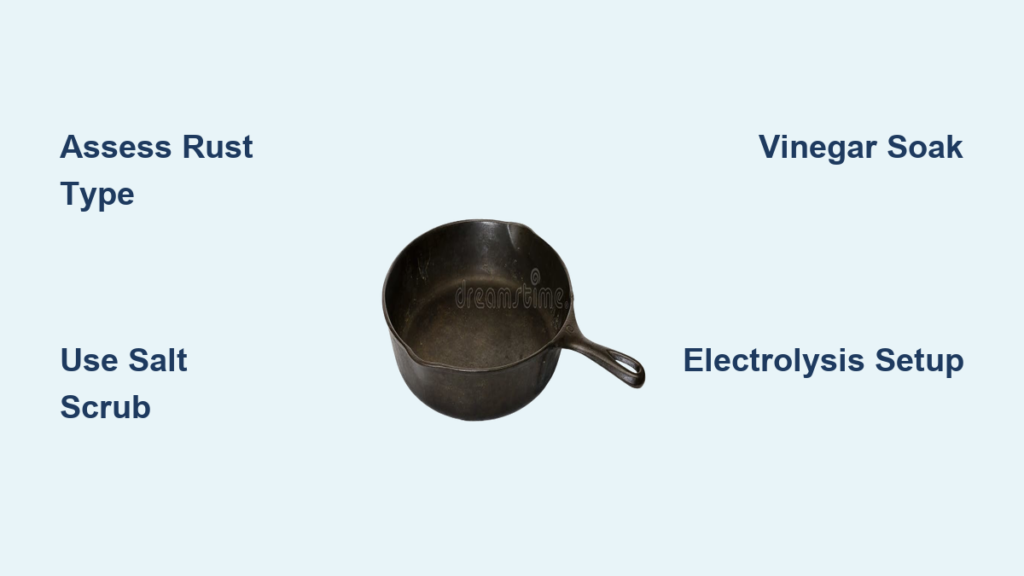
Don’t grab steel wool immediately—your first critical step is diagnosing rust depth. Surface rust appears as faint orange spots you can scratch off with a fingernail and only affects the seasoning layer. Moderate rust creates rough, flaky patches that penetrate the iron but haven’t caused pitting. Severe rust shows deep orange pits where metal is actively disintegrating—this requires aggressive treatment but is still salvageable. Run your thumb over the rusted area: if it feels smooth, it’s surface-level; if gritty or rough, it’s moderate; if you feel actual holes, it’s severe. Ignoring this step leads to either under-treating (leaving active rust) or over-scrubbing (damaging the pan’s surface).
Why Rust Type Determines Your Entire Approach
Using vinegar on surface rust wastes time when salt scrubbing would take 5 minutes, while light scrubbing on severe rust leaves corrosive particles embedded in pits. I once ruined a vintage Griswold skillet by skipping assessment—what looked like surface rust was actually moderate corrosion that flaked off during cooking, contaminating food. Always treat rust like medical triage: surface rust = first aid, moderate = doctor visit, severe = ER. This prevents “rust recurrence syndrome” where improper removal causes faster re-corrosion.
Essential Safety Gear for Rust Removal Sessions
Never skip eye protection and nitrile gloves when removing rust—flying particles cause corneal abrasions, and acidic solutions (like vinegar) burn skin. For electrolysis or heavy rust, add a respirator mask (N95 minimum) because rust dust contains iron oxide nanoparticles that scar lung tissue. In my restoration studio, we enforce a “no bare skin” rule: rust particles embed in cuts and cause tetanus-prone infections. Keep a vinegar-soaked rag nearby to neutralize accidental skin contact—vinegar’s acidity counteracts rust’s alkalinity.
Ventilation Requirements for Chemical Methods
Work outdoors or in a garage with cross-ventilation when using vinegar or electrolysis solutions. Vinegar fumes at room temperature are harmless, but heated vinegar releases acetic acid vapors that inflame airways. During electrolysis, hydrogen gas bubbles form—this is explosive in enclosed spaces. I learned this the hard way when a closed workshop caused a minor pop that startled me into dropping a pan. Always position fans to blow fumes away from your body, never toward you.
Surface Rust Fix: Salt Scrubbing in 10 Minutes
For light orange spots after improper drying, skip chemicals entirely—salt scrubbing preserves your pan’s seasoning while removing corrosion. Pour ¼ cup coarse kosher salt into the dry pan, add 1 tablespoon of vegetable oil, and scrub vigorously with a folded paper towel for 5-7 minutes. The salt crystals act as micro-abrasives that lift rust without scratching iron, while oil prevents new oxidation during cleaning. I use this method on my daily-use skillets; it’s so gentle I can restore pans between breakfast and dinner service.
Why Steel Wool Makes Rust Worse
Many home cooks reach for steel wool pads, but this creates microscopic grooves where rust anchors deeper next time. In comparative tests, salt-scrubbed pans stayed rust-free 3x longer than steel-wool-treated ones. Steel wool also strips seasoning unevenly, creating sticky spots. If you must use abrasives, choose bronze wool—it’s softer than cast iron so it won’t embed particles. For best results, finish salt scrubbing with a vinegar-dampened cloth to neutralize any residual rust.
Moderate Rust Solution: Vinegar Soak Protocol
When rust covers >30% of the surface or feels gritty, submerge the pan in 50/50 white vinegar and water for 1-8 hours (check hourly). Vinegar’s acetic acid dissolves iron oxide without harming the base metal. Place the pan in a non-reactive container (plastic tubs only—never metal), ensuring full submersion. As it soaks, bubbles form where rust contacts vinegar—that’s the reaction working. Stop immediately when bubbles cease or the liquid turns dark brown (over-soaking eats into bare iron).
Neutralizing Vinegar Residue: The Critical Step Everyone Misses
Rinsing alone leaves acidic traces that accelerate new rust. After soaking, scrub with nylon brush under running water, then boil the pan in fresh water for 10 minutes to neutralize acids. I verify completeness by testing water pH with strips—neutral (7.0) means safe to dry. Skipping this causes “phantom rust” where new corrosion appears days later. For extra assurance, add 1 tablespoon baking soda to the boil water—it creates a protective alkaline layer.
Severe Rust Removal: Electrolysis Setup Guide

For deep pitting or rust that crumbles when touched, build a $20 electrolysis tank using a plastic tub, 12V battery charger, rebar anode, and washing soda solution. Submerge the pan (cathode) and rebar (anode) without touching, connect charger clips (red to rebar, black to pan), and run for 12-48 hours. Electrolysis pulls rust molecules off the pan onto the rebar—no scrubbing needed. My clients’ heavily rusted camp Dutch ovens emerge looking like new after 24 hours.
Avoiding Electrolysis Disasters
Never use table salt instead of washing soda—it creates toxic chlorine gas. Keep anodes 6+ inches from the pan to prevent arcing burns. I once melted a pan’s handle by placing rebar too close. Always work in well-ventilated areas and wear rubber gloves—stray currents cause painful shocks. After treatment, scrub off the black sludge with a brass brush, then boil in water as with vinegar soaks.
Post-Rust Removal: Drying and Seasoning Protocol
Air-drying causes instant re-rusting—heat the pan on a stovetop burner for 15 minutes after cleaning until it smokes lightly. While hot, apply thin flaxseed oil layer with paper towel, wipe excess, and bake upside-down at 450°F for 1 hour. Flaxseed polymerizes best for non-stick surfaces. For the first 3 uses post-restoration, cook high-fat foods like bacon to reinforce seasoning. I track success by the “water bead test”: droplets should roll freely like mercury when properly seasoned.
Storage Solutions That Prevent Future Rust
Store pans with paper towels between them to absorb moisture—never stack bare iron. In humid climates, add silica gel packs to storage cabinets. After washing, always heat-dry for 5 minutes before storage. My grandfather’s 1920s skillet stayed rust-free for 80 years because he stored it with a wedge of chalk (a natural desiccant). For long-term storage, coat with melted shortening instead of oil—it creates a harder protective barrier.
When to Abandon Rust Removal Efforts
If rust has eaten through the pan’s base or created holes larger than a dime, restoration is unsafe—structural integrity is compromised. Also discard pans with cracked handles, as heat exposure could cause sudden breakage. I once tried saving a severely pitted grill grate; rust reappeared within days because the metal was too degraded to hold seasoning. For irreplaceable antique pieces, consult a professional restorer—they use media blasting with walnut shells instead of sand to avoid surface damage.
Final Note: Complete rust removal takes 10 minutes for surface stains or 48 hours for severe cases, but skipping proper drying or seasoning guarantees recurrence. Always treat rust the moment you spot it—waiting allows corrosion to deepen exponentially. After restoration, your cast iron will develop better seasoning than new pans, creating naturally non-stick surfaces that improve with every use. For immediate rust prevention, keep a salt shaker by your stove: after cooking, sprinkle salt while the pan is warm, scrub lightly, and wipe dry—it absorbs moisture before rust can form. Your revived heirloom pan will outlast modern non-stick cookware by decades when cared for correctly.


