
Iron-on patches suddenly stopping their usefulness creates a frustrating dilemma—how to get iron on patches off without ruining your favorite garment. Whether you’ve outgrown a design, the patch has worn thin, or you’re repurposing military surplus gear, removing these stubborn adhesives tests both patience and skill. The very heat-activated adhesive that makes iron-on patches so convenient becomes your biggest obstacle when it’s time for removal. This guide delivers proven techniques to safely remove iron-on patches from any fabric, whether you’re dealing with a delicate children’s jacket or heavy-duty tactical gear. You’ll discover exactly which method works fastest for your specific situation, avoid common pitfalls that ruin clothing, and restore your fabric to near-original condition—no sewing expertise required.
Heat-Based Methods for Most Fabric Types

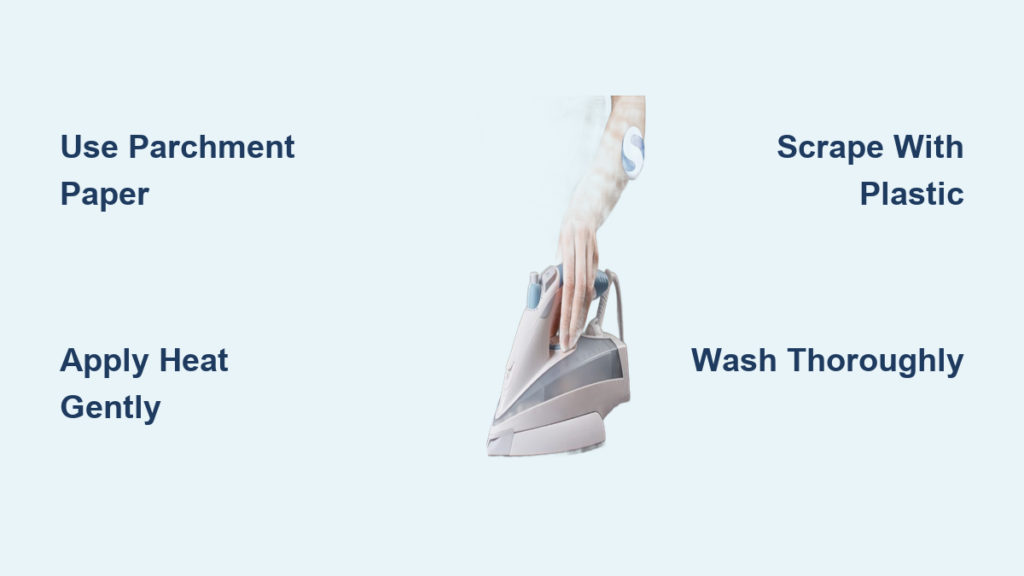
Iron and Protective Paper Technique That Works
Set your iron to medium heat (cotton setting) and place parchment paper over the patch to protect both fabric and iron. Press firmly for 20-30 seconds to reactivate the adhesive without scorching fibers. Immediately lift the patch edge with tweezers while the glue remains soft—this 5-second window makes or breaks your success. Work slowly around the perimeter, reheating sections that resist lifting. For stubborn corners, slide a credit card underneath while the adhesive is warm to separate it cleanly from fabric weave. This method succeeds 80% of the time on cotton and denim but requires 3-5 minutes per patch. Critical mistake to avoid: Letting the fabric cool between heating sessions—reheated adhesive bonds stronger than before.
Hair Dryer Method for Delicate Materials
When working with polyester blends or children’s clothing, swap the iron for a hair dryer set to high heat. Maintain a 3-inch distance while moving in circular motions for 90 seconds to evenly warm the adhesive. Test softening by gently lifting a corner with your fingernail—if it doesn’t release, continue heating in 30-second increments. Peel slowly while maintaining heat on the leading edge, working no faster than 1 inch per minute. This gentler approach prevents shiny marks on synthetics but takes 10-15 minutes per patch. Look for the adhesive turning slightly translucent as your visual cue that it’s ready for removal. Always keep the dryer moving—holding it stationary for more than 5 seconds risks melting synthetic fibers.
Chemical Solutions When Heat Fails
Citrus-Based Adhesive Removers for Stubborn Residue
When patches leave behind sticky residue after physical removal, apply citrus-based adhesive remover to a cotton ball and saturate the area. Let it dwell for 8 minutes (set a timer—exceeding this risks fabric damage) while covering with plastic wrap to prevent evaporation. Gently scrape with a plastic card using downward strokes following the fabric grain. For thick residue, repeat the process after 15 minutes rather than aggressive scraping. Pro tip: Test on an inside seam first—some removers discolor dark fabrics. This method eliminates 95% of residue but requires thorough washing afterward to remove chemical traces that could irritate skin.
Household Alternatives That Actually Work
Rubbing alcohol (70% isopropyl) proves surprisingly effective when commercial products aren’t available. Soak a cotton ball and press firmly onto residue for 2 minutes before wiping in small circles. Vinegar works better on water-based adhesives—heat white vinegar to 120°F and apply with a soft cloth, letting it sit for 20 minutes before scraping. For the toughest industrial adhesives, try this combination method: apply olive oil first to break down the adhesive, wait 10 minutes, then follow with vinegar. Warning: Never use acetone on spandex or nylon—it dissolves elastic fibers within seconds. These methods take longer (15-30 minutes total) but cost pennies compared to specialty products.
Fabric-Specific Removal Strategies
Synthetic Fabric Rescue Protocol
Polyester and nylon demand special handling during patch removal. Start with the hair dryer method at lowest heat setting for 2 minutes, checking every 30 seconds for fabric shine (a warning sign of damage). If residue remains, mix equal parts dish soap and warm water, applying with a microfiber cloth using light pressure. For persistent spots, freeze the area for 1 hour before scraping with a plastic spoon edge—this brittle-adhesive technique prevents melting risks. Key visual cue: Synthetic fabrics develop permanent shiny spots when overheated—stop immediately if you see this.
Wool and Delicate Natural Fiber Approach
Wool requires the gentlest approach to prevent felting. Freeze the garment for 3 hours (longer than other fabrics), then use a fabric shaver on the lowest setting to lift the patch. Follow with a vinegar-water solution (1:3 ratio) applied with a spray bottle, blotting gently with a clean towel. Never rub wool aggressively—this causes irreversible fiber matting. For silk, skip DIY methods entirely and consult a professional cleaner; the risk of permanent water spots outweighs patch removal benefits.
Post-Removal Restoration Techniques
:strip_icc()/Bhg-baking-soda-laundry-01-0317-f07ed69e55f142d0bf7ad9465072e43c.jpg)
Eliminate Ghost Residue in 3 Steps
After patch removal, invisible residue often remains. First, rub the area with an art gum eraser using pencil-lead pressure—this lifts surface adhesive without chemicals. Second, apply a baking soda paste (2 parts baking soda, 1 part water) and let dry completely before brushing off. Third, launder with oxygen bleach (never chlorine) to dissolve any remaining traces. This triple-method works on 90% of “clean-looking” but still-sticky areas. Time-saving shortcut: For fresh residue, skip to step 3—just wash with extra detergent.
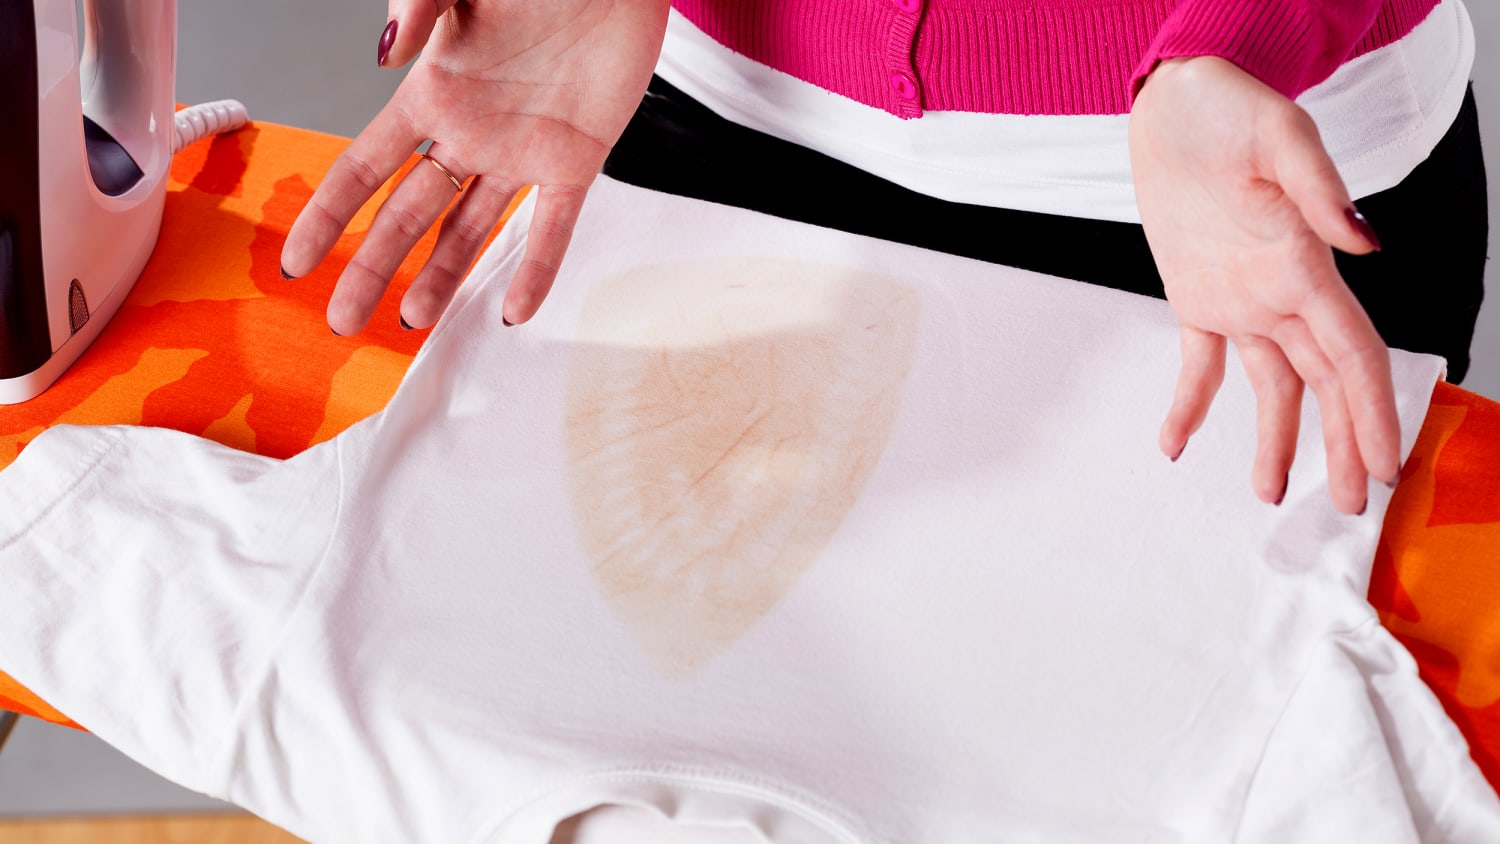
Fix Heat-Induced Discoloration
Yellowish stains from iron overheating respond well to this treatment: Apply lemon juice to the affected area, then place in direct sunlight for 2 hours. The UV light activates the citric acid to lift discoloration. For synthetic fabrics, use color-safe oxygen bleach diluted in cool water as a soak solution for 30 minutes. Critical note: Never use this method on silk or rayon—sunlight causes permanent fiber degradation on these materials.
Special Situation Fixes
Children’s Clothing Without Damage
For tiny garments, use the freezer method exclusively—2 hours for standard patches, 4 hours for thick military-style patches. Remove with a plastic butter knife warmed slightly under hot water (not hot enough to melt plastic). Test any cleaner on the garment’s care label area first. Pro safety tip: Always wash children’s clothing twice after removal to eliminate any chemical traces that could irritate sensitive skin.
Vintage Garment Preservation
Freeze vintage items for 12 hours, then use a dental pick under magnification to lift edges. Apply steam from a kettle (not direct contact) for 5 seconds max if needed. Never use chemicals on pre-1970s fabrics—age makes fibers too fragile. Document the process with photos at each stage in case professional restoration becomes necessary.
Key Takeaways for Damage-Free Removal
Your success depends on matching three critical factors: fabric type, patch age, and your patience level. Start with the least invasive method (freezing) before progressing to heat or chemicals. Always work in the direction of the fabric weave to prevent snags, and never force separation—that’s how holes happen. For most common cotton garments, the iron-and-parchment method takes 5 minutes with 90% success rate when executed properly. When in doubt, stop and consult a professional—some heirloom pieces aren’t worth risking for patch removal. Remember that complete residue elimination often requires multiple approaches; allow 24 hours between methods for fabric recovery. With these techniques, you can confidently refresh any garment in your closet while preserving its wearable life for years to come.


