
Wrought iron balusters transform ordinary staircases into architectural masterpieces while providing essential safety features. Installing these elegant vertical supports creates a sophisticated look that enhances both traditional and contemporary homes. Whether you’re replacing worn wooden spindles or installing a new railing system, mastering wrought iron baluster installation delivers professional results without contractor costs. This guide provides precise instructions for achieving a secure, code-compliant installation that withstands daily use while creating visual harmony on your staircase.
Before beginning your project, understand that wrought iron balusters require careful measurement and precise installation to ensure both safety and aesthetic appeal. The installation process remains consistent across various styles—from classic twisted designs to sleek modern patterns—but differs slightly based on whether you’re mounting into wood, concrete, or metal surfaces. With proper tools, methodical execution, and attention to building codes, most homeowners can complete this rewarding project over a weekend.
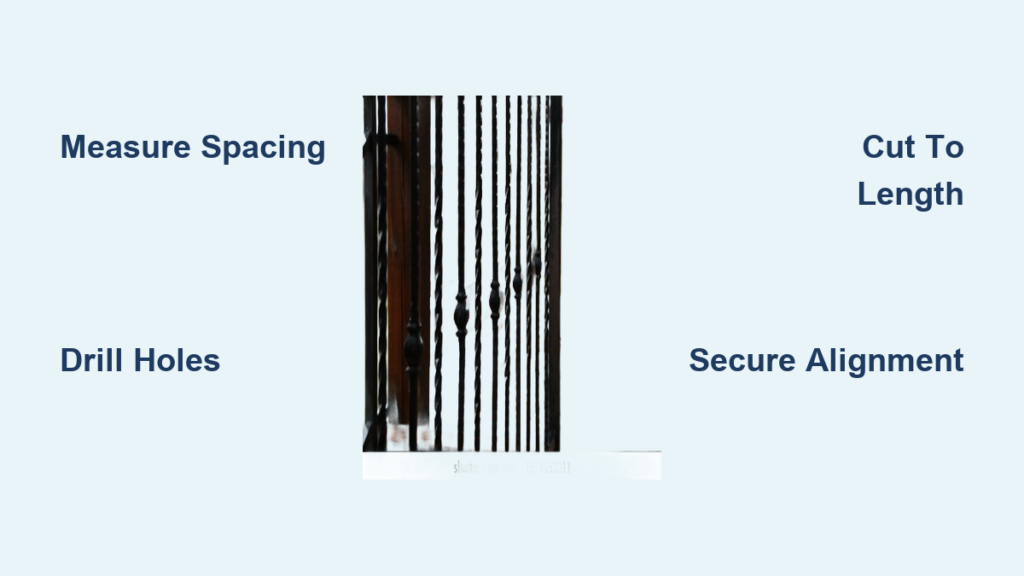
Gather Your Essential Installation Tools
Having the right tools ready prevents mid-project delays and ensures professional results. Start with a power drill equipped with both standard and masonry bits, a high-quality level to verify perfect vertical alignment, and a precision tape measure for accurate spacing calculations. A hole saw kit sized to match your baluster diameters (typically ¾ inch to 1 inch) proves indispensable for creating clean mounting holes.
Additional critical tools include a rubber mallet for gentle adjustments, a stud finder to locate solid mounting points on wooden stringers, and a reciprocating saw with metal-cutting blades for trimming balusters to length. Don’t forget a pencil for marking positions, safety glasses to protect your eyes during cutting and drilling, and gloves to handle metal pieces safely.
Materials required include your wrought iron balusters (purchase 10% extra for potential mistakes), mounting brackets or shoes for top and bottom connections, appropriate fasteners (wood screws for wooden surfaces, concrete anchors for masonry), wood filler for concealing screw heads, and metal primer and paint if finishing bare iron. Measure your staircase’s total linear footage and divide by your chosen spacing (typically 4-6 inches) to determine exact baluster quantity.
Remove Existing Balusters Without Damage
When replacing old balusters, careful removal preserves your staircase structure for successful new installation. Examine how current balusters attach at both handrail and tread—most are secured with hidden nails or screws beneath paint or putty. Gently expose fastener heads using a utility knife or flathead screwdriver, then remove them with appropriate tools.
For nailed balusters, use a cat’s paw nail puller with a hammer for controlled extraction; for screwed units, employ a drill with reverse setting and proper bit size. Once fasteners are removed, carefully wiggle each baluster while pulling upward to release it from adhesive bonds. For stubborn pieces, insert a thin pry bar between the baluster and rail, applying gradual pressure to avoid splitting surrounding wood.
After removal, inspect and clean mounting holes thoroughly, removing debris and old adhesive. Fill oversized holes with wood filler, allowing complete drying before proceeding. This preparation creates solid mounting points that prevent future wobbling or instability in your new iron balusters.
Create Perfectly Spaced Mounting Points
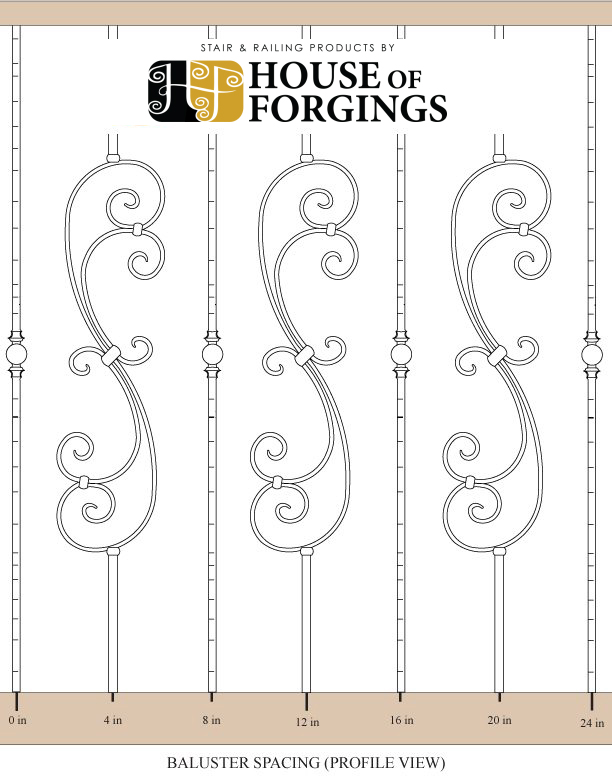
Accurate marking determines whether your finished installation appears professional or amateurish. Measure the total handrail length between newel posts, then divide by your chosen spacing (4-6 inches, with 4 inches being the maximum allowed by most building codes for child safety). Round down to determine baluster count, then divide total length by this number for exact spacing.
Mark these points precisely along both the bottom surface (tread or stringer) and the top handrail using a sharp pencil. Use a straightedge to ensure top marks align vertically with bottom marks, creating perpendicular reference lines. Double-check measurements at multiple points along the staircase, as stairs often have slight variations in width or angle.
For optimal visual appeal, position the first and last balusters approximately half your chosen spacing from the newel posts. This creates balanced symmetry that draws the eye smoothly along the railing rather than creating awkward gaps at the ends.
Drill Professional-Quality Mounting Holes
Precision drilling creates secure foundations for your balusters. Select a hole saw matching your baluster diameter—measure your specific balusters as sizes vary between manufacturers. For wooden surfaces, use a standard hole saw with your power drill, applying steady pressure while keeping the drill perpendicular to the surface.
Drill holes 1 to 1½ inches deep at each marked position, periodically clearing sawdust to maintain accuracy. When working with concrete or masonry, switch to a hammer drill with appropriately sized masonry bits. Insert concrete anchors after drilling, tapping them flush with the surface before mounting brackets.
For metal stringers, use step drill bits designed for steel to prevent tearing, and always deburr hole edges with a file to ensure smooth baluster insertion and prevent injury during handling. Properly sized holes provide optimal grip while preventing excessive stress on the mounting surface.
Cut Balusters to Exact Staircase Dimensions
Wrought iron balusters typically arrive longer than needed, requiring precise cutting for perfect fit. Measure the vertical distance from bottom mounting point to handrail underside at multiple locations, as staircases often have height variations due to settling or construction tolerances.
Subtract ½ inch from your measurement to account for the portion that will sit inside the top mounting bracket. Secure each baluster firmly in a vise padded with cloth to protect the finish, then cut using a reciprocating saw with metal-cutting blade or an angle grinder with cutting disc.
Maintain a perpendicular cutting angle and steady pressure to avoid bending or distorting the metal. After cutting, thoroughly deburr edges with a metal file to eliminate sharp points that could cause injury during installation or future use. Always test-fit each baluster before final installation to catch measurement errors early.
Secure Balusters with Proper Alignment
Begin installation by inserting the top of each baluster into its handrail mounting point, allowing it to extend downward toward the bottom bracket. Check vertical alignment using a level held against multiple sides of the baluster, making micro-adjustments within the bracket’s tolerance range.
Tighten mounting hardware starting with the top connection, then the bottom, being careful not to over-tighten which can strip threads or crack mounting surfaces. Some installers prefer working from bottom to top when installing alone, securing the bottom first before raising the baluster into the top bracket.
Check each baluster for plumb alignment after installation, as correcting misaligned pieces becomes exponentially harder once surrounding balusters are in place. Apply gentle pressure to ensure each unit seats fully in its mounting hardware before final tightening.
Verify Safety and Code Compliance
Before considering your project complete, rigorous testing ensures safety and code adherence. Building codes typically require balusters to support 50 pounds of force without visible movement. Test each baluster by pushing firmly against its midpoint, checking for any shifting, creaking, or loosening.
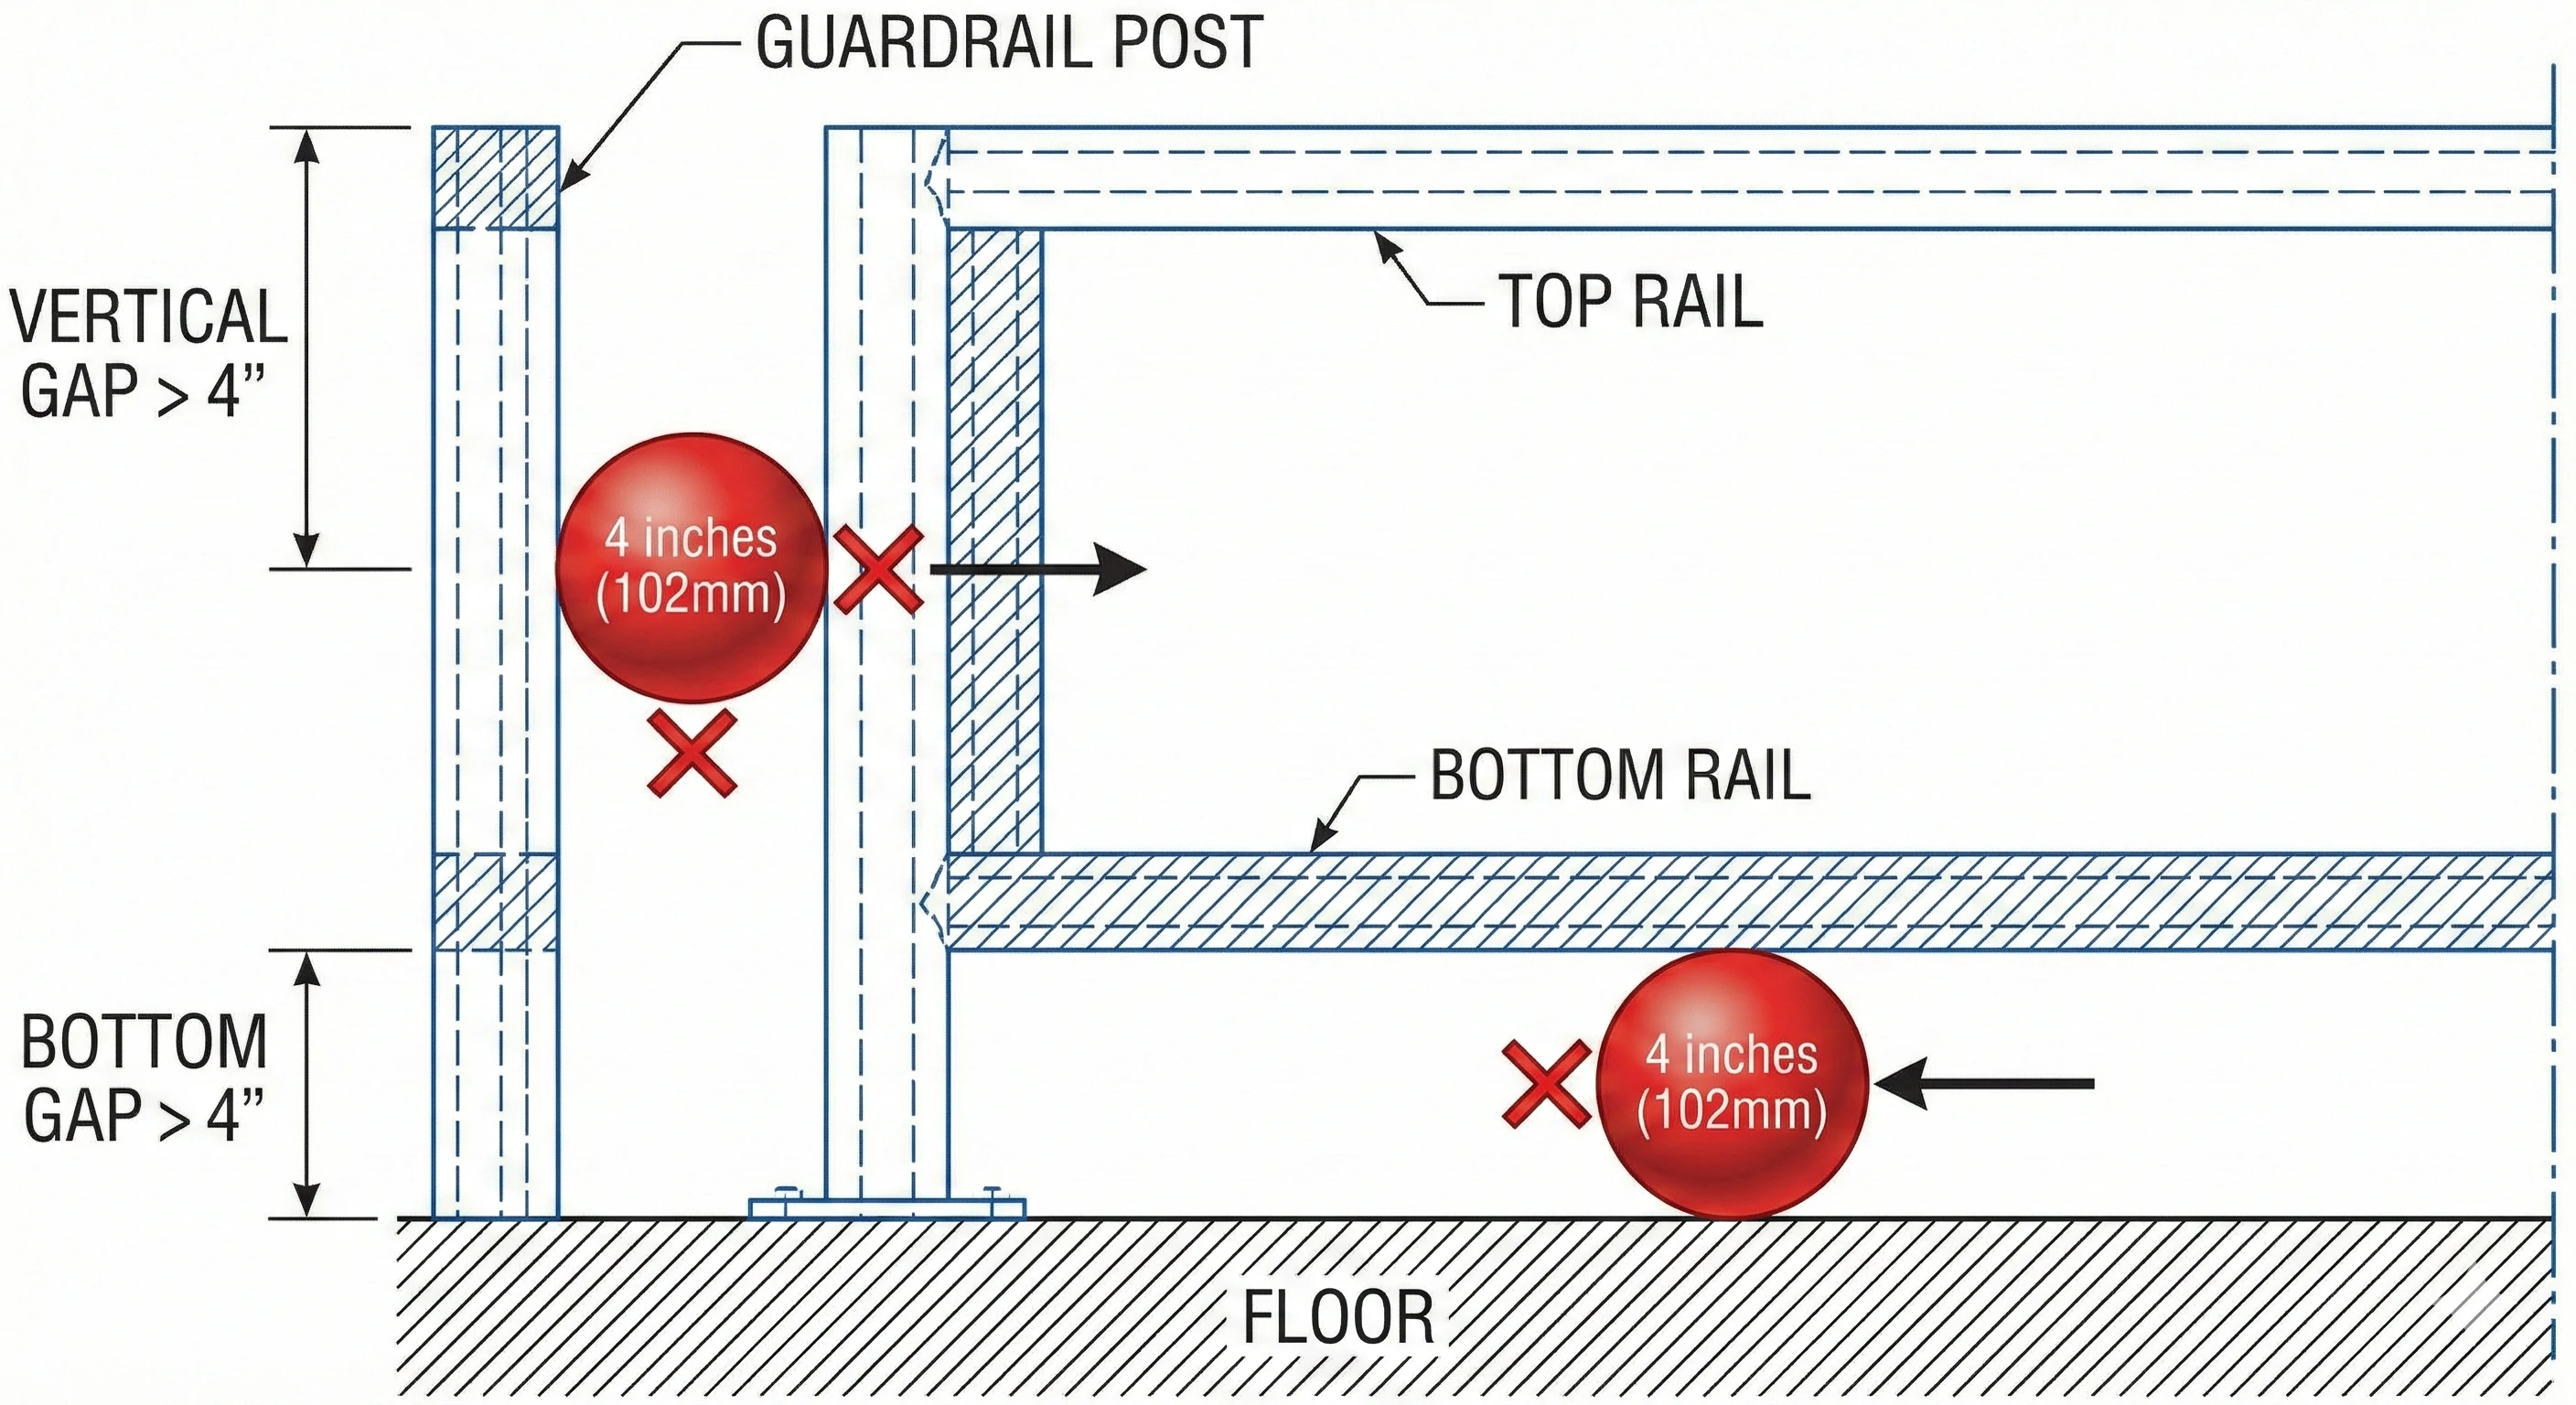
Verify spacing compliance using a 4-inch sphere—this should not pass through any opening between balusters, between balusters and the handrail, or between balusters and the stair tread. Measure handrail height from stair nosing to ensure it falls within the 34-38 inch range required by most residential codes.
Address any deficiencies immediately, as code violations create safety hazards and potential liability issues. Document your compliance checks, as this information may prove valuable during future home inspections or sales.
Apply Professional Finishing Touches
Conceal mounting hardware for a clean, finished appearance. Fill visible screw heads in wooden surfaces with matching wood filler, sanding smooth after drying. For unfinished wrought iron, apply metal primer followed by two thin coats of quality metal paint rather than one heavy coat.
Inspect the entire installation from multiple angles, checking for consistent alignment and spacing. Sight along the handrail from the bottom of the staircase to identify any balusters protruding beyond or receding from the line. Clean fingerprints and construction debris with appropriate cleaners for your specific finish.
These final details transform functional installation into polished craftsmanship that enhances your home’s aesthetic value while ensuring long-term durability.
Properly installed wrought iron balusters combine timeless elegance with structural integrity, creating a staircase feature that serves both form and function. By following these precise installation steps—careful planning, accurate measurement, methodical execution, and thorough finishing—you achieve results that appear professionally crafted while meeting all safety requirements. The attention to detail you invest in this project pays lasting dividends each time you ascend or descend your beautifully transformed staircase. With regular maintenance, your wrought iron balustrade will maintain its sophisticated appearance and structural reliability for decades of dependable service.


