
Your soldering projects keep getting interrupted because you’re tired of expensive replacement tips and want complete control over your tools. You’ve searched “how to make a soldering iron” hoping for a cost-effective solution to customize your ideal tool. While the idea of building your own soldering iron seems appealing for saving money or creating a perfectly tailored tool, the reality involves significant safety risks and technical challenges that most hobbyists aren’t equipped to handle safely. This article explains exactly why constructing your own soldering iron from scratch is generally unsafe, what dangers you might face, and provides practical alternatives that deliver professional results without risking electrical hazards in your workspace.
Commercial soldering irons undergo rigorous safety testing and engineering to prevent electrical shocks, fires, and component failures—features nearly impossible to replicate safely in a home workshop. Understanding these risks could prevent a serious accident in your electronics workspace. Instead of risking dangerous DIY electrical projects, you’ll learn how to select the right professional equipment for your needs, properly maintain it for longevity, and modify existing tools safely within manufacturer specifications.
Critical Safety Hazards of Homemade Soldering Irons
Electrical Shock Risks with Improper Insulation
Creating a functional heating element requires working with mains voltage (120V/240V) that can deliver lethal electrical shocks if not properly insulated. Most DIY attempts fail to achieve the necessary insulation between the heating element and the metal barrel that you hold during use. Without professional-grade ceramic insulation materials and precise manufacturing techniques, the risk of current traveling through the barrel to your hand remains extremely high—potentially causing severe injury or death. Commercial soldering irons use specialized fiberglass-wrapped heating elements and multiple insulation barriers that are virtually impossible to replicate safely outside a factory environment.
Fire Hazards from Inadequate Thermal Management
Homemade soldering irons frequently lack proper thermal cutoff mechanisms that prevent dangerous overheating. Without precise temperature control circuitry, your DIY unit could reach temperatures exceeding 800°F—hot enough to ignite nearby materials or cause the soldering tip itself to fail catastrophically. Many DIY designs use simple resistive wire without proper heat sinking, creating hotspots that can melt insulation, ignite workshop materials, or cause solder to vaporize dangerously. Commercial units incorporate thermal fuses and precise temperature sensors that automatically cut power when dangerous temperatures are detected—safety features that require specialized components most hobbyists don’t have access to.
Toxic Fumes from Improper Materials
Using incorrect materials in your heating element can release toxic fumes when heated to soldering temperatures. Certain metals and insulation materials emit hazardous vapors that can cause serious respiratory problems with repeated exposure. Commercial soldering irons use carefully selected alloys and high-temperature materials specifically engineered to remain stable and non-toxic at operating temperatures. Without access to material safety data sheets and proper testing equipment, you have no reliable way to verify whether your DIY construction emits dangerous compounds during use.
Why Commercial Soldering Irons Outperform DIY Attempts
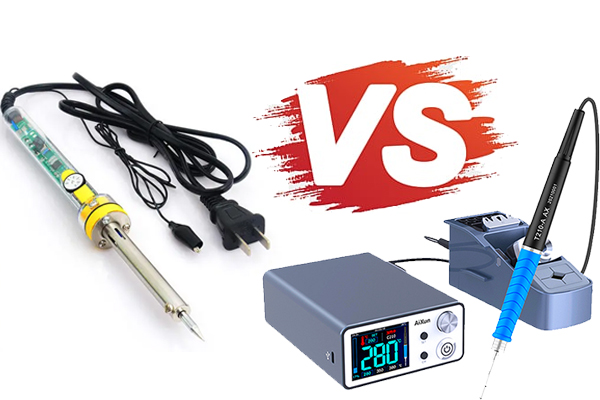
Precision Temperature Control Technology
Professional soldering stations feature advanced temperature control systems that maintain consistent heat within ±2°F of your selected setting—critical for delicate electronics work. This precision comes from specialized thermocouple sensors embedded directly in the tip and sophisticated PID (Proportional-Integral-Derivative) control circuitry that continuously adjusts power delivery. Most DIY attempts use simple on/off switches or basic rheostats that cause dangerous temperature swings, potentially damaging sensitive components or creating cold solder joints that fail prematurely.
Interchangeable Tip Systems with Proper Specifications
Quality soldering stations offer dozens of specialized tip shapes engineered for specific tasks, all manufactured to exact thermal conductivity specifications. Each tip undergoes precise machining and plating processes to ensure optimal heat transfer and longevity. Homemade tips typically use improvised materials like nails or scrap metal that lack proper thermal properties, causing inconsistent heating, rapid oxidation, and poor solder flow. The specialized iron-plated copper construction of commercial tips represents years of materials engineering that can’t be replicated with basic workshop tools.
Safety Certifications You Can’t DIY
Reputable soldering irons carry safety certifications like UL, CE, or ETL that verify they’ve passed rigorous electrical safety testing. These certifications require expensive laboratory testing for insulation integrity, temperature stability, and electrical isolation that no home workshop can replicate. Without these certifications, you have no assurance that your DIY tool meets basic electrical safety standards—putting you at significant risk every time you plug it in.
Smart Alternatives to Building Your Own Soldering Iron
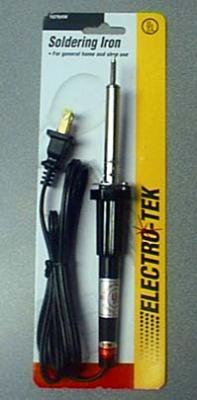
Budget-Friendly Starter Kits Under $50
Rather than risking dangerous DIY construction, consider entry-level soldering stations that deliver professional results at accessible prices. The Weller WE1010 ($45) offers adjustable temperature control, a comfortable ergonomic handle, and standard tips that last significantly longer than improvised alternatives. These kits include all necessary safety features engineered by professionals and often come with lifetime warranties that cover internal component failures—protection impossible with homemade tools.
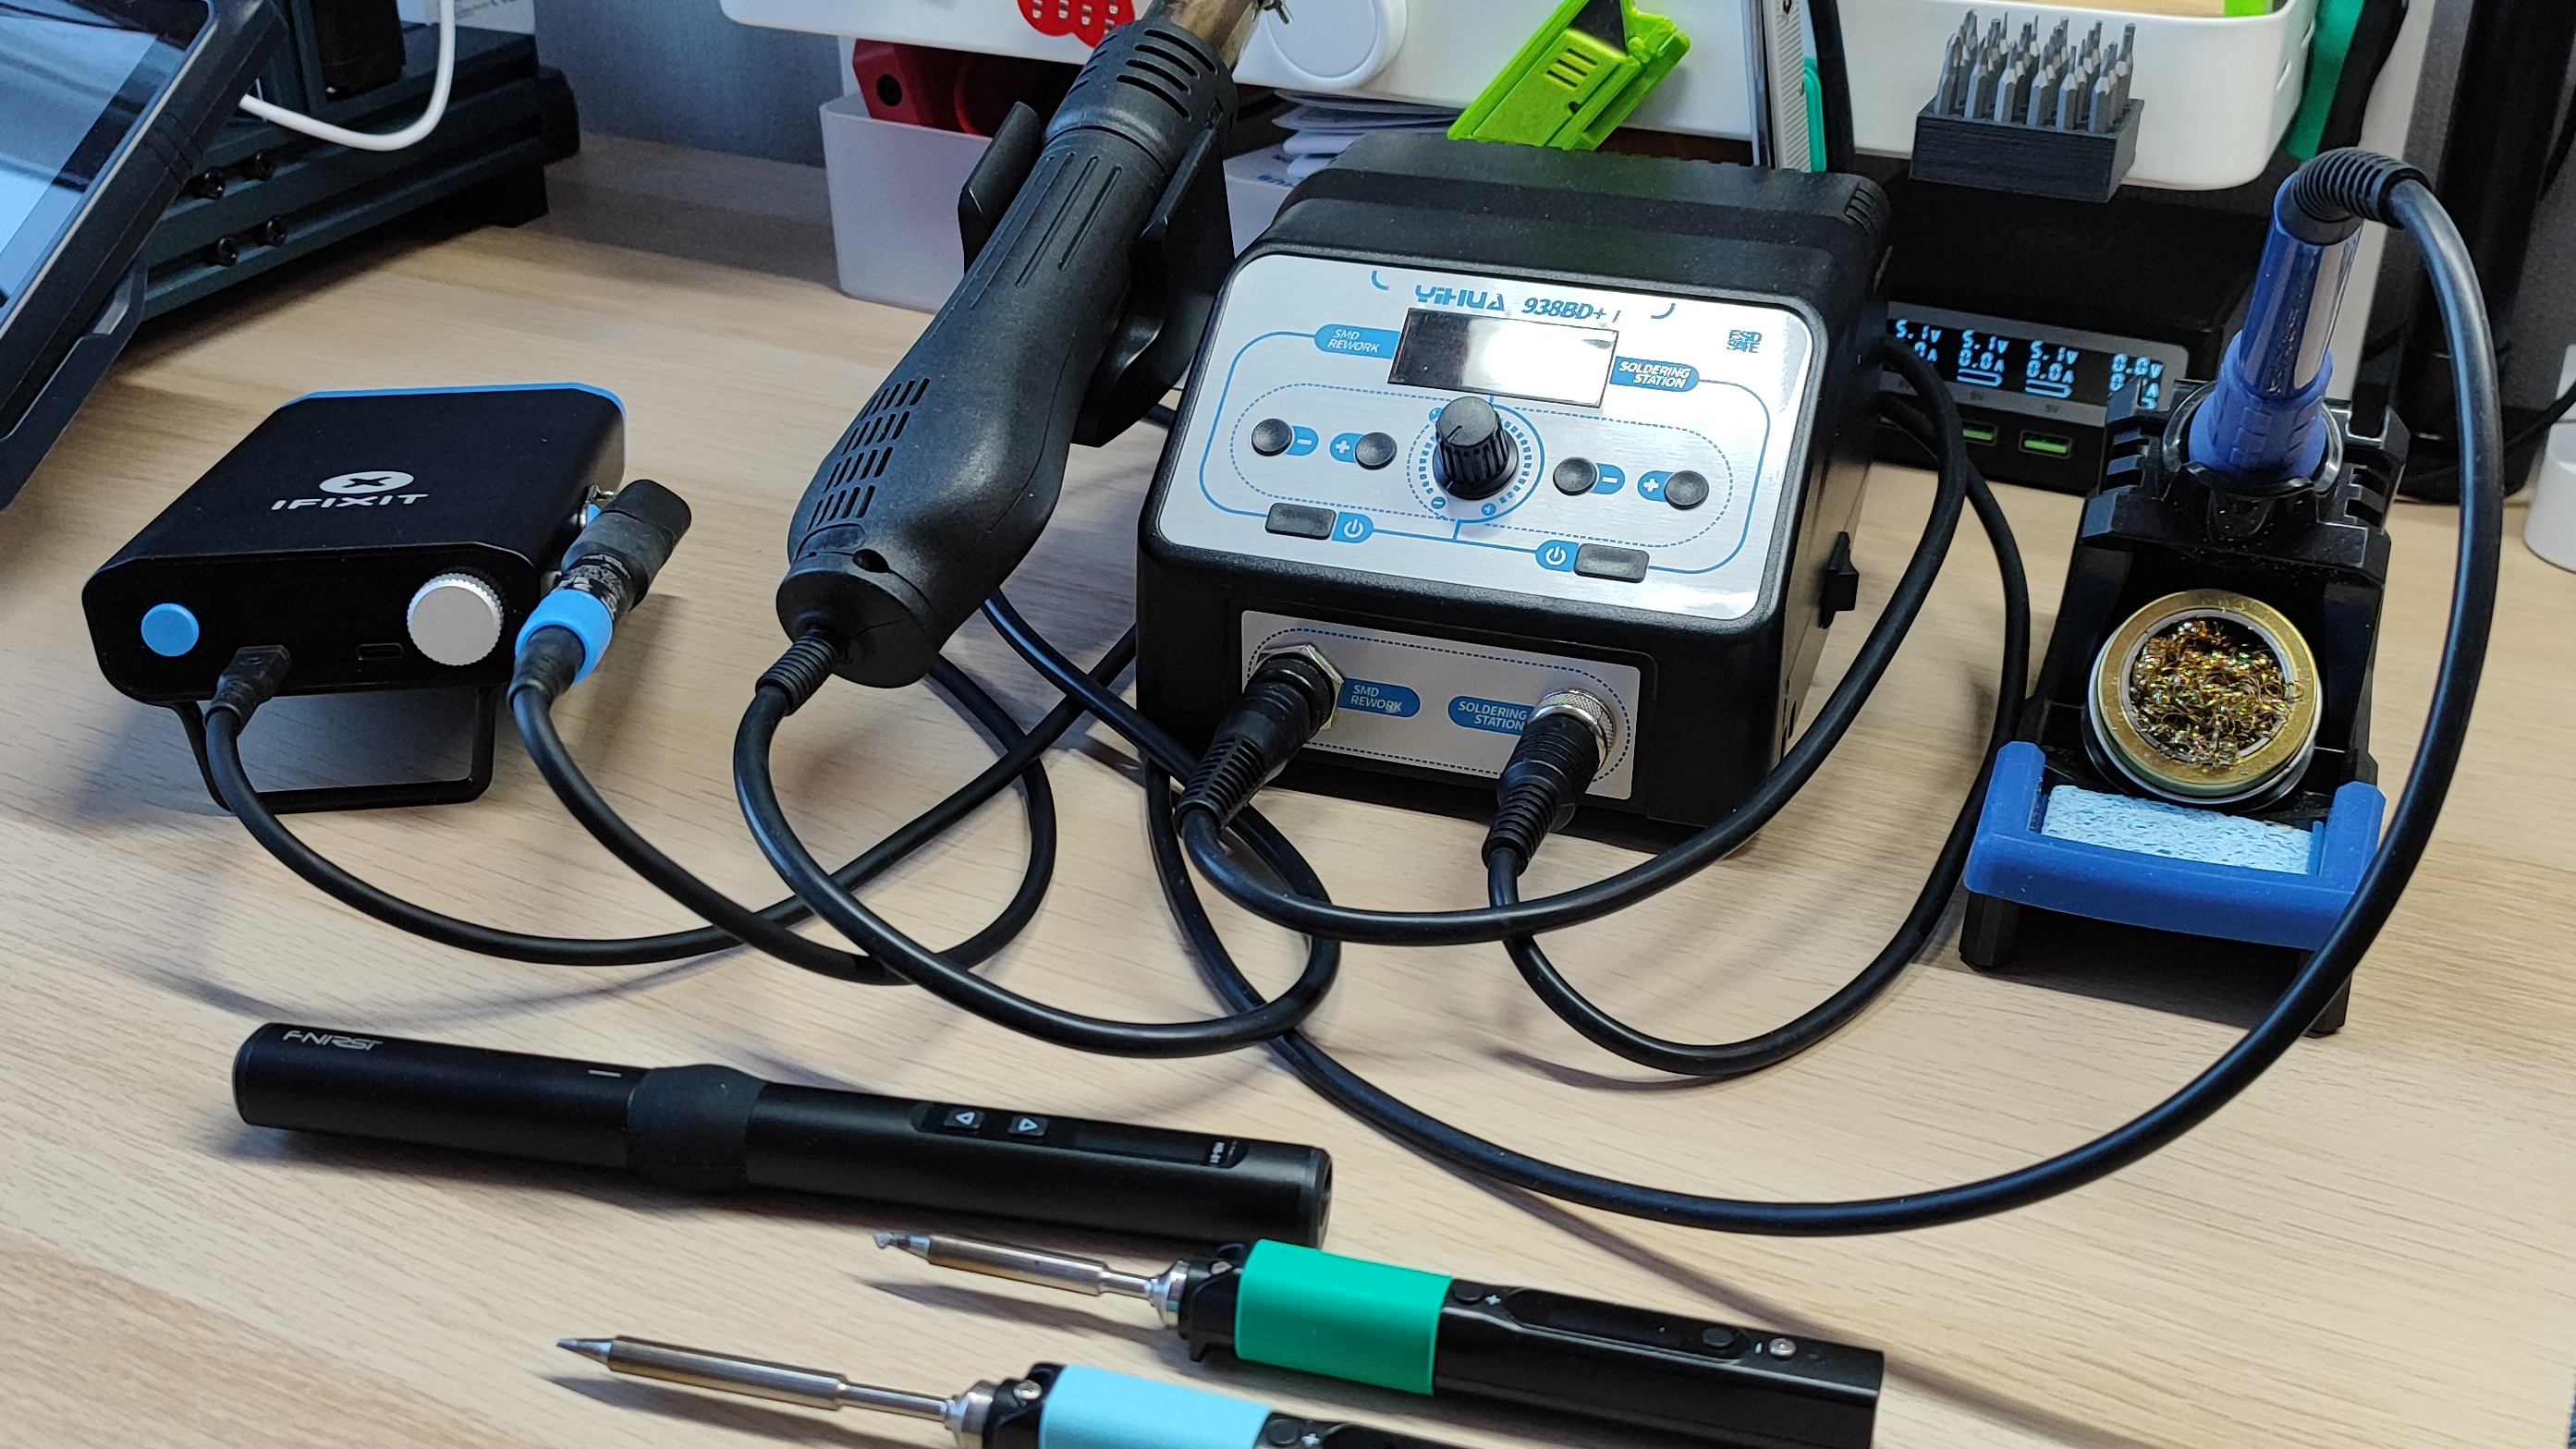
Modifying Existing Tools Within Safe Parameters
Instead of building from scratch, safely customize commercial soldering irons through approved modifications. Many stations like the Hakko FX888D allow you to replace standard tips with specialized shapes for specific tasks, effectively creating a custom tool without compromising safety. You can also add secondary features like upgraded stands with sponges or magnifying lamps to enhance your workstation—modifications that improve functionality without altering the electrical components.
Repairing Rather Than Rebuilding
When your commercial soldering iron fails, professional repair often costs less than attempting dangerous DIY construction. Most common issues involve replaceable components like tips, heating elements, or cords that manufacturers sell as service parts. For example, a new heating element for a standard Weller pencil typically costs $15-25 and takes minutes to install with basic tools—far safer and more reliable than constructing an entire unit from scratch.
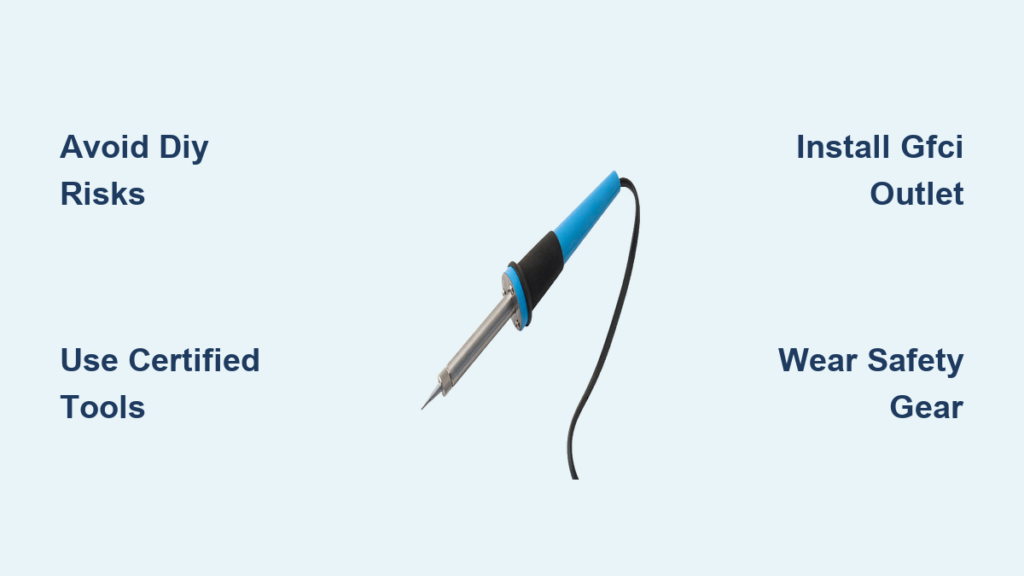
Essential Safety Practices for Soldering Workshops
Required Protective Equipment for Any Soldering Work
Regardless of whether you use commercial or improvised tools, always wear safety glasses to protect against solder splatter and use a fume extractor to remove harmful vapors. A quality 60-watt fume extractor with activated carbon filter (around $35) significantly reduces exposure to potentially hazardous solder fumes—critical protection that most DIY soldering iron builders overlook entirely.
Proper Electrical Safety in Your Workshop
Use a GFCI (Ground Fault Circuit Interrupter) outlet for all soldering equipment to prevent electrical shocks. These specialized outlets cut power within milliseconds if current leakage is detected—potentially lifesaving protection especially important when working with moisture from cleaning sponges. Never use extension cords with soldering equipment, as voltage drops can cause improper heating and damage your tools.
When Professional Tools Become Worth the Investment
Long-Term Cost Analysis: DIY vs. Quality Equipment
While a homemade soldering iron might cost $20 in materials, a reliable Weller WE51 ($95) pays for itself within months through reduced component damage, faster work times, and eliminating the risk of workshop fires. Calculate your time at even $10/hour—reworking cold solder joints from an inconsistent DIY iron quickly exceeds the cost of professional equipment. Most quality soldering stations last 5-10 years with proper maintenance, making the daily cost less than a cup of coffee.
Features That Actually Improve Your Soldering Results
Invest in tools with real performance benefits: digital temperature displays, quick-swap tip systems, and ergonomic handles that reduce hand fatigue during extended sessions. These features directly translate to better solder joints, faster work, and fewer mistakes—unlike DIY attempts that typically deliver inconsistent heat and poor ergonomics that actually worsen your results.
Final Recommendations for Safe Soldering Practices
Instead of risking dangerous DIY electrical projects, invest in properly engineered tools that prioritize your safety while delivering professional results. Start with an entry-level temperature-controlled station that includes essential safety features, then expand your setup with quality accessories as your skills develop. Remember that no cost savings justify risking electrical injury or fire in your workspace—professional soldering equipment represents decades of safety engineering that simply can’t be replicated at home. When you encounter soldering issues, seek solutions through proper technique, quality consumables, and well-maintained commercial tools rather than venturing into potentially dangerous DIY territory. Your future self will thank you when you’re still safely completing electronics projects years from now with reliable, certified equipment.


