
Your wrought iron fence arrives at your property, but you’re staring at those heavy metal panels wondering where to begin. Installing a wrought iron fence seems intimidating, but with the right approach, you can transform your property’s perimeter in just a few days. Properly installed wrought iron fencing adds security, increases property value by up to 15%, and creates that classic elegant look that lasts decades. This guide cuts through the confusion and gives you the exact steps to install your wrought iron fence correctly the first time—no prior experience required.
Most homeowners waste time and money making avoidable mistakes during installation, from improper post setting to misaligned panels. You’ll learn how to avoid these pitfalls while ensuring your fence stands strong against weather and time. By the end of this guide, you’ll know exactly how to prepare your site, set posts correctly, mount panels securely, and finish your wrought iron fence installation like a professional.
Planning Your Wrought Iron Fence Layout Accurately
Before digging a single hole, proper planning prevents costly mistakes that could compromise your fence’s stability and appearance. Measure your property lines precisely using a 100-foot tape measure and metal stakes to mark corner points—don’t rely solely on property surveys as boundaries sometimes shift over time. Check local building codes for height restrictions, setback requirements, and permit needs, as many municipalities require permits for fences over 6 feet tall.
How to Calculate Exact Materials for Your Project
Determine the total linear footage of your fence line by measuring between each corner stake, then add 10% for waste and adjustments. For a standard 6-foot tall wrought iron fence, you’ll need one support post for every 6-8 feet of fence line. Calculate panel quantities by dividing your total footage by the width of your specific panels (typically 4-6 feet). Don’t forget to order gate hardware separately—standard single gates require two hinge posts and one latch post.
Avoiding Property Line Disputes During Installation
Contact your local utility company to mark underground lines before digging—most offer this service free through “Call Before You Dig” programs. Document your property lines with photos and measurements before starting, especially if you share boundaries with neighbors. Consider having a professional survey done if property lines are unclear, as fence placement disputes can lead to costly legal issues down the road.
Essential Tools and Materials Checklist for Installation
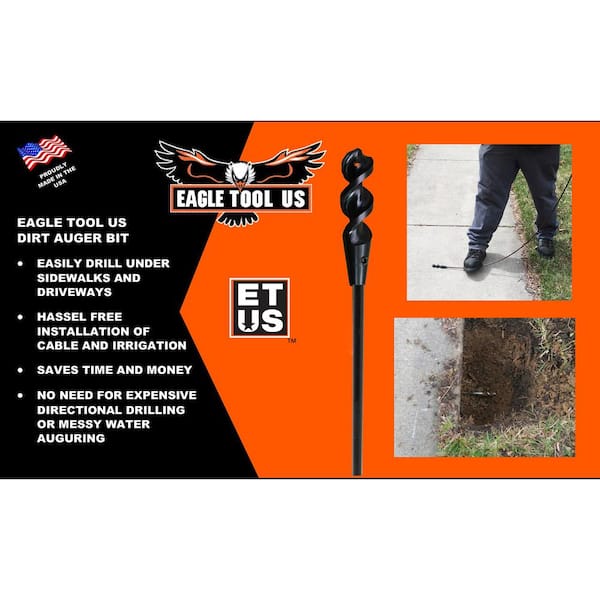
Gather these specific tools before starting to avoid frustrating mid-project delays. For post installation, you’ll need a heavy-duty auger (9-12 inch diameter for standard posts), post level, wheelbarrow, and concrete mixer. Panel installation requires a 1/2-inch impact wrench, 18-inch pipe wrench, and 1/4-inch drive ratchet set. Safety gear must include steel-toed boots, leather work gloves, and safety glasses—wrought iron edges can be extremely sharp during handling.
Critical Hardware Specifications You Can’t Skip
Use only galvanized or stainless steel hardware designed specifically for wrought iron fences—regular hardware will corrode quickly. For 4×4 posts, select 1/2-inch diameter carriage bolts with matching nuts and washers. Gate hinges require heavy-duty 10-12 inch strap hinges with 3/8-inch bolts. Panel brackets should be L-shaped with pre-drilled holes matching your panel spacing. Never use wood fence hardware as it won’t support wrought iron’s weight.
Setting Wrought Iron Fence Posts for Maximum Stability

Proper post installation is the foundation of your entire fence—cut corners here and your fence will lean, wobble, or fail prematurely. Dig holes 1/3 the height of your above-ground post plus 6 inches for gravel base—typically 28-36 inches deep for a 6-foot fence. The hole diameter should be 3 times the post width (12 inches for standard 4×4 posts). Add 4 inches of compacted gravel at the bottom for drainage, which prevents frost heave in colder climates.
Mixing and Pouring Concrete Correctly
Use fast-setting concrete mix specifically formulated for fence posts—regular concrete takes too long to cure. Mix concrete to the consistency of thick oatmeal, not soupy liquid. Pour concrete in 6-inch layers, tamping each layer with a 2×4 to eliminate air pockets. Fill to 4 inches below grade to allow for final soil grading. Check post plumb in two directions every 10 minutes during the first hour as concrete sets.
Mounting Wrought Iron Fence Panels Without Gaps or Misalignment
Position your first panel at a corner or fixed point to establish your reference line—never start in the middle. Temporarily secure the panel to the post with zip ties while you check alignment. Use a 4-foot level along the top rail to ensure perfect horizontal positioning, adjusting with wooden shims as needed. Tighten panel brackets gradually in a crisscross pattern to prevent warping the metal during installation.
Fixing Common Panel Alignment Issues
If panels don’t line up perfectly, adjust the post position slightly before concrete fully cures—this is why you shouldn’t install multiple panels before concrete sets. For uneven terrain, use stepped installation where panels follow the grade rather than creating a terraced effect. When panels meet at corners, install corner posts first to create clean 90-degree angles—never try to bend panels to fit corners.
Installing Wrought Iron Gates That Operate Smoothly for Years

Gate posts require special attention as they bear constant movement and stress. Set gate posts in concrete with 50% more concrete volume than line posts, and brace them in both directions during curing. The hinge post should be perfectly vertical, while the latch post should lean slightly toward the gate (1/4 inch per foot of height) to ensure proper closing. Use a gate float kit to prevent sagging under the gate’s weight.
Adjusting Gate Hardware for Perfect Operation
After initial installation, check gate swing clearance—maintain at least 1/2 inch gap between gate and post. Adjust hinge tension by slightly loosening set screws and tapping the hinge pin up or down. Lubricate all moving parts with silicone-based lubricant, never oil which attracts dirt. Test gate operation through full range of motion before final hardware tightening.
Finishing Touches and Long-Term Maintenance Tips
Clean all metal surfaces with a wire brush to remove installation debris before applying protective coating. For painted fences, touch up all cut or drilled areas with matching enamel paint to prevent rust. Apply a clear rust inhibitor to all hardware connections. Backfill around posts with native soil, sloping away from posts to prevent water pooling.
Preventing Common Rust and Corrosion Problems
Inspect your wrought iron fence twice yearly for chips, scratches, or rust spots—address them immediately before they spread. Clean with mild soap and water annually, avoiding pressure washers which can force moisture into joints. Reapply protective coating every 3-5 years depending on climate exposure. In coastal areas, use marine-grade rust inhibitors for extra protection against salt air.
Final Note: Properly installed wrought iron fencing should last 20+ years with minimal maintenance. By following these precise installation steps, you’ve created a fence that enhances security, boosts curb appeal, and withstands the elements. Remember that the first year after installation is critical—address any minor adjustments early before problems compound. Keep your installation tools handy for the first few months as you make small tweaks to gate operation and panel alignment. For future reference, maintain a small container of matching paint and hardware for quick repairs. Your wrought iron fence isn’t just a boundary—it’s a long-term investment in your property’s value and security that will serve you well for decades when installed correctly.


