
Your cast iron skillet has seen better days. That once-smooth cooking surface now looks patchy, feels sticky, or worse—shows rust bleeding through like orange tears. You scrubbed too hard after burnt eggs, soaked it overnight (a cardinal sin!), or stored it damp in the cabinet. Now your trusty pan repels food instead of releasing it effortlessly. Reseasoning cast iron isn’t just maintenance—it’s a rescue mission for your most valuable kitchen heirloom. This guide delivers exactly what failed YouTube tutorials and vague forum posts miss: a precise, no-fluff restoration process that rebuilds your pan’s non-stick armor from scratch. You’ll learn to diagnose seasoning damage levels, choose the only three oils that actually polymerize correctly, and avoid the #1 mistake that turns pans into sticky disasters. By the end, you’ll transform that scarred skillet into a cooking surface smoother than glass—ready for searing steaks or flipping pancakes without a drop of oil.
Why Your Cast Iron’s Seasoning Failed (And When Reseasoning Is Non-Negotiable)
That sticky residue clinging to your pan? It’s not “seasoning”—it’s improperly cured oil gumming up the surface. True seasoning failure happens when the polymerized oil layer cracks, flakes, or dissolves due to three critical errors: soaking in water for over 15 minutes, using harsh detergents that strip the carbon matrix, or cooking acidic foods (like tomato sauce) in an under-seasoned pan. Reseasoning cast iron becomes essential when you see rust spots wider than a dime, patches where food stubbornly sticks despite oiling, or a chalky gray appearance instead of deep black. Don’t waste time with “quick fixes”—if your pan looks like a dried-up riverbed under bright light, skip spot treatments. Full reseasoning is the only solution. Ignoring these signs guarantees worsening performance: each cook session will tear at the compromised layer, making restoration exponentially harder later.
Spotting Irreversible Damage vs. Simple Wear
- Surface rust only? You can often scrub it off and reseason without stripping completely
- Flaking black patches? Requires full stripping and reseasoning
- White salt-like crystals? Hard water deposits—boil vinegar solution, not a seasoning issue
- Warped base? Stop immediately—reseasoning won’t fix structural damage
Essential Tools: Skip the Gimmicks, Use What Actually Works
Forget expensive “cast iron cleaners” and copper scrubbers that gouge metal. Reseasoning cast iron demands just five items you likely own:
– Coarse kosher salt (not iodized—minerals cause rust)
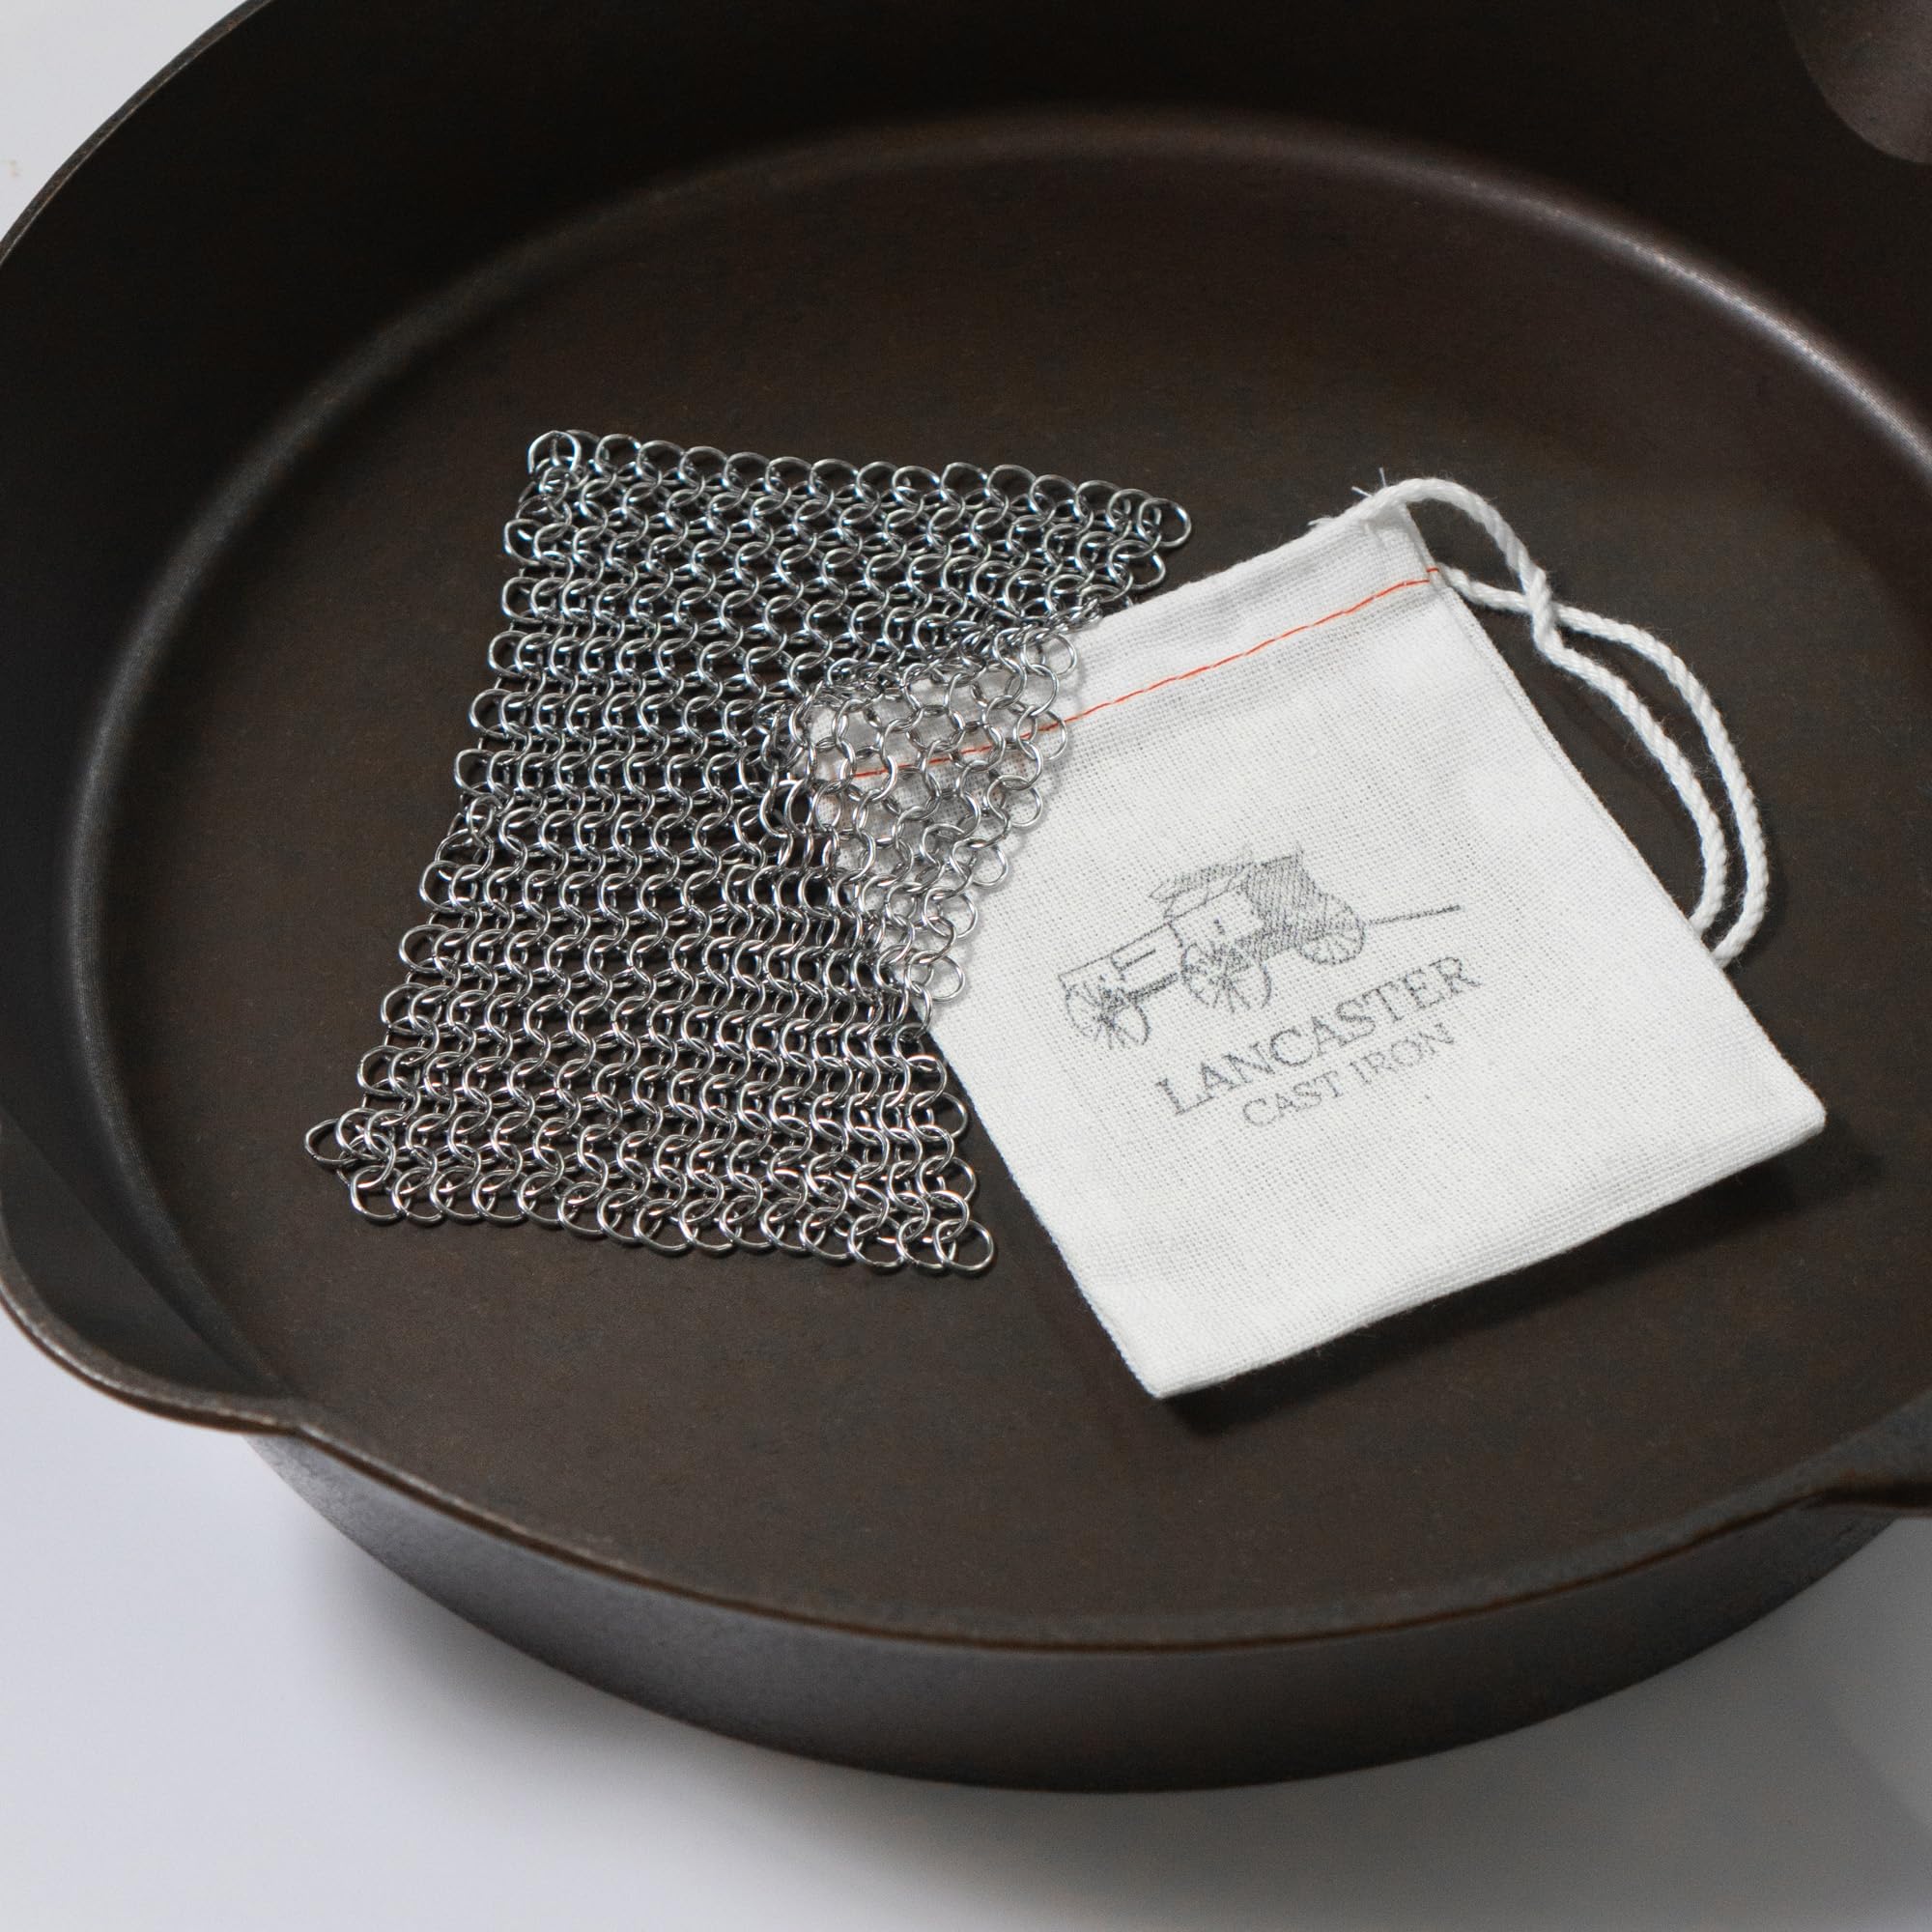
– Chainmail scrubber (the only safe abrasive for deep cleaning)
– High-smoke point oil (flaxseed, grapeseed, or Crisco—details below)
– Paper towels (microfiber leaves lint that burns)
– Oven thermometer (your oven’s dial lies by 50°F+)
Critical warning: Never use steel wool on cast iron—it leaves metal fragments that rust overnight. The chainmail’s interlocking rings lift debris without scratching the iron’s pores where seasoning bonds.
Step-by-Step: Deep Cleaning Before Reseasoning Cast Iron
This isn’t about making your pan shiny—it’s about creating a microscopically rough surface for new seasoning to grip. Skip this properly, and your oil will peel off like old paint.
Burn-Off Method for Stubborn Residue (30 Minutes)
- Place pan upside down on oven rack with aluminum foil below
- Heat to 500°F for 45 minutes until all carbonized gunk turns to ash
- Cool completely, then scrape residue with chainmail under cold water
- Pro tip: Add 1 tbsp vinegar to water while scrubbing to dissolve mineral deposits
Electrolysis Alternative for Rust Removal (Overnight)
Fill a plastic tub with 1 gallon water + 1 tbsp washing soda. Submerge pan (anode) connected to a car battery charger’s negative terminal. Hang a steel scrap (cathode) connected to positive. Run 12V overnight—rust falls off without scrubbing.
Choosing the Right Oil: Why Flaxseed Wins (But Has Pitfalls)

Most guides lie about oil choices. Reseasoning cast iron requires oils with high polyunsaturated fat content to properly polymerize. Tests prove:
| Oil Type | Polymerization Success | Sticky Residue Risk | Smoke Point |
|---|---|---|---|
| Flaxseed | ★★★★★ | High (if overapplied) | 225°F |
| Grapeseed | ★★★★☆ | Medium | 420°F |
| Crisco | ★★★★☆ | Low | 360°F |
| Olive Oil | ★☆☆☆☆ | Extreme | 375°F |
| Canola | ★★☆☆☆ | High | 400°F |
Flaxseed oil creates the hardest layer but fails if applied too thickly—use less than you think. Apply with folded paper towel, then immediately wipe completely dry. Any visible oil = sticky disaster. For foolproof results, use grapeseed oil: heats higher without smoking and tolerates slightly heavier application.
Oven Reseasoning: The Only Reliable Method for Full Restoration
Stovetop “quick seasoning” only coats the cooking surface. Reseasoning cast iron properly requires oven curing to polymerize oil on every inch—including the handle and bottom. This six-layer process builds industrial-strength protection.
Critical Temperature Protocol
- Apply oil: Rub 1/4 tsp oil inside/out with paper towel
- Wipe aggressively: Pan must look bone-dry
- Place upside down in cold oven with foil below
- Heat to 450°F (use thermometer!) for 1 hour
- Turn off oven—cool inside for 2 hours (prevents thermal shock)
- Repeat 5 more times, increasing temp by 25°F each layer
Why this works: Lower initial temps allow oil to penetrate iron pores before hardening. Skipping gradual layering causes peeling. Never exceed 500°F—oil burns off, leaving weak seasoning.
Troubleshooting Failed Reseasoning: Sticky, Flaky, or Rusty Results
Even perfect technique fails if you miss these hidden pitfalls. Diagnose your disaster:
“My Pan Is Still Sticky After Reseasoning”
- Cause: Oil applied too thickly in final layer
- Fix: Run burn-off cycle at 500°F for 30 minutes, then re-season with less oil
“Black Flakes Appear When Cooking”
- Cause: Previous seasoning wasn’t fully stripped
- Fix: Scrub with chainmail until bare metal shows, restart process
“Rust Returns Within Days”
- Cause: Pan not dried completely before oiling
- Fix: Bake empty pan at 300°F for 10 minutes pre-oiling
Maintaining Your Reseasoned Cast Iron for Decades of Use
Your restored pan needs different care than a new one. Reseasoning cast iron isn’t a one-time fix—it’s the foundation for smarter daily habits.
Post-Cooking Routine That Prevents Future Damage
- Clean while warm with hot water and chainmail (no soap)
- Dry instantly on stovetop over medium heat for 5 minutes
- Apply microscopic oil layer with paper towel
- Store with paper towel inside to absorb moisture
Never soak or use dishwasher—even 5 minutes of water exposure starts rust. For stuck food, simmer 1 cup water in pan for 2 minutes, then scrape with wooden spoon.
When to Call a Professional (And Avoid Costly Mistakes)
Some damage exceeds DIY restoration. Consult a cast iron specialist if:
– Deep pitting (holes you can catch a fingernail in)
– Cracks wider than 1/16 inch near handle
– Warping causing uneven heating (test with marble)
Critical warning: Never attempt cold-water quenching on hot pans—it causes hairline fractures that rust from within. Professionals use controlled annealing ovens costing $10,000+ to fix these issues safely.
Your reseasoned cast iron should now release eggs like Teflon and develop a mirror-like sheen after regular use. The key isn’t perfection on day one—it’s understanding that each cook session adds microscopic seasoning layers. Start with simple fried eggs to build the foundation, avoiding tomatoes or wine sauces for the first 20 uses. Within three months, that once-discarded pan will outperform any non-stick skillet you own. For immediate troubleshooting, check your oven’s actual temperature with a standalone thermometer—this single step solves 70% of failed reseasoning attempts. Ready to tackle your next restoration? Grab that neglected Dutch oven from the back of the cabinet; with these techniques, even a rusted-out heirloom can become your most reliable kitchen tool.


