
Nothing beats the satisfying crunch of perfectly toasted bread giving way to melted cheese and warm fillings in a pressed sandwich. Your sandwich iron can transform basic ingredients into restaurant-quality meals in under 10 minutes, but many home cooks only scratch the surface of its potential. Whether you’re working with a George Foreman grill, dedicated panini press, or compact countertop model, these versatile appliances deliver consistent results when used correctly. This guide reveals the best sandwich iron recipes that maximize flavor, texture, and convenience—helping you create crispy exteriors and perfectly melted interiors with minimal effort and maximum satisfaction.
Mastering Your Sandwich Iron’s Capabilities

Before diving into recipes, understanding your appliance’s mechanics ensures consistent results. Sandwich irons work by applying direct heat and gentle pressure from both top and bottom plates, creating that signature golden-brown crust while simultaneously melting fillings from the inside out. This dual-action cooking method differs significantly from traditional pan-frying, as the enclosed environment traps steam that helps ingredients meld together.
Why Preheating Makes or Breaks Your Sandwich
Skipping the preheating step is the most common mistake that leads to soggy sandwiches and uneven cooking. Allowing 3-5 minutes for your sandwich iron to reach optimal temperature creates an immediate sear that seals in flavors and prevents ingredients from leaking out. Test readiness by sprinkling a few water droplets on the plates—they should sizzle and evaporate instantly. This brief waiting period pays off with dramatically improved texture and browning.
Selecting the Right Bread for Pressed Perfection
Bread choice directly impacts your final result more than most home cooks realize. Sturdy options like ciabatta, sourdough, and thick-cut artisan loaves withstand heat and pressure without becoming compressed into cardboard-like discs. Soft sandwich bread works for delicate fillings but requires lighter pressure. Buttering the exterior before pressing promotes even browning and adds richness, while olive oil creates better results for Mediterranean-inspired sandwiches.
Breakfast Sandwich Iron Recipes That Save Morning Chaos
Mornings become manageable when you can create restaurant-quality breakfast sandwiches faster than drive-thru service. The key lies in balancing texture and timing—ensuring egg sets properly while bread achieves golden perfection.
Bacon, Egg, and Cheese Mastery
Skip the scramble and cook bacon separately until nearly crisp before transferring to your preheated sandwich iron. Crack an egg directly onto the bottom plate, immediately top with bread to contain the yolk, then add bacon and cheddar cheese. Close the lid and cook for 3-4 minutes for a perfectly runny yolk with fully set whites. The sandwich iron’s pressure fuses these elements into a cohesive unit that won’t fall apart with each bite.
Sausage and Pepper Jack Powerhouse
Form breakfast sausage patties slightly smaller than your bread slices and partially cook them on the stovetop. Transfer to the sandwich iron with a slice of pepper jack cheese and a thin layer of refried beans for unexpected moisture retention. The residual heat finishes cooking the sausage while melting the cheese throughout, creating a Tex-Mex inspired breakfast that stays remarkably intact.
Lunchtime Classics Elevated with Your Sandwich Iron
The term “panini” technically refers to any pressed sandwich, but authentic versions emphasize specific bread types and ingredient combinations that distinguish them from ordinary grilled cheese. These recipes transform lunchtime with minimal effort.
Caprese Panini with Balsamic Glaze
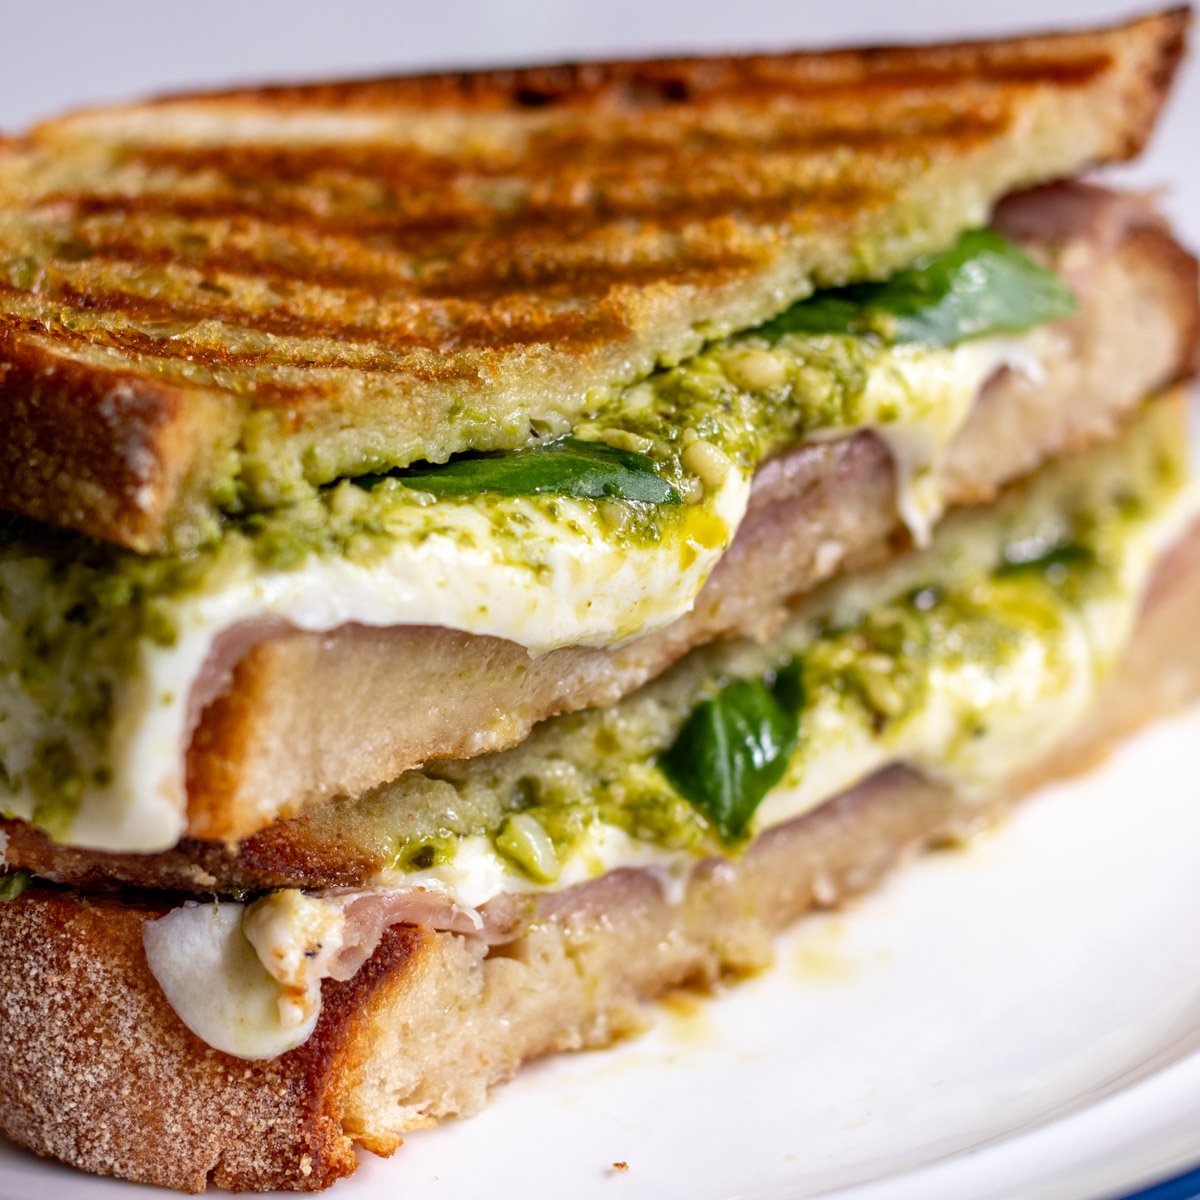
Layer fresh mozzarella slices, ripe tomato slices, and basil leaves between ciabatta bread, drizzling lightly with balsamic glaze before pressing. The heat softens the mozzarella into creamy pools between tomato slices while releasing basil’s aromatic oils. Two to three minutes on medium-high heat produces beautiful grill marks and balances the balsamic’s sweetness with slight bitterness from the toasted crust.
Reuben Sandwich Iron Transformation
Corned beef, Swiss cheese, sauerkraut, and Russian dressing pressed between rye bread delivers the traditional flavor profile in half the time of stovetop preparation. The sandwich iron’s pressure distributes tangy sauerkraut juices throughout, ensuring every bite carries that distinctive Reuben character without messy assembly. Press for 4-5 minutes until the rye develops deep golden grill marks and the cheese melts completely.
Creative Combinations That Surprise Your Taste Buds
Beyond traditional recipes, sandwich irons shine when used for inventive pairings that deliver unexpected deliciousness. These creative approaches transform your appliance into a tool for culinary experimentation.
Apple Pie Pressed Sandwich Secret
Thinly sliced apples tossed with cinnamon, sugar, and lemon juice cook directly on the sandwich iron until slightly softened, then sandwiched between buttered bread with sharp cheddar. The heat transforms apples into warm, spiced filling while the cheddar adds salty-sweet contrast that defines traditional apple pie. Press for 3-4 minutes until the bread achieves deep golden color and cheese melts into the apple mixture.
Cinnamon Roll Dessert Sandwich Hack
Spread cream cheese frosting between halves of a baked cinnamon roll, then press briefly for 60-90 seconds. The result combines gooey, cinnamony goodness with a satisfying crunch from the toasted exterior—no oven required. This simple dessert sandwich satisfies sweet cravings faster than traditional baking while delivering that fresh-from-the-bakery experience.
Troubleshooting Common Sandwich Iron Problems
Even experienced users encounter issues that compromise results. Understanding these challenges and their solutions ensures consistent success with every use.
Why Your Sandwich Becomes Soggy (And How to Fix It)
Excess moisture from ingredients like tomatoes or pickles creates the most common sandwich iron failure. Salt sliced tomatoes and let them drain for 15 minutes before use, pat all vegetables dry with paper towels, and add cheese or spreads as moisture barriers. For wetter fillings, consider wrapping sandwiches in foil before pressing to protect the exterior while allowing steam to escape from the sides.
When Cheese Leaks Out During Pressing
Soft cheeses like brie leak when not properly contained between other ingredients. Place cheese between two slices of meat or vegetables to create structural barriers, or use harder melting cheeses like cheddar or provolone for more reliable results. If using soft cheeses, reduce pressing time to prevent complete liquefaction.
Essential Maintenance for Long-Lasting Performance
Proper care extends your sandwich iron’s lifespan and ensures consistent cooking results. Neglecting simple maintenance leads to accumulated grease that affects flavor and creates uneven heating.
Cleaning Without Damaging Non-Stick Surfaces
While still warm but not hot, wipe both plates with a damp cloth to remove crumbs and grease. For stubborn residue, use a soft silicone spatula to gently scrape without damaging non-stick coatings. Never use abrasive scrubbers or metal utensils that compromise the surface over time. Allow plates to cool completely before storing to prevent moisture buildup.
Proper Storage Techniques That Prevent Damage
Store your sandwich iron in a dry location with the lid closed to prevent dust accumulation. Avoid stacking heavy items on top, which can damage the hinge mechanism or warp plates over time. Utilize cord storage features if available to prevent tangling and protect the power cord from damage.
Next-Level Sandwich Iron Techniques for Restaurant Results

Mastering these advanced techniques transforms good sandwiches into exceptional ones that rival professional kitchens.
Temperature Control Secrets
Adjustable temperature settings allow customization for different ingredients. Use medium-high heat (375°F) for standard sandwiches requiring deep browning, medium heat (325°F) for delicate ingredients like fresh mozzarella, and low heat (275°F) for reheating pre-cooked items without additional browning. Knowing when to reduce heat prevents burnt exteriors with cold centers.
Timing Precision for Perfect Doneness
Most sandwiches require 3-5 minutes of pressing time, but visual cues matter more than the clock. Open the lid periodically to check progress—golden-brown color with defined grill marks indicates proper doneness. Over-pressing dries out bread and causes fillings to leak, while under-pressing leaves bread pale and fillings unmelted.
The real magic of sandwich iron cooking lies in its flexibility and speed. Having just five reliable recipes in your repertoire means you can produce impressive meals in under ten minutes—far faster than preheating an oven or waiting for stovetop pans. As you experiment with different combinations and refine your timing, you’ll discover that this simple kitchen gadget becomes your secret weapon for delicious, hassle-free meals that satisfy cravings without demanding hours of preparation. With these foolproof recipes and techniques, your sandwich iron transforms from a basic appliance into the centerpiece of your quick meal strategy.


