The shank is arguably the most dreaded shot in golf, and for good reason. One moment you’re cruising along nicely, striking the ball cleanly, and the next your clubface connects with the hosel instead of the sweet spot—sending the ball screaming wildly sideways at a terrifying speed. This embarrassing mishap, known as a shank, can happen to golfers of any skill level, from beginners struggling to make contact to low-handicap players who suddenly lose their swing. The good news is that shanking golf irons is almost always a mechanical issue with a mechanical solution. Understanding why your irons are shanking and knowing exactly how to fix the problem can restore your confidence on the course and eliminate this frustrating pattern from your game for good.
This comprehensive guide breaks down the root causes of shanking, provides step-by-step solutions you can implement immediately, and offers practice drills to prevent the problem from recurring. Whether you’re experiencing occasional shanks or find yourself hitting them with nearly every iron shot, the techniques outlined here will help you diagnose the issue and get back to pure, solid contact.
Why Your Irons Are Shanking
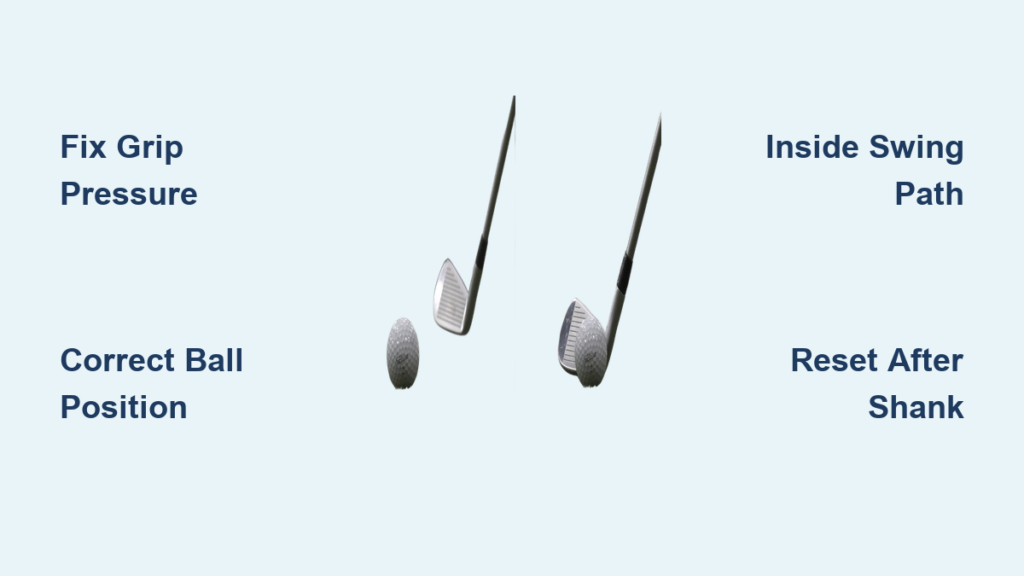
A shank occurs when the ball strikes the hosel—the junction where the clubhead meets the shaft—rather than the clubface. This typically happens because the clubhead arrives at the ball with an open face and the hosel leading the contact point. The physics are straightforward: when the hosel makes contact, the ball flies off at extreme angles, usually 45 degrees or more to the right (for right-handed golfers). Understanding that shanking golf irons is fundamentally a swing path and face angle issue—not a power or speed problem—helps you focus your correction efforts in the right areas.
The shank typically manifests in two ways that can help you diagnose the specific cause. The classic “hosel rocket” shoots sharply right with little forward distance, while a more subtle version might send the ball right with reasonable distance but poor accuracy. Both stem from similar swing path issues, but the dramatic rocket usually indicates a more severe path problem. Golfers often report that shanks seem to come in waves—one bad shot leads to anxiety, which creates more tension, which produces more shanks. Breaking this cycle requires both mechanical correction and mental management.
How Swing Path Causes Shanking
An over-the-top motion where the club drops outside the target line on the downswing creates the perfect conditions for a shank. When your swing path approaches the ball from too far outside, the hosel becomes the leading edge of the club rather than the face. This happens because your body moves ahead of the club during the downswing, causing your arms to extend away from your body. As you reach for the ball, the hosel makes contact first. You’ll notice this when your divot starts left of your target but the ball flies right—classic shank territory.
Why Shanks Happen Suddenly
Many golfers experience shanks seemingly out of nowhere, even after consistent solid contact. This sudden onset usually stems from a minor swing change that disrupts your timing. Perhaps you’ve been compensating for another issue like a slice, and that compensation has now gone too far. Or maybe you’ve unconsciously changed your grip pressure or ball position. The key is recognizing that the shank isn’t random—it’s your body’s response to an underlying mechanical issue that needs addressing.
Fix Your Grip to Eliminate Shanks
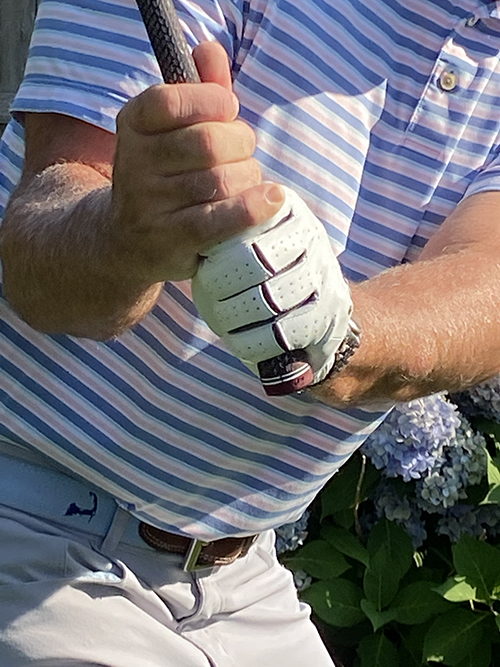
Proper Finger Grip Technique
Your grip is the foundation of every shot, and improper grip pressure or positioning consistently ranks among the top causes of shanking golf irons. Many golfers grip the club too tightly when they feel a shank coming, creating tension that restricts the natural release of the clubhead through impact. Start by ensuring you’re holding the club in your fingers rather than your palms. This position allows your wrists to work properly and promotes a square clubface at impact. Your grip pressure should be light enough that you could comfortably swing the club with someone holding the grip end—roughly a 4 or 5 on a scale of 1 to 10.
Correct Knuckle Positioning
Check that your lead hand (left hand for right-handed players) shows only one or two knuckles when looking down at your grip, and that your trail hand sits on top of the grip without wrapping excessively around. This neutral grip position prevents the clubface from opening too much during the downswing. Practice making slow swings while consciously maintaining this light, finger grip, noticing how the clubhead releases naturally through the impact zone. If you tend to shank with your short irons but not your long irons, grip issues are likely the culprit since shorter clubs require more precise grip control.
Correct Your Stance and Ball Position
Optimal Iron Stance Width
Widen your stance to approximately shoulder-width or slightly wider for iron shots, which provides a stable base and promotes proper weight transfer. A narrow stance causes instability that leads to inconsistent contact points. Many golfers unknowingly narrow their stance when nervous, which exacerbates shanking problems. Practice hitting shots with your feet touching a club laid on the ground parallel to your target line to develop muscle memory for the correct width.
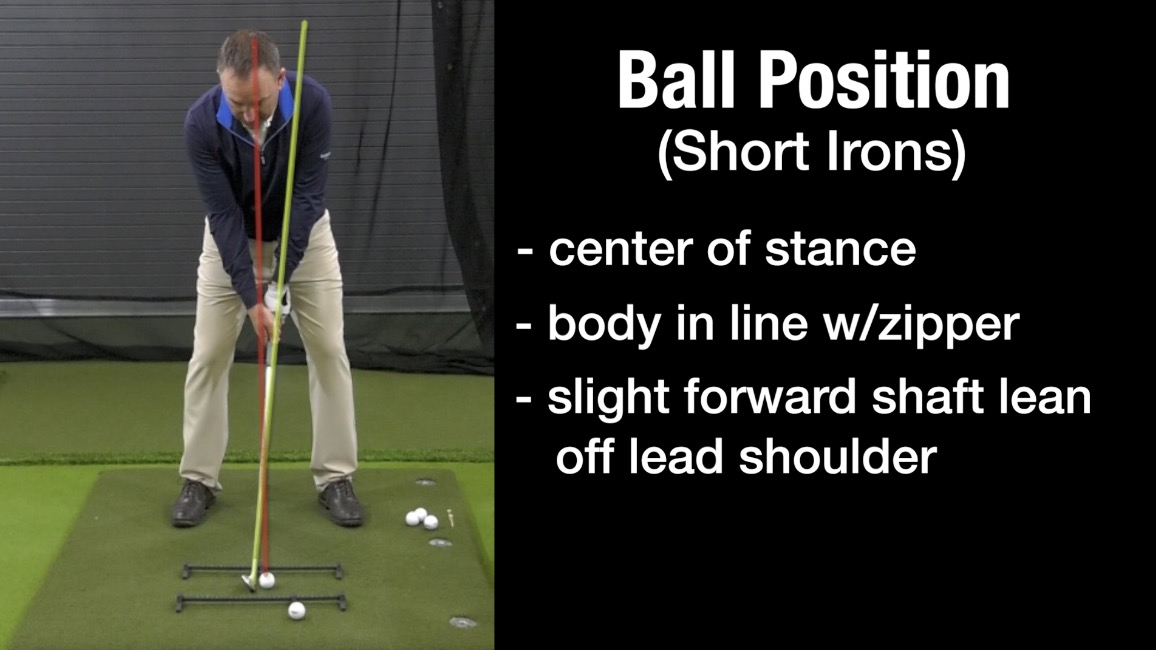
Perfect Ball Position for Irons
Position the ball so it aligns with the middle of your stance for most irons, or slightly forward of center for longer irons and wedges—this ensures you catch the ball with a descending blow rather than scooping or reaching. Standing too far from the ball forces you to reach with your arms, causing the hosel to lead. Check your address position by having someone view you from down the target line—you should see both eyes in front of the ball with your lead shoulder higher than your trail shoulder. These subtle positioning details make all the difference in preventing shanks.
Drill Your Way to Shank-Free Irons
The Towel Drill for Proper Arm Connection
Place a small towel under both armpits and hold it against your chest, then make swings without letting the towel fall. This promotes proper arm-to-body connection and prevents the reaching motion that causes shanks. You’ll immediately feel how your arms work with your body rotation rather than independently. Start with half-swings and gradually increase speed while maintaining the connection. This drill builds the correct sequence where your body leads the arms through impact.
Inside Path Alignment Stick Drill
Place an alignment stick just outside your ball (for right-handed players) about 3-4 inches away, pointing toward your target. Practice swings that don’t touch the stick—this forces an inside approach path and prevents the over-the-top motion that causes shanks. The visual feedback helps you feel the correct path. Start with short irons where shanks are most common, then progress to longer irons as you gain confidence. Do 10-15 repetitions before each iron shot during practice sessions.
Mental Strategies to Break the Shank Cycle
Reset Protocol After a Shank
When a shank happens, resist the urge to immediately “fix” your swing mid-round. Instead, take a practice swing with your eyes closed, reset your focus on a simple swing thought like “smooth tempo” or “weight to left side,” and commit to one swing at a time. Create a specific reset routine: step away from the ball, take three deep breaths, and restart your pre-shot sequence. This breaks the anxiety cycle that leads to multiple shanks in succession.
Target-Focused Visualization Technique
Before each shot, picture a perfect divot emerging from the target line of the ball, which reinforces the correct path. Some players find relief by focusing on a specific spot behind the ball rather than the ball itself, which promotes a committed swing through the impact zone. Visualize the clubface squarely striking the ball and continue your follow-through fully. This mental image overrides the fear of shanking and promotes proper mechanics.
Prevent Shanks During Competitive Play
Confidence Club Strategy
Carry a “confidence club”—typically a shorter iron you’re comfortable with—and use it strategically when shank anxiety threatens. Build momentum with this reliable club before returning to longer irons. Many golfers find that hitting a few solid shots with their wedge restores their swing mechanics for other irons. Don’t be afraid to take an extra club and swing at 80% power when pressure mounts—better a slightly short shot than a shank.
Course Management for Shank-Prone Golfers
When playing shots from uneven lies, pay extra attention to your setup as these positions naturally challenge your swing path. On sidehill lies where the ball is above your feet, you’re more prone to shanks due to the altered swing plane. In these situations, aim further left (for right-handed golfers) and focus on making smooth, controlled swings. Accept that one shank doesn’t define your round—professional golfers hit shanks and recover. Your ability to move past one bad shot without spiraling determines your success with irons.
Final Note: Eliminating shanks from your iron game requires addressing both mechanical and mental components. By implementing these specific fixes for grip, stance, swing path, and mental approach, you’ll develop reliable iron play that holds up under pressure. Consistent practice of these targeted drills builds the muscle memory needed for automatic, shank-free contact. Remember that even tour professionals occasionally hit shanks—what separates them is their ability to recover quickly and maintain confidence. Commit to these solutions, and you’ll soon experience the satisfying sound and feel of pure iron strikes that send the ball exactly where you intend.