
Seasoning cast iron with canola oil creates a durable, natural non-stick surface that protects your cookware and enhances cooking performance. This affordable and accessible method has become the go-to technique for both novice cast iron owners and seasoned enthusiasts. Whether you’re reviving a rusty vintage skillet or building the first layer on new cookware, understanding the proper canola oil seasoning process ensures results that rival professional restoration. The polymerization that occurs when canola oil meets high heat transforms the oil from a simple cooking fat into a bonded protective layer that resists rust, provides excellent food release, and develops character with each use.
This guide walks you through every stage of the seasoning process, from initial preparation through long-term maintenance. You’ll learn why canola oil works so effectively, how to avoid common mistakes that lead to sticky or uneven results, and proven techniques that professional cast iron restorers use to achieve glass-smooth finishes.
Why Canola Oil Works Perfectly for Cast Iron
Canola oil has earned its reputation as an ideal seasoning oil through a combination of scientific properties and practical advantages. Understanding these factors helps you appreciate why this common kitchen staple outperforms many specialty products marketed specifically for cast iron care.
Optimal Smoke Point for Polymerization
The smoke point of canola oil reaches approximately 400°F, which sits perfectly within the temperature range necessary for polymerization—the chemical reaction that transforms oil into a hard, bonded coating. When oil reaches its smoke point without burning, the fatty acids begin breaking down and reforming into long polymer chains that chemically bond to the iron surface. This creates the smooth, durable layer that defines well-seasoned cast iron.
Canola oil’s smoke point offers a crucial advantage: it provides sufficient time for the polymerization reaction to complete before the oil begins degrading. Oils with lower smoke points polymerize too quickly or incompletely, while oils with higher smoke points may require temperatures that damage the iron or create unsafe cooking conditions.
Fatty Acid Composition Creates Strong Bonds
The effectiveness of any seasoning oil depends largely on its fatty acid profile, and canola oil delivers an ideal balance. Its composition includes roughly 7% saturated fat, 63% monounsaturated fat, and 20% polyunsaturated fat. This ratio matters because polymerization requires polyunsaturated fats—the ones with multiple double bonds that facilitate the cross-linking necessary for strong coating formation.
The linoleic acid in canola oil, a type of polyunsaturated fat, plays a particularly important role in creating robust seasoning layers. Canola’s balanced profile actually produces more flexible and durable results compared to oils like flaxseed, which often creates overly brittle coatings that tend to crack and flake over time.
Prepare Your Cast Iron Properly Before Seasoning
Successful seasoning begins long before you apply any oil. Proper preparation ensures the new coating bonds effectively to bare metal and creates a foundation that lasts. Whether working with brand-new cookware or restoring a flea-market find, these preparation steps determine your ultimate results.
Cleaning New Cast Iron
New cast iron typically arrives with a factory coating of protective wax or oil that interferes with proper seasoning. Wash the cookware with hot water and a stiff brush, using mild dish soap if desired. Avoid soaking the piece, as prolonged water exposure promotes rust formation on bare iron.
Scrub thoroughly until water beads and flows evenly across the surface without resistance. This indicates the factory coating has been removed and the bare metal is exposed. Rinse with hot water and dry immediately using a clean towel. Place the dried cookware on a stovetop burner set to low heat for several minutes to ensure all moisture evaporates completely.
Restoring Old or Rusty Pieces
Vintage cast iron requiring restoration needs more aggressive treatment to remove accumulated rust and degraded old seasoning. Start with a wire brush or steel wool, working in circular motions over rusted areas until bare metal becomes visible.
After mechanical rust removal, wash with hot water and dish soap to remove any residual debris. Dry thoroughly with towels, then place on a stovetop burner to evaporate every trace of moisture. The piece should feel completely dry to the touch and show no signs of discoloration that would indicate remaining moisture.
Apply Canola Oil Using the Thin Layer Technique
:max_bytes(150000):strip_icc()/__opt__aboutcom__coeus__resources__content_migration__serious_eats__seriouseats.com__images__2016__09__20160817-cast-iron-pan-vicky-wasik-3-c56f176298784fef9e60f6cea198e0e4.jpg)
The oil application stage often determines whether seasoning succeeds or fails. Many beginners sabotage their efforts by applying too much oil, creating a sticky layer that never properly cures. Understanding the principles behind thin-layer application transforms your results.
The Critical Wipe-Off Method
Pour a small amount of canola oil onto the cookware surface—roughly one teaspoon for a standard skillet. Using a clean cloth, spread the oil evenly across all surfaces. The goal is a layer so thin that the metal’s color remains visible through the oil.
After initial application, take a fresh dry cloth and wipe the surface again, removing all visible oil until the surface appears dry. This second pass eliminates excess oil that would otherwise pool or drip during heating. The proper amount leaves nothing behind except a molecular-level coating that will polymerize into glass-smooth seasoning.
Choosing the Right Canola Oil
Standard, highly refined canola oil works best because it has a higher smoke point and fewer impurities than unrefined or cold-pressed varieties. When selecting canola oil at the grocery store, choose the standard cooking oil varieties found in the regular cooking oil aisle rather than specialty health food sections.
Cold-pressed or unrefined options may have smoke points 25 to 50 degrees lower, potentially compromising your seasoning results. The standard varieties also cost significantly less, making them practical for building multiple seasoning layers.
Heat and Polymerize the Canola Oil Correctly
Proper heating transforms liquid canola oil into hardened polymer, but this transformation requires specific temperature ranges and timing. Understanding what happens during the heating process helps you achieve consistent, reliable results.
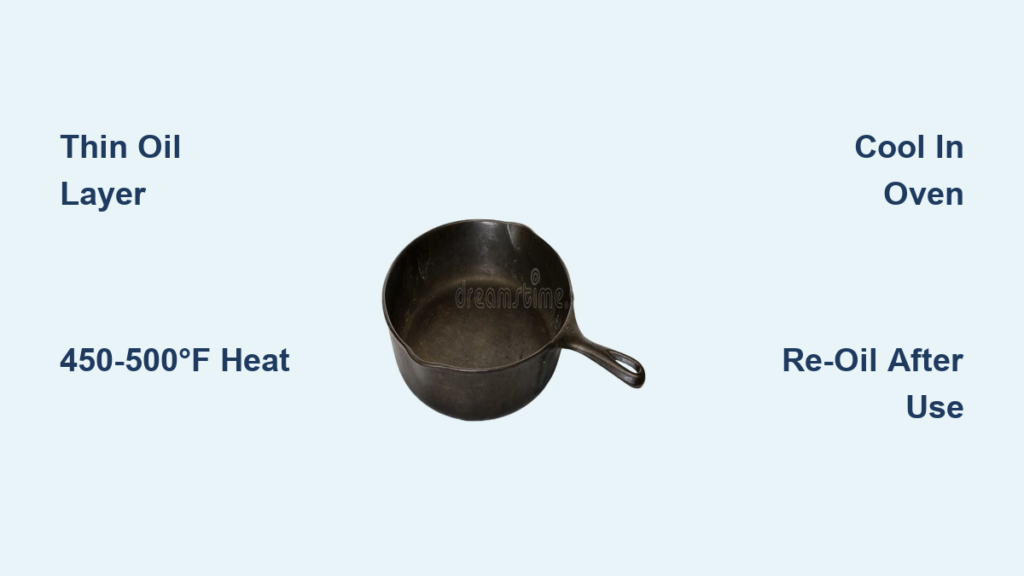
Preheating Your Oven to 450-500°F
Preheat your oven to 450°F to 500°F before placing the oiled cast iron inside. This temperature range allows the oil to reach its smoke point and maintain it long enough for complete polymerization. Use an oven thermometer to verify your oven’s actual temperature.
Place the oiled cast iron upside down on the middle oven rack, which allows any excess oil to drip away from the cooking surface. Position the rack so the cookware sits near the oven center, avoiding proximity to heating elements.
Timing the Curing Process for One to Two Hours
Heat the cast iron for one to two hours at the target temperature. The exact time depends on your oven’s accuracy and the thickness of your cookware. Thicker pieces like Dutch ovens may need the full two hours to heat through completely.
After heating, turn off the oven but leave the cast iron inside with the door closed. Allow the piece to cool completely in the oven—this gradual cooling prevents thermal shock that causes seasoning to crack or flake.
Build Durable Seasoning Layers Through Multiple Applications
A single application creates basic seasoning, but multiple layers build the thick, resilient coating that makes cast iron truly exceptional. Understanding how layers bond and strengthen helps you develop a systematic approach.
Why Three to Five Layers Provide Optimal Results
New cast iron benefits particularly from three to five initial layers that create a robust foundation for years of cooking. The cumulative effect of multiple layers fills microscopic pores in the iron and creates a smoother, more non-stick surface than any single application can achieve.
However, more layers don’t automatically mean better results. Applying too many layers without proper curing between them can create a brittle coating prone to chipping. Three to five well-executed layers typically provide optimal results for most cookware.
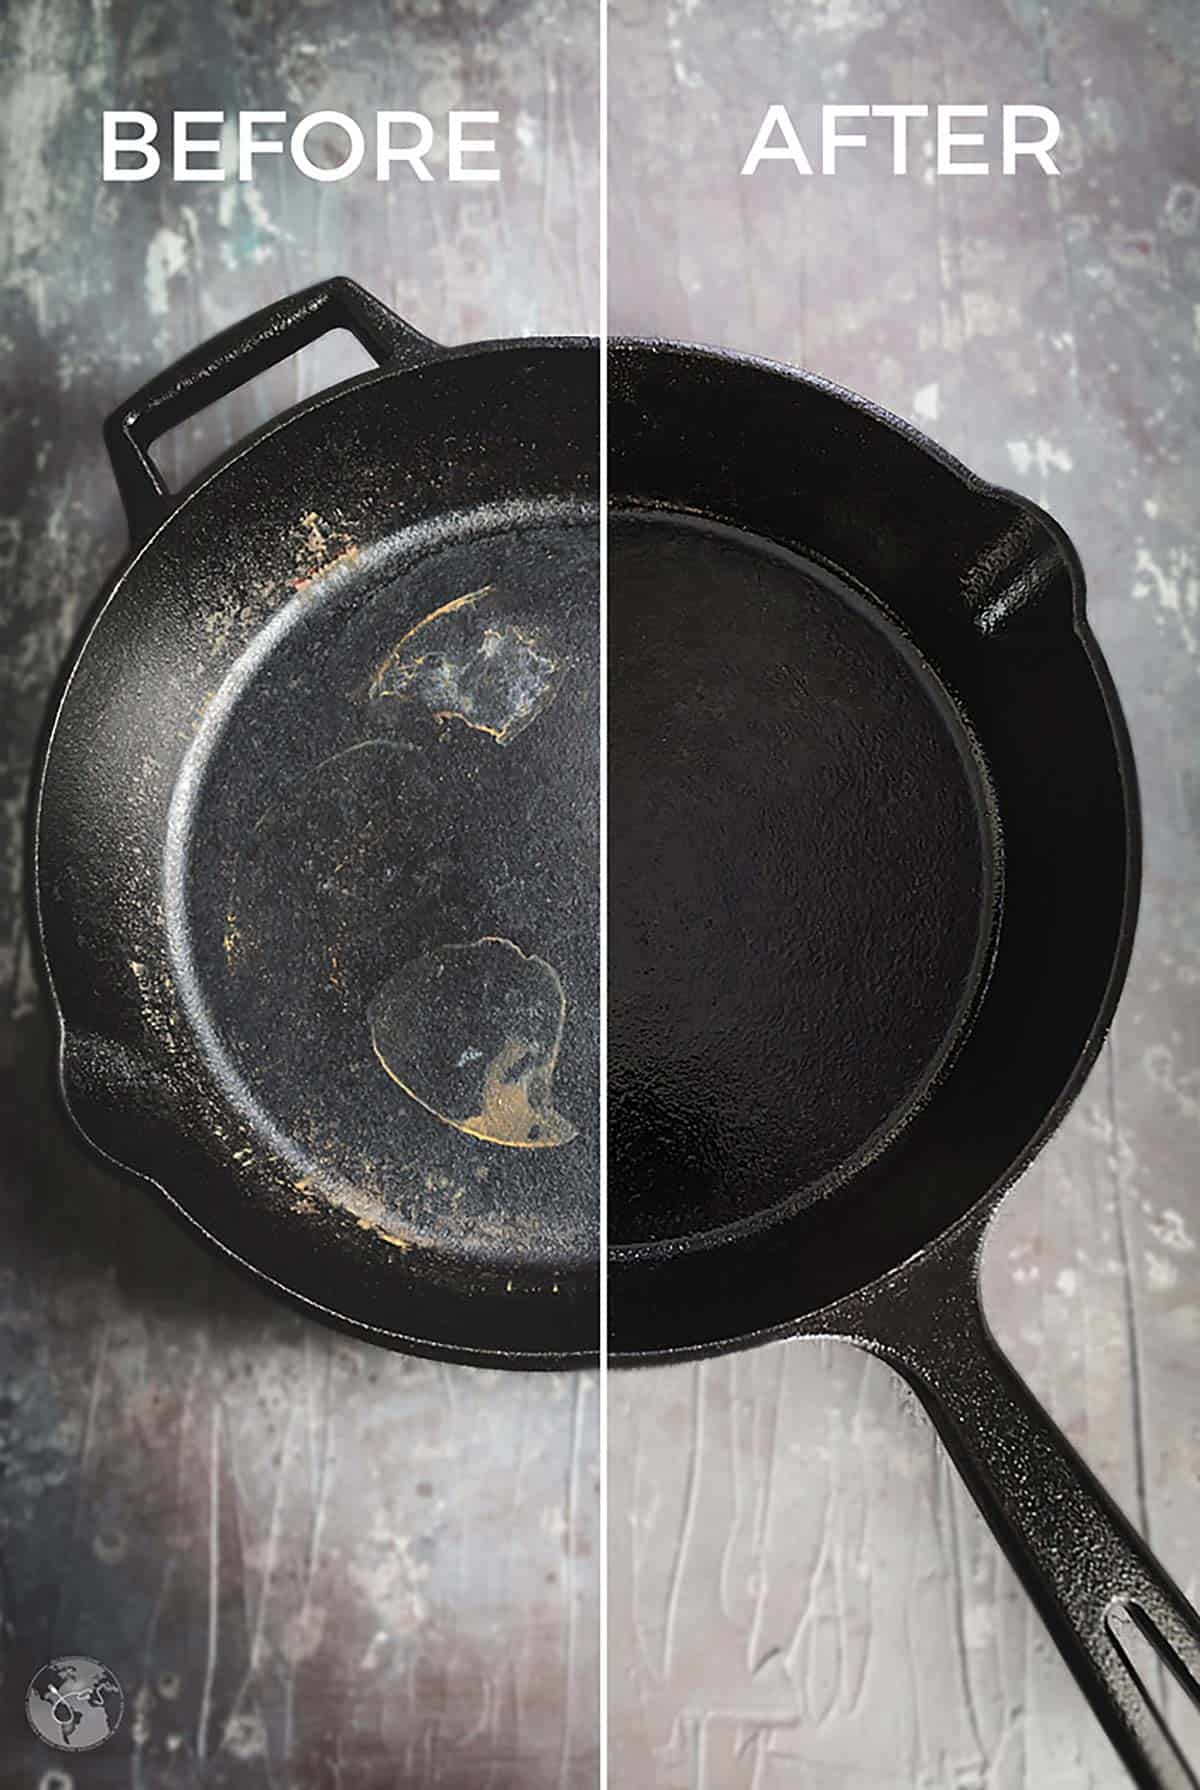
Recognizing Properly Seasoned Cast Iron
Well-seasoned cast iron displays specific characteristics that indicate successful polymerization. The surface should appear dark, smooth, and almost glossy, with an even color across all treated areas. When you run your fingers across the cooking surface, it should feel slick and dry—not tacky, sticky, or greasy in any way.
Food should release easily during cooking, with minimal sticking even when cooking eggs. Proper seasoning creates a natural non-stick surface that improves with use rather than degrading.
Maintain Your Seasoned Cast Iron Through Proper Care
Seasoning creates the foundation, but maintenance determines whether that foundation lasts years or months. Proper care preserves and even improves your seasoning through regular use.
Cleaning Without Stripping Seasoning
After each use, clean the cookware while it’s still warm using hot water and a stiff brush or chainmail scrubber. Avoid harsh detergents, which can strip seasoning over time, though mild soap won’t ruin well-established layers.
For stuck-on food, bring a small amount of water to a boil in the pan and use a wooden spatula to scrape loose any residue. Always dry immediately and thoroughly after cleaning.
Re-Oiling After Each Use
After cleaning and drying while the cookware is still warm, apply a thin layer of canola oil to the cooking surface. This light coating replenishes any seasoning that wore away during use and provides additional protection against moisture.
This post-use oiling takes less than a minute but dramatically extends the life of your seasoning. Many experienced cast iron users consider this step non-negotiable, treating it as essential as the cleaning itself.
Fix Common Seasoning Problems Quickly
Even experienced cast iron users encounter seasoning issues occasionally. Recognizing common problems and their solutions saves you from frustration.
Addressing Sticky or Tacky Seasoning
Sticky seasoning indicates too much oil was applied during the process or the temperature was too low for proper polymerization. Unfortunately, there’s no easy fix—sticky seasoning must be completely stripped and the process started over.
To strip sticky seasoning, use steel wool with dish soap to remove as much of the failed coating as possible. Once all sticky material is removed, wash thoroughly, dry completely, and re-season using the thin-layer technique.
Repairing Uneven or Patchy Seasoning
Uneven seasoning typically results from inconsistent oil application or uneven heating during the curing process. For minor unevenness, focus additional oil applications and heating on the lighter areas, building up those spots selectively.
Canola Oil vs Other Seasoning Oils: The Practical Choice

Understanding how canola oil compares to alternatives helps you make informed decisions about cast iron care.
Canola Oil vs Flaxseed Oil
Flaxseed oil generates enthusiasm for producing a glossy finish, but it creates a brittle coating prone to cracking and flaking over time. Additionally, flaxseed oil costs significantly more than canola oil and turns rancid quickly after opening.
For practical everyday seasoning, canola oil’s slightly lower polyunsaturated content actually works in its favor, creating a more flexible and durable coating. The risk of coating failure with flaxseed oil outweighs its aesthetic benefits for most users.
Canola Oil vs Vegetable Shortening
Vegetable shortening like Crisco has a long history as a traditional seasoning medium. Canola oil offers advantages in convenience and shelf life. Opened shortening can become rancid or develop off-flavors over time, while canola oil remains stable longer. The liquid form also makes thin-layer application easier than the solid shortening.
Store Cast Iron Properly to Preserve Your Seasoning
Proper storage preserves your seasoning investment and prevents the rust that can develop when cookware sits unused.
Environmental Factors for Storage
Store cast iron in a dry location with moderate humidity. Excessive moisture in the air promotes rust formation even on well-seasoned cookware. Avoid enclosed cabinets without ventilation, where trapped moisture accumulates around the cookware.
Stacking Without Damaging Seasoning
When storing multiple pieces of cast iron, place a paper towel or clean cloth between them to protect seasoning surfaces from scratches and absorb any residual moisture. Never stack bare cast iron directly—the weight damages lower pieces, and movement during storage causes scratches that compromise seasoning.
Ready Your Cast Iron for Generations
Using canola oil to season cast iron delivers professional-quality results using an affordable, readily available ingredient. By applying thin oil layers, heating to proper temperatures, and allowing complete cooling, you create a durable non-stick surface that improves with use and lasts for generations.
Start with the preparation steps, move through the application and heating process systematically, and establish the maintenance habits that preserve your work. Whether you’re seasoning a new skillet or restoring a rusty antique, the principles remain the same. With canola oil and these techniques, you have everything needed to create cast iron cookware that performs beautifully and looks stunning—a testament to the timeless value of properly maintained cast iron.


