
Your cast iron skillet has been a kitchen workhorse for years, but now food sticks where it used to glide, and the once-dark surface shows patchy, rusty spots. This frustrating scenario happens to every cast iron owner eventually. Knowing the best way to reseason cast iron properly transforms a compromised pan back into the reliable nonstick surface you depend on. Unlike synthetic coatings that degrade over time, properly reseasoned cast iron actually improves with age, becoming more nonstick and durable with each use. In this guide, you’ll discover exactly how to restore your cast iron to peak performance using professional-tested methods that work for everything from quick maintenance touch-ups to complete restoration of neglected pieces.
The magic of cast iron seasoning lies in polymerization—a chemical process where oil bonds permanently to the iron surface when heated to high temperatures. This creates a natural nonstick layer that fills the microscopic pores of the cast iron, preventing food from adhering. When this layer degrades, your pan loses its cooking performance, but the good news is that reseasoning properly can restore it completely. Whether you need a quick fix after cooking acidic foods or a full restoration for a rust-covered vintage find, this guide covers every scenario with actionable steps you can implement immediately.
Spot Rust Before It Ruins Your Cast Iron
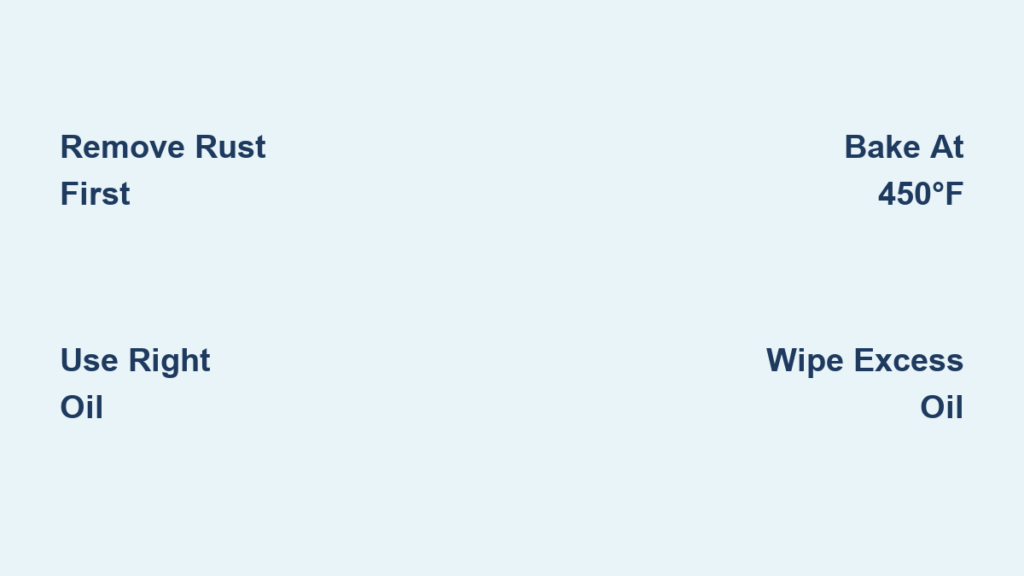
Rust spots are your first warning sign that reseasoning is urgently needed. Don’t ignore even tiny rust patches—they’ll spread rapidly if left untreated. Examine your pan carefully after cleaning; rust appears as orange-brown spots that feel slightly rough compared to the smooth, dark seasoned surface. If you catch rust early, you can often remove it with fine steel wool and proceed directly to reseasoning without complete stripping.
Tactile clues matter just as much as visual ones. Run your finger across the cooking surface—properly seasoned cast iron should feel smooth and slightly slick, not dry or rough. If food that previously released easily now sticks stubbornly, your seasoning layer has degraded. Another telltale sign is black flakes transferring to your food or towels, indicating that seasoning layers haven’t fully bonded to the metal.
Preventive maintenance saves restoration time. For regularly used cast iron, perform light reseasoning every 2-3 months. Pans stored long-term need only a light oil coat every 6 months to prevent rust formation. Catching issues early means you can often use the quick stovetop method instead of a full oven restoration, saving you significant time and effort.
Gather These Exact Supplies Before Starting
The right oil makes or breaks your reseasoning results. Keep these three proven options on hand:
– Vegetable oil (most accessible and reliable)
– Canola oil (excellent for temperatures above 400°F)
– Melted shortening (produces exceptionally smooth finishes)
Avoid these common mistakes:
– ❌ Flaxseed oil (creates beautiful but fragile seasoning)
– ❌ Extra virgin olive oil (smoke point too low)
– ❌ Butter (burns before proper polymerization)
Essential tools for successful reseasoning:
– Fine steel wool (0000 grade) for spot treatment
– Blue Scott shop paper towels (superior oil absorption)
– Aluminum foil (protects oven from drips)
– Heavy-duty rubber gloves (for chemical stripping)
– Distilled white vinegar (for rust removal)
Perfect Your Oven Reseasoning Technique in 4 Steps
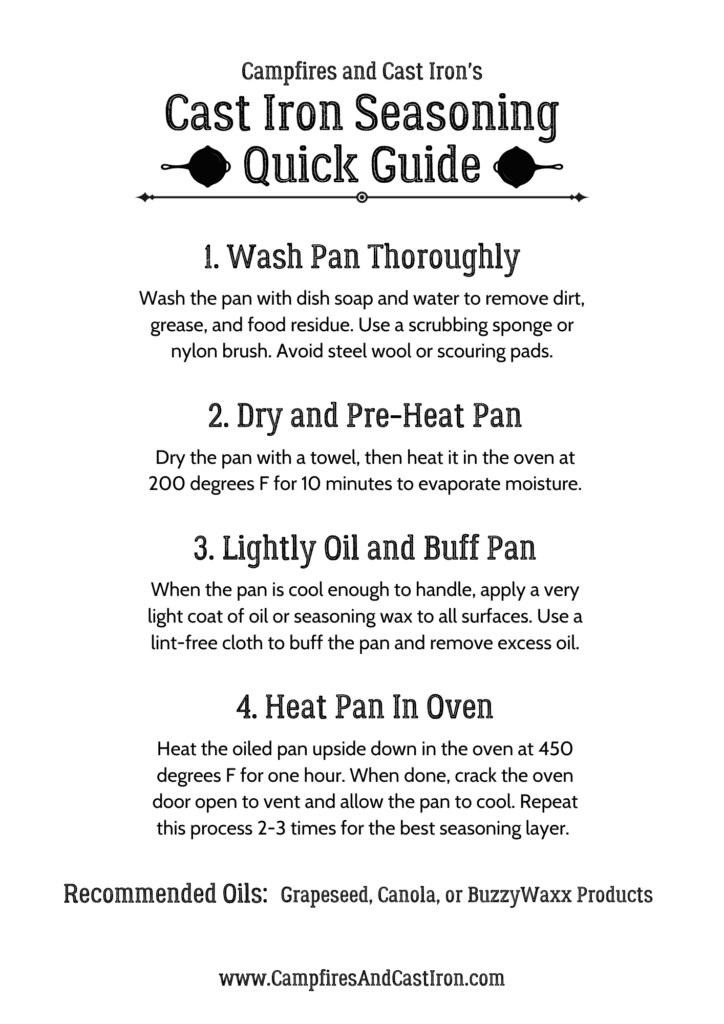
Step 1: Complete drying prevents rust under new seasoning. After washing with warm, soapy water, dry thoroughly with paper towels, then place in a 200°F oven for 10 minutes. Critical tip: Any moisture left on the surface will cause immediate rusting once oil is applied.
Step 2: Apply oil like a professional. Use a paper towel to spread a microscopic layer of oil over every surface—inside, outside, and handle. Wipe away 95% of what you apply until the pan looks nearly dry with no visible sheen. Excess oil causes sticky, uneven seasoning that fails quickly.
Step 3: Bake at the optimal temperature. Place pan upside down on center rack with foil on bottom rack. Bake at 450-500°F for exactly one hour. Temperature matters: Too low (under 400°F) prevents proper polymerization; too high burns off the oil.
Step 4: Cool completely before use. Turn off oven and leave pan inside until completely cool. This gradual cooling allows the seasoning to fully cure. Rushing this step by removing the pan while hot creates a weaker seasoning layer.
Fix Sticky Seasoning with Progressive Temperature Method
The progressive temperature method solves tackiness problems that plague standard reseasoning. This technique works especially well for modern rough-textured cast iron that struggles with traditional methods.
Follow this precise sequence:
1. Warm pan at 200°F for 20 minutes (dries surface completely)
2. Apply Crisco shortening liberally, then wipe away 99% with blue paper towels
3. Heat to 300°F for 15 minutes, then wipe again to remove pooling oil
4. Bake at 400°F for two full hours (not one) for complete polymerization
Why this works: The extended time at 400°F allows full oil polymerization without burning. Most tackiness problems occur because standard methods don’t provide enough time at the optimal temperature for complete bonding. The final two-hour bake at 400°F is non-negotiable for a dry-to-the-touch finish.
Rescue Severely Damaged Cast Iron with Vinegar Soak
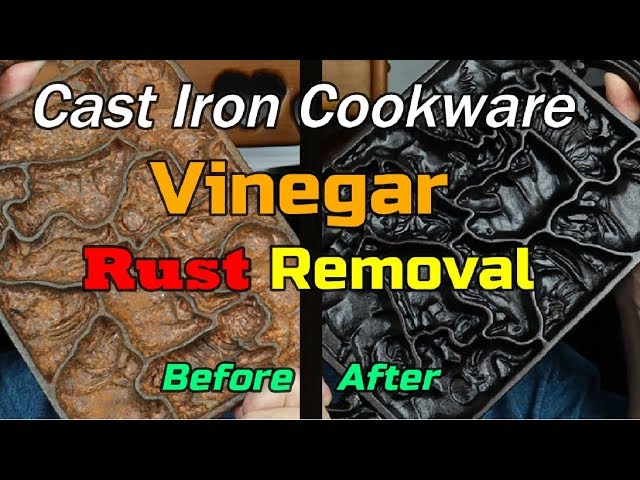
Vinegar removes rust without damaging cast iron when used correctly. For pans with significant rust after stripping old seasoning:
- Submerge completely in pure distilled white vinegar
- Soak for 6-12 hours maximum (never exceed 24 hours)
- Check periodically and scrub with brush as rust dissolves
- Rinse thoroughly with clean water immediately after soaking
Critical warning: Leaving cast iron in vinegar beyond 24 hours causes pitting and permanent surface damage. The cast iron will begin rusting the moment it contacts air after vinegar removal, so dry immediately and apply a light mineral oil coat if not seasoning right away.
Prevent Common Reseasoning Failures
Rough texture isn’t a problem—it’s intentional. Modern cast iron’s sand-cast surface actually helps seasoning adhere better than vintage smooth pieces. Don’t try to sand it smooth—this removes the texture that makes seasoning stick. With regular use, the pan naturally becomes smoother while developing superior nonstick properties.
Flaking seasoning means improper bonding. This happens when:
– Pan wasn’t completely dry before oil application
– Too much oil was used during seasoning
– Temperature wasn’t high enough for polymerization
Fix flaking by: Scrubbing affected areas with salt, drying thoroughly, and applying a micro-thin oil layer. For severe cases, repeat the full oven reseasoning process with less oil.
Maintain Your Investment with Smart Daily Habits
Cooking with oil reinforces seasoning naturally. Each time you cook with fat, you’re adding another microscopic layer to your seasoning. For best results:
– Always preheat pan before adding oil
– Use medium to medium-high heat (cast iron retains heat exceptionally well)
– Avoid boiling water in your skillet (damages seasoning)
– Limit acidic foods in new pans (tomatoes, lemon juice)
Proper cleaning preserves seasoning:
– Never soak cast iron in water
– Clean while still warm (not hot) with hot water and nylon brush
– Dry immediately with paper towels, then on warm burner
– Apply micro-thin oil coat while still warm
Store Cast Iron to Prevent Rust Between Uses
Moisture is the enemy of cast iron. Store your pan properly to avoid rediscovering rust next time you need it:
- Place in dry location with air circulation (not sealed cabinets)
- Leave lid slightly ajar if stacking pans
- Add folded paper towel inside to absorb ambient moisture
- Check monthly during humid seasons
Never store cast iron:
– With damp cloths inside
– Nested tightly with other pans
– In refrigerators or basements (high humidity environments)
When to Choose Stovetop vs. Oven Reseasoning
:max_bytes(150000):strip_icc()/__opt__aboutcom__coeus__resources__content_migration__serious_eats__seriouseats.com__images__2016__09__20160817-cast-iron-pan-vicky-wasik-collage-1500x1125-a15711a84a054cca9268b8ddda1e5dd2.jpg)
Use stovetop maintenance after every cook:
– Works on gas stoves only
– Takes 10 minutes vs. oven’s 60+
– Perfect for routine upkeep
– Apply after cleaning and drying
Choose oven reseasoning when:
– Rust spots appear
– Food sticks consistently
– Seasoning looks patchy
– After cooking acidic foods
Stovetop technique: Heat dry pan upside down on medium-high until smoking lightly. Apply micro-thin oil layer with paper towel, wipe completely dry, and cool on burner. Repeat after each use to build durable seasoning gradually.
Final Step: Make Your Seasoning Last Longer
The secret to long-lasting seasoning isn’t complicated—it’s consistency. After reseasoning, cook regularly with oil-based foods like:
– Fried eggs
– Pan-seared meats
– Roasted vegetables
– Cornbread
Avoid these seasoning killers:
– Oven self-cleaning cycles (causes irreversible heat damage)
– Dishwashers (removes seasoning completely)
– Extended water soaking (promotes rust)
– Steel wool on regular basis (scratches seasoning)
Test your seasoning success with this simple check: After cooking, the pan should release food easily with minimal sticking, and the surface should appear uniformly dark with a subtle sheen—not patchy or dull. With proper maintenance, your reseasoned cast iron will perform better with each use, becoming a true heirloom piece that lasts generations. The time invested in proper reseasoning pays off in reliable, nonstick cooking performance that improves rather than degrades over time.


