
Discovering your prized cast iron skillet in the dishwasher can trigger instant panic. That single cycle transforms your carefully seasoned cooking companion into a rusted, stripped disaster. Understanding exactly what happens during that cycle—and knowing the precise steps to take immediately afterward—can rescue your pan from permanent damage. This guide delivers actionable restoration methods and prevention strategies that work, whether you’re facing a recent dishwasher accident or building safeguards against future mishaps.
Why Dishwashers Destroy Cast Iron Seasoning
Your dishwasher’s high-temperature water, mechanical agitation, and harsh detergents work together to systematically dismantle cast iron’s protective seasoning layer in just one cycle. The perfect storm of conditions inside your dishwasher creates an environment specifically designed to strip away everything that makes cast iron functional.
The Science Behind Seasoning Breakdown
Cast iron’s non-stick properties come from polymerized oil bonded to the surface through heat exposure. Dishwasher water temperatures ranging from 130°F to 160°F soften and break down these critical oil bonds. As water jets blast the surface with mechanical force, the weakened seasoning layer peels away completely. Unlike hand washing where you control exposure time, the dishwasher subjects your pan to hours of continuous assault.
Detergent Damage and Chemical Erosion
Modern dishwasher detergents contain aggressive compounds designed to cut through grease on conventional cookware. These same ingredients act as powerful stripping agents on cast iron seasoning. Even eco-friendly detergents contain surfactants that break down oil bonds over the extended dishwasher cycle time. The prolonged chemical exposure dissolves seasoning more effectively than manual scrubbing ever could.
Moisture and Rust Development
Extended moisture exposure delivers the final blow to compromised cast iron. Dishwashers leave cookware wet for hours through wash cycles, drying phases, and post-cycle sitting time. This prolonged dampness, combined with the now-stripped protective layer, creates ideal conditions for rust development. You’ll often find orange discoloration already forming by the time you discover your pan in the dishwasher.
Immediate Steps After Dishwasher Exposure
Taking prompt action within the first hour of discovery dramatically increases your chances of saving the pan. Every minute of additional moisture exposure accelerates rust formation and deepens damage.
Assessing the Damage Level
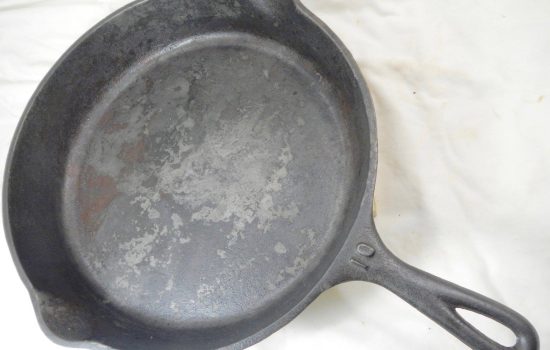
Evaluate your pan immediately for these critical indicators: complete removal of dark seasoning revealing raw gray iron, visible rust spots or orange discoloration, rough or pitted surface texture, and white or chalky mineral deposits. Minor damage shows as light or uneven seasoning patches, while severe damage features complete stripping with visible rust throughout. Timing matters—fresh damage from a just-finished cycle responds better than pans left sitting overnight.
Drying and Surface Preparation
Remove the pan immediately and dry thoroughly with absorbent towels—never allow air drying. Use a hair dryer on low heat to evaporate moisture from surface crevices and handle joints. Inspect for remaining food particles or detergent residue, removing them with a stiff brush. Avoid soap during this initial cleaning phase to prevent adding more moisture or chemicals to the compromised surface.
Storing Properly Before Restoration
If you can’t begin restoration immediately, store the dried pan in a warm, dry location with good air circulation. Place paper towels between stacked pans to prevent moisture trapping. Never seal the cookware in cabinets or drawers, as trapped humidity accelerates rust development. Begin restoration within 24-48 hours for optimal results—delayed action allows rust to spread beneath any remaining seasoning.
Restoration Methods for Damaged Cast Iron
Your restoration approach depends entirely on the damage assessment. Minor seasoning loss requires simple re-seasoning, while severe rust demands complete stripping before rebuilding the protective layer.
Method One: Quick Re-Seasoning for Minor Damage
When damage appears as light seasoning loss without significant rust, restore your pan through standard re-seasoning without full stripping. Wash with hot water and a stiff brush to remove loose debris, avoiding soap. Dry completely with towels and supplemental heat. Apply a paper-thin layer of high-smoke-point oil (flax, grapeseed, or vegetable shortening) to all surfaces, wiping away excess until the layer is nearly invisible.
Place the oiled pan upside down in a 400-450°F oven for one hour to prevent oil pooling. Turn off the oven and allow the pan to cool completely inside. Repeat this process 2-3 times to build durable seasoning. This method typically takes 3-4 hours total with minimal effort.
Method Two: Complete Stripping for Severe Damage
For rusted pans or complete seasoning failure, strip the pan down to bare iron. The most effective method uses your oven’s self-cleaning cycle at 900-1000°F, which burns off all organic material in 2-6 hours. Wear heavy-duty oven mitts and ensure good ventilation as the process produces smoke. The extreme heat converts rust to iron oxide ash that wipes away easily.
Without a self-cleaning oven, use chemical strippers containing lye (sodium hydroxide) following product directions with protective gear, or soak in a 50/50 white vinegar and water solution for 30-60 minutes to loosen rust before scrubbing. After stripping, scrub with hot water and a stiff brush, dry immediately, then proceed to re-seasoning.
Re-Seasoning Your Restored Cast Iron
Proper re-seasoning transforms bare cast iron into the smooth, non-stick cooking surface that makes this cookware invaluable.
Choosing Your Oil
Select oils with high smoke points and appropriate fatty acid profiles for polymerization. Flax oil creates excellent seasoning but can be expensive. Grapeseed oil offers reliable results at lower cost. Vegetable shortening like Crisco provides consistent performance and kitchen availability. Avoid olive oil and butter for seasoning—they burn before polymerizing properly, creating sticky, uneven layers.
The Seasoning Process
Apply your chosen oil in paper-thin layers to a completely dry, slightly warmed pan (about 100°F). Use a clean cloth to spread the oil, then wipe vigorously until no visible oil remains. Place the pan upside down in a 400-450°F oven and bake for one hour. Turn off the oven and allow gradual cooling inside to prevent thermal shock.
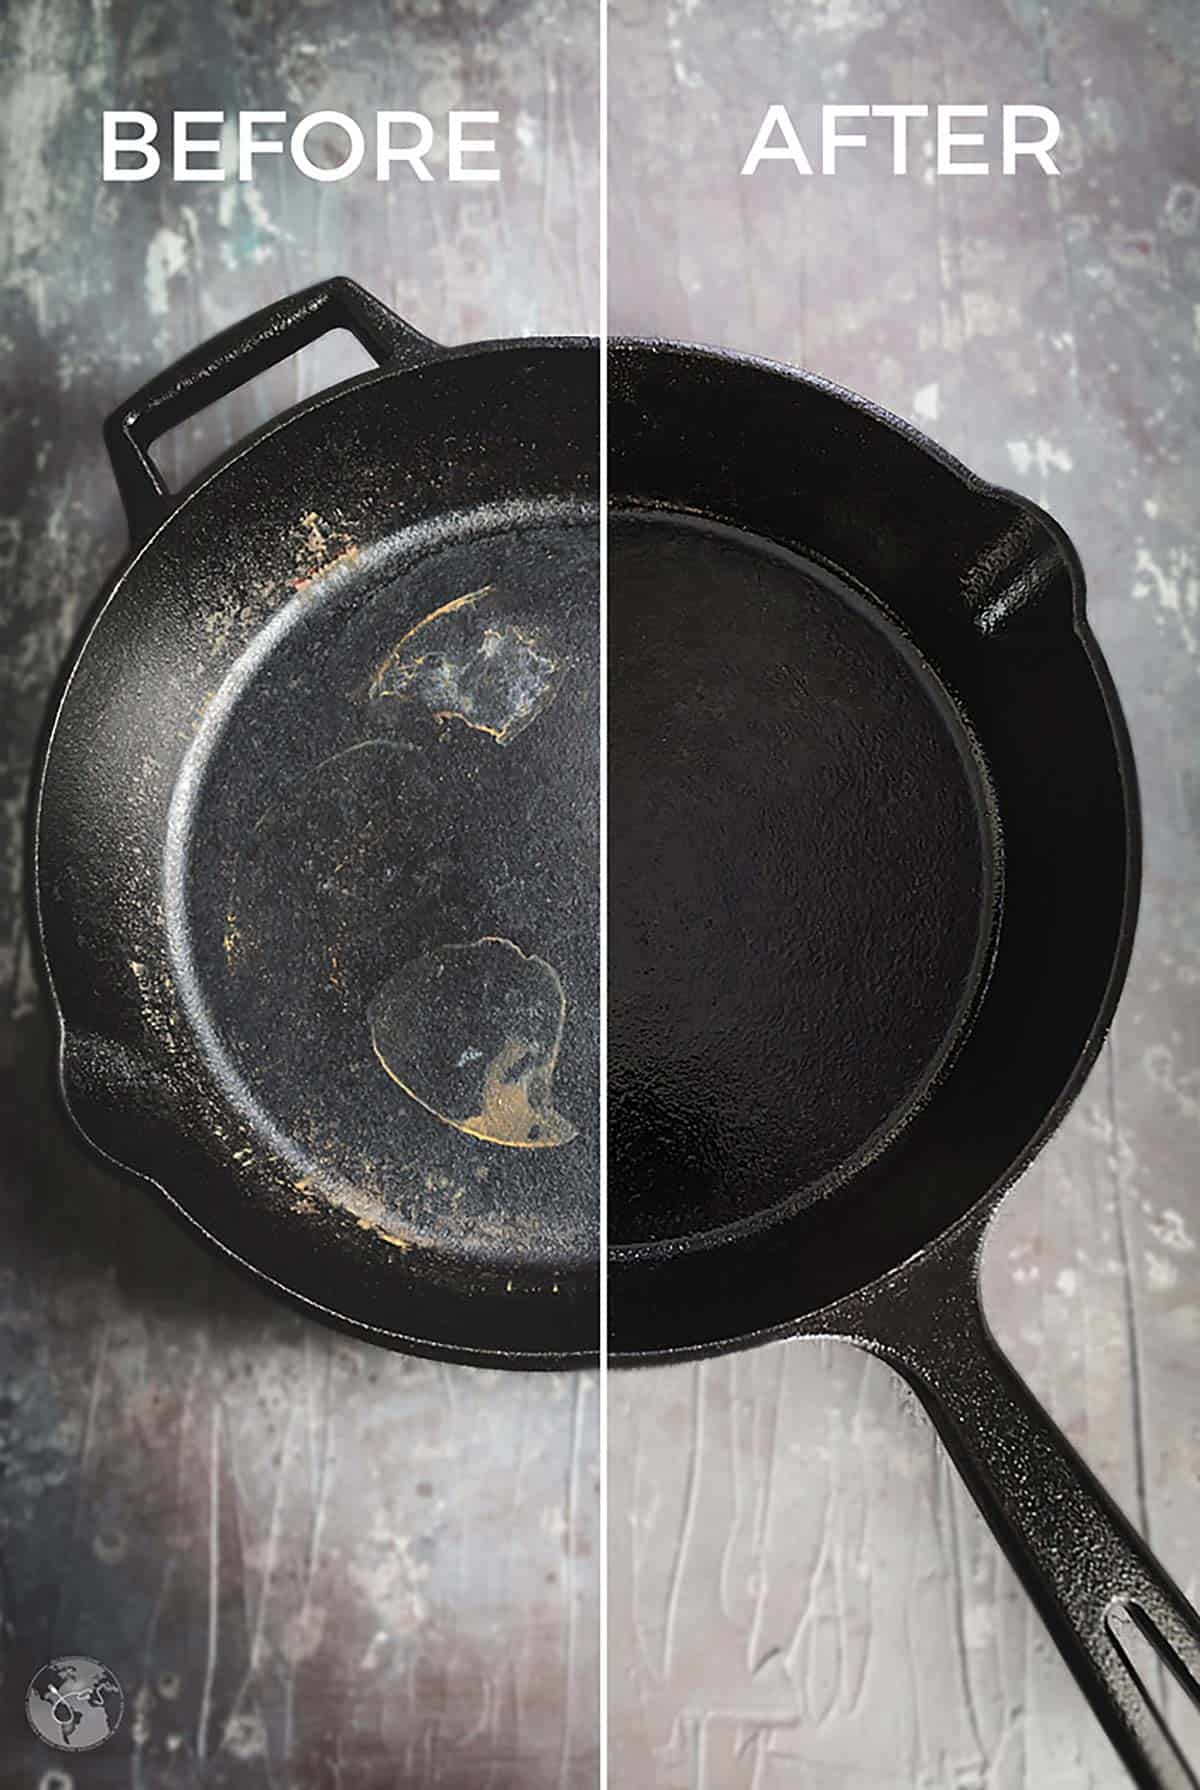
Repeat this process 3-5 times for optimal results. Each layer builds on the previous, creating increasingly durable non-stick properties. A properly restored pan will appear dark, smooth, and slightly shiny across all cooking surfaces.
Preventing Future Dishwasher Damage

Prevention requires simple, consistent habits that protect your investment before damage occurs.
Communication and Organization
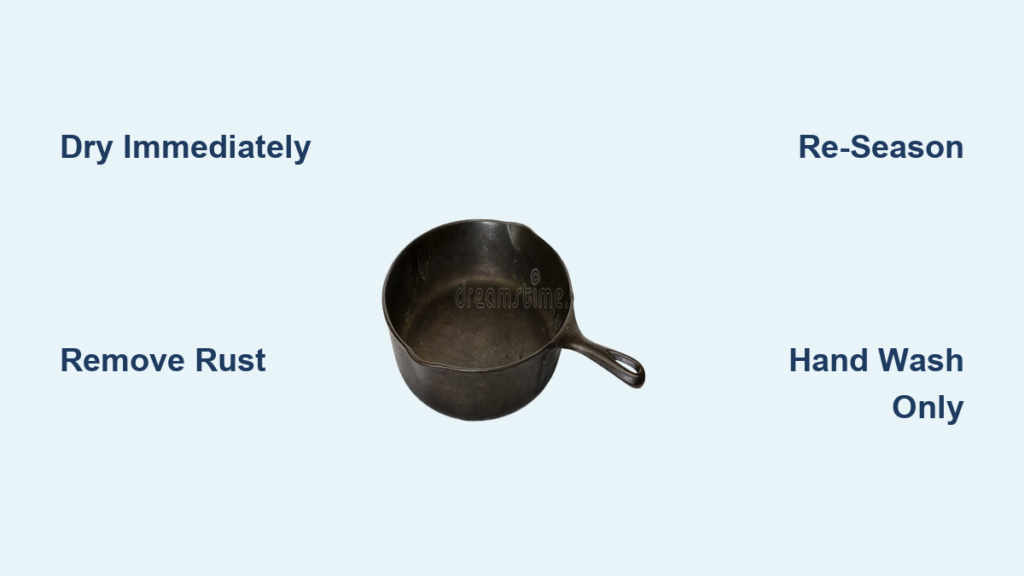
Label your cast iron cookware with clear “HAND WASH ONLY” tags to prevent household accidents. Store these pans separately from everyday dishes to reduce accidental inclusion in dishwasher loads. Implement a pre-cycle visual scan of dishwasher contents—this five-second habit prevents hours of restoration work later.
Alternative Cleaning Methods
Cast iron cleaning is simpler than many believe. For stuck-on food, add water to the warm pan and bring to a gentle simmer to release particles without scrubbing. Use a stiff brush if needed, then dry immediately. For stubborn residue, sprinkle coarse kosher salt into the warm pan and scrub with a damp cloth—this lifts residue without damaging seasoning.
Proper Storage for Longevity
Store cast iron in a dry location with good air circulation. Place paper towels between stacked pans to absorb ambient moisture. Apply a light oil layer before extended storage in humid environments—a thin coating wiped until nearly dry provides protection without creating sticky residue.
When to Retire Damaged Cast Iron
Some damage exceeds practical repair. Recognize these irreversible indicators:
Severe warping that prevents flat placement on burners results from thermal shock and cannot be repaired. Deep pitting that creates craters requiring more than a millimeter of material removal causes uneven heating that seasoning cannot fix. Cracks in the pan body, especially around handle attachments, indicate structural failure that will expand with use.
Rather than discarding damaged cast iron, consider recycling options through scrap metal facilities or manufacturer take-back programs. Pans with cosmetic damage but functional surfaces may find new life through donation to schools or community centers.
Final Thoughts
A single dishwasher cycle can devastate cast iron cookware, but damage doesn’t mean destruction. The restoration methods outlined here provide pathways to recover even heavily damaged pieces. Prevention through consistent hand-washing, clear communication, and proper storage remains the ideal approach.
Cast iron rewards careful maintenance with decades of reliable service and increasingly improved cooking performance. The slight extra effort required for hand-washing preserves cookware that often becomes family heirlooms. By understanding dishwasher risks and responding appropriately to accidents, you ensure your cast iron serves you well for generations to come. Treat your cast iron with the care it deserves, and it will repay you with exceptional cooking performance that improves with every use.


