You’ve just finished cooking a perfect steak in your favorite cast iron skillet when you notice something alarming—black flakes coming off the cooking surface and mixing with your food. That sinking feeling hits you as you wonder whether your trusted cookware is ruined forever. Cast iron is supposed to last generations, but when it starts flaking, many home cooks panic, thinking they’ve destroyed their prized possession. The good news is that flaking cast iron isn’t necessarily the end of your pan’s life—it’s usually a seasoning issue that can be fixed with the right approach. In this guide, you’ll learn exactly why your cast iron is flaking, how to diagnose the specific problem, and most importantly, practical steps to restore your cookware to its non-stick glory.
Understanding Seasoning Failure vs. Actual Cast Iron Damage
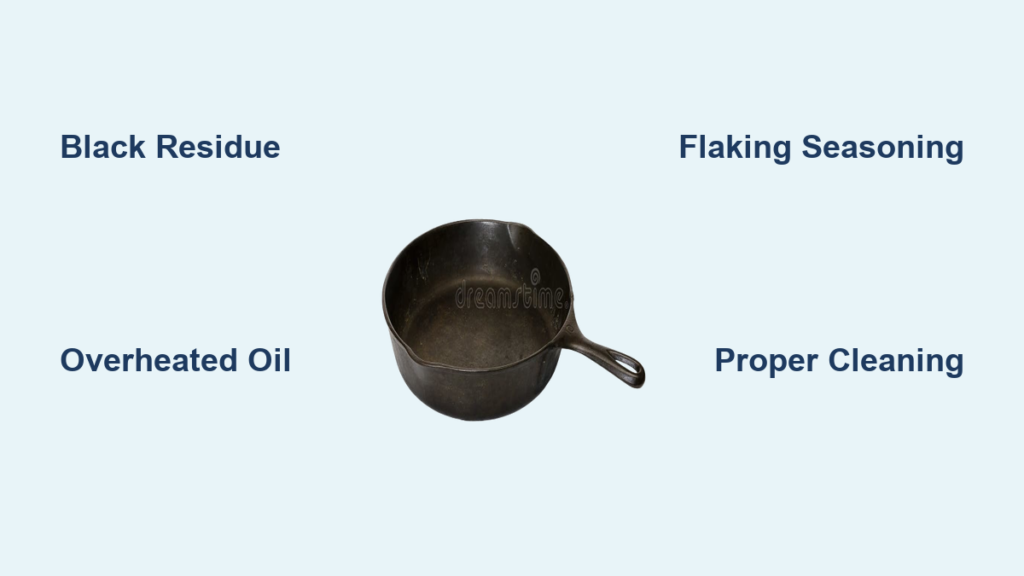
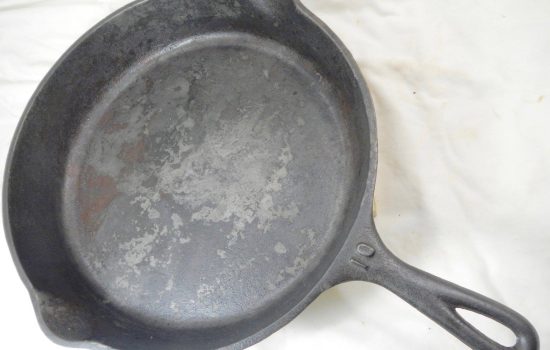
Before you panic and throw out your pan, you need to determine whether you’re dealing with failed seasoning or actual metal deterioration. Many people mistake normal seasoning failure for irreparable damage. Seasoning is the polymerized oil layer that creates a non-stick surface, not part of the metal itself. When this layer flakes, it appears as black or dark gray flakes—never metallic silver. True cast iron deterioration would show bare metal where flakes have come off, not just a loss of the dark seasoning layer. If you see shiny metal spots after flaking occurs, you’ve simply lost seasoning and can restore it. But if you see rust or pitting beneath the flakes, you may have more serious issues to address.
How to Identify Seasoning Flaking vs. Metal Degradation
The first diagnostic step requires close inspection of your cookware. Use a clean, dry paper towel to gently wipe the affected area. If you collect black residue that feels somewhat oily or smudgy, this is seasoning failure—not metal deterioration. True metal flaking would leave behind rough, uneven patches of raw iron that feel gritty to the touch. Another test: rub the questionable area with a small amount of cooking oil. If the oil absorbs into the surface and the area darkens slightly, you’re looking at seasoning failure. If the oil beads up or doesn’t change the appearance, you likely have bare metal that needs re-seasoning. Pay attention to where the flaking occurs—seasoning typically fails first in high-friction areas like the cooking surface, while actual metal deterioration often starts at edges or handles.
Why Your Seasoning Failed Suddenly
Several common mistakes cause seasoning to flake unexpectedly. Using harsh detergents or soaking your pan for extended periods breaks down the polymerized oil layer over time. Cooking highly acidic foods like tomato sauce without proper seasoning maintenance accelerates this process. Extreme temperature changes—such as plunging a hot pan into cold water—cause the seasoning to contract and expand at different rates than the metal, leading to separation. Many users unknowingly use too much oil when seasoning, creating a sticky, uneven layer that eventually flakes off in patches. The type of oil matters too—low smoke point oils like olive oil create weaker seasoning that fails prematurely compared to high smoke point oils like flaxseed or grapeseed oil.
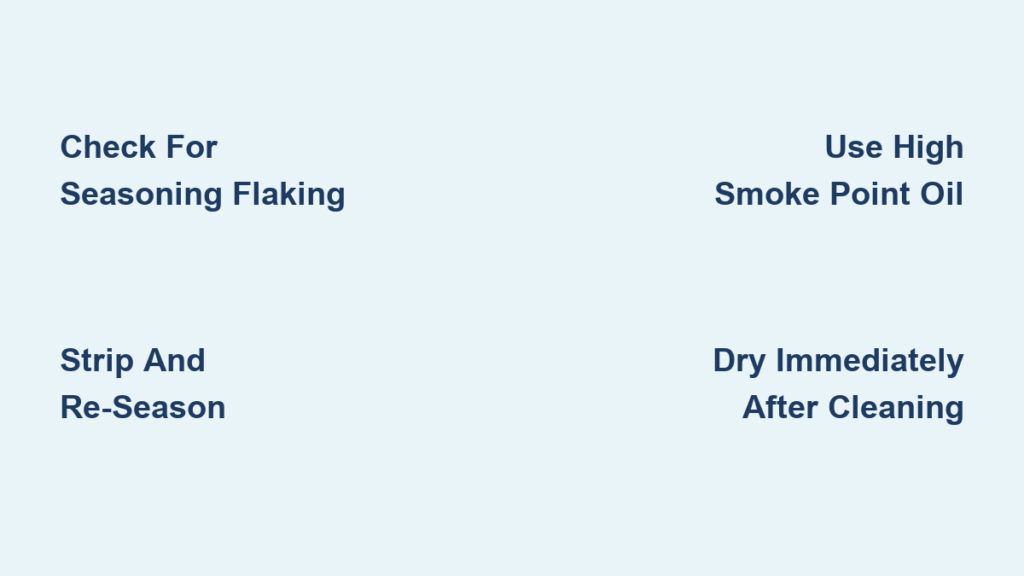
Immediate Action Steps for Flaking Cast Iron
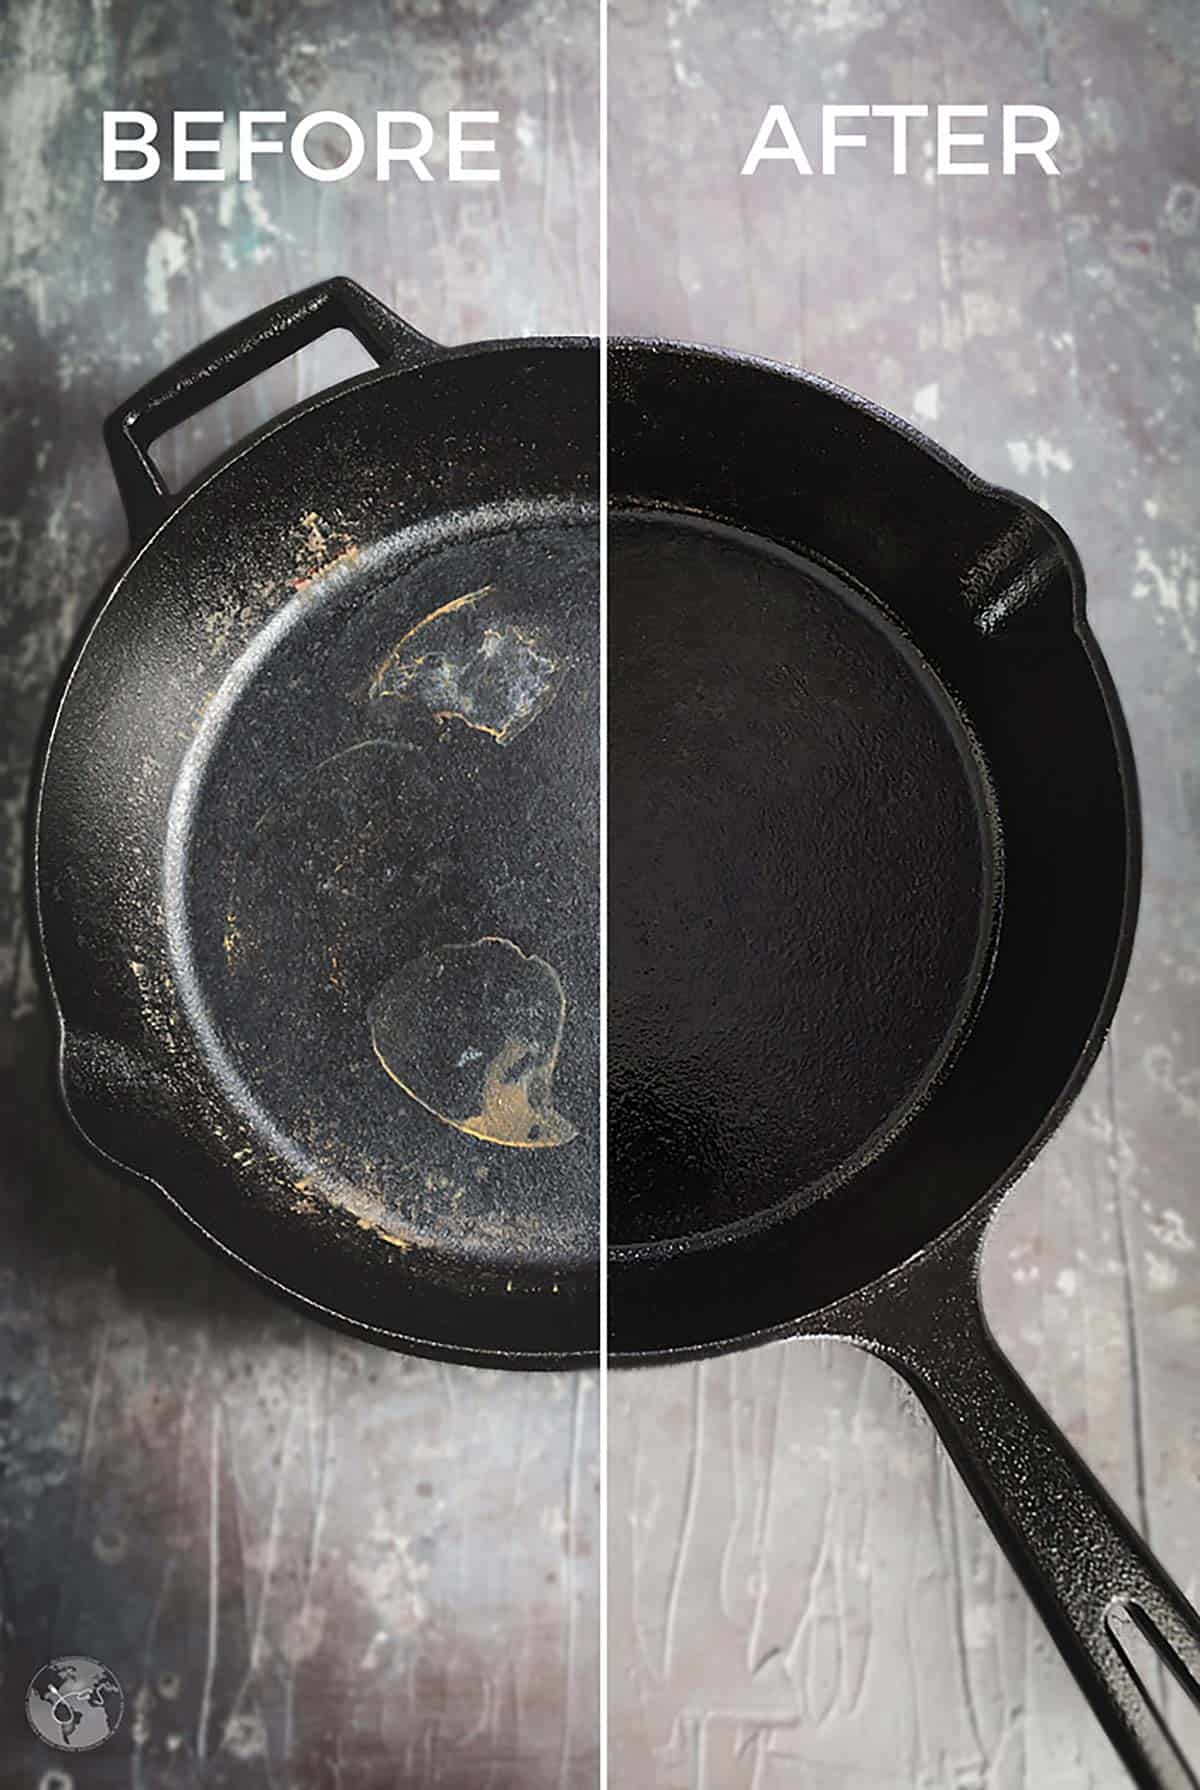
Don’t panic when you notice flakes—your pan can likely be saved with prompt action. First, stop cooking immediately to prevent consuming seasoning particles. Remove any loose flakes using a soft brush under warm running water—never use steel wool or abrasive pads at this stage. Dry the pan thoroughly on the stovetop over low heat for 5-7 minutes, ensuring all moisture evaporates from the surface. This immediate drying prevents rust from forming in the exposed areas. Inspect the pan closely once dry—you’ll likely see patchy areas where seasoning has failed but the metal remains intact. At this point, you have two options depending on the severity: spot treatment for minor flaking or complete re-seasoning for widespread failure.
Complete Strip and Re-Season Method
For severe flaking covering more than 30% of your cooking surface, a complete strip and re-season is necessary. Start by removing all remaining seasoning using one of three methods: oven cleaner (spray on, cover with plastic, wait 24 hours, then scrub off), electrolysis (requires specialized equipment), or mechanical removal with steel wool or a chainmail scrubber. After complete stripping, wash the pan with hot, soapy water to remove any residue, then dry thoroughly. Preheat your oven to 450-500°F—the exact temperature depends on your oil’s smoke point. Apply a microscopically thin layer of high smoke point oil using a paper towel, then wipe off as much as possible (the pan should look almost dry). Place the pan upside down in the oven with a baking sheet below to catch drips. Bake for 1 hour, then let cool in the oven. Repeat this process 3-4 times for best results.
Quick Fix for Minor Flaking
If only small patches are affected, you can repair without full stripping. First, heat the pan on the stovetop for 2-3 minutes to open the metal pores. Using a paper towel, apply a tiny amount of oil specifically to the bare spots, then immediately wipe away excess—this should take less than 30 seconds. Return the pan to medium heat for 10-15 minutes until the oil polymerizes. For immediate cooking needs, use this quick fix but plan for a full re-seasoning soon. The key to successful spot treatment is using minimal oil—too much creates sticky patches that will eventually flake again. After cooling, test the repaired area by cooking something simple like eggs; if they stick, you’ll need more seasoning layers.
Preventing Future Flaking Issues
Proper maintenance prevents most flaking problems before they start. After each use, clean your cast iron while it’s still warm (not hot) using a soft brush and minimal hot water—never cold water on a hot pan. For stubborn food bits, use coarse salt as an abrasive instead of soap. Always dry immediately on the stovetop over low heat for 3-5 minutes. Apply a drop of oil to a paper towel and lightly coat the entire cooking surface while the pan is still warm, then heat for 1 minute more to set the oil. Store your pan in a dry place with the lid off to prevent moisture buildup. For frequently used pans, monthly maintenance seasoning (baking at 350°F for 30 minutes after oiling) extends the life of your seasoning dramatically.
Oil Selection Guide for Maximum Durability
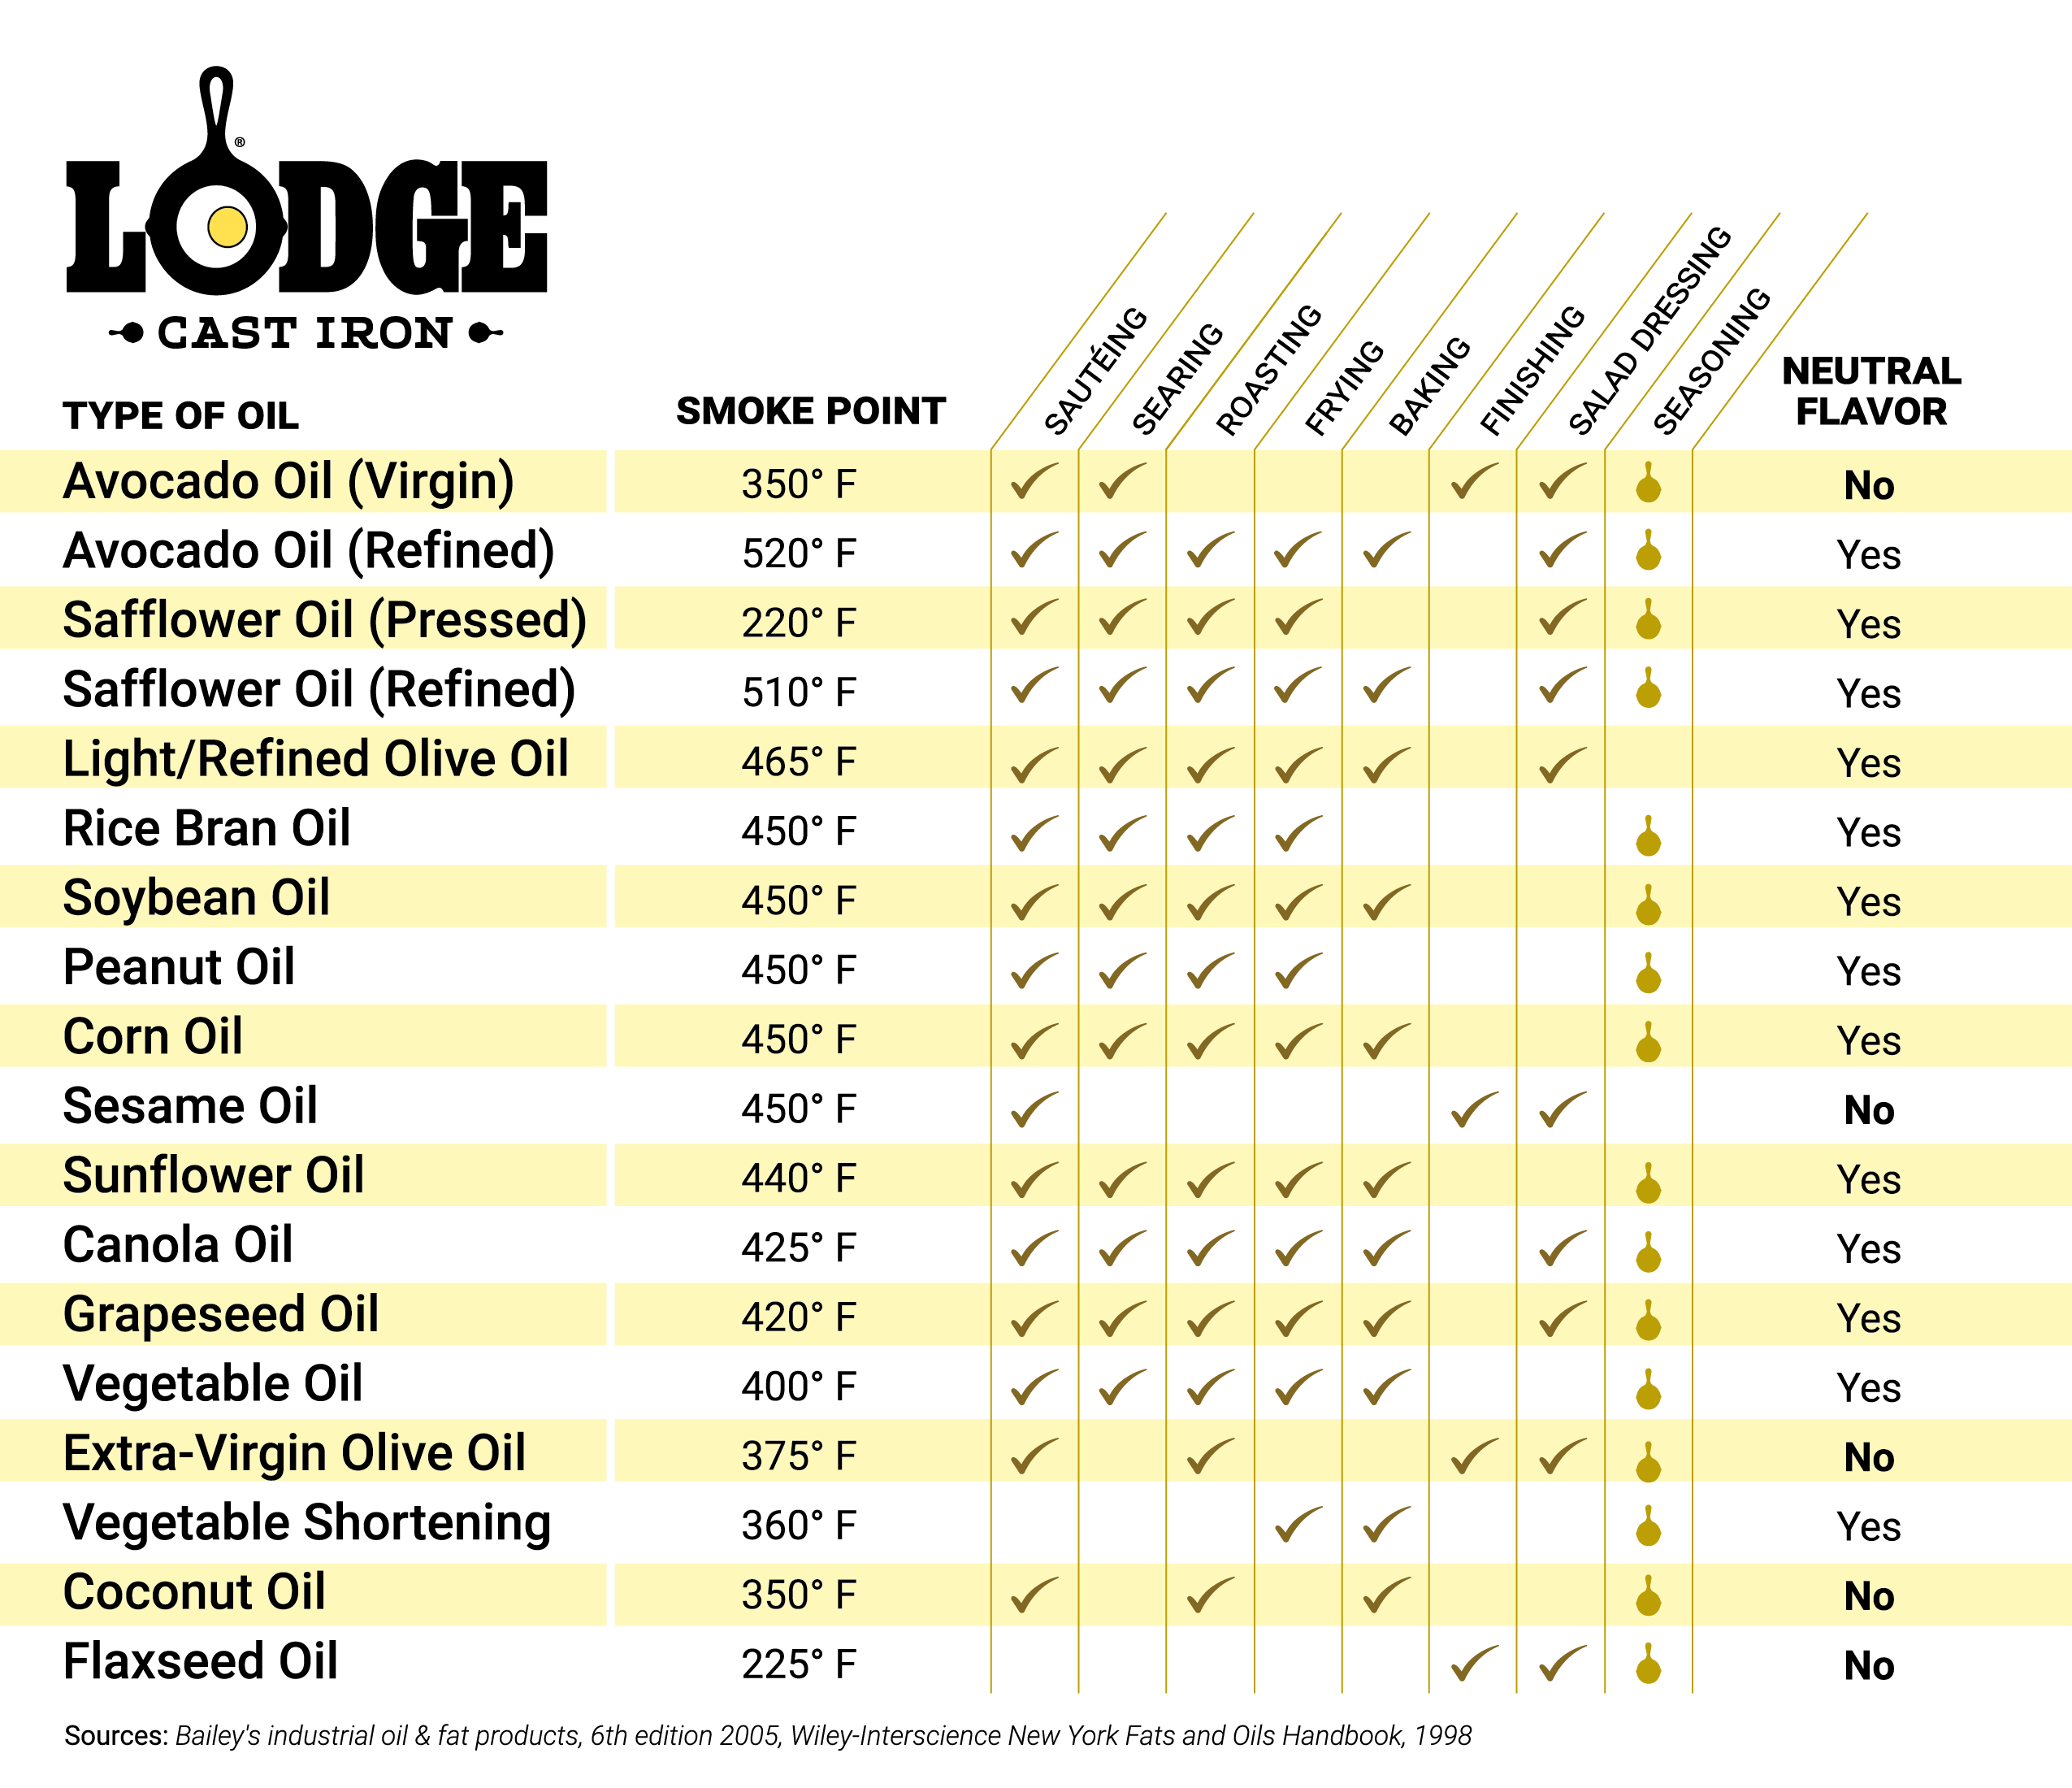
Not all oils create equal seasoning. High polyunsaturated fat oils like flaxseed, grapeseed, and sunflower create the most durable seasoning through superior polymerization. Avoid olive oil, butter, and coconut oil for initial seasoning—they have lower smoke points and create weaker bonds. For maintenance seasoning, use whatever high smoke point oil you have available. The oil’s smoke point matters more than specific type—aim for oils with smoke points above 400°F. When applying oil, remember the golden rule: less is more. A nearly invisible layer creates better seasoning than a thick, glossy coat. Test your seasoning quality by heating the pan and adding a drop of water—if it beads up and dances, your seasoning is good; if it sizzles violently, you need more layers.
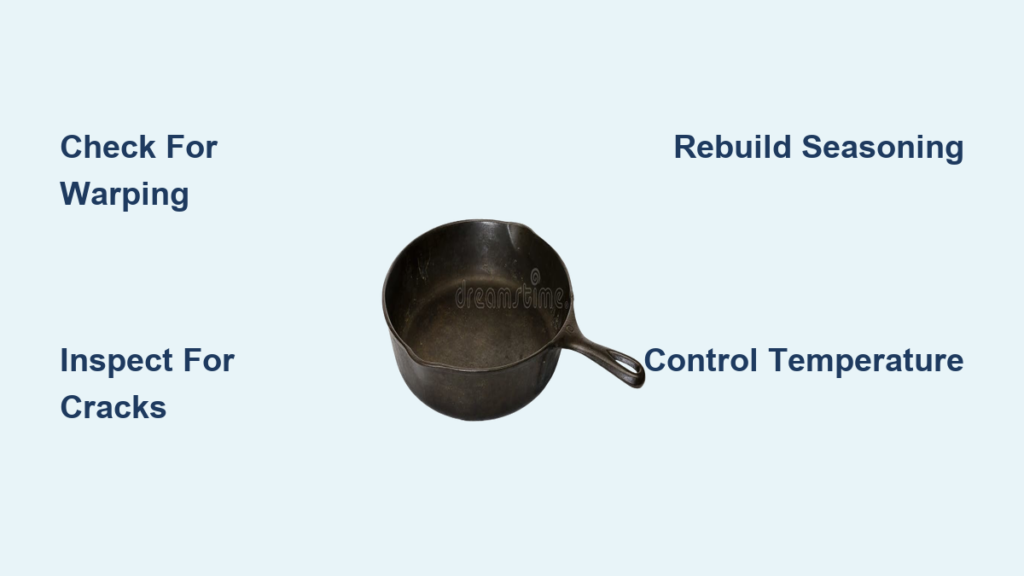
When Flaking Indicates Irreparable Damage
While most flaking is seasoning-related, certain situations indicate your pan may be beyond saving. Deep pitting that feels rough to the touch, structural cracks that compromise the pan’s integrity, or widespread rust that penetrates deep into the metal cannot be fully restored. Thin, warped pans that have been overheated repeatedly often develop hairline cracks that worsen with use. If your pan has large areas where metal is visibly missing or the structure feels compromised, it’s time to replace it. However, before discarding, consider repurposing severely damaged cast iron as garden planters, fire pit accessories, or workshop tools—cast iron remains useful even when no longer suitable for cooking.
Building Seasoning Longevity Through Proper Use
Your cooking habits directly impact seasoning durability. Start each cooking session with a light oil application to the cooking surface. Avoid cooking highly acidic foods in new or thinly seasoned pans—wait until you’ve built up multiple seasoning layers. Gradually increase cooking temperatures as your seasoning develops; start with low-heat cooking like eggs before attempting high-heat searing. After cooking, clean while the pan is warm but not hot, using minimal water and no soap for routine cleaning. For stuck-on food, simmer a small amount of water in the pan for 2-3 minutes to loosen debris before scrubbing. The more you use your cast iron properly, the stronger and more resilient the seasoning becomes over time.
Final Note: Cast iron flaking is almost always a seasoning issue rather than metal failure, and with proper diagnosis and treatment, your cookware can regain its legendary performance. The key to long-lasting seasoning is consistent maintenance, appropriate oil selection, and understanding that building durable seasoning takes time and repeated use. By following these restoration and prevention techniques, you’ll transform flaking frustrations into perfectly seasoned cooking surfaces that improve with every use. Remember that perfectly seasoned cast iron isn’t achieved overnight—it develops through proper care and regular cooking, becoming more non-stick and resilient with each passing month.