Your cast iron skillet sits unused while your shiny new induction cooktop hums silently. You’ve heard conflicting advice: some swear it works perfectly, others warn of scratched surfaces and uneven cooking. The truth? Your heirloom cast iron is actually one of the best companions for induction cooking—if you know its magnetic secrets and heat-handling quirks. Unlike non-magnetic stainless steel or aluminum, cast iron’s iron-rich composition creates an instant connection with induction’s electromagnetic field, transforming your skillet into a responsive, energy-efficient cooking powerhouse. In this guide, you’ll discover exactly how to harness this dynamic duo for flawless searing, simmering, and everything in between—without damaging your cooktop or ruining your prized pan.
Why Your Cast Iron Skillet Naturally Clicks with Induction Technology
Induction stovetops don’t generate heat themselves—they create a magnetic field that only activates when it meets ferromagnetic cookware. Your cast iron skillet passes this test effortlessly because its high iron content (typically 95%+ pure iron) acts like a magnet receiver. When you place it on the induction zone, the magnetic field induces rapid electrical currents within the iron itself, generating instant, controllable heat from the pan—not the cooktop. This explains why your skillet heats faster on induction than gas or electric, with zero wasted energy escaping into the air. Crucially, avoid skillets with non-magnetic cladding (like some “induction-ready” hybrids) that create hotspots—the pure iron base of traditional cast iron ensures even magnetic coupling across the entire cooking surface.
How to Confirm Your Skillet Will Work Before First Use
Don’t risk a cold pan on a hot cooktop—verify compatibility in 10 seconds:
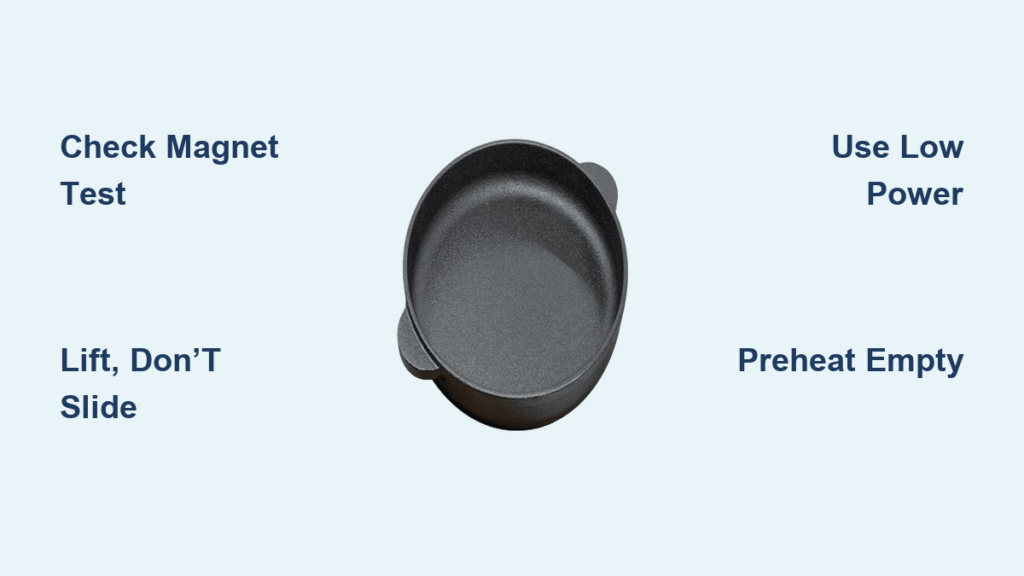
1. Grab any refrigerator magnet (the weak decorative kind works best)
2. Press it firmly against the flat bottom of your skillet
3. If it sticks firmly (not just lightly), your skillet is induction-ready
4. Test multiple spots—especially near handles where some brands add non-magnetic alloys
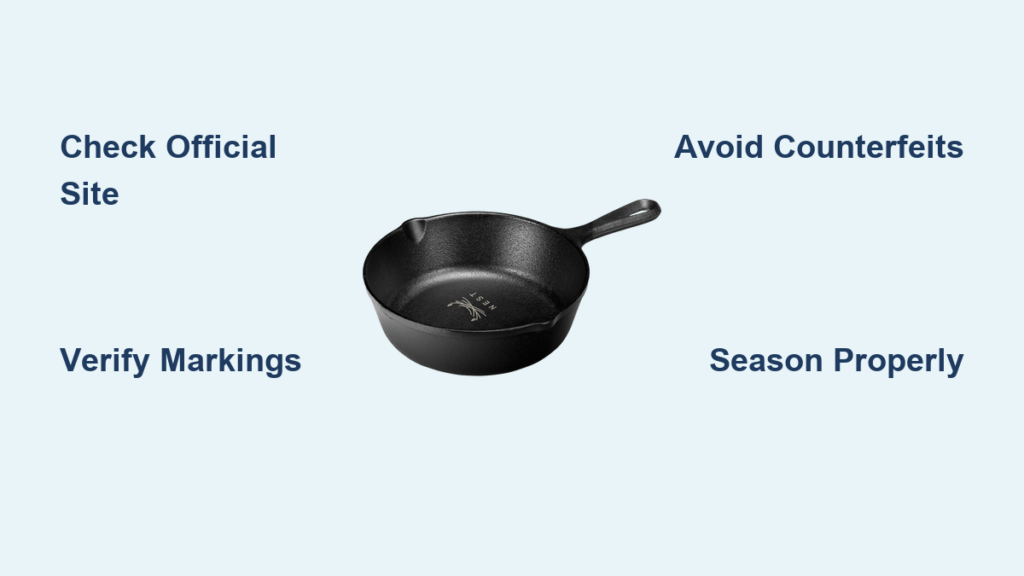
Pro Tip: Avoid skillets with visible seams or layered bases. Pure cast iron (like Lodge, Field, or vintage Griswold) has a uniform matte-gray bottom with no shiny patches—that’s your magnetic guarantee.
Why “Induction-Ready” Labels Are Often Misleading
Many modern cookware brands slap “induction compatible” labels on pans with thin magnetic layers that cause dangerous hotspots. Your cast iron avoids this trap through sheer density—its thick, solid iron base (usually 3-7mm thick) distributes magnetic energy evenly. Unlike lightweight induction discs that warp over time, cast iron’s thermal mass smooths out power surges from the cooktop. You’ll notice this when searing steak: induction’s instant heat control combined with cast iron’s heat retention gives you perfect crust without scorching edges. Skip the gimmicks—your grandfather’s skillet already has the ideal magnetic properties.
Preventing Induction Cooktop Scratches Without Sacrificing Performance

That satisfying clunk when you set down cast iron? It’s also the sound of potential glass-ceramic disaster. Induction surfaces scratch easily from rough-bottomed pans, but sanding your skillet destroys its seasoning. The solution lies in strategic surface prep and movement:
Three-Step Scratch Prevention Protocol
- Pre-Clean Ritual: Before every use, wipe the skillet’s bottom with vinegar on a paper towel to dissolve microscopic metal burrs left from cooking. Rinse and dry completely—this removes abrasives without affecting seasoning.
- Lift, Don’t Slide: Always lift your skillet straight up when repositioning. Dragging it across the cooktop (even an inch) creates fine scratches that accumulate into visible damage.
- The Paper Test: Place a single sheet of printer paper between skillet and cooktop. If it slides out easily when the pan is centered, the bottom is smooth enough. If it catches, re-clean the base.
Critical Warning: Never use cast iron with visible rust patches on induction. Rust particles act like sandpaper and will permanently etch the glass surface. Address rust before cooking (see maintenance section).
Why Towels Under Pans Cause More Harm Than Good
Home “hacks” suggesting cloth towels under cast iron create dangerous steam pockets that can crack your cooktop. Instead, use a 0.5mm silicone trivet rated for 500°F+—it cushions without insulating heat transfer. Test it: Your skillet should still heat within 60 seconds of turning on the burner. Thicker mats block magnetic fields, forcing the cooktop to overwork and potentially triggering error codes.
Mastering Heat Control for Flawless Induction Cooking
Induction’s instant response is a double-edged sword with cast iron. Set it to “high” like you would on gas, and you’ll smoke out the kitchen in 90 seconds. Cast iron on induction requires lower power settings with strategic preheating:
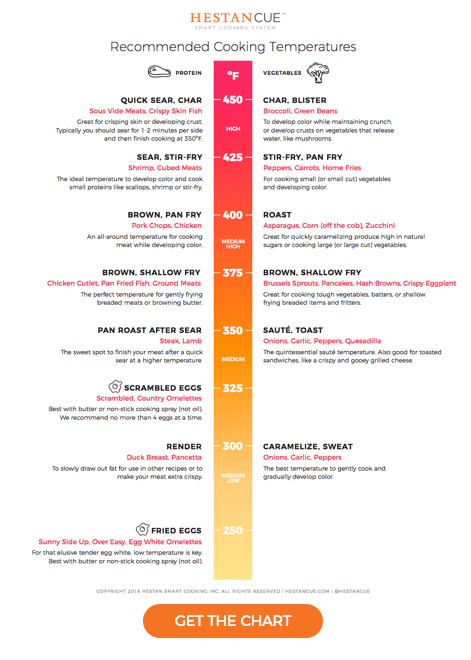
Optimal Temperature Settings Cheat Sheet
| Cooking Task | Induction Power Level | Visual Cue to Watch For | Time to Target Heat |
|---|---|---|---|
| Searing meats | 6-7 (60-70% max) | Light smoke from oil | 3-4 minutes |
| Gentle frying | 4-5 (40-50% max) | Oil shimmers but doesn’t ripple | 5-6 minutes |
| Simmering sauces | 2-3 (20-30% max) | Barely visible bubbles | 8-10 minutes |
Unlike gas where you adjust flame height, induction power levels correspond directly to magnetic field strength. Start at level 3 for 2 minutes, then increase gradually—cast iron’s thermal mass means it keeps heating for 30-60 seconds after you lower the setting. Always preheat empty for 2 minutes before adding oil; water droplets should skitter like mercury when the pan hits 350°F.
The Burnt-On Residue Trap Most Cooks Fall Into
Overheating cast iron on high induction settings carbonizes oil into stubborn black patches. Fix it immediately: While the pan is still warm (not hot), pour in 1 cup of vinegar and scrub with chainmail. Waiting until it cools hardens the residue. For severe cases, use the oven self-clean cycle—but never exceed 500°F to avoid warping.
Seasoning Secrets That Survive Induction’s Intense Heat
Induction’s rapid temperature spikes challenge traditional seasoning. The key is polymerized oil layers that bond to iron at lower temps:
Modern Seasoning Method for Induction Users
- Wash skillet with hot water (no soap) and scrub with nylon brush
- Dry completely on induction burner level 2 for 3 minutes
- Apply thinner-than-water layer of flaxseed or grapeseed oil
- Heat on level 5 until oil stops smoking (about 4 minutes)
- Cool 1 hour before wiping excess
Expert Note: Skip the oven method—it bakes seasoning unevenly. Induction’s direct heat creates a harder, more uniform polymerized layer in half the time. Re-season after cooking acidic foods (tomatoes, wine) that strip protective oils.
Troubleshooting Your Top Induction Cast Iron Failures
“My Skillet Won’t Heat Up”—The Hidden Culprit
If your pan sits cold despite the induction light being on, check for oil buildup on the bottom. After cooking, oil seeps under the skillet and carbonizes into an insulating layer. Solution: Boil 2 cups water in the skillet for 5 minutes, then scrape the bottom with a plastic scraper. Dry thoroughly before reuse.
“Food Sticks Like Glue” Fix
This happens when induction’s instant heat vaporizes oil before it bonds to the pan. Always add oil to the cold skillet, then heat gradually. For eggs, use level 3 and wait until oil shimmers (not ripples) before adding food—this creates the non-stick “Leidenfrost effect.”
Error Code E0: When Induction Rejects Your Pan
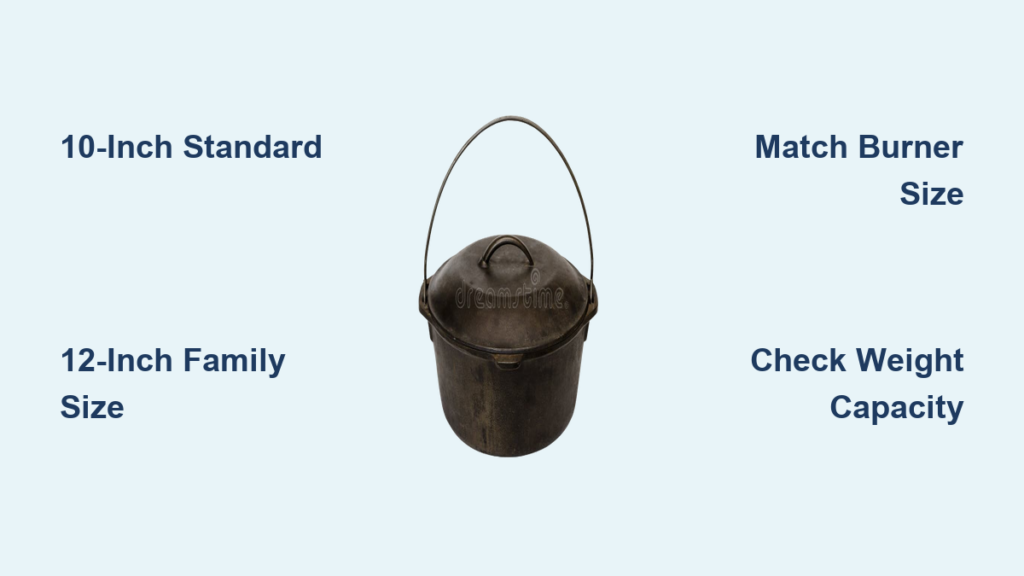
Induction cooktops display E0 when they detect insufficient magnetic contact. Most often, this means your skillet is too small for the burner zone. Use a pan that covers at least 70% of the induction coil (measure your burner—most are 7-8″ diameter). If your skillet is borderline, center it exactly over the coil markings.
Choosing Cast Iron for Induction: What Really Matters
Forget weight claims—focus on base flatness and thickness consistency. Hold the skillet 6 inches from your eye and sight along the bottom; any warp greater than 1mm will cause uneven heating. Opt for skillets with rounded bottom edges (not sharp corners) that won’t catch on the cooktop surface when lifted. For induction-specific needs, 10-12″ skillets perform best—they’re heavy enough for stable magnetic coupling but light enough to lift safely. Avoid vintage skillets with pitted bases; those microscopic craters trap food debris that scratches glass.
Why Cast Iron Outperforms Other Cookware on Induction
Stainless steel needs special magnetic bases that create hotspots, while copper is entirely non-magnetic. Cast iron’s superiority comes down to thermal inertia: It absorbs induction’s rapid energy bursts and releases heat steadily. When you lower the power setting, cast iron keeps cooking gently for minutes—unlike thin pans that cool instantly. This makes it ideal for delicate tasks like melting chocolate or reducing sauces where temperature spikes ruin results. Plus, its natural non-stick surface improves with use, unlike ceramic coatings that degrade under induction’s intense heat cycles.
Final Note: Cast iron on induction isn’t just compatible—it’s a match made in culinary heaven when you respect their combined power. Master the magnetic connection by verifying your skillet’s base, prevent scratches through disciplined lifting habits, and embrace lower power settings for precision cooking. Re-season monthly using induction’s direct heat for unbreakable non-stick performance, and always match pan size to burner zones to avoid error codes. Within weeks, you’ll wonder why you ever used gas for searing. For ongoing care, keep a dedicated chainmail scrubber by your sink and never store your skillet while damp—induction cooking demands respect, but rewards you with restaurant-quality results that outlast any modern cookware. Ready to transform your next steak dinner? Center that skillet, set to level 6, and listen for the sizzle that proves tradition and technology can perfectly coexist.