
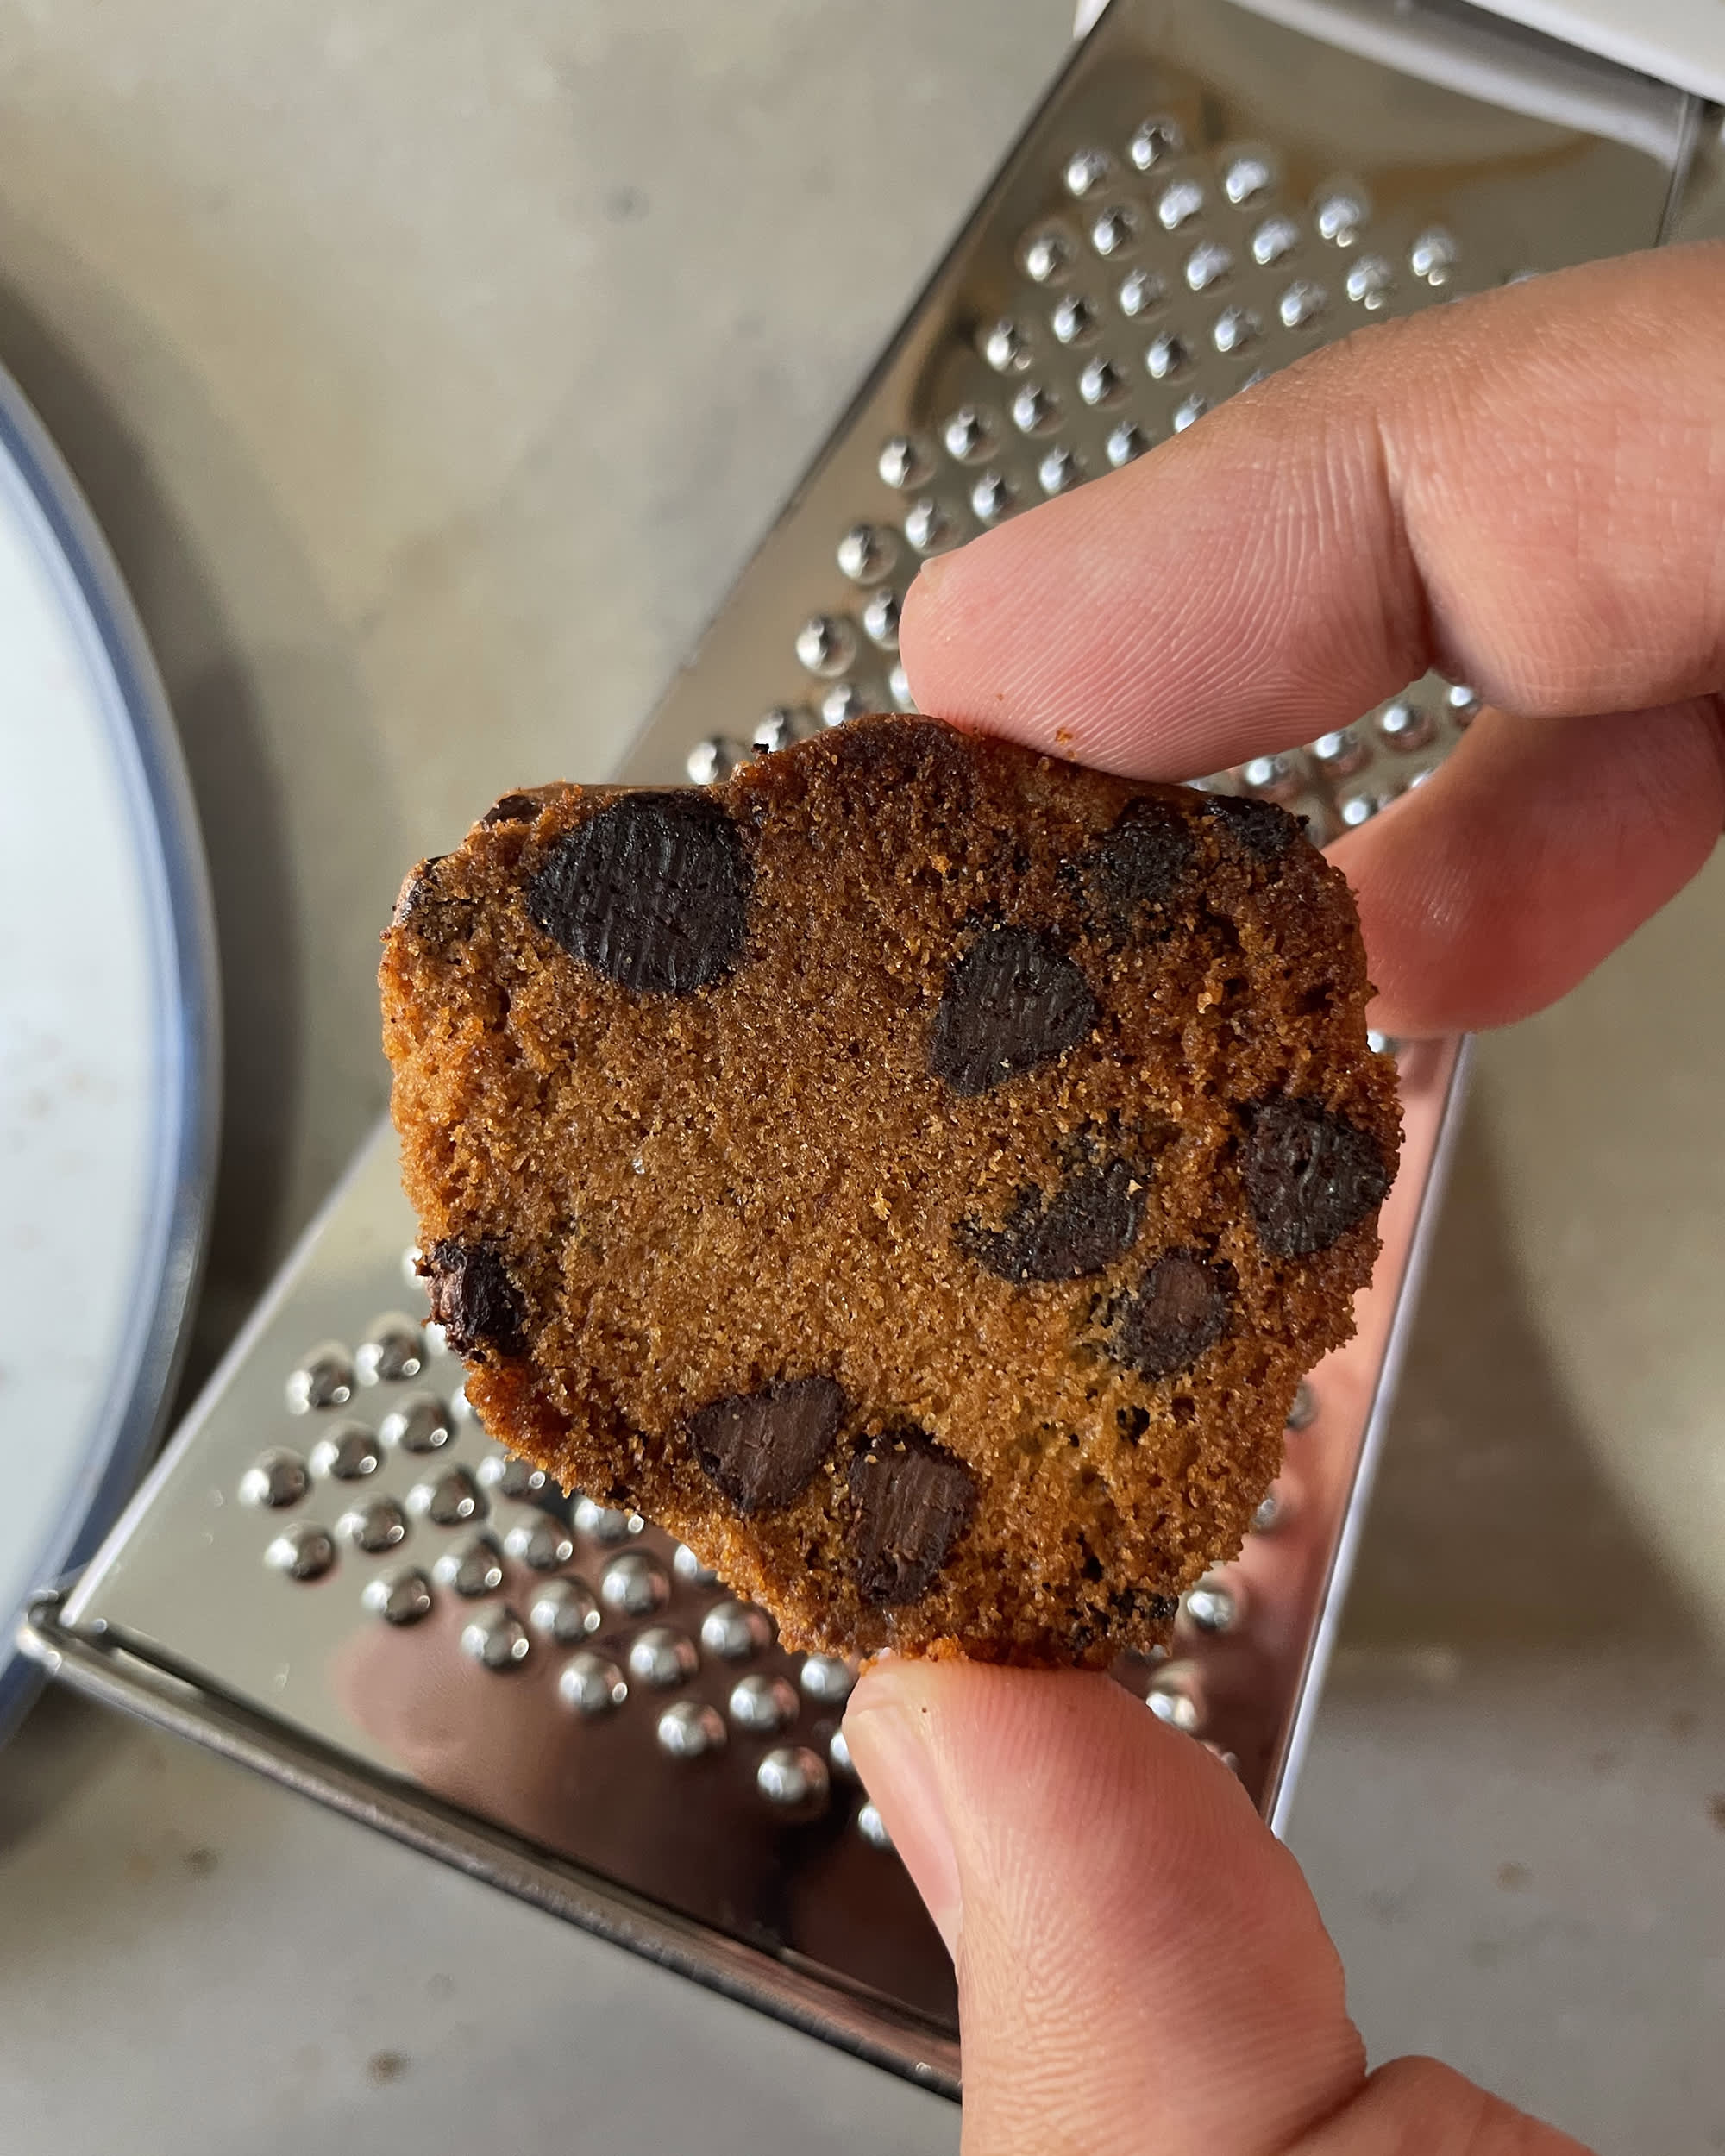
That moment when you pull a golden-brown chocolate chip cookie from the oven only to find limp edges and a doughy center? For decades, home bakers struggled with uneven baking until the cast iron skillet revolutionized cookie craftsmanship. Your cast iron pan isn’t just for cornbread or searing steaks—it transforms ordinary chocolate chip cookies into bakery-quality masterpieces with shatter-crisp exteriors and molten centers. In this guide, you’ll discover exactly how to leverage your skillet’s heat retention for cookies that stay warm for serving while developing that coveted textural contrast professionals charge $5 apiece for. Forget flat, greasy disasters; we’re fixing common baking failures through strategic pan preparation and temperature control.
The magic happens because cast iron distributes heat more evenly than standard baking sheets, eliminating cold spots that cause uneven spreading. Unlike flimsy aluminum pans that warp in high heat, your skillet maintains consistent 350°F+ temperatures from rim to center—critical for activating that perfect cookie chemistry where edges set before the center overbakes. You’ll learn precisely when to preheat your pan, how to adjust dough temperature for skillet success, and why skipping the chilling step guarantees burnt bottoms. Most importantly, we’ll solve the #1 frustration bakers face: cookies that stick like glue to the pan despite “seasoning.”
Why Cast Iron Creates Superior Cookie Texture Versus Baking Sheets
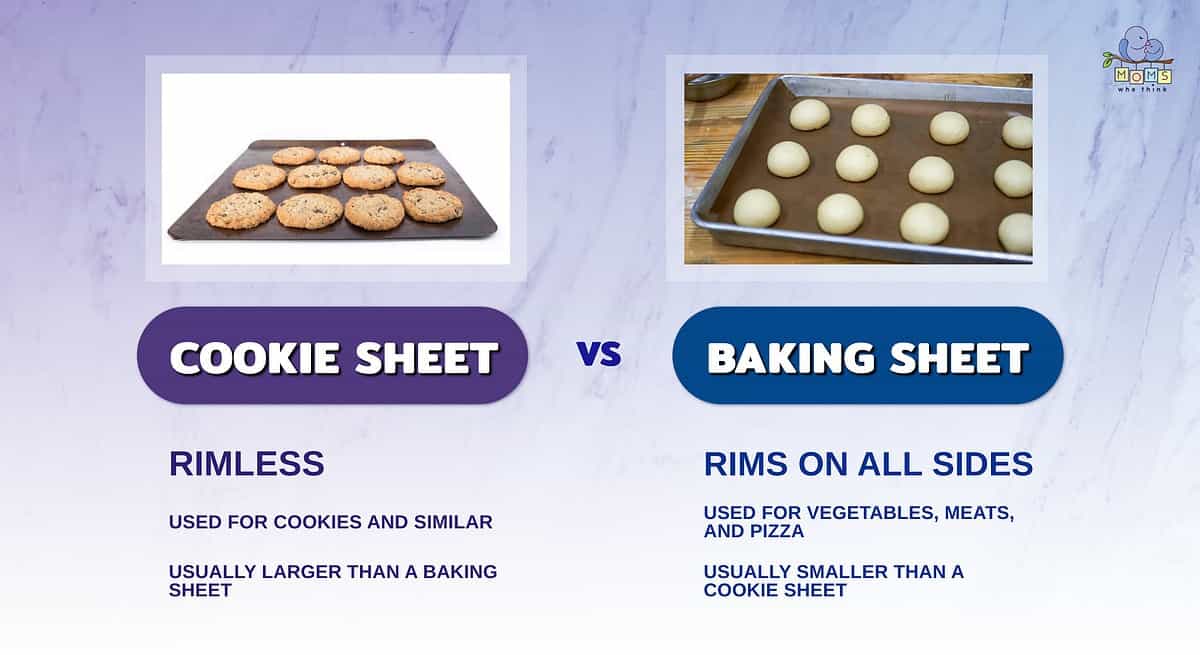
Your cast iron skillet’s thermal mass solves the fundamental flaw in traditional cookie baking: rapid heat loss when opening the oven door. Standard baking sheets cool instantly when exposed to room-temperature air, causing cookies to spread uncontrollably before the oven recovers. But cast iron holds heat like a thermal battery—maintaining temperature within 25°F even during door openings. This consistent environment lets cookies set their structure properly before melting completely, creating defined edges that stay crisp for hours. You’ll notice immediate differences in spread control; cookies baked on sheets often flatten into puddles while skillet cookies maintain voluptuous domes.
How Heat Retention Prevents Soggy Cookie Bottoms
The skillet’s dense material conducts heat upward through the dough instead of just radiating from below. This eliminates the dreaded “wet belt” effect where cookie bottoms stay undercooked while tops brown. When you place room-temperature dough on a preheated skillet, the immediate sizzle jumpstarts caramelization at the contact point—forming that signature crispy base within 90 seconds. Without this thermal shock, butter melts too slowly, leaching into the pan and creating greasy undersides. For proof, compare two batches: one on a cold skillet (soggy, greasy results) versus our method (crisp foundation supporting gooey centers).
Why Skillet Cookies Stay Warm Longer for Serving
Cast iron’s heat retention extends your serving window by 20+ minutes—critical for dinner parties or family gatherings. While sheet-baked cookies turn leathery within minutes, skillet cookies radiate gentle warmth that keeps chocolate pockets molten. This happens because the pan continues conducting residual heat into the cookie mass after oven removal. You’ll achieve that elusive “fresh-from-oven” experience even when plating for guests. Pro tip: Place a trivet under the skillet when serving—residual heat can damage countertops but keeps cookies perfectly warm through dessert courses.
Essential Cast Iron Pan Preparation Before Baking
Skipping proper pan prep guarantees stuck cookies and ruined seasoning—no matter how great your dough. Your skillet needs active preparation beyond casual “seasoning” claims. This isn’t optional cookware maintenance; it’s the non-stick foundation for cookie success. Most failures happen because bakers assume pre-seasoned pans are ready-to-use, not realizing sugar and butter degrade seasoning during baking. We’ll fix this with a targeted pre-bake ritual that creates temporary non-stick properties without damaging your pan’s long-term seasoning.
The 3-Step Skillet Priming Process
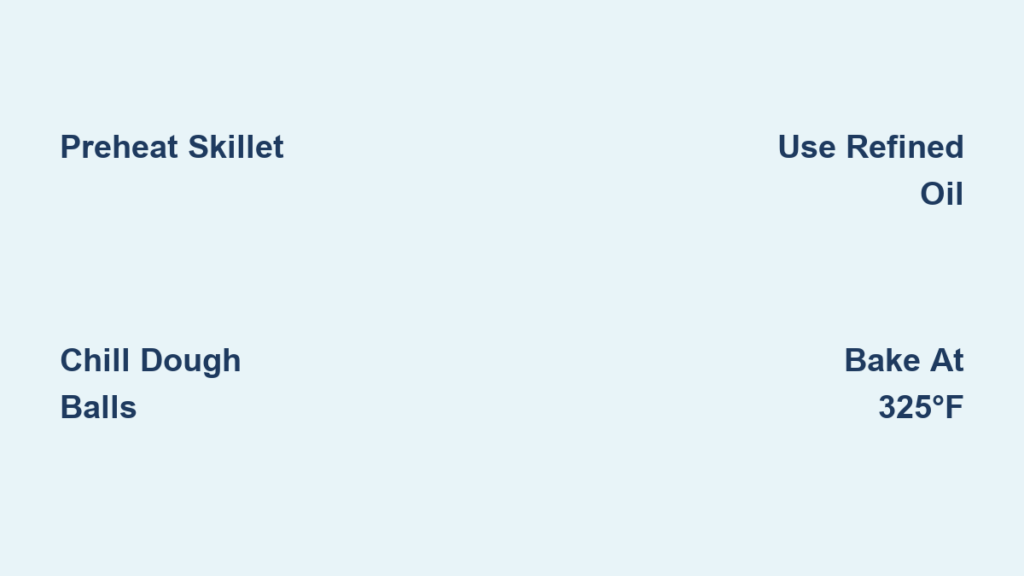
- Wipe with refined oil: Use paper towels to apply a micro-thin layer of grapeseed or canola oil (not olive oil) to the entire cooking surface, including 1 inch up the sides. Butter-based fats smoke at cookie temperatures.
- Heat until smoking: Place the oiled pan in a 400°F oven for 10 minutes until the oil smokes visibly, then remove and cool completely. This polymerizes the oil into a temporary non-stick layer.
- Chill before dough contact: Refrigerate the primed pan for 20 minutes. Cold metal prevents immediate butter melt when dough hits the surface.
Critical mistake to avoid: Never use cooking spray—it leaves sticky residues that bake onto seasoning. If your cookies stick despite priming, your oil layer was too thick; next time, use less oil and wipe aggressively until the pan looks nearly dry.
Why Room-Temperature Dough Fails in Cast Iron
Chilled cookie dough is non-negotiable for skillet success—unlike sheet baking where room-temperature dough sometimes works. When warm dough hits a hot skillet, butter melts instantly, causing uncontrolled spreading into a thin, greasy disc. Chilled dough (at least 2 hours cold) maintains structural integrity long enough for the exterior to set. You’ll see visual proof within 3 minutes of baking: properly chilled dough holds its mound shape while warm dough immediately flattens like pancake batter. For best results, scoop dough balls onto parchment paper, then chill the entire tray before transferring to the primed skillet.
Step-by-Step Baking Process for Perfect Skillet Cookies

Timing precision makes or breaks cast iron cookies—you’re working with thermal dynamics, not just baking. Unlike sheet baking with 10-12 minute windows, skillet cookies need exact 7-9 minute attention. We’ll break down each phase with visual cues so you never overbake. The goal: edges deeply golden with visible cracks while the center looks underdone (it will firm up off-heat). Miss these cues, and you’ll get either raw centers or hockey-puck cookies.
Placing and Spreading Dough Correctly
Place a single 3-ounce dough ball (standard #20 scoop) in the center of your chilled, primed skillet—never crowd multiple cookies. As the pan heats in the oven, the dough will naturally spread outward into a perfect circle. You’ll know placement is correct when the cookie reaches 1 inch from the skillet’s edge at peak spread (about 4 minutes in). If it spreads beyond the rim, your dough was too warm or the pan wasn’t sufficiently chilled. Never press the dough—this ruptures air pockets needed for lift, guaranteeing dense, cakey results.
Critical Baking Time and Temperature Adjustments
Bake at 325°F—not the standard 350°F—for 8 minutes exactly. Lower heat prevents bottom burning while allowing thorough center cooking. Watch for these visual milestones:
– Minute 3: Butter sizzles aggressively as it melts
– Minute 5: Edges turn light golden with fine cracks appearing
– Minute 7: Surface loses wet sheen, becoming matte
– Minute 8: Remove when center still looks underbaked (pale with visible chocolate)
Pro tip: Rotate the skillet 180° at minute 4 for even browning—cast iron ovens often have hot spots. If your cookies brown too fast, your oven runs hot; verify temperature with an independent thermometer.
Troubleshooting Common Cast Iron Cookie Failures
Even with perfect technique, variables like dough composition or oven calibration can sabotage results. These fixes target the three most frequent disasters reported by bakers: burnt bottoms with raw centers, excessive spreading, and stubborn sticking. Each solution addresses the thermal root cause—not just symptoms.
Fixing Burnt Bottoms While Center Stays Raw
This happens when the skillet overheats before dough placement. Immediate fix: Reduce oven temperature to 300°F and extend baking time to 10 minutes. Place the primed skillet in the oven during preheating so it heats gradually with the oven. When inserting dough, the pan should feel hot but not smoking. If using dark chocolate (which burns faster), add 2 tablespoons cornstarch to your dry ingredients—it stabilizes melting points.
Preventing Runaway Cookie Spreading
When cookies spread into a single pancake, your butter was too soft or the pan was insufficiently primed. Next-batch correction: Chill dough balls for 30+ minutes and refrigerate the primed skillet until condensation forms on the surface. For immediate rescue, sprinkle 1 teaspoon flour over the spreading dough in the oven at minute 2—it absorbs excess butter without affecting texture.
Cleaning and Seasoning Restoration After Cookie Baking
Sugar residue is cast iron’s kryptonite—it strips seasoning during baking and creates sticky patches if not addressed. Never soak your pan after cookie duty; the prolonged moisture causes rust where seasoning was compromised. Instead, clean within 10 minutes of baking while the pan is still warm (not hot).
The 5-Minute Post-Bake Revival Method
- Scrape while warm: Use a flat metal spatula to remove cookie debris while the pan is still hot enough to steam (not scalding).
- Salt scrub: Pour 2 tablespoons coarse salt into the pan and scrub with a folded paper towel—salt acts as abrasive without scratching.
- Oil refresh: Wipe a new micro-thin oil layer while the pan is warm to the touch, then bake upside-down at 350°F for 15 minutes.
Warning: Dish soap destroys seasoning after sugar exposure—use only salt and mechanical scrubbing. If rust appears, rub with vinegar, rinse, dry thoroughly, and re-season immediately.
Pro Tips for Next-Level Cast Iron Cookie Results
Transform good cookies into extraordinary desserts with these chef-tested tweaks. Each leverages cast iron’s unique properties for results impossible on baking sheets.
Creating a Cookie Skillet Dessert Centerpiece
Press a second dough ball into the center of your baked cookie at minute 7 for a molten chocolate surprise. The residual heat melts the fresh dough into a lava cake core while the outer ring stays crisp. Serve immediately with vanilla ice cream scooped directly into the warm skillet—your pan retains heat long enough to melt ice cream without chilling the cookie.
Maximizing Crispness with Strategic Sugar Swaps
Replace 25% of your white sugar with turbinado sugar. The larger crystals create microscopic air pockets during baking that amplify crunch. Sprinkle extra turbinado on top before baking—cast iron’s radiant heat caramelizes these crystals into edible “crunch clusters” you won’t get on sheets.
Final Note: Your cast iron skillet transforms chocolate chip cookies through superior heat control—delivering crispy edges and molten centers impossible on baking sheets. Remember to prime the pan with refined oil, use thoroughly chilled dough, and bake at 325°F for exactly 8 minutes. After baking, immediate salt-scrub cleaning preserves your pan’s longevity. For your next batch, try pressing a chocolate square into the center at minute 7 for a decadent surprise. One properly baked cast iron cookie stays warm enough to melt ice cream for 22 minutes—perfect for spontaneous dessert moments. Keep your skillet ready for cookie duty by storing it with a paper towel inside to absorb moisture, ensuring flawless results every time.


