Your curling iron suddenly stops working right before an important event, leaving you staring at a cold barrel while frustration builds. Before you rush to buy a replacement, know that most curling iron problems can be fixed with basic tools and a little know-how. This practical guide shows you exactly how to diagnose and repair common curling iron issues, potentially saving you $30-$150 while keeping functional electronics out of landfills. You’ll learn to identify specific problems, perform safe repairs, and determine when professional help makes more sense than DIY fixes.
Many people toss malfunctioning styling tools without realizing simple repairs could restore them to perfect working condition. Whether your device won’t heat up, cuts out unexpectedly, or shows visible damage, this guide covers the most frequent issues and their solutions. By the end, you’ll feel confident tackling your curling iron repair with the right tools and safety precautions.
Why Your Curling Iron Won’t Heat Up (And How to Fix It)

When your curling iron powers on but stays cold, the problem almost always involves the heating element or its supporting components. This frustrating issue represents nearly half of all curling iron failures and typically stems from one specific cause.
Heating element failure occurs when the resistance wire inside your barrel breaks or develops high-resistance spots from repeated heating and cooling cycles. You can confirm this by testing for continuity with a multimeter. Disconnect the element from the circuit and measure resistance across its terminals. A functional heating element shows between 10-100 ohms depending on model and wattage. Infinite resistance means the element has failed completely and needs replacement.
Power delivery issues often masquerade as heating problems. Before condemning the heating element, verify that full voltage reaches it. Test for power at the element terminals while the device is plugged in (use extreme caution with live circuits). No power at the terminals despite the device appearing “on” indicates a problem with switches, thermostats, or wiring upstream from the element.
Uneven heating patterns where only part of the barrel gets hot usually means partial element failure. The resistance wire has likely broken in one section while remaining functional elsewhere. This problem will progressively worsen until complete failure occurs. Replacement is the only permanent solution, though temporary fixes might buy you a few more uses.
Fixing a Curling Iron That Won’t Turn On
When your curling iron shows absolutely no signs of life—not even indicator lights—you’re dealing with a power delivery failure that requires systematic diagnosis. This common issue affects approximately 40% of malfunctioning styling tools and usually has straightforward solutions.
How to Diagnose Power Cord Problems
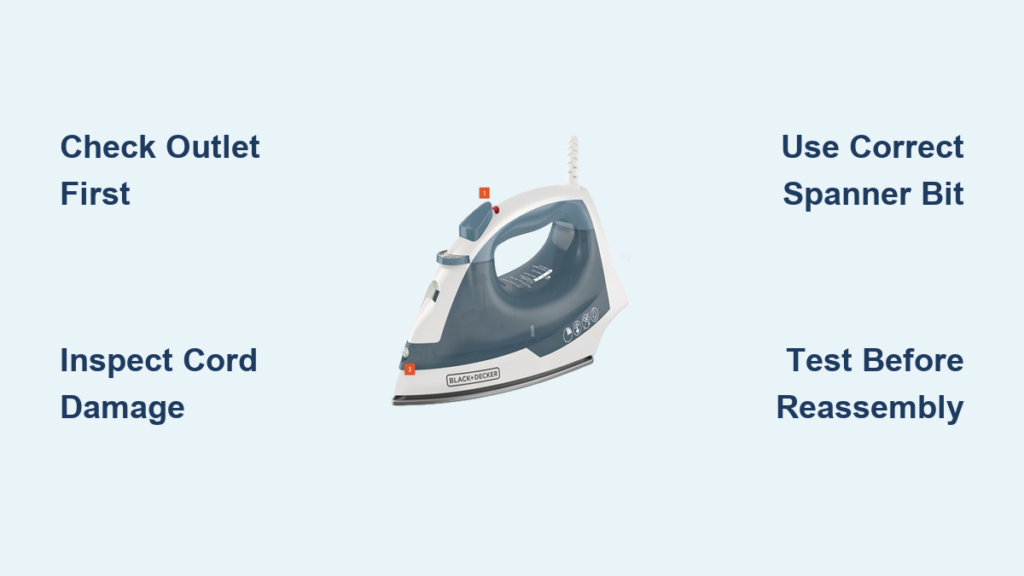
Start by checking the simplest possibilities first. Plug your curling iron into a different outlet to rule out circuit issues. Test the outlet with another device to confirm it’s working. Next, inspect the entire cord length for visible damage, paying special attention to the strain relief points where the cord enters the plug and handle—these high-stress areas commonly develop internal breaks.
Testing Cord Continuity with a Multimeter
Set your multimeter to continuity mode or resistance measurement. With the plug disconnected, touch one probe to each metal prong while connecting the other probe to the corresponding wire connection inside the handle. A good cord shows zero or near-zero resistance. Infinite resistance confirms a broken conductor requiring cord replacement. For accurate results, disconnect the cord from internal components during testing.
Replacing a Damaged Power Cord
Most curling iron cord replacements follow this process: remove handle screws using a precision screwdriver, disconnect old wires noting their original terminal connections, thread the new cord through the handle opening, reconnect wires exactly as found, and reassemble the housing. Match your connection method to the original—some models use screw terminals while others require soldering. Always choose replacement cords rated for your device’s amperage (typically 15 amps for household styling tools).
Repairing Intermittent Operation Issues

Curling irons that work sometimes but cut out unexpectedly create particularly frustrating problems that make diagnosis challenging. These intermittent failures often stem from loose connections that temporarily make contact during normal use.
Fixing Faulty Switch Connections
The on/off switch accumulates wear from repeated use, causing internal contacts to develop resistance or fail to maintain connection. Test your switch by setting your multimeter to continuity mode and checking for zero resistance when closed (on position) and infinite resistance when open (off position). Any intermediate readings indicate contact corrosion or mechanical failure requiring switch replacement.
Addressing Temperature Control Problems
Multi-setting curling irons use complex selector switches that connect different circuit paths for various heat levels. When only certain settings work, the problem likely lies with this switch rather than the heating element. Test each position systematically to identify which settings fail, then clean or replace the temperature selector switch following the same procedures as the main power switch.
Essential Safety Steps Before Any Curling Iron Repair
Working on electrical styling tools requires strict safety protocols since curling irons operate at dangerous temperatures and connect directly to household current.
Always unplug and cool completely before beginning work—internal components retain heat for 30+ minutes after use. Residual heat can cause burns or damage sensitive parts during repair. Never attempt repairs on devices showing visible melting, burning smells, or electrical arcing, as these indicate serious internal damage that creates fire hazards.
Work in a ventilated area with safety glasses and insulated gloves. Keep an electrical-rated fire extinguisher nearby, especially when testing components after repair. If you’re unsure about any electrical aspect of the repair, consult a professional rather than risking personal safety.
When to Skip Repair and Buy a New Curling Iron

Not every malfunction warrants DIY repair. Some situations make replacement the smarter choice for both safety and cost reasons.
Integrated or sealed construction prevents safe access to internal components on many modern styling tools. Manufacturers increasingly use adhesives, rivets, or tamper-proof fasteners that make disassembly impractical without causing permanent damage. If you can’t access components without destroying the housing, replacement makes more sense.
Cost comparison often favors replacement for lower-end models. Basic curling irons cost $15-$40, while even simple repairs requiring parts and tools may approach or exceed this amount. Professional repair services typically charge $40-$75 for diagnostics and labor, making replacement economical for devices under $80 unless sentimental value applies.
Cord Care Tips to Prevent Future Failures
Most curling iron failures stem from cord damage due to improper handling and storage. Implement these simple practices to dramatically extend your tool’s lifespan.
Always unplug by the plug body, never by pulling the cord. Store with the cord loosely coiled—never wrapped tightly around the barrel—which creates stress points that lead to internal wire breaks. Allow the device to cool completely before storing to prevent heat damage to the cord insulation. Consider investing in a dedicated styling tool case that provides proper cord management during transport and storage.
Key Takeaways for Successful Curling Iron Repair
Most curling iron problems stem from just three components: the power cord, heating element, and switches. Start with visual inspection and basic continuity testing before replacing parts, as many issues resolve with simple cleaning of corroded contacts. Power cord failures account for nearly half of all malfunctions and are usually the easiest to diagnose and fix.
For basic repairs like cord replacement or switch cleaning, the investment in a $15 multimeter pays for itself after just one successful repair. However, when dealing with sealed construction, complex electronics, or safety concerns, professional service or replacement becomes the wiser choice. Regular maintenance focusing on proper cord handling and periodic internal cleaning extends your curling iron’s life significantly—making that small daily care routine well worth the effort to avoid unexpected styling emergencies.