
Nothing transforms a simple breakfast into a showstopper quite like a properly executed cast iron Dutch baby pancake. This German-American creation delivers dramatic results with minimal effort—a puffy, golden masterpiece that rises spectacularly in your preheated skillet before collapsing into a perfect bowl shape ideal for holding your favorite toppings. The cast iron Dutch baby recipe has become a brunch staple for good reason: it delivers restaurant-quality results with pantry staples and requires just 10 minutes of active preparation time. When cooked in properly seasoned cast iron, you’ll achieve the signature crispy edges and custard-like center that makes this dish so beloved.
The magic happens through simple chemistry—eggs, flour, milk, and butter transform into something extraordinary when exposed to intense, even heat. Unlike regular pancakes that require flipping, the Dutch baby bakes undisturbed in a screaming-hot skillet, allowing steam to lift the batter dramatically while the cast iron’s superior heat retention creates that essential crispy perimeter. Whether you’re hosting weekend guests or craving a special weekday breakfast, mastering this cast iron Dutch baby recipe ensures consistent success that will have everyone asking for seconds.
Why Your Cast Iron Skillet Creates the Perfect Dutch Baby
Cast iron isn’t just traditional for Dutch babies—it’s essential for achieving the dramatic rise and crispy edges that define this dish. The heavy metal retains heat exceptionally well, delivering consistent, intense heat from all angles that causes the batter to spring upward immediately upon contact. This sudden temperature change creates steam pockets that lift the batter while simultaneously setting the outer edges, creating that signature puffed appearance with a delicate custard center.
For optimal results, use a 10-inch cast iron skillet with straight or slightly flared sides. This size provides the perfect surface-to-batter ratio—any smaller and your Dutch baby will overflow; any larger and it won’t achieve proper height. The skillet must be properly seasoned before use, as this creates the naturally non-stick surface needed for clean release after cooking. If your skillet sticks, it needs re-seasoning—rub a thin layer of vegetable oil over the entire cooking surface and bake upside down at 350°F for one hour. Repeat this process several times for best results.
Critical Temperature Requirements for Success
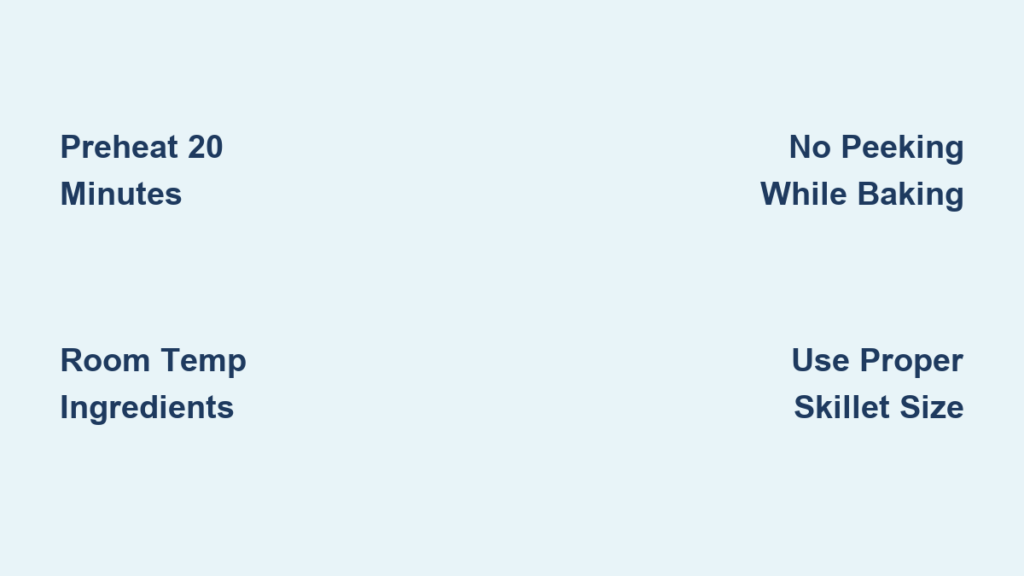
Preheat Your Skillet for 20 Minutes Minimum
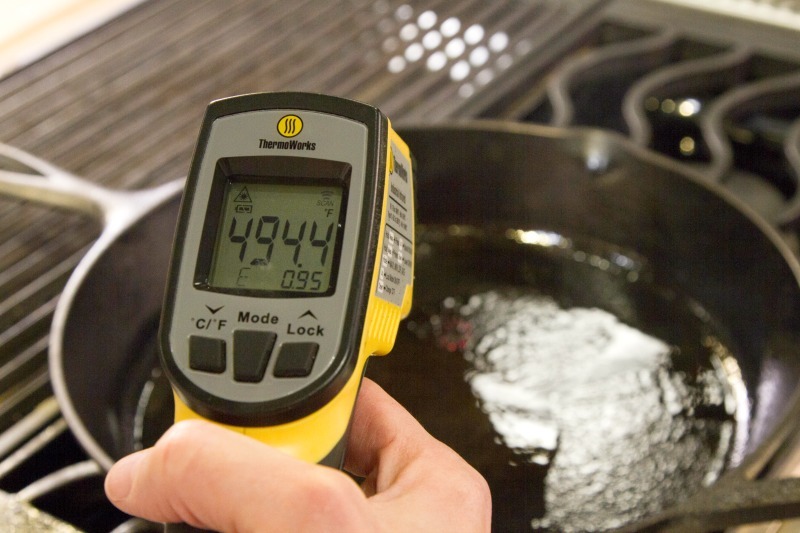
Place your empty cast iron skillet in the center of a cold oven, then set the temperature to 425°F. Allow the skillet to heat for a full 20 minutes—this cannot be rushed. Cast iron conducts heat slowly but retains it exceptionally well, and proper preheating ensures the entire mass reaches the necessary temperature. Test readiness by sprinkling a few drops of water into the skillet; they should evaporate instantly with a vigorous sizzle. If the water beads and rolls around, your skillet needs more time.
Room Temperature Ingredients Prevent Collapse
Cold ingredients dramatically reduce the skillet’s temperature upon contact, preventing the immediate steam formation that creates the dramatic rise. Remove eggs and milk from the refrigerator at least 30 minutes before starting. The batter should feel neither cool nor warm to the touch when poured—this thermal balance maintains the skillet’s intense heat while allowing proper expansion. If your Dutch baby consistently falls flat, check your ingredient temperatures first.
Step-by-Step Cast Iron Dutch Baby Instructions
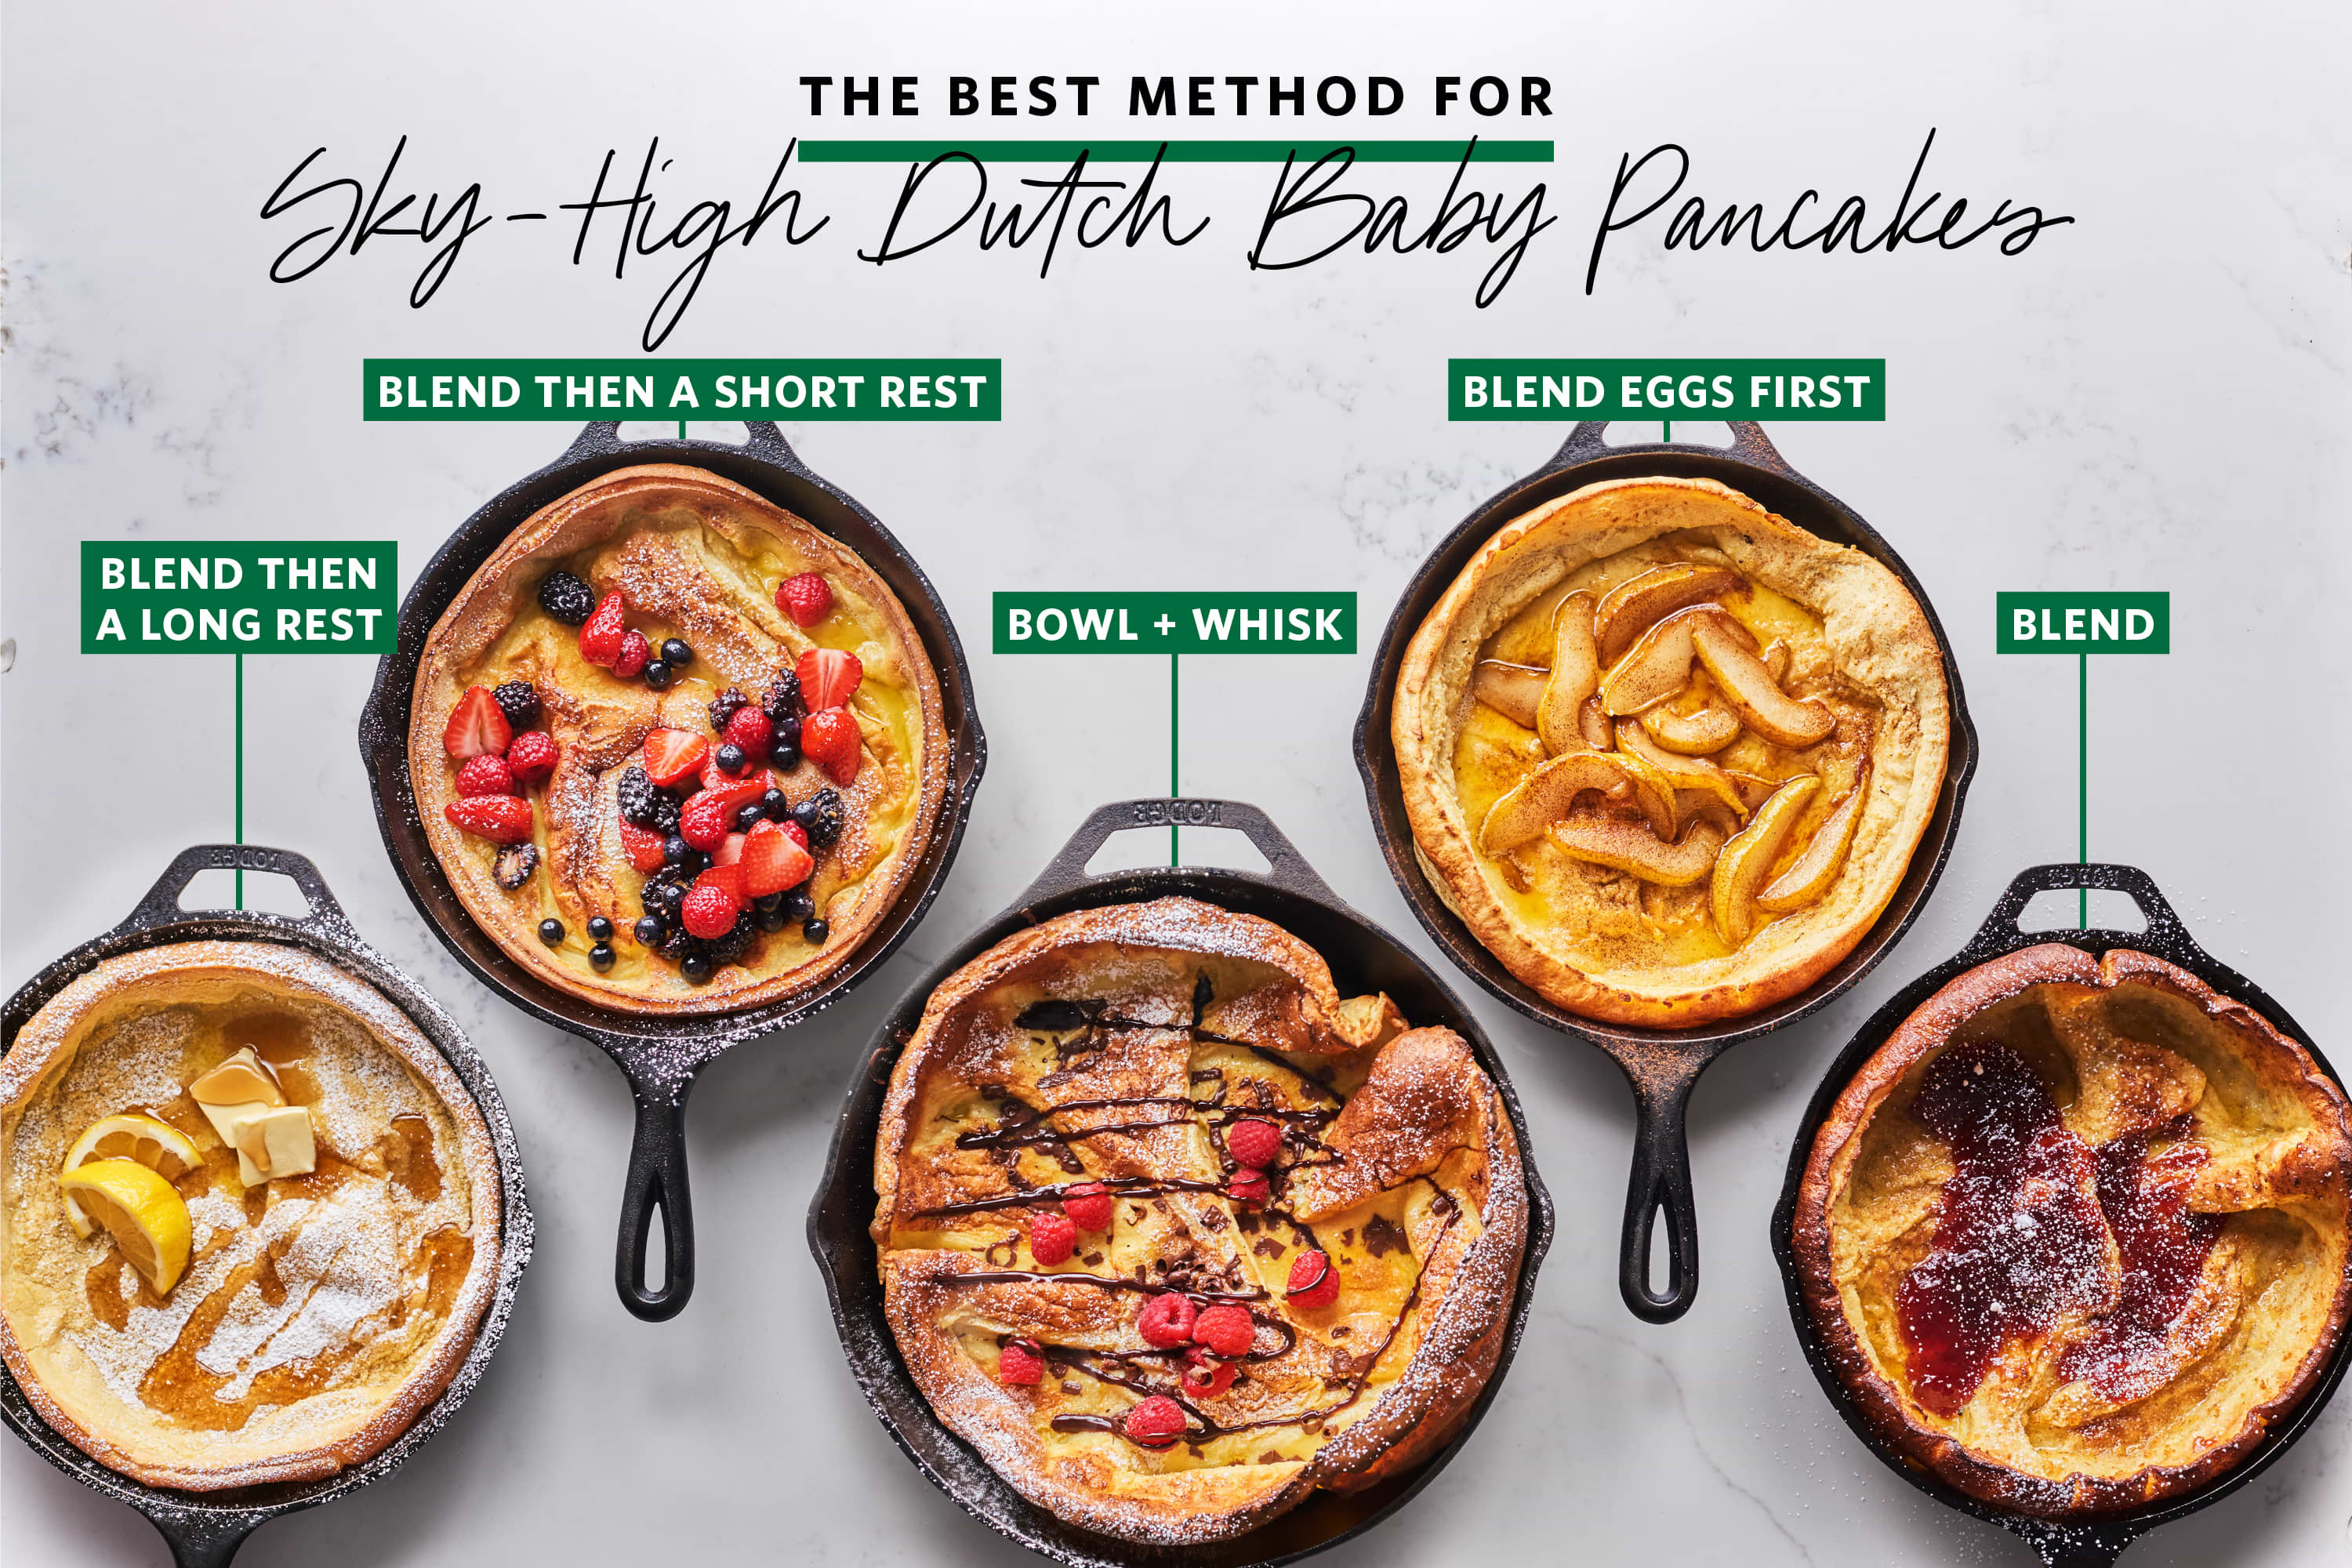
Perfect Your Batter Consistency
Combine 6 large room-temperature eggs, 1 ½ cups all-purpose flour, 1 ½ cups whole milk, ½ teaspoon vanilla extract, ¼ teaspoon nutmeg, ⅛ teaspoon sea salt in a blender. Process on high for 45 seconds until completely smooth and slightly frothy—this aeration creates additional lift during baking. The batter should have the consistency of heavy cream; if lumps remain, strain through a fine-mesh sieve. Let the batter rest for 15 minutes while your skillet preheats—this allows the flour to fully hydrate and gluten to relax, preventing toughness.
Execute the Critical Butter-Batter Transfer
Wearing heavy-duty oven mitts, carefully remove the smoking-hot skillet from the oven. Immediately add 4 tablespoons of unsalted butter and swirl to coat the bottom and 1-inch up the sides—the butter should foam vigorously but not blacken. Working quickly but deliberately, pour the batter into the center of the skillet in one smooth motion. The batter should spread to cover most of the surface while leaving a small margin at the edges—this space allows for dramatic upward expansion rather than messy overflow.
Bake Without Peeking for Maximum Rise
Return the skillet to the oven immediately and set a timer for 20 minutes. Never open the oven door during the first 15 minutes of baking—temperature fluctuations prevent proper rising. The Dutch baby is done when the edges have puffed dramatically (often tripling in height) and turned deep golden brown, while the center appears set but still slightly jiggly. Total baking time ranges from 20-25 minutes depending on your oven’s accuracy. Remember: the dramatic collapse that begins immediately upon removal is completely normal and expected.
Troubleshooting Common Cast Iron Dutch Baby Failures
Fixing a Pale, Flat Pancake
If your Dutch baby remains pale and fails to rise, your skillet temperature was likely insufficient. Extend preheating time by 5 minutes and verify your oven temperature with an independent thermometer—many home ovens run cooler than indicated. Ensure your butter sizzles violently when added to the hot skillet; if it merely melts, the cast iron isn’t hot enough. For immediate improvement, increase oven temperature to 450°F and reduce baking time by 2-3 minutes.
Preventing Sticking Without Damaging Seasoning
A properly seasoned cast iron skillet should release your Dutch baby cleanly, but if sticking occurs, avoid metal utensils that can damage the seasoning. Instead, run a silicone spatula around the perimeter immediately after removal while the pancake is still hot. For future batches, increase butter quantity by 1 tablespoon or coat the skillet with additional cooking spray after preheating. Never soak your cast iron in water—clean while still warm using hot water and a stiff brush, then dry thoroughly and apply a thin oil layer.
Signature Toppings That Elevate Your Dutch Baby
Classic Lemon-Powdered Sugar Combination
The traditional preparation remains unmatched in its simplicity. Immediately after removing your Dutch baby from the oven, squeeze the juice of half a fresh lemon evenly over the surface—the residual heat will cause the lemon to caramelize slightly. Dust generously with powdered sugar using a fine-mesh sieve for even coverage. The contrast of tart citrus against sweet sugar perfectly complements the buttery pancake without overwhelming its delicate flavor.
Modern Flavor Variations Worth Trying
For a berry-infused version, scatter 1 cup of fresh raspberries or blueberries over the batter just before baking—they’ll sink slightly and create pockets of jammy goodness. Savory enthusiasts should try topping with crumbled bacon, fresh chives, and a drizzle of maple-bourbon syrup for brunch perfection. For dessert-style Dutch babies, add 2 tablespoons of cocoa powder to the dry ingredients and serve with chocolate ganache and whipped cream.
Essential Cast Iron Maintenance After Cooking
Clean your skillet while still warm (but not hot) using only hot water and a stiff brush—avoid soap which can strip seasoning. For stubborn residue, sprinkle coarse salt and scrub with a paper towel. Dry thoroughly either by towel or by placing on a burner over low heat for 2 minutes. While still warm, apply a thin layer of vegetable oil to the entire cooking surface using a paper towel. Store in a dry place with the lid off to prevent moisture buildup. With proper care, your cast iron will develop a beautiful non-stick patina that improves with each use.
Mastering the cast iron Dutch baby recipe rewards you with an impressive breakfast that requires minimal active time but delivers maximum impact. The dramatic presentation, simple ingredient list, and endless topping possibilities make this technique worth perfecting. Remember the critical elements: properly preheated skillet, room-temperature ingredients, and resisting the urge to peek while baking. With these fundamentals mastered, you’ll consistently produce that signature puffed perfection with crispy edges and tender center that defines the ultimate cast iron Dutch baby experience. Serve immediately while hot for that unforgettable textural contrast that makes this dish a brunch legend.


