
Installing a cast iron fireplace transforms your living space with classic elegance while providing efficient heating. Many homeowners are drawn to cast iron fireplaces for their durability, heat retention properties, and timeless aesthetic that complements both period properties and contemporary interiors. However, improper installation can lead to safety hazards, poor performance, and costly repairs down the line. This guide walks you through the essential steps for correctly fitting a cast iron fireplace while meeting safety standards and building regulations.
Verify Your Chimney and Hearth Are Ready for Installation
Before bringing your cast iron fireplace to the installation site, confirm your existing chimney structure can safely accommodate it. Many homeowners overlook this critical step, only to discover expensive problems once the fireplace arrives.
Assess Chimney Condition Before Proceeding
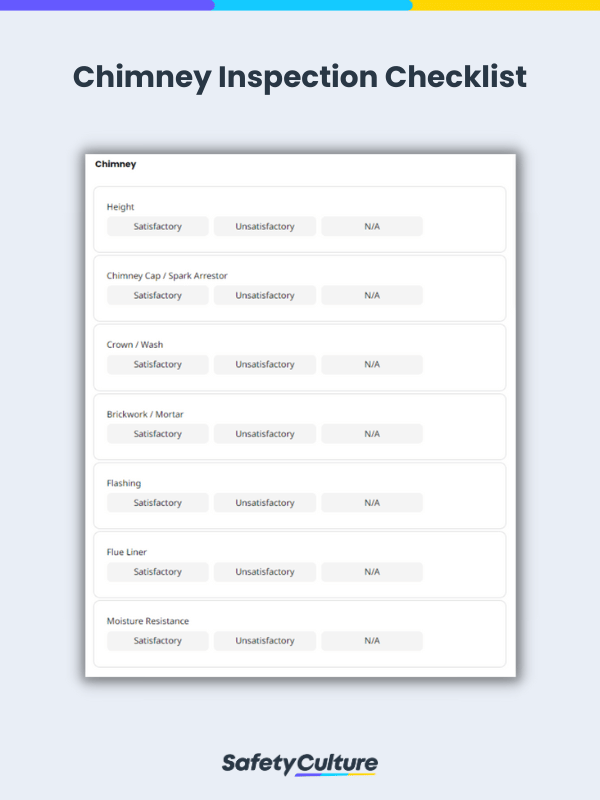
Your chimney serves as the vital ventilation system for your fireplace, and its condition directly impacts safety. Look for visible signs of deterioration like crumbling mortar, white salt deposits on brickwork, or moisture stains that indicate flue problems. Check for loose bricks in the chimney stack, particularly around the crown area where weather exposure causes the most damage.
Arrange for a professional chimney sweep to inspect the flue before installation. They can identify blockages from debris, animal nests, or creosote buildup that would prevent proper ventilation. If your chimney requires relining, flexible stainless steel flue liners often provide the most practical solution for bringing older chimneys up to current standards. Never skip this step—ignoring chimney issues can lead to dangerous carbon monoxide buildup in your home.
Take Precise Measurements of Your Fireplace Opening
Accurate measurements prevent frustrating compatibility issues during installation. Measure the width and height of your fireplace opening at multiple points, as older homes often have irregular recesses that aren’t perfectly square. Record the depth from the hearth surface to the back wall, noting any projections or uneven surfaces.
Calculate the total height from the hearth to where the mantel shelf will sit, ensuring your chosen cast iron fireplace surround fits within available space. Account for any architectural details like skirting boards or picture rails that might interfere with installation. Many homeowners discover their existing opening requires modification to accommodate their chosen fireplace design, so establishing these requirements early prevents costly surprises.
Gather the Right Tools Before Starting

Proper preparation makes the difference between a smooth installation and a frustrating project. Cast iron fireplace components are heavy and require specific tools for safe handling and precise positioning.
Essential Tools for Cast Iron Fireplace Installation
You’ll need a quality tape measure, spirit level, and pencil for accurate marking throughout the project. A rubber mallet helps adjust components without damaging cast iron surfaces, while a claw hammer handles general fixing tasks. For wall work, equip yourself with a masonry drill bit set and hammer drill for creating secure anchor points in brick or stone.
Safety equipment is non-negotiable—include safety glasses, dust masks, heavy-duty work gloves, and knee pads for comfort during floor work. If modifying your hearth, you may need an angle grinder with diamond blade for precise cuts through stone or concrete. Never attempt to move heavy cast iron components without proper lifting techniques or assistance—these fireplaces can weigh well over 100 kilograms.
Prepare Your Installation Area Thoroughly
Taking time to properly prepare your workspace prevents problems during assembly and ensures your finished fireplace sits correctly for decades of reliable service.
Clear and Protect Your Work Area
Remove all furniture and soft furnishings from the installation room, creating ample space to maneuver heavy components safely. Cover remaining floors with protective sheeting to prevent scratches and damage from mortar splashes. Establish a clear pathway for moving cast iron components from delivery location to installation site, checking that doorways accommodate these awkward, heavy items.
Ensure adequate lighting throughout the work area, supplementing existing fixtures with portable work lights if necessary. Good visibility prevents errors in positioning and helps you spot potential hazards. If you’re working on an upper floor, verify the structural capacity can support the fireplace weight before proceeding.
Install the Firebox Correctly
The firebox forms the heart of your cast iron fireplace installation. Proper positioning ensures efficient burning and safe operation.
Position and Secure Your Cast Iron Firebox
Slide the firebox into position from the front, ensuring it sits squarely within the prepared opening while maintaining proper clearance from combustible materials. Building regulations typically require minimum distances from the firebox to any combustible wall construction—these vary by jurisdiction but often range from 150-200mm.
Use temporary supports to hold the firebox in correct position while checking alignment from multiple angles. Secure the firebox using manufacturer-supplied fixing points, connecting through-bolts or brackets to solid wall structure. Avoid over-tightening fixings, which can crack cast iron components. Verify the firebox remains level and plumb after securing all fixings.
Connect to Your Flue System Properly
Apply fire cement generously where the firebox spigot meets the flue opening, creating a gas-tight seal that prevents smoke leakage. Work the cement firmly into any gaps for complete coverage around the connection point. For appliances with register plates, position and secure these components before connecting to the flue.
Install any additional ventilation components required by your appliance specification, including air bricks or grilles that provide combustion air. These requirements vary significantly between appliance types, so consult your manufacturer’s instructions carefully. Test the flue connection by lighting a small paper fire and observing smoke behavior before closing up access points.
Fit the Cast Iron Surround with Precision
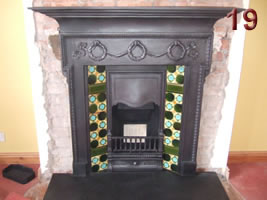
The surround defines your fireplace’s visual character and requires careful fitting to achieve a professional appearance.
Assemble Surround Components Methodically
Begin with the main frame or outer components, working systematically from bottom to top through the assembly sequence. Use a rubber mallet to gently tap components into position, avoiding direct hammer blows that could damage cast iron. Check alignment and level at each stage, making corrections before sealants cure.
Position the assembled surround carefully over the installed firebox, maintaining appropriate clearance from the appliance body. Many surrounds incorporate decorative elements that must align correctly with firebox features. Use temporary supports to hold the surround in position while checking all alignments before final fixing.
Secure the Surround to Wall Structure
Mark fixing points through manufacturer-supplied mounting holes, ensuring at least two points of secure attachment for each major component. Drill appropriate holes using masonry bits for brick or stone walls, inserting wall anchors that provide reliable holding strength. For stud walls, locate structural members and use through-bolts that penetrate into solid framing.
Apply fire-rated expanding foam in gaps between the surround and wall surfaces, creating a neat appearance and preventing draughts. Once foam has cured, trim excess flush with surrounding surfaces. Apply matching fireplace mortar to gaps between surround components and the hearth for clean, professional-looking lines.
Complete Final Testing and Safety Checks
Before declaring your installation complete, thorough testing confirms safe operation and identifies any issues requiring correction.
Conduct Comprehensive Safety Checks
Verify all fixings are tight and components remain securely positioned after removing temporary supports. Check that all clearances to combustible materials meet manufacturer specifications and building regulation requirements. Confirm ventilation openings remain clear and unobstructed.
Inspect all seals and joints for completeness and proper appearance, touching up any areas that don’t meet your standards. Ensure the firebox door closes and seals correctly, with latching mechanisms operating smoothly. Check that any electrical components function correctly before proceeding to first fire.
Light Your Initial Test Fire Safely
Begin with a small, controlled fire using kindling and paper, gradually building to a modest fire over the first few uses. Observe smoke behavior carefully, confirming all smoke rises properly through the flue without leakage into room spaces. Check door seals and window clarity for any signs of smoke escape.
Monitor the surround and adjacent wall surfaces for unusual heating that might indicate clearance problems. Allow the fire to burn fully and observe cooling behavior, checking for any cracking, popping, or unusual sounds. Repeat test fires over several days while monitoring performance before considering your installation complete.
Maintain Your Cast Iron Fireplace Properly
Establishing a maintenance routine preserves your fireplace’s appearance and ensures safe, efficient operation throughout its lifespan.
Implement Regular Maintenance Practices
Allow fires to burn down completely before leaving the fireplace unattended, ensuring embers are fully extinguished. Remove ash regularly to maintain proper airflow, but leave a thin layer that insulates the firebed. Check that the ash pan doesn’t overflow, as excess ash blocks air vents.
Schedule a professional chimney sweep at least annually, before the heating season begins. Inspect all seals and gaskets annually, replacing any that show wear or damage. Check the surround and hearth for cracks, repairing promptly to prevent moisture penetration.
Remember that cast iron fireplace installation often requires professional expertise to ensure code compliance and safe operation. Flue work, gas connections, and complex structural modifications benefit from specialist knowledge. Always consult your specific appliance manufacturer’s installation instructions and local building regulations before completing your installation, as requirements vary significantly between appliance types and jurisdictions.


