
Your flat iron slips, searing skin in a split second. That sharp sting followed by throbbing pain isn’t just uncomfortable—it’s a medical alert. Hair iron burn treatment starts within seconds of the injury, and skipping critical steps can turn a minor mark into a permanent scar. Over 500,000 thermal burns occur annually from styling tools, with hair irons causing 32% of these incidents according to dermatology clinics. Yet most people reach for dangerous home “remedies” like butter or ice that worsen damage. This guide cuts through misinformation with clinically backed first response tactics, clear danger signs requiring ER visits, and prevention strategies that actually work. You’ll learn exactly how to cool burns safely, which OTC products accelerate healing (and which delay it), and why timing determines whether you’ll see pigment changes months later.
Immediate First Response: Stop Damage in 60 Seconds
The first minute after a hair iron burn dictates your healing outcome. Every second counts because heat continues penetrating tissue even after contact ends. Your priority isn’t pain relief—it’s halting thermal damage.
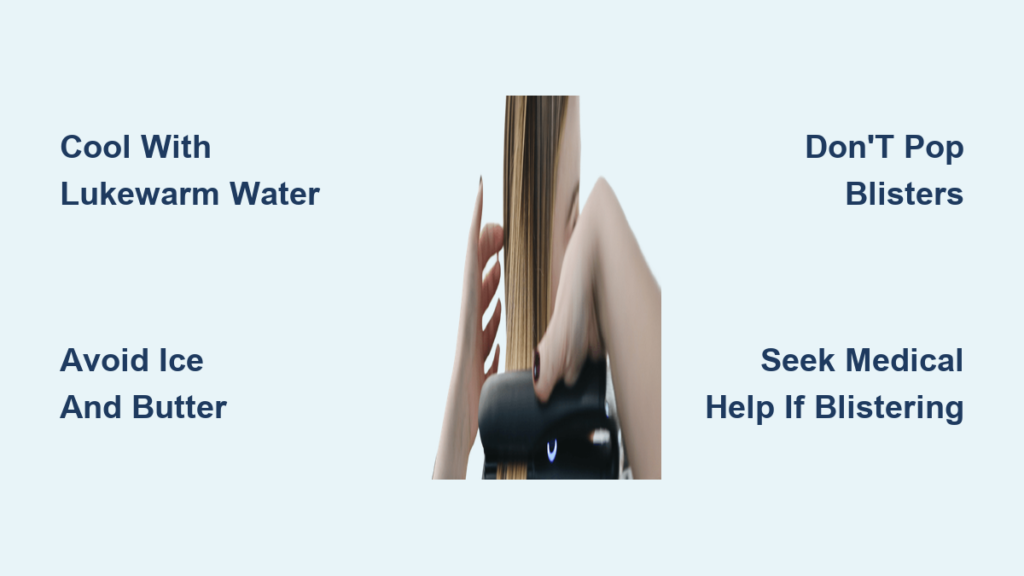
Cool the Burn Properly (Not With Ice!)
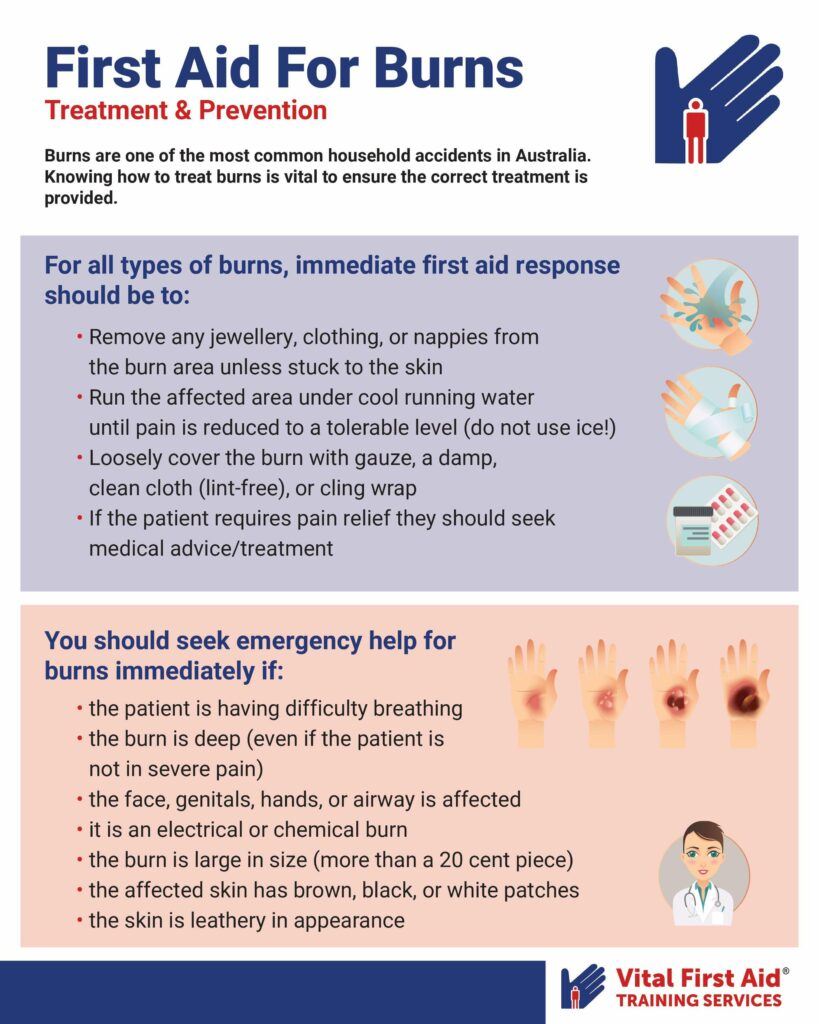
Run lukewarm water over the affected area for 10-15 minutes immediately. Water between 60-80°F (15-27°C) draws heat out without shocking skin. Never use ice—extreme cold restricts blood flow, worsening tissue death. Hold the burn 6 inches below gentle faucet flow; pressing water directly forces heat deeper. For facial burns, soak a clean cloth in cool water and drape it loosely. Stop cooling when the area feels numb—overcooling causes frostbite-like damage.
What to Remove and Avoid Touching
Gently peel away stuck clothing or hair only if fabric isn’t fused to skin. If strands are welded to the burn, snip them with scissors 1 inch from the wound—pulling causes tearing. Do not pop blisters; that thin skin is your natural barrier against infection. Avoid cotton balls or fluffy towels; loose fibers embed in raw tissue. Skip home “cures” like toothpaste, aloe straight from the plant, or honey—these trap heat and introduce bacteria.
Recognizing Burn Severity: When Home Care Fails
:max_bytes(150000):strip_icc()/degrees-of-burns-1298906_v2-b34a363d24824c8b935448fe774a753d.png)
Not all hair iron burns heal with basic first aid. Misjudging severity leads to scarring or sepsis. Use this visual guide within 2 hours of injury:
First-Degree vs. Second-Degree Burn Identification
First-degree (superficial):
– Looks like: Pink skin, mild swelling, no blisters
– Feels like: Sunburn—tender but no open wounds
– Healing time: 3-6 days with proper care
– Action: Apply fragrance-free moisturizer hourly for 48 hours
Second-degree (partial-thickness):
– Looks like: Blisters, mottled red/white skin, weeping fluid
– Feels like: Intense throbbing, skin feels wet
– Healing time: 2-3 weeks; high scarring risk
– Action: Seek medical help if blisters cover >1 inch or involve eyelids/lips
Danger Signs Requiring ER Visit Within 1 Hour
Go immediately if you notice:
– Skin appears leathery, charred, or waxy white (third-degree)
– Burn crosses joints (fingers, wrists) limiting movement
– Numbness in the area (nerve damage)
– Fever or pus 24+ hours post-burn (infection)
– Circular marks matching your iron’s plates (indicates deep penetration)
Safe Home Treatment Protocol for Minor Burns
Only attempt home care for first-degree burns under 2 inches wide. This method prevents infection while reducing pigment changes:
Step-by-Step Healing Process
- After cooling (Day 1): Pat dry without rubbing. Apply only petroleum jelly or pure calendula ointment. Avoid Neosporin—its neomycin causes allergic reactions in 15% of users.
- Days 2-4: Cover with non-stick silicone bandage (like Mepilex). Change dressing twice daily. Watch for yellow crust—this is normal healing, not infection.
- Days 5-7: Once scabbed, massage with vitamin E oil only if no redness remains. Stop if irritation occurs.
OTC Products That Actually Work
| Product Type | Safe Choices | Avoid These | Why |
|---|---|---|---|
| Pain Relief | Ibuprofen (Advil) | Topical benzocaine | Oral anti-inflammatories reduce swelling without numbing infection signs |
| Moisturizers | Ceramide creams (CeraVe) | Aloe gels with alcohol | Ceramides rebuild skin barrier; alcohol dries new tissue |
| Dressings | Silicone-coated pads | Adhesive bandages | Silicone prevents scab cracking; adhesives tear healing skin |
Preventing Permanent Damage and Scars
Hair iron burns on the face or neck often leave hyperpigmentation. These evidence-based tactics minimize lasting marks:
Critical First 72-Hour Window
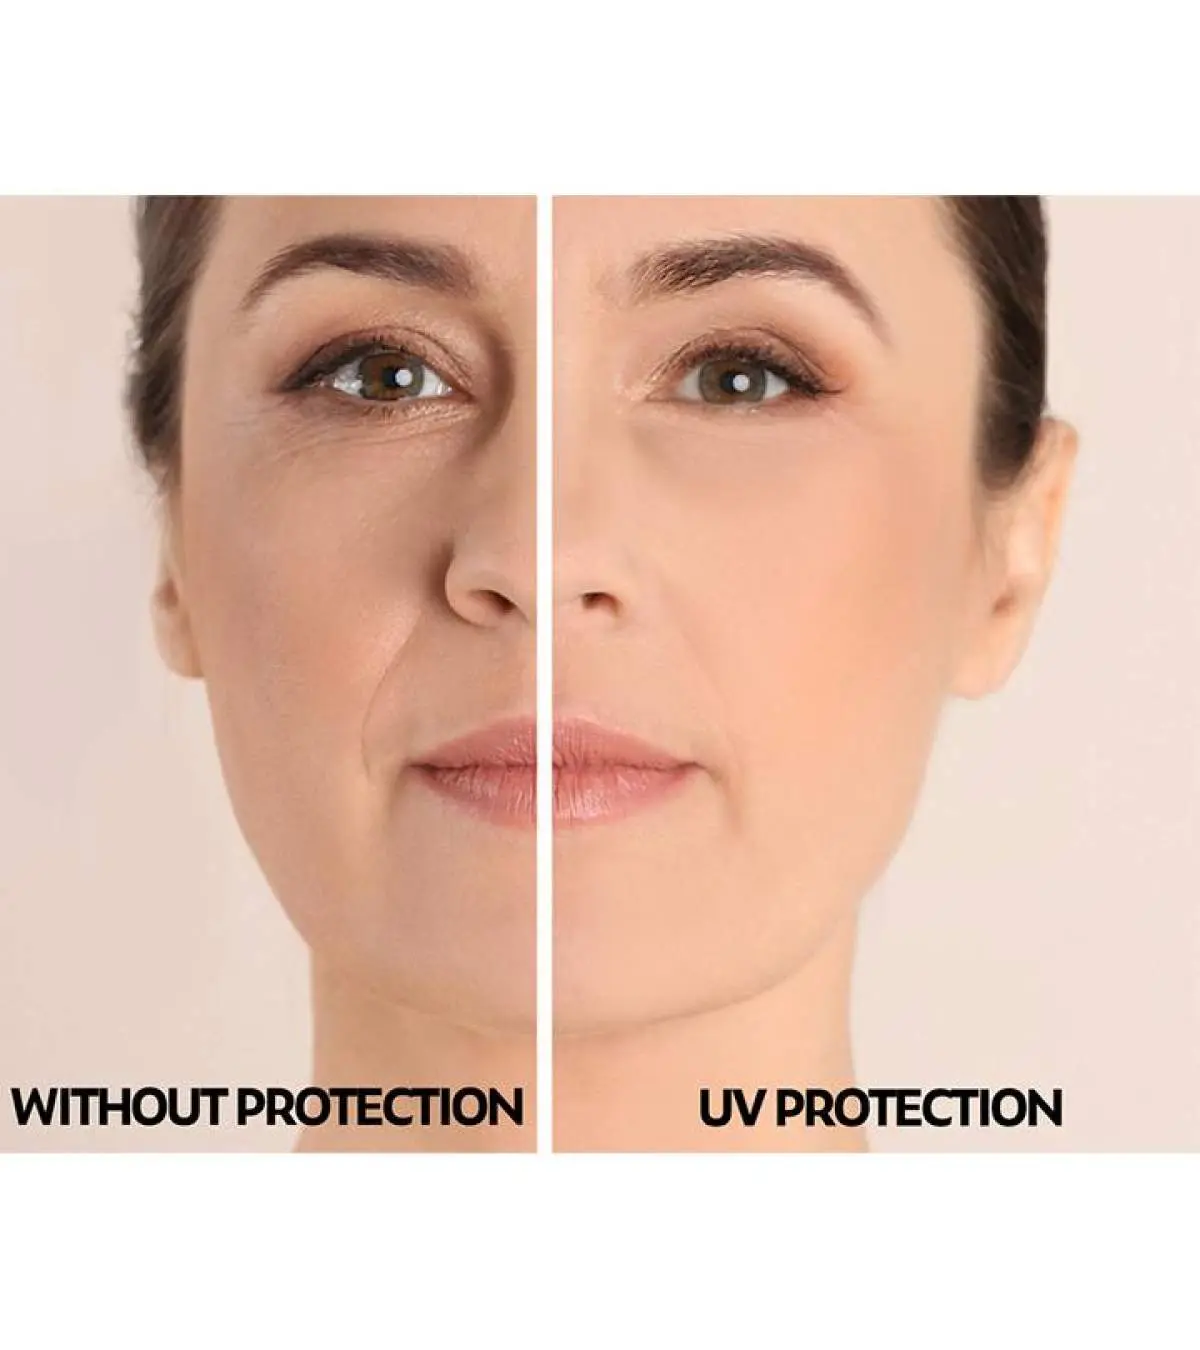
- Sun avoidance is non-negotiable: UV exposure darkens burns permanently. Wear UPF 50+ clothing over the area for 8 weeks—even indoors near windows.
- Silicone sheeting reduces scarring by 82% when worn 12+ hours daily starting Day 5. Brands like ScarAway work for facial burns.
- Never pick scabs: Let them fall off naturally. Picking creates 3x larger scars. If itching, apply cool compress for 5 minutes.
Professional Treatments Worth Considering
For second-degree burns, dermatologists use these interventions during the healing phase:
Laser Therapy for Pigment Correction
Pulsed dye lasers (585nm wavelength) target blood vessels under burns 2-4 weeks post-injury. This reduces redness by 70% in 3 sessions. Best started before the burn fully scabs—ask your doctor at the 1-week follow-up. Cost: $300-$500 per session (often covered by insurance for facial burns).
Medical-Grade Scar Prevention
Prescription silicone gels like ScarGuard outperform drugstore options by forming an oxygen-regulating barrier. Apply twice daily for 8 weeks. Studies show 64% less hypertrophic scarring versus petroleum jelly alone. Requires a dermatology referral.
Proven Prevention Strategies for Stylists and Home Users
Most hair iron burns happen during rushed styling. These adjustments eliminate risk:
Technique Adjustments That Stop Slips
- The 3-finger rule: Keep three fingers between your hand and the iron’s plates. If your knuckle brushes the barrel, you’re too close.
- Section hair vertically: Horizontal sections force awkward wrist angles. Clip hair into vertical strips at ear level.
- Use heat-resistant gloves: Only wear them on your non-dominant hand (the one holding hair). Silicone-tipped gloves like those from Bed Head prevent slips without bulk.
Tool Maintenance Checks Before Every Use
- Test plate alignment: Place a business card between plates. If it slides through unevenly, plates are warped—return for repair.
- Check auto-shutoff: Set timer to 30 minutes. If iron stays hot beyond this, replace it immediately (faulty sensors cause 22% of burns).
- Clean residue weekly: Burnt product buildup creates hot spots. Wipe plates with rubbing alcohol on a microfiber cloth while cool.
Final Note: Hair iron burns demand urgent, precise action—not guesswork. Remember: cooling with lukewarm water within 60 seconds is your most powerful tool, while ice and home “cures” cause irreversible harm. For any blistering or facial burns, consult a dermatologist within 24 hours to prevent scarring. The single most effective prevention? Treat your flat iron like a surgeon’s scalpel—never rush, always check plate alignment, and keep emergency burn gel (like Burnshield) in your styling kit. By prioritizing these evidence-based steps, you transform a painful accident into a fully healed memory within weeks, not months. For ongoing protection, bookmark the American Burn Association’s emergency hotline (1-847-427-5558) in your phone—specialists answer 24/7 with free treatment guidance.


