
Your cast iron skillet just finished searing the perfect steak, but the work isn’t over. Improper post-cooking care causes 90% of cast iron failures – warped pans, stubborn rust, and that dreaded sticky residue that ruins seasoning. You’ve invested in this heirloom-quality cookware, yet one wrong move while cleaning can undo years of careful seasoning. Most home cooks either scrub too aggressively with soap (killing the non-stick surface) or leave moisture trapped overnight (inviting rust). This guide cuts through the myths with actionable, science-backed steps you can implement tonight. You’ll learn exactly how to clean, dry, and protect your cast iron in under 10 minutes – transforming post-cook chaos into a seamless ritual that makes your pan better with every use.
Why Your Current Cleaning Method Is Ruining Your Cast Iron
The Soap Myth That Started a Generational War
Contrary to great-grandma’s warnings, modern dish soap won’t destroy seasoning – but improper rinsing will. Liquid soap molecules are too large to penetrate properly cured polymerized oil layers. The real danger? Using abrasive scrubbers that scratch the carbonized seasoning matrix. When you attack stuck-on food with steel wool, you’re not just removing residue – you’re stripping the microscopic “tooth” that creates non-stick performance. This forces you into constant re-seasoning marathons. Instead, leverage thermal expansion physics: heat loosens food particles. Keep your skillet warm on the stove during cleaning – residual heat prevents moisture absorption while making debris slide off effortlessly.
Water Damage: The Silent Seasoning Killer
Leaving your cast iron wet for just 27 minutes triggers oxidation that compromises seasoning at a molecular level. Water molecules bond with iron atoms, creating microscopic pits where rust incubates. Most cooks make the critical error of air-drying on the rack – by the time water evaporates from crevices near the handle, corrosion has already begun. This explains why you find orange speckles in “hidden” spots after storage. The solution isn’t avoiding water entirely (impossible for most foods), but controlling its interaction through strategic heat application.
Immediate Post-Cooking Protocol (0-5 Minutes)
Step 1: Deglaze While Still Hot – Don’t Waste Flavor or Time
Never pour cold water into a hot pan – thermal shock causes micro-cracks. Instead:
– Keep skillet on low heat after cooking
– Add ¼ cup hot water or broth to loosen fond
– Use a wooden spatula (not metal!) to scrape caramelized bits
– Pour liquid into sauces immediately – don’t let it sit
Pro Tip: For stubborn stuck-on bits, sprinkle coarse salt and rub with a folded paper towel. The salt’s crystalline structure acts as gentle sandpaper without scratching.
Step 2: The 3-Minute Hot Water Cleanse
Do this within 3 minutes of finishing cooking while residual heat is active:
1. Run hot tap water into the warm pan (never fill sink first)
2. Scrub with nylon brush using clockwise motions – follow the grain of the seasoning
3. For protein residue: rub with half a raw potato dipped in baking soda
4. Rinse under hot water until sheeting occurs (water flows smoothly)
Critical Warning: If you see rainbow oil swirls during rinsing, your seasoning is overheating – stop immediately and dry.
Critical Drying Techniques That Prevent Rust
Why Air-Drying Guarantees Rust (And What to Do Instead)
Air-drying leaves microscopic water pockets in seasoning pores. Within hours, oxygen converts trapped H₂O into hydroxide ions that etch iron. The only rust-proof method:
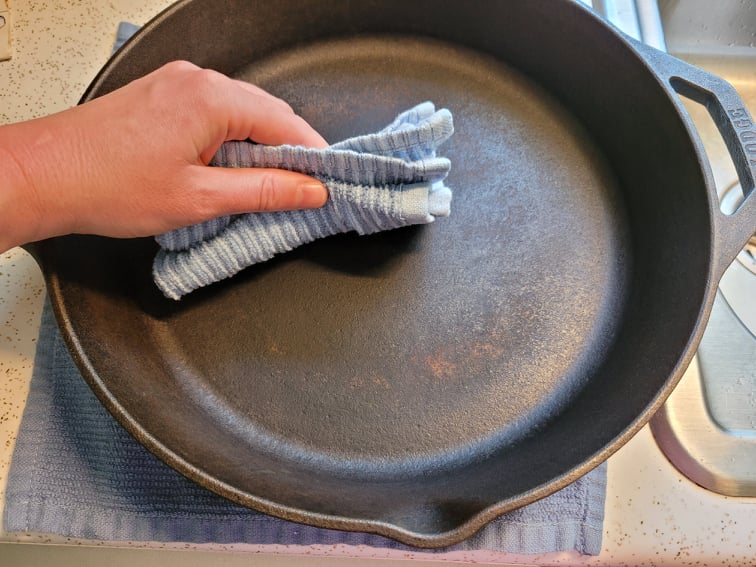
– Dry immediately with lint-free cotton towel (paper towels shed fibers)
– Place pan on burner over medium heat for 2 minutes while wiping
– Check handle crevices with finger – if cool to touch, moisture remains
– Heat until towel comes away completely dry (usually 4-5 minutes total)
Time-Saver: For quick cleanups, skip towels entirely. Heat pan until water droplets “dance” and evaporate in under 10 seconds – this indicates 100°C+ surface temperature that vaporizes moisture.
Re-Seasoning: When and How to Do It Right
Spot-Treatment vs. Full Re-Seasoning: The 30-Second Rule
Don’t re-season after every use – this builds gummy buildup. Only re-season when:
– Food sticks noticeably during cooking
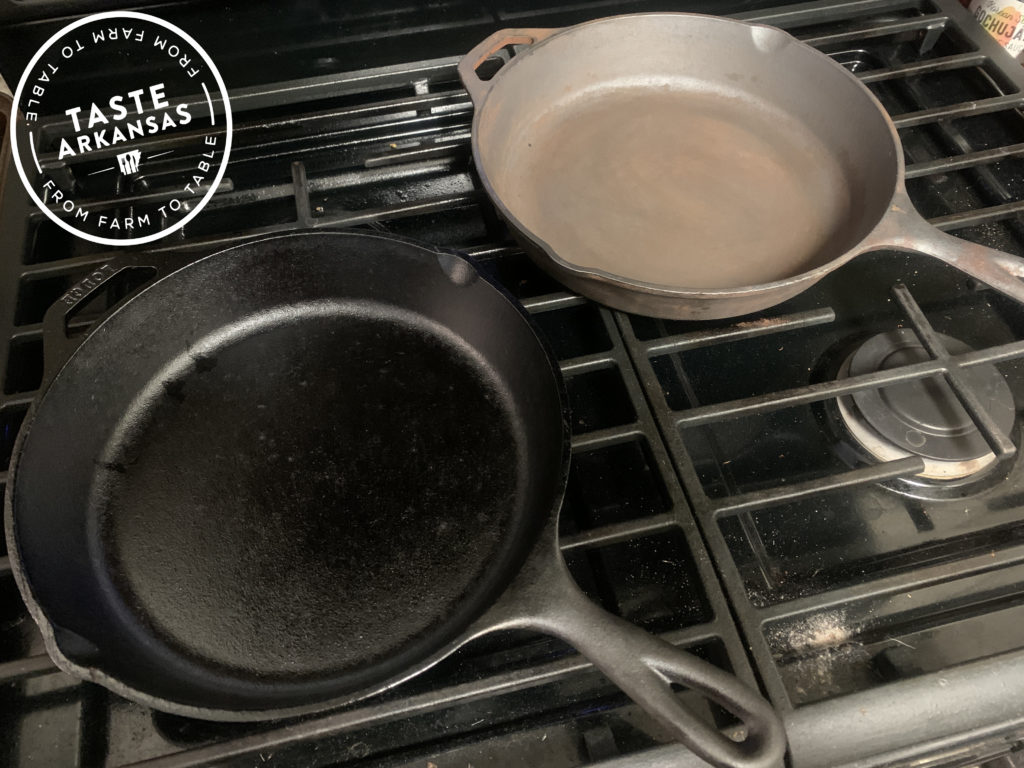
– You see dull gray patches (not black)
– Water beads instead of sheeting
Spot-Seasoning Fix for Stuck Areas:
1. Heat affected area until warm
2. Rub ¼ tsp flaxseed oil with paper towel
3. Wipe off ALL excess – oily residue = sticky patches
4. Bake upside-down at 450°F for 20 minutes
Full Pan Rescue (For Rust Spots):
– Scrub rust with vinegar-soaked steel wool
– Rinse, dry, then apply oil to entire surface
– Bake for 1 hour at 450°F – this polymerizes oil faster than stovetop methods
Storage Mistakes That Sabotage Your Work
The Drawer Death Trap
Storing cast iron in kitchen drawers invites rust through two hidden mechanisms:
1. Wooden handles absorb humidity from cabinet air, transferring moisture to the pan
2. Contact with other metals (like stainless steel pots) creates galvanic corrosion
The Only Safe Storage Method:
– Place pan upside-down with paper towel inside (absorbs ambient moisture)
– Stack pans with felt trivets between them – never direct metal-to-metal
– For long storage: rub interior with rice bran oil (higher smoke point than vegetable oil)
Pro Tip: Store near your stove – frequent temperature changes prevent condensation buildup.
Troubleshooting Real-World Disasters

“My Pan Is Sticky After Seasoning – How Do I Fix It?”
This means oil polymerized incompletely. Do NOT cook with it – sticky residue transfers to food. Instead:
1. Heat pan until sticky areas soften (about 300°F)
2. Scrub with salt and paper towel – the heat makes residue pliable
3. Re-wipe with oil and bake at 500°F for 30 minutes
Why this works: Higher heat fully carbonizes the oil layer without smoking.
“I Left It Wet Overnight – Is It Ruined?”
Rust isn’t fatal if caught early:
– Make paste of equal parts vinegar and baking soda
– Apply with steel wool using circular motions (follows seasoning grain)
– Rinse, dry on stove for 5 minutes, then re-season immediately
– For deep pits: repeat vinegar soak for 2 hours before scrubbing
Warning: If rust penetrates through the pan wall, it’s time for replacement – surface rust is fixable, structural rust isn’t.
Pro Maintenance Schedule for Longevity
Weekly Care That Prevents Major Issues
- After every 5 uses: bake with salt crust (1 cup salt + 1 tbsp oil) to absorb impurities
- Monthly: check handle tightness – loose rivets trap moisture causing internal rust
- Seasonally: re-season with flaxseed oil – its high ALA content creates harder polymerization
When to Stop Cleaning and Start Cooking
Your pan is ready when:
– Water sheets off like glass (not beading)
– No metallic taste in food
– Light scraping reveals black residue (not gray)
The ultimate test: Fry an egg without oil. If it slides freely, your care routine is perfect. If it sticks, revisit the drying step – 90% of failures trace back to residual moisture.
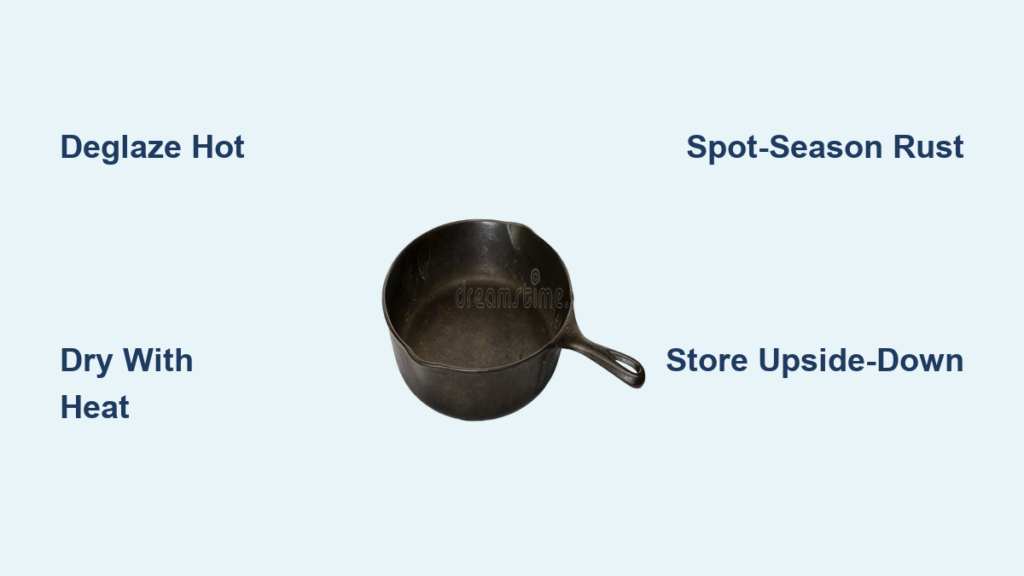
Final Note: Proper cast iron care takes less time than loading a dishwasher, yet most cooks overcomplicate it. Stick to this sequence: deglaze hot → clean warm → dry with heat → store dry. Within a month, you’ll notice food releases effortlessly and flavors deepen as the seasoning matures. Remember – your cast iron isn’t just cookware; it’s a living surface that improves with thoughtful maintenance. Start tonight with your post-dinner routine, and in six months, you’ll have a non-stick surface no Teflon could match. For immediate help with stubborn residue, try the potato-salt scrub method – it’s saved more heirloom skillets than I can count.


