
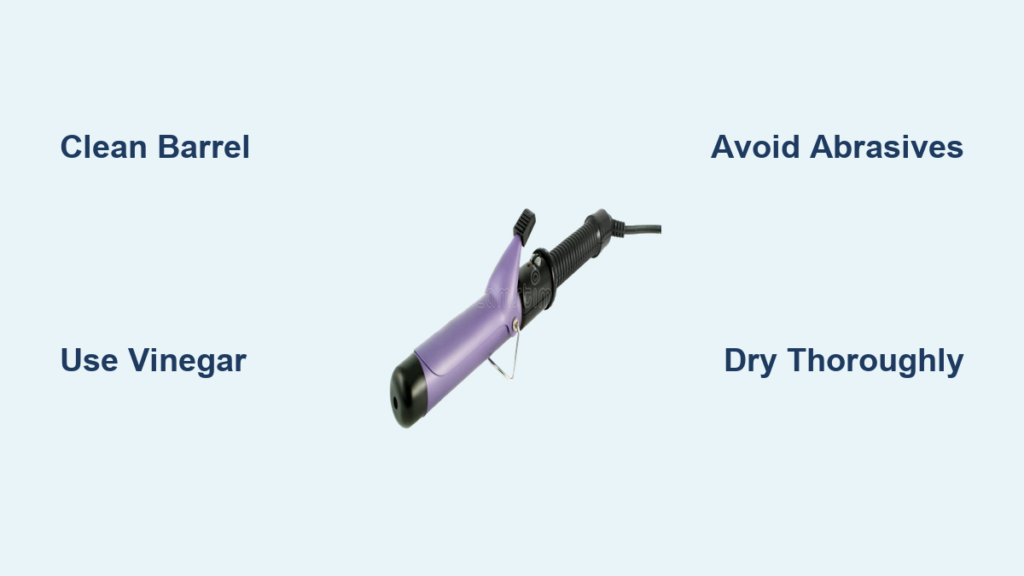
That sticky feeling when your curling iron grabs your hair instead of gliding smoothly? It’s almost certainly hairspray buildup. When you style with hairspray and hot tools, the polymers and resins in your favorite hold spray bond to the hot barrel surface, creating a stubborn residue that ruins your styling experience. Left uncleaned, this gummy film causes hair snagging, uneven heating, and eventually damages your curling iron’s performance. The good news: with the right techniques, you can safely remove hairspray residue from any curling iron type and restore its smooth operation—without damaging the delicate barrel coating.
Why Hairspray Creates Stubborn Buildup on Hot Tools
Hairspray transforms when it meets your curling iron’s heat. Those polymers that give your style hold at room temperature undergo chemical changes when exposed to high temperatures, creating a sticky, almost glue-like substance that bonds tightly to metal surfaces. Each styling session adds another microscopic layer, and within weeks, you’ve got a substantial buildup that interferes with your tool’s performance.
This isn’t just an aesthetic problem—hairspray residue actively damages your styling results. The sticky surface disrupts the smooth glide needed for perfect curls, causing painful tugging and hair breakage. Worse, uneven residue creates hot and cold spots on the barrel, leading to inconsistent curl formation that falls flat within hours. Many users mistakenly blame their hair type or technique when inconsistent curls are actually caused by a dirty barrel. Regular cleaning prevents these issues and extends your curling iron’s lifespan significantly.
Essential Cleaning Supplies for Hairspray Removal
Gather these specific supplies before starting your cleaning session to ensure effective residue removal without damaging your tool:
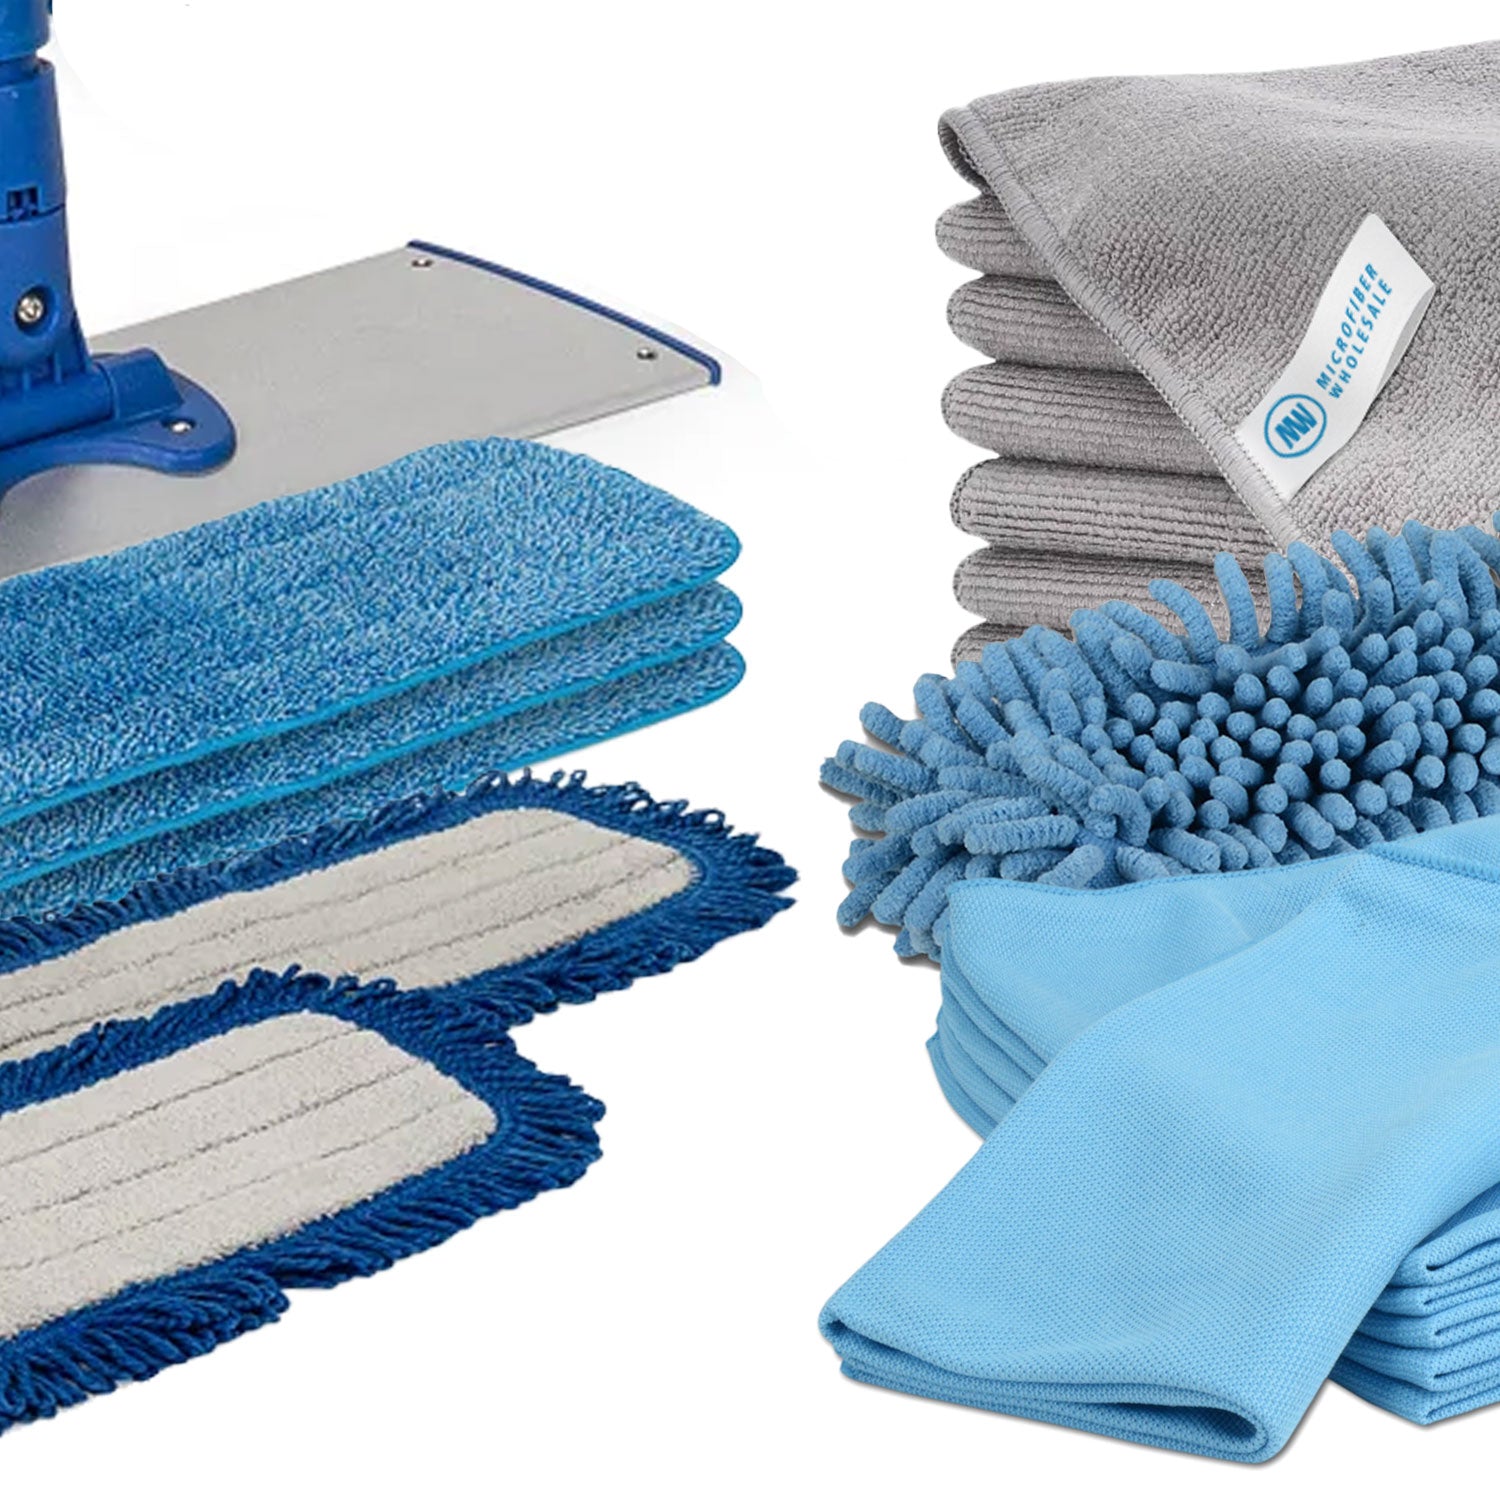
- Soft microfiber cloths (paper towels can leave fibers behind)
- White vinegar (natural degreaser that breaks down hairspray polymers)
- Mild dish soap (for gentle cleaning)
- Baking soda (mild abrasive for stubborn spots)
- Cotton swabs (for crevices around heating elements)
- Soft-bristled toothbrush (nylon bristles only)
- Rubbing alcohol (for odor removal and disinfecting)
Critical warning: Never use steel wool, abrasive cleaners, or harsh chemicals like acetone. These will scratch your barrel’s protective coating, creating microscopic grooves where future residue accumulates more quickly and permanently damaging your tool’s performance.
Safety First: Critical Pre-Cleaning Steps
Your safety and your curling iron’s integrity depend on these non-negotiable steps:
-
Unplug and cool completely – Never clean a warm or recently used curling iron. Allow at least 2 hours for complete cooling. Attempting to clean a hot tool risks severe burns and could warp internal components.
-
Check manufacturer instructions – Some high-end curling irons have specific cleaning requirements. Consult your manual to avoid voiding the warranty, especially for ceramic or tourmaline-coated models.
-
Never submerge electrical components – Only the barrel should contact cleaning solutions. Water in the handle can cause electrical shorts that ruin your tool or create shock hazards.
-
Test cleaning solutions first – On ceramic or specialty-coated barrels, apply a small amount of your cleaning solution to an inconspicuous area first to ensure it doesn’t damage the finish.
30-Second Daily Cleaning Routine for Prevention
Preventing buildup is easier than removing it. Implement this simple post-styling habit:
While your curling iron is still slightly warm (but not hot enough to cause burns), dampen a microfiber cloth with water and wring thoroughly. Wipe the barrel from base to tip in one direction—never rub back and forth, which can damage coatings. For light residue, add one drop of dish soap to the cloth.
This technique works because slightly warm residue hasn’t fully hardened, making it easier to remove with minimal scrubbing. Finish with a dry cloth to prevent moisture damage. Doing this after every use takes less than 30 seconds but prevents the need for intensive cleaning sessions later. Keep a dedicated microfiber cloth near your styling station as a visual reminder.
Deep Cleaning Method for Heavy Hairspray Buildup
For stubborn residue that daily wiping can’t remove, follow this effective deep cleaning process:
Create a cleaning solution of equal parts white vinegar and warm water in a bowl. Vinegar’s acidity breaks down the polymer bonds in hairspray without damaging most barrel coatings. For non-removable barrels, soak a cloth in this solution, wring until damp (not dripping), and wrap it around the barrel for 5-10 minutes.
After soaking, wipe the barrel gently with a clean cloth. For remaining spots, make a paste of baking soda and water. Apply with a cotton swab using light circular motions—never press hard. Rinse residue with a clean, damp cloth and dry thoroughly. This method removes even week-old buildup without damaging coatings when performed correctly.
Special Techniques for Removable Barrel Models

If your curling iron features a detachable barrel (common in higher-end models), you can achieve deeper cleaning:
- Remove the barrel according to manufacturer instructions
- Soak in warm water with 1 tablespoon white vinegar and 2 drops dish soap for 15-30 minutes
- Use a soft toothbrush to gently scrub textured areas
- Rinse thoroughly with clean water
- Dry completely with a soft cloth before reattaching
Important: Never force a barrel removal if it doesn’t detach easily. Consult your manual for proper removal technique. After cleaning, ensure both barrel and attachment point are completely dry before reassembly—any moisture can cause electrical issues when you next use the tool.
Material-Specific Cleaning Approaches

Your curling iron’s barrel material determines the safest cleaning method:
Metal barrels tolerate slightly more vigorous cleaning. Chrome and titanium surfaces can handle gentle baking soda paste application for stubborn spots. Dry thoroughly to prevent rust formation.
Ceramic and tourmaline barrels require delicate handling. Stick to vinegar solution soaks and soft cloth wiping only—never use abrasives. Increase soak time rather than scrubbing pressure to avoid scratching the smooth coating that provides even heat distribution.
Textured barrels (common in newer models for better grip) need special attention. Use a soft toothbrush to clean grooves where residue hides, but avoid pressing hard. For these barrels, regular cleaning is especially crucial as residue accumulates faster in the textured areas.
Eliminating Lingering Hairspray Odors
Burnt hairspray creates unpleasant odors that transfer to your hair. To eliminate these:
Wipe the barrel with a cloth dampened with rubbing alcohol, which neutralizes odor-causing compounds. Alternatively, use a solution of water and fresh lemon juice for a pleasant scent while cleaning. For persistent odors, apply a baking soda paste, let sit for several hours, then wipe clean. The baking soda absorbs odors naturally without leaving chemical residues that could affect your next styling session.
Preventative Habits to Minimize Future Buildup
Change your styling routine to prevent recurring residue problems:
Apply hairspray to dry, styled hair rather than before curling—this prevents direct contact between spray and hot barrel. If you must use hairspray during styling, hold the can at least six inches from your curling iron. Consider switching to a heat protectant spray instead of hairspray for pre-styling, as these contain fewer residue-forming polymers.
Implement a weekly maintenance cleaning regardless of visible buildup. Store your curling iron in a protective case rather than tossing it in a drawer where dust and product residue accumulate. These small habit changes save you from intensive cleaning sessions and extend your tool’s lifespan significantly.
When Cleaning Isn’t Enough: Replacement Signs
Some damage can’t be reversed through cleaning. Replace your curling iron if you notice:
- Flaking or peeling coating on the barrel
- Visible scratches that catch your hair
- Uneven heating patterns that affect curl formation
- Electrical issues like inconsistent temperature or automatic shutoffs
- Persistent odors that cleaning doesn’t eliminate
Continuing to use a damaged curling iron risks hair damage and inconsistent styling results. Modern curling irons feature improved coatings that resist buildup better than older models, making replacement a worthwhile investment when cleaning no longer restores performance.
Maintaining Peak Performance After Cleaning
After restoring your curling iron to pristine condition, preserve that clean state with these simple habits:
Always let your tool cool completely before storing—trapped heat creates moisture that accelerates future buildup. Wrap the barrel in a soft cloth or use the provided heat-resistant sleeve to protect it from dust. Regularly inspect the barrel during your styling routine for early signs of residue accumulation. With proper maintenance, a clean curling iron delivers consistently beautiful results and lasts significantly longer than neglected tools.
Your curling iron deserves regular care just like any professional tool. By implementing these cleaning techniques and preventative habits, you’ll enjoy smooth, snag-free styling sessions that deliver salon-quality results every time—without the sticky residue that ruins your hair and your tools. The few minutes spent on maintenance pays off in better styling performance and extends your curling iron’s lifespan considerably.


