
Your cast iron skillet shouldn’t be relegated to the back of the cabinet because you’re afraid of ruining it. Properly maintained cast iron develops a natural non-stick surface through seasoning that improves with age, making it one of the most versatile and durable cooking tools you own. Unlike modern non-stick pans with chemical coatings that degrade over time, a well-cared-for cast iron skillet can last for generations. The secret lies in understanding how to clean and season a cast iron skillet correctly—avoiding common mistakes that strip seasoning or cause rust while building that coveted smooth, black patina that makes cooking eggs a breeze.
Many home cooks mistakenly treat cast iron like ordinary cookware, soaking it in water or using harsh detergents that destroy the carefully built seasoning layer. Others apply oil too thickly during seasoning, creating a sticky mess that never properly polymerizes. When you learn how to clean and season a cast iron skillet properly, you transform it from a high-maintenance liability into a kitchen workhorse that delivers superior browning, even heating, and naturally non-stick performance that gets better with every use. This guide walks you through every step of cast iron care, from immediate post-cooking cleaning to restoring a rusted heirloom, so you can enjoy decades of reliable cooking from your investment.
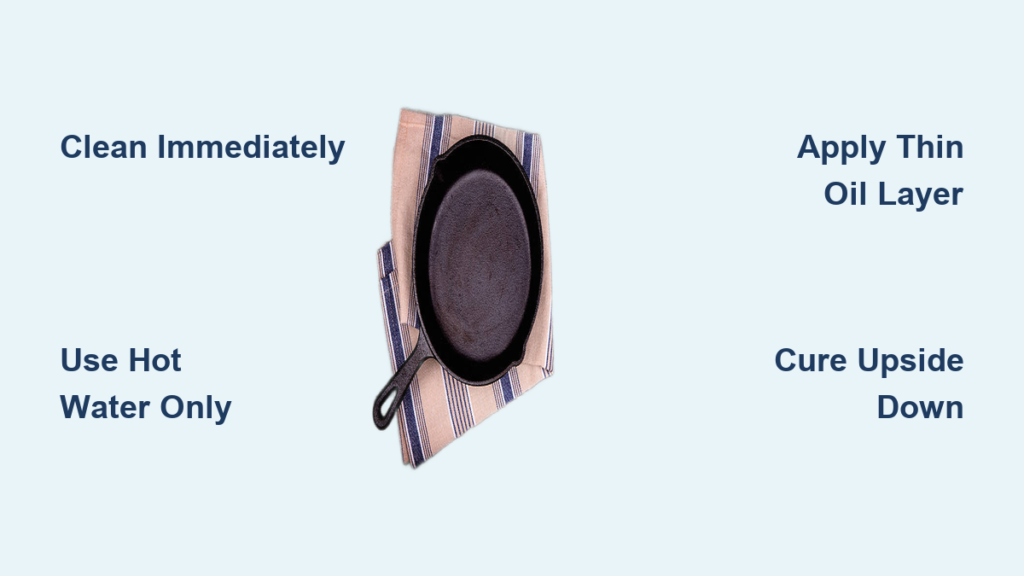
Clean Your Cast Iron Skillet Immediately After Cooking
Delaying cleaning until after dinner only makes your job harder and risks damaging your seasoning. Food residues harden as the skillet cools, bonding to the seasoning layer and requiring more aggressive scrubbing that wears down your non-stick surface. Wait just 5-10 minutes for the skillet to cool to a safe handling temperature, but never let it sit with food residue overnight. This short window makes cleaning remarkably simple while protecting your hard-earned seasoning.
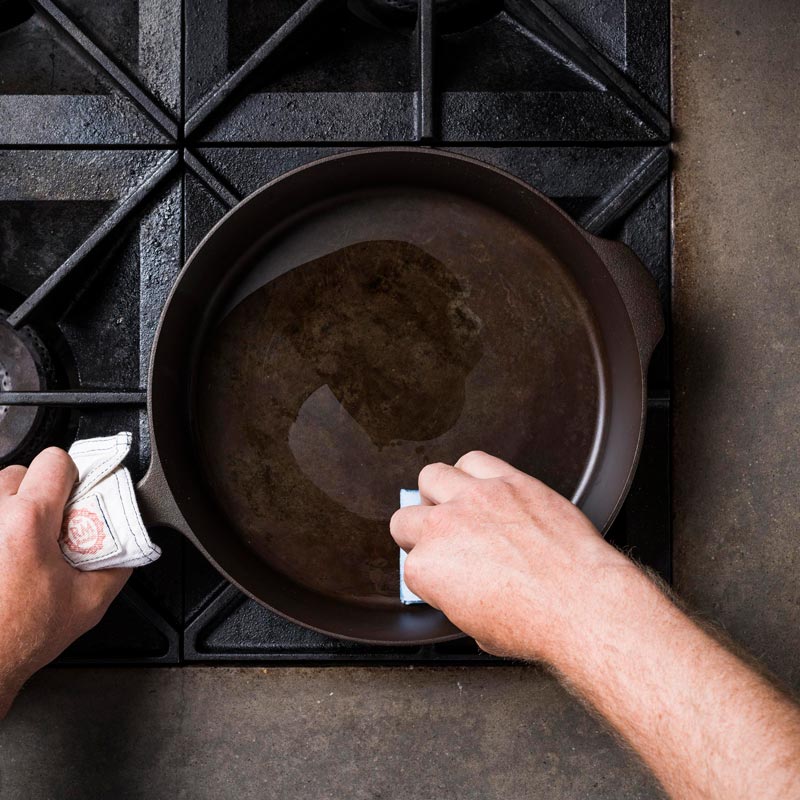
Why Running Water Is Enough for Daily Cleaning
For most cooking tasks that don’t involve acidic ingredients, hot water and a soft sponge are all you need—no soap required. The residual heat in your warm skillet helps loosen food particles, making them easy to rinse away. Use a stiff nylon brush or non-scratch sponge to gently dislodge any stuck bits while water runs over the surface. Never use steel wool or abrasive pads on a regularly maintained skillet—they strip seasoning faster than you can rebuild it. If you notice water beading on the surface rather than spreading evenly, that’s a sign your seasoning is in excellent condition.
How to Remove Stubborn Residue Without Damage
When food sticks despite good seasoning, try these non-destructive techniques before reaching for harsh methods:
- Add ½ cup of hot water to the warm skillet and return it to low heat for 2-3 minutes
- Use a metal spatula to gently scrape loosened particles while the water simmers
- For extra stubborn spots, sprinkle coarse kosher salt into the water for gentle abrasion
This steam-cleaning method softens burnt-on food without risking damage to your seasoning. If residue still won’t budge, repeat the process rather than scrubbing aggressively—patience preserves your non-stick surface better than force. Once clean, dry the skillet immediately with a towel and place it on low heat for 1-2 minutes to evaporate all moisture before storing.
Handle Acidic Foods Without Ruining Your Seasoning
Cooking tomato-based sauces, wine reductions, or citrus dishes in cast iron requires special attention because acids react with the iron surface, breaking down your seasoning and potentially imparting metallic flavors. While occasional acidic cooking won’t destroy a well-established seasoning layer, frequent exposure requires modified cleaning procedures to maintain your skillet’s performance. If you regularly cook acidic dishes, consider designating one cast iron skillet exclusively for these tasks while preserving your best-seasoned pan for everyday use.
Special Cleaning Steps After Acidic Cooking
After preparing acidic dishes, follow this modified cleaning routine to protect your seasoning:
- Clean the skillet immediately while still warm—don’t let acidic residue sit
- Use hot water and a soft brush, avoiding prolonged exposure to water
- Add a teaspoon of baking soda to your cleaning water to neutralize acid residue
- Rinse thoroughly and dry completely before applying a fresh oil layer
You may notice lighter spots where the acid interacted with your seasoning—this is normal and typically resolves with regular use. If metallic flavors persist in future cooking, your seasoning has become too thin in those areas and requires additional maintenance layers. For frequent acidic cooking, an enameled cast iron Dutch oven provides a non-reactive alternative that doesn’t require seasoning maintenance.
Deep Clean Cast Iron When Regular Washing Isn’t Enough
Occasionally, your cast iron skillet needs more thorough cleaning to address sticky buildup, remove rust, or prepare for re-seasoning. This situation typically arises when improper cleaning practices have damaged the seasoning or moisture has caused rust formation. Deep cleaning differs from regular maintenance in that it intentionally removes seasoning to start fresh—a necessary step when your skillet develops persistent stickiness or visible rust spots.
Using Baking Soda Paste for Tough Cleaning Jobs
For moderate buildup that resists regular cleaning:
- Mix equal parts baking soda and water to form a thick paste
- Apply paste to problem areas and let sit for 5-10 minutes
- Scrub with a stiff brush using circular motions
- Rinse thoroughly with hot water
The mild abrasiveness of baking soda lifts residue without scratching the iron surface. This technique works particularly well for sticky spots caused by oil buildup—common when too much oil was applied during seasoning. After deep cleaning, immediately dry the skillet completely and apply a fresh seasoning layer to prevent rust.
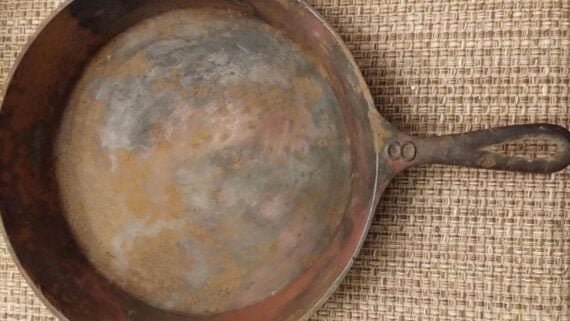
Remove Rust From Cast Iron Before It Spreads
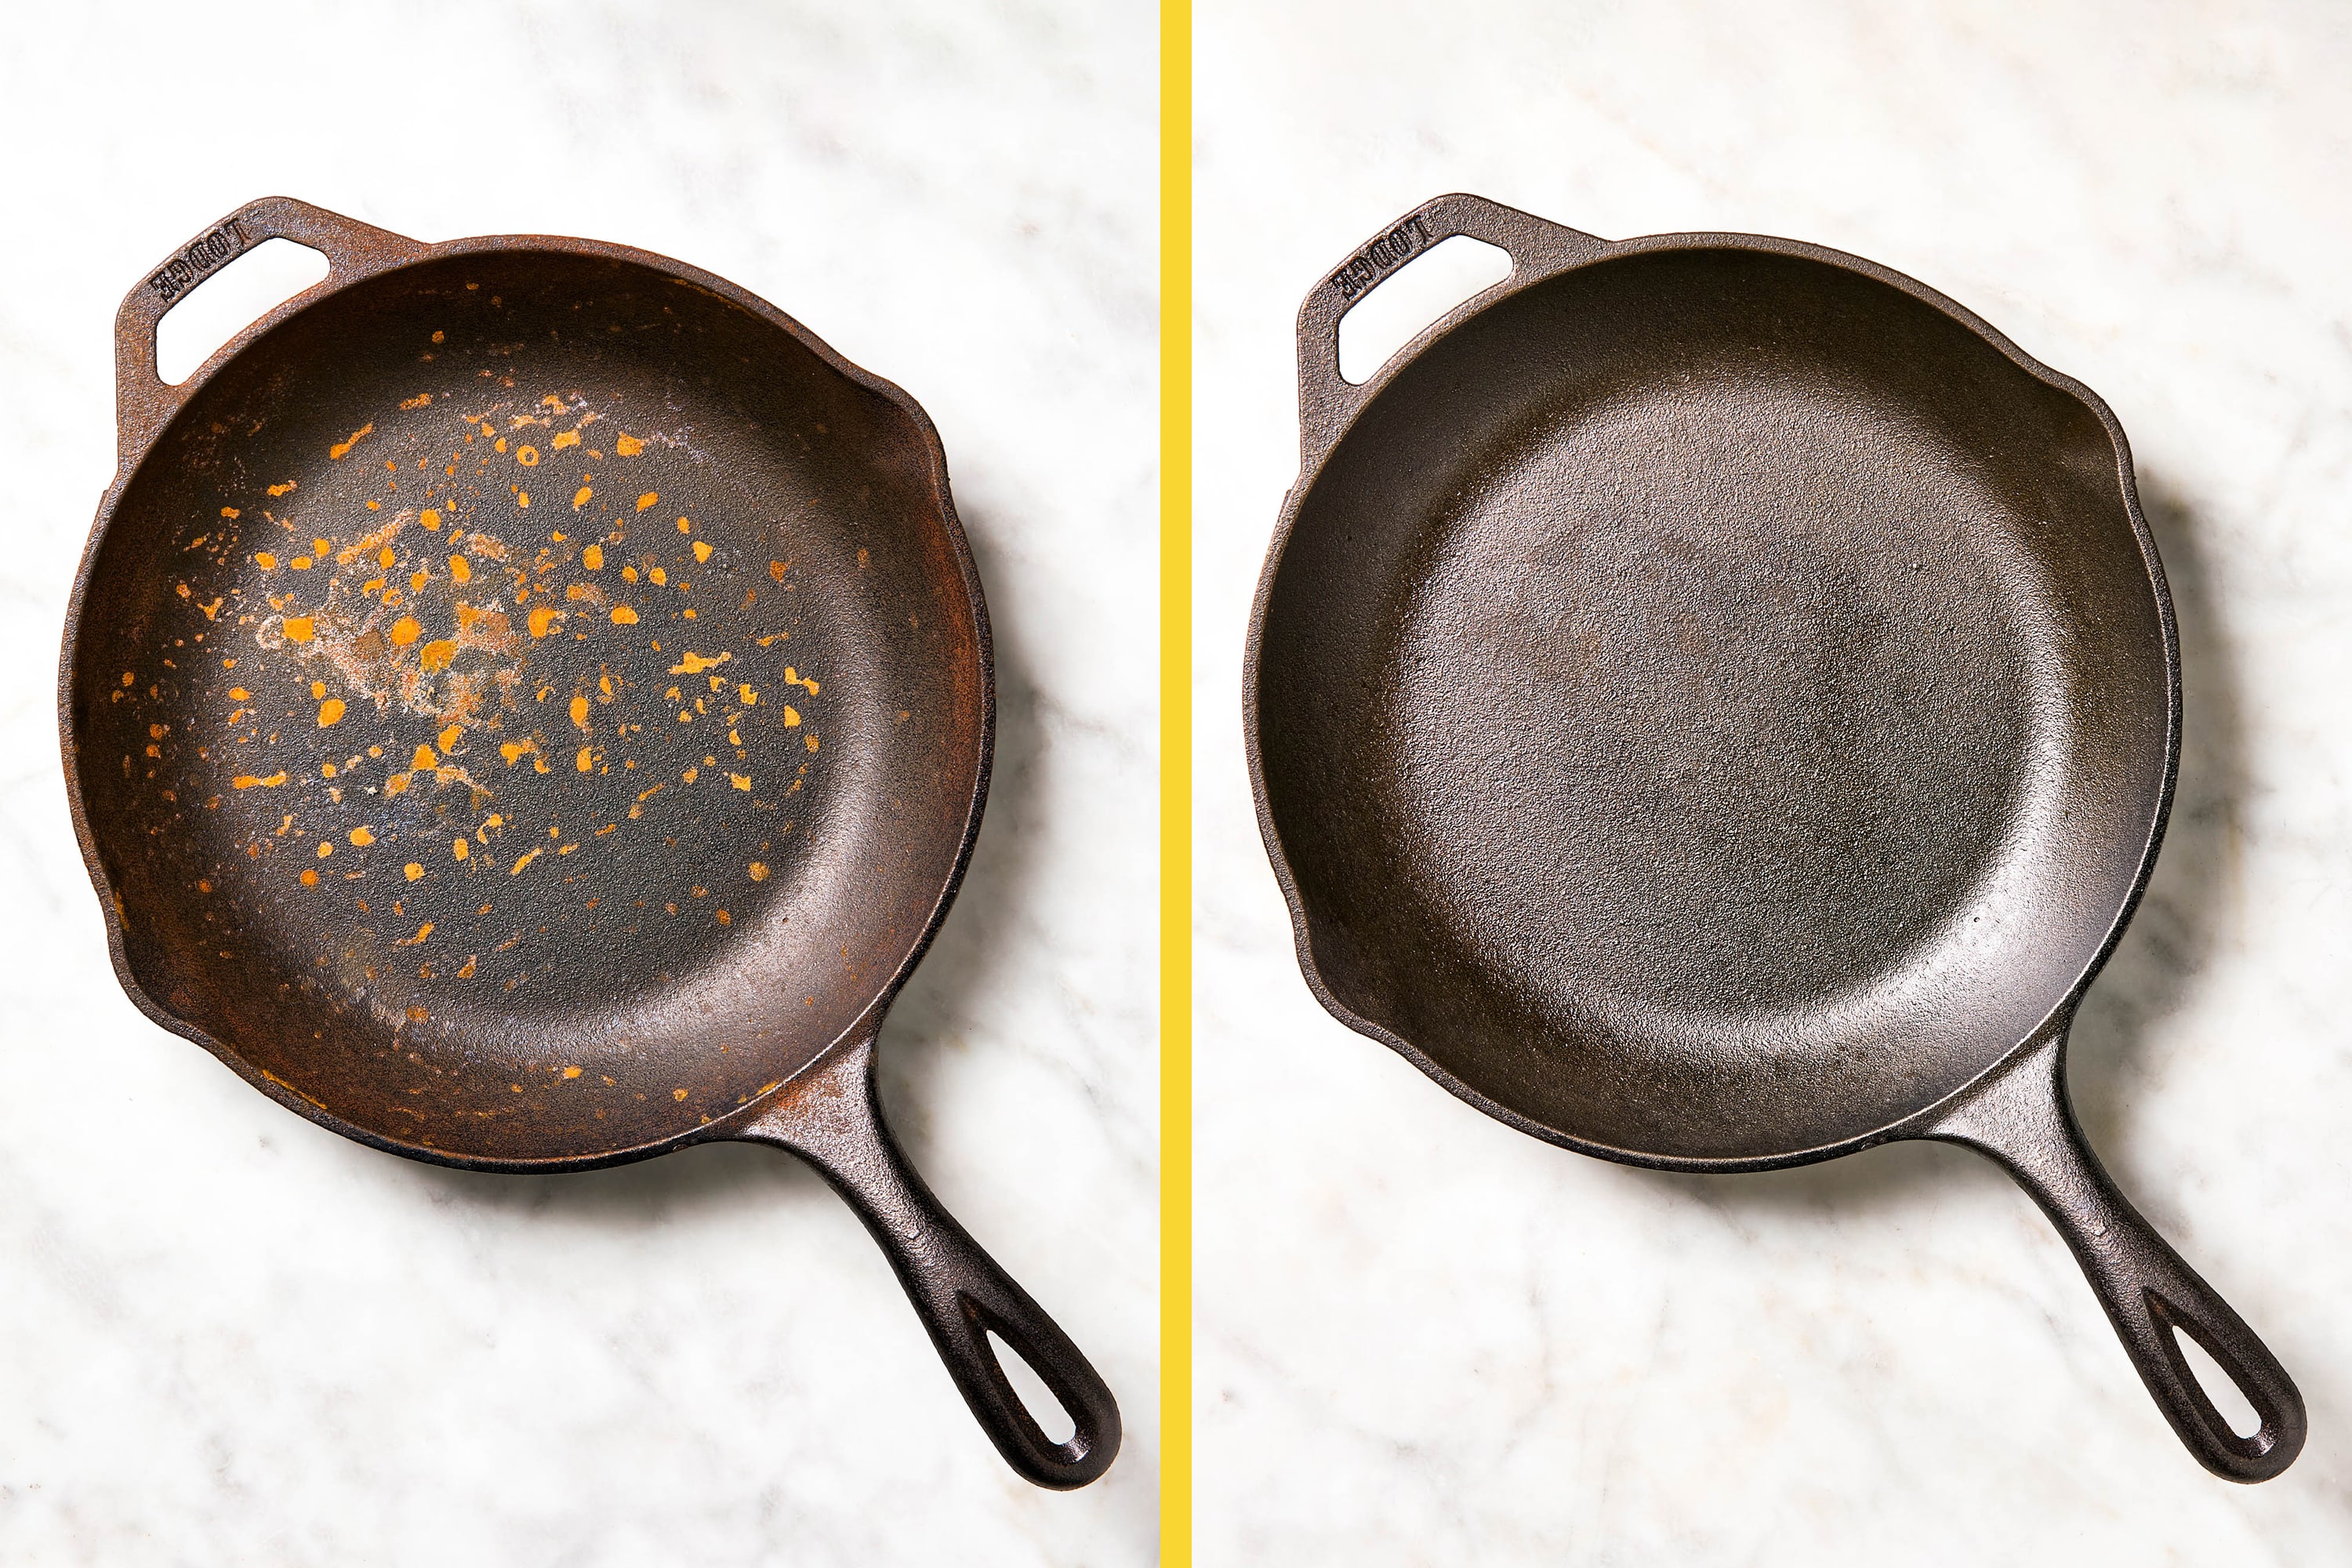
Rust appears as orange or reddish-brown spots that feel rough to the touch and develops when moisture contacts bare iron. Catching rust early prevents it from penetrating deeply into the metal. Light surface rust is completely reversible with proper treatment—don’t discard your skillet at the first sign of rust! The key is removing the rust completely before it spreads, then immediately re-seasoning the exposed areas.
Vinegar Soak Technique for Rust Removal
For light to moderate rust:
- Mix equal parts white vinegar and water in a container large enough to submerge affected areas
- Soak rusted sections for 15-20 minutes (no longer, as vinegar can affect the metal)
- Scrub with a stiff brush to remove loosened rust particles
- Rinse thoroughly with hot water and dry immediately
Never soak cast iron for hours in vinegar—it will damage the metal beyond repair. After rust removal, the exposed iron must be re-seasoned immediately. Apply a thin oil layer to the cleaned areas and heat the skillet on the stovetop until smoking to polymerize the oil, creating a new protective barrier against moisture.
Choose the Best Oil for Long-Lasting Seasoning
Not all oils create equally durable seasoning—some produce sticky, gummy layers that never fully polymerize. The ideal oil contains high levels of polyunsaturated fats that bond effectively to iron when heated. Flaxseed oil creates the hardest, most durable seasoning but requires extremely thin application—thick layers become sticky rather than polymerizing properly. Grapeseed oil offers the best balance for most home cooks, providing excellent results with wider availability and easier application.
Budget-Friendly Oil Options That Still Work Well
While flaxseed and grapeseed oils produce superior results, these affordable alternatives work well for regular maintenance:
- Canola oil: Readily available and effective for building seasoning layers
- Soybean oil: Good polymerization properties at a reasonable price
- Corn oil: Works adequately though results aren’t as durable as other options
Avoid olive oil and coconut oil for seasoning—they contain fatty acid profiles that remain liquid rather than forming a hard polymer layer. When shopping for seasoning oil, choose refined versions with higher smoke points (400-450°F) for best results.
Apply Seasoning Oil in the Thinnest Possible Layer
Most failed seasoning attempts result from applying too much oil. The goal isn’t to coat the skillet but to create an invisible layer that transforms into seasoning when heated. Pour about one teaspoon of oil onto the cooking surface of a standard 10-12 inch skillet—less than you think you need. Using a clean paper towel, spread the oil evenly across all surfaces, then continue buffing until no visible oil remains and the cloth glides smoothly over the surface.
How to Check If Your Oil Layer Is Thin Enough
After applying oil, hold the skillet at an angle under bright light. If you see any visible oil pooling, reflection, or sheen, you’ve applied too much—buff it away until the surface appears almost dry. The paper towel should pick up minimal oil when you run it across the surface. This counterintuitive technique—applying less oil than seems necessary—is what creates the hard, smooth seasoning layer that performs like non-stick cookware.
Cure Seasoning at the Perfect Temperature
Proper curing transforms applied oil into durable seasoning through polymerization—the chemical process where oil molecules bond to the iron surface. Preheat your oven to 400-450°F, place the oiled skillet upside down on the center rack, and position a baking sheet on the lower rack to catch drips. Bake for one hour, then turn off the oven and let the skillet cool completely inside—this gradual cooling prevents thermal shock that can crack the iron.
Upside-Down Baking Method for Drip-Free Results
Placing your skillet upside down during curing allows excess oil to drip away rather than pooling on the cooking surface. This technique prevents uneven seasoning and sticky spots that develop when oil pools in low areas. During baking, the oil will smoke as it reaches its smoke point—this is normal and indicates polymerization is occurring. Don’t open the oven door during curing, as temperature fluctuations interfere with proper seasoning formation.
Build Multiple Seasoning Layers for Non-Stick Perfection
A single seasoning cycle provides basic protection, but 3-6 thin layers create the durable non-stick surface cast iron is famous for. Each additional layer bonds to the previous one, building up a smoother, more resilient cooking surface. Allow the skillet to cool completely between layers, applying progressively thinner oil coats as the surface becomes less absorbent.
How to Apply Successive Layers Without Sticky Residue
After your first seasoning cycle:
- Let the skillet cool completely (2-3 hours)
- Apply an even thinner oil layer than the previous cycle
- Cure again at the same temperature for one hour
- Repeat 2-5 more times for optimal results
If any area feels tacky after curing, it received too much oil—strip and re-season rather than building on a sticky foundation. The complete process takes about a day but creates a seasoning layer that will serve you well for years with proper maintenance.
Store Cast Iron to Prevent Moisture Damage
Improper storage causes most rust and seasoning damage in cast iron cookware. Never store cast iron in sealed plastic bags or containers—trapped moisture accelerates rust formation. Store your skillet in a dry cabinet with good air circulation, preferably with the cooking surface facing up. In humid environments, place a paper towel inside the skillet to absorb ambient moisture.
Humidity Control Solutions for Damp Climates
If you live in a humid area:
- Place silica gel packets in your storage cabinet
- Apply a slightly thicker oil layer before storage
- Check stored skillets monthly for early rust signs
- Consider hanging your skillet on a wall rack for better air circulation
Stacking multiple cast iron pieces without protection damages seasoning at contact points—always place a paper towel between stacked skillets. Proper storage ensures your skillet remains in cooking-ready condition whenever you need it.
Fix Common Seasoning Problems Before They Worsen
Even with proper care, seasoning issues can develop. Sticky or tacky surfaces indicate oil was applied too thickly during the last seasoning cycle. To fix sticky seasoning, heat a small amount of oil until smoking, then wipe it away completely—this burns off the excess oil without damaging the underlying layer. For flaky or peeling seasoning, remove all loose material, lightly sand the surface, and re-season with thinner oil applications.
Addressing Rust Spots Immediately
At the first sign of rust:
- Remove rust using the vinegar soak method
- Dry the skillet completely
- Apply a thin oil layer to the affected area
- Heat on the stovetop until smoking to polymerize the oil
Don’t ignore small rust spots—they spread quickly when exposed to moisture. Regular oiling after each use creates a protective barrier that prevents rust from returning.
Maintain Seasoning Through Smart Cooking Habits
Your cooking techniques impact seasoning longevity. Foods high in natural fats like bacon and sausage deposit small amounts of oil onto the seasoning layer during cooking, reinforcing it with regular use. High-heat searing also enhances seasoning by causing food oils to bond to the pan surface while burning off residue. Avoid commercial cooking sprays—they contain additives that build up on seasoning and affect performance over time.
Why High-Heat Searing Improves Seasoning Over Time
The intense heat of searing causes natural food oils to polymerize slightly on the cooking surface, strengthening your seasoning with each use. For best results, sear steaks, chops, or vegetables at temperatures that produce a good crust—this not only creates excellent flavor but also builds durable seasoning. Regular use for high-heat cooking creates a virtuous cycle where your skillet’s performance improves with every meal.
Your cast iron skillet becomes more valuable with proper care, developing a personalized cooking surface that outperforms modern non-stick alternatives. By learning how to clean and season a cast iron skillet correctly, you join generations of cooks who’ve relied on this versatile tool for perfect searing, even heating, and naturally non-stick performance. The investment of time you make in maintenance pays dividends in cookware that improves with age and can become a family heirloom passed down through generations. Trust the process, enjoy the cooking, and let your cast iron skillet become a trusted kitchen companion that serves you well for decades to come. With consistent care following these techniques, your cast iron skillet will deliver perfectly seared steaks, beautifully fried eggs, and countless meals that modern cookware simply cannot replicate.


