
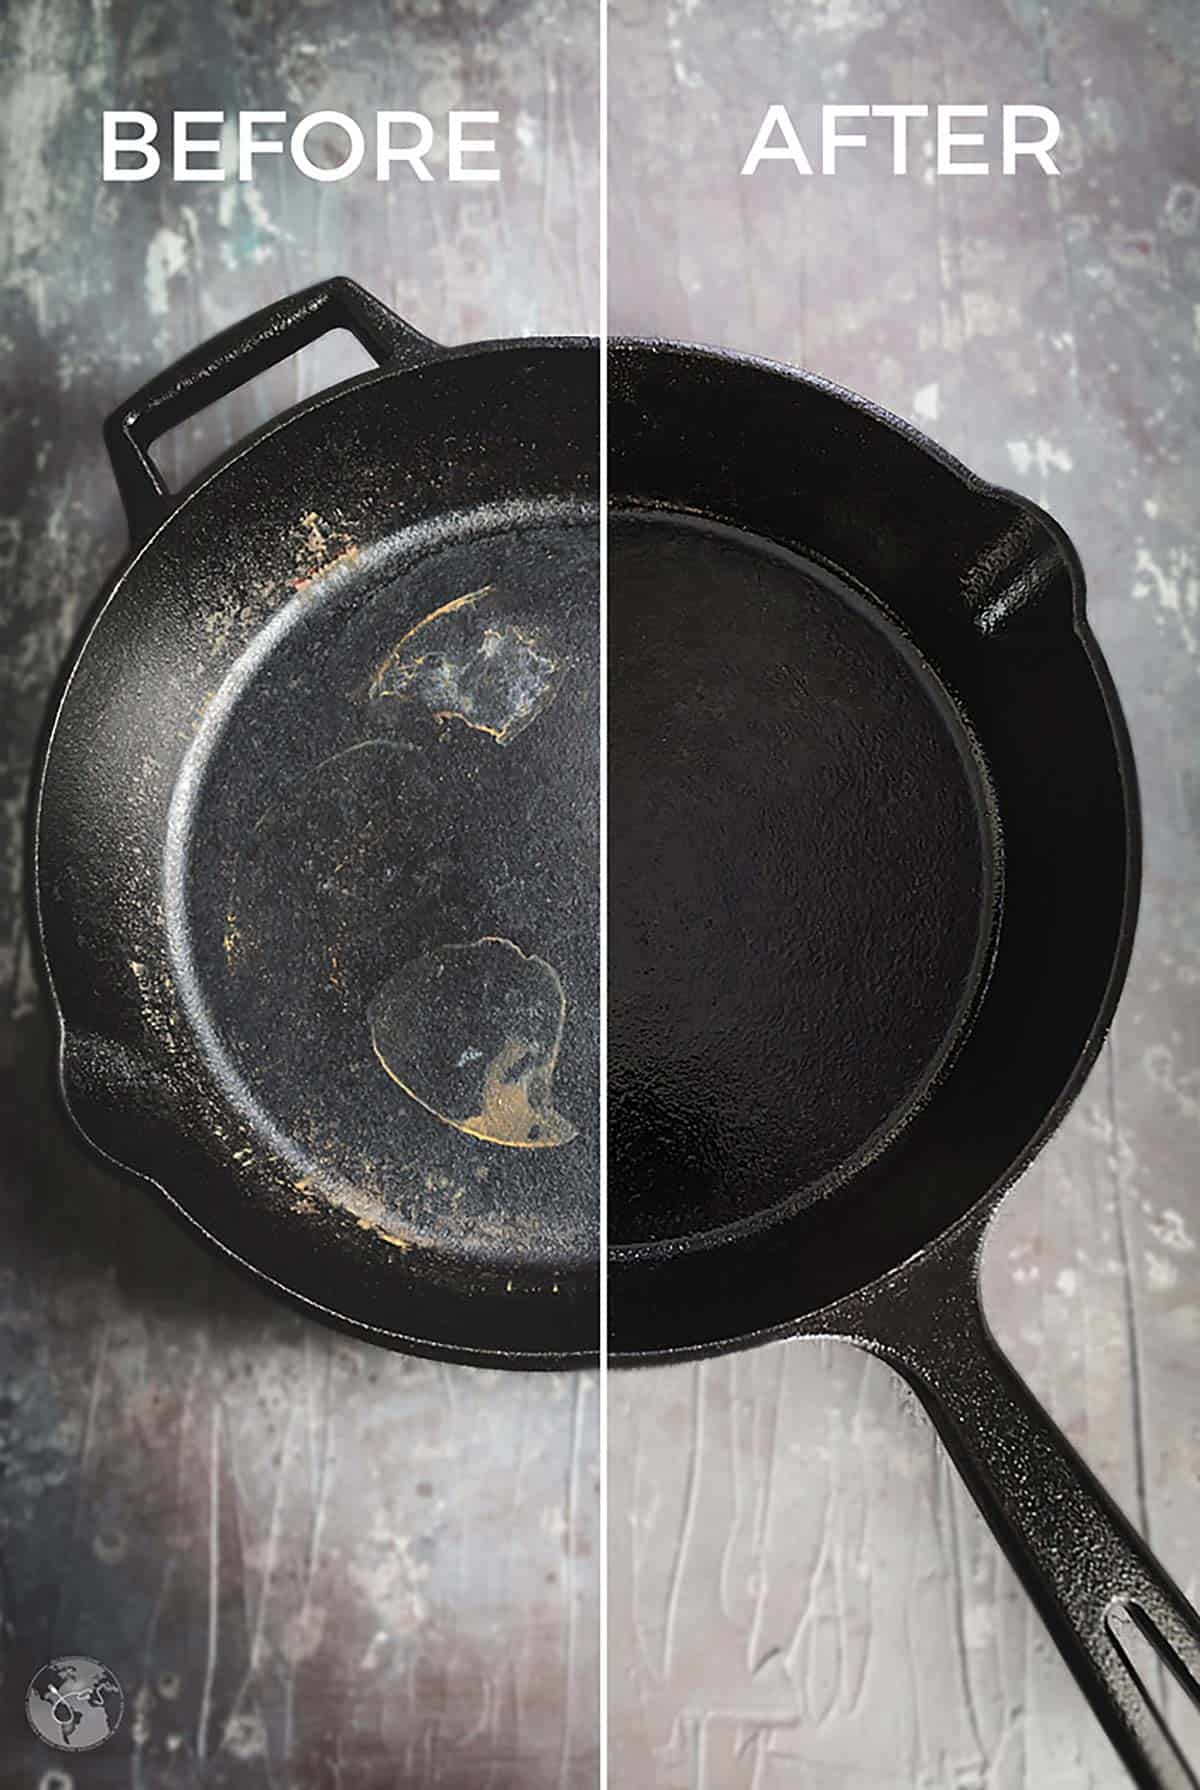
That black, crusty buildup on the bottom of your cast iron skillet isn’t just unsightly—it’s actively interfering with your cookware’s performance. While you meticulously maintain the cooking surface, the exterior bottom accumulates years of burnt-on grease, carbon deposits, and stubborn stains that affect heat distribution and make your skillet look neglected. Learning how to clean bottom of cast iron skillet properly is crucial for both aesthetics and functionality, as uneven buildup can cause hot spots and inconsistent cooking results. Unlike the cooking surface, this area requires different techniques that effectively remove grime without damaging your carefully built seasoning.
Whether you’ve inherited a vintage piece caked with decades of residue or simply want to restore your daily workhorse to its former glory, this guide delivers proven methods specifically for tackling the exterior bottom. You’ll discover how to safely remove even the most stubborn carbon deposits while preserving your skillet’s integrity, what tools actually work (and which ones to avoid), and how to prevent future buildup with simple maintenance habits. Most importantly, you’ll learn how to clean the bottom of your cast iron skillet without compromising the non-stick surface you’ve worked so hard to develop.
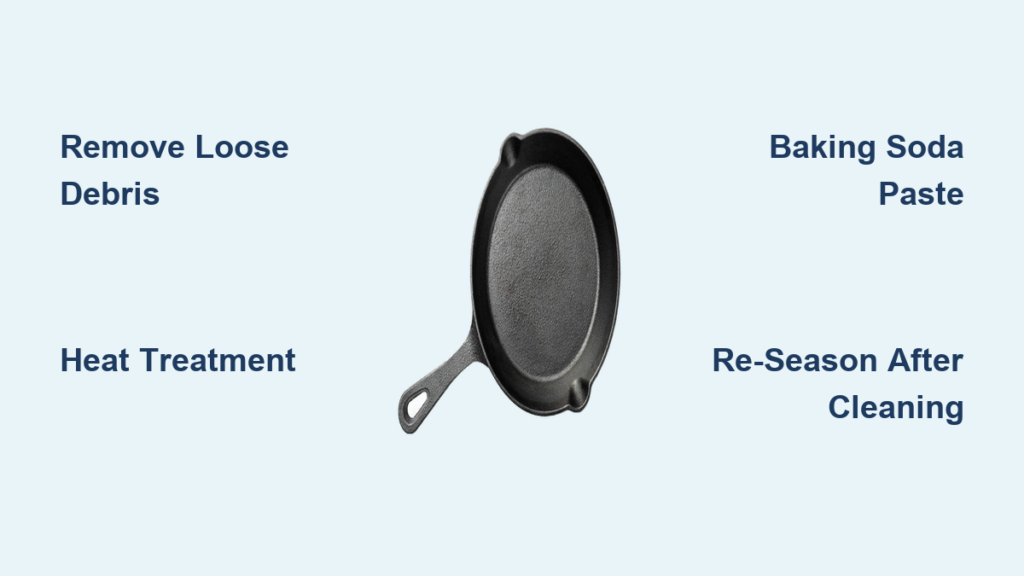
Remove Loose Debris Before Deep Cleaning
Start your restoration by eliminating surface-level buildup that would otherwise get worked deeper during cleaning. This preliminary step dramatically reduces the effort needed for subsequent stages while preventing mess from spreading throughout your workspace.
Tap your skillet upside down over a trash can to dislodge loose carbon particles and food remnants. Hold the skillet firmly with oven mitts and give it several sharp taps against the rim of the bin—most accumulated debris will fall away immediately. For severely neglected skillets, you might be surprised how much material comes off with this simple technique alone. Work outdoors if possible, as the falling debris can create quite a mess.
Scrape with a plastic tool at a 45-degree angle to lift away flaky deposits without scratching the metal. Apply steady pressure while moving in one direction rather than scrubbing back and forth, which creates uneven results. Focus on sections with visible buildup, working systematically around the entire bottom surface. If your scraper isn’t making progress, the carbon has likely bonded too firmly and needs softening through heat or chemical treatment first.
Brush away loosened material immediately using a stiff nylon brush to prevent re-adhesion. Work over your trash can or a covered surface you can easily clean afterward. This reveals problem areas needing extra attention and keeps your kitchen workspace manageable. For stubborn spots that resist brushing, apply gentle heat to soften the residue before attempting further removal.
Heat Treatment for Stubborn Carbon Buildup
Applying controlled heat transforms hardened carbon deposits into workable material that scrapes away with minimal effort. This method works because the same heat that created the buildup can reverse the polymerization process when applied carefully.
Warm your skillet on the stovetop by placing it bottom-side up on a burner set to medium-low heat. Heat for 10-15 minutes until the carbon deposits begin to soften—they’ll appear slightly glossy and may emit a faint odor. Never overheat to the point of smoking, as this can harden the residue further and create dangerous fumes. The ideal temperature range is 300-400°F, hot enough to soften but not burn the deposits.
Scrape while the metal is warm using your plastic or wooden tool to remove the now-pliable buildup. Work methodically across the entire surface, applying consistent pressure at that 45-degree angle. You’ll notice significantly less resistance compared to cold scraping—this heat-assisted method typically removes 70-90% of carbon buildup with minimal effort. For particularly stubborn areas, reheat sections as needed during the scraping process.
Cool gradually after cleaning to prevent thermal shock that could warp your skillet. Never plunge a hot pan into cold water. Instead, turn off the heat and let your skillet cool slowly on the stovetop or a heat-resistant surface. This controlled cooling preserves the metal’s integrity while allowing any remaining softened residue to harden slightly for easier final removal.
Natural Cleaning Solutions for Tough Residue

When heat alone doesn’t finish the job, household ingredients provide effective, non-toxic solutions for removing remaining buildup without damaging your skillet’s metal.
Create a baking soda paste by mixing equal parts baking soda and water to form a thick, spreadable consistency. Apply this paste directly to problem areas on the bottom surface and let it sit for 10-15 minutes before scrubbing with your nylon brush. The mild abrasion works mechanically while the alkaline properties break down grease molecules. For extra cleaning power on stubborn spots, add a few drops of hydrogen peroxide to the paste before application.
Try a vinegar solution for mineral deposits and light rust using a 1:2 ratio of white vinegar to water. Spray or apply this mixture to affected areas and let it work for 5-10 minutes before scrubbing—any longer risks etching the cast iron surface. The acetic acid dissolves mineral buildup effectively, but always neutralize afterward by rinsing thoroughly and applying a baking soda solution to counteract the acidity.
Use dish soap confidently despite persistent myths about soap damaging seasoning. Modern dish soaps like Dawn work effectively on greasy residue when combined with hot water and mechanical action. Apply several drops directly to problem areas with your brush, focusing on greasy spots rather than the entire cooking surface. Rinse thoroughly immediately after cleaning to prevent any soap residue from affecting your skillet’s performance.
Sanding as a Last Resort for Extreme Buildup
For carbon deposits that resist all other methods, carefully controlled sanding can restore even the most neglected skillets—but this approach requires precision to avoid damaging your cookware.
Start with 220-grit sandpaper for moderate buildup, working in one direction with consistent pressure. Sand only enough to remove visible carbon deposits—excessive sanding thins the metal and can create uneven heating surfaces. Focus on problem areas rather than the entire bottom, and frequently check your progress by wiping away dust with a damp cloth. For vintage skillets with decades of buildup, you may need to progress through finer grits (400-600) to achieve a smooth finish.
Use a sanding block for flat surfaces to maintain even pressure and prevent creating low spots in the metal. Wrap the sandpaper tightly around a small wooden block or use a purpose-made sanding sponge for better control. Always sand in the direction of the metal grain when visible, and stop immediately once the carbon layer disappears to preserve as much metal as possible.
Protect yourself during sanding by wearing safety glasses and a dust mask, especially when working with older skillets that may contain lead-based paints. Sand outdoors or in a well-ventilated area to prevent inhaling fine particles, and clean your workspace thoroughly afterward to avoid tracking metal dust into your kitchen.
Re-Season After Deep Cleaning

Thorough bottom cleaning often removes some seasoning from adjacent areas, making proper re-seasoning essential for protecting your skillet and maintaining cooking performance.
Apply a thin oil layer to the entire skillet using high-smoke-point oils like grapeseed or flaxseed. Use a clean cloth to spread oil evenly across all surfaces, then wipe away excess until the metal appears nearly dry—any visible oil will become sticky during curing. Pay special attention to the cleaned bottom surface, ensuring complete coverage without pooling in any areas.
Bake upside down at 400-450°F with a baking sheet on the lower rack to catch drips. Heat for one hour, then turn off the oven and let the skillet cool completely inside—this slow cooling prevents thermal shock. The upside-down position ensures even seasoning distribution while preventing oil pooling that creates sticky spots.
Repeat the process 2-3 times for optimal results, as multiple thin layers build better seasoning than one thick application. After the final cooling cycle, your skillet should have a smooth, slightly glossy appearance across the entire surface. The bottom may remain darker than the cooking surface, but should feel smooth rather than rough or sticky.
Prevent Future Buildup with Simple Habits
Maintaining a clean skillet bottom requires minimal effort when incorporated into your regular cooking routine. These simple habits prevent the gradual accumulation that leads to major cleaning projects later.
Wipe the bottom while warm after each use with a damp cloth to remove fresh grease before it hardens. This 30-second habit prevents the incremental buildup that becomes difficult to remove over time. Focus especially on the edges and any decorative elements where grease tends to collect.
Inspect monthly for early signs of buildup by examining the bottom surface under good lighting. Look for darkened areas, sticky spots, or rough texture that indicate developing problems. Catching issues early means you can address them with minimal effort before they become major cleaning projects.
Deep clean quarterly even when the bottom appears clean, using the baking soda paste method followed by light re-seasoning. This preventive maintenance removes invisible residue before it bonds to the metal surface, preserving both appearance and cooking performance. Skillets used for high-fat cooking or frequent searing may require more frequent attention.


