
Nothing ruins the joy of grilling faster than a cast iron barbecue grill covered in stubborn carbon buildup that makes food stick and affects flavor. Unlike standard steel grates, cast iron requires specialized cleaning methods that preserve its valuable seasoning layer while removing cooking residue. Improper cleaning techniques strip away this protective coating, invite rust formation, and dramatically shorten your grill’s lifespan. Whether you’re firing up your cast iron grill weekly or seasonally, mastering the right cleaning approach protects your investment and ensures restaurant-quality results every time you cook.
Cast iron grates develop their legendary non-stick properties through seasoning—a process where layers of polymerized oil create a naturally slick surface. This seasoning isn’t just about preventing food from sticking; it’s your grill’s primary defense against rust and corrosion. Yet most grill owners accidentally damage this crucial layer by using abrasive scrubbers, harsh detergents, or improper drying techniques. Follow this complete guide to clean your cast iron barbecue grill properly, and you’ll transform maintenance from a chore into a simple 15-minute routine that preserves your grill’s performance for decades.
Critical Cooling Protocol Before Cleaning
Never attempt to clean your cast iron barbecue grill while it’s still hot—doing so risks warping the metal through thermal shock. Allow your grill to cool completely for at least 30-45 minutes after your cooking session ends. For gas grills, turn off all burners and leave the lid open to accelerate cooling. If you’re tempted to speed things up by spraying water on hot grates, resist this impulse; the sudden temperature change can cause irreversible damage to the cast iron structure.
Once cooled to the touch (but still slightly warm), carefully remove the grates using heat-resistant gloves. Place them on a protected surface like cardboard or thick towels to catch falling debris. Working outdoors or in a well-ventilated area prevents inhaling loosened carbon particles. This cooling phase isn’t just about safety—it ensures cleaning efforts target softened residue rather than hardened carbon that requires aggressive methods damaging to your seasoning.
Effective Dry Debris Removal Techniques
Your initial cleaning step should always be dry brushing while grates retain slight warmth. Use a stiff-bristled grill brush with brass or stainless steel bristles to scrape along the grate’s grooves, not across them. Apply firm, consistent pressure to dislodge loose food particles and carbon buildup without scratching the seasoning. This dry method removes 80-90% of residue when performed immediately after cooking, before particles harden overnight.
For stubborn spots that resist dry brushing, crumple a plain paper towel (avoid scented varieties that could affect future cooking) and wipe along the grate surface. Focus on the interior crevices where carbon accumulates most heavily. This physical removal process requires no water or chemicals, preserving your seasoning while establishing a clean baseline for deeper maintenance. If you skip this step and let residue harden, you’ll eventually need aggressive cleaning methods that strip away protective layers.
Safe Washing Methods That Preserve Seasoning

Contrary to popular belief, a small amount of mild dish soap won’t harm properly established seasoning when used correctly. Fill a bowl with hot (not boiling) water and add just 2-3 drops of gentle dish soap. Dip a soft sponge into the solution and wring it thoroughly—your cleaning tool should be damp, not dripping. Wipe grates using long, smooth strokes parallel to the grate pattern rather than circular motions that increase abrasion.
Pay special attention to the interior surfaces of grate bars where carbon collects, using a soft-bristled brush for these tight spaces. Rinse your sponge frequently and change the water if it becomes heavily soiled. The soap helps cut through grease that dry brushing misses, but remember that less water exposure means better seasoning preservation. Never submerge cast iron grates or let them soak—prolonged moisture contact invites rust formation in the metal’s porous structure.
Essential Drying Process to Prevent Rust
Drying properly is the most frequently overlooked yet critical step in cast iron grill maintenance. Even microscopic moisture left on the surface can trigger rust within hours. Immediately after washing, thoroughly towel-dry each grate using clean cotton towels, working in the direction of the grate ridges. Flip your towel frequently to expose dry sections as it absorbs moisture.
For complete rust prevention, return the dried grates to your warm grill (with burners on low) for 5-10 minutes. Alternatively, place them in a 200°F oven during the final stages of your cooking session. This low-heat treatment evaporates any residual moisture invisible to the naked eye. Never air-dry cast iron components—this prolonged moisture exposure virtually guarantees surface rust, especially in humid environments. Proper drying takes just minutes but prevents hours of future rust remediation.
Re-Seasoning Techniques for Long-Term Protection
Regular cleaning gradually wears down your grill’s seasoning layer, requiring periodic restoration. After thorough drying, apply a thin coat of high-smoke-point oil like grapeseed, flaxseed, or vegetable shortening while grates remain slightly warm. Use a paper towel to spread the oil until the surface shows just a faint sheen—any pooling indicates excessive application.
Return oiled grates to your grill with burners on low for 30 minutes with the lid closed. This allows the oil to reach its smoking point and begin polymerization, bonding with the cast iron surface. For best results, repeat this oiling and heating cycle two to three times, building multiple protective layers. Proper re-seasoning after each cleaning maintains that coveted non-stick surface while creating a barrier against moisture and oxygen that cause rust.
Deep Cleaning Methods for Stubborn Carbon Buildup
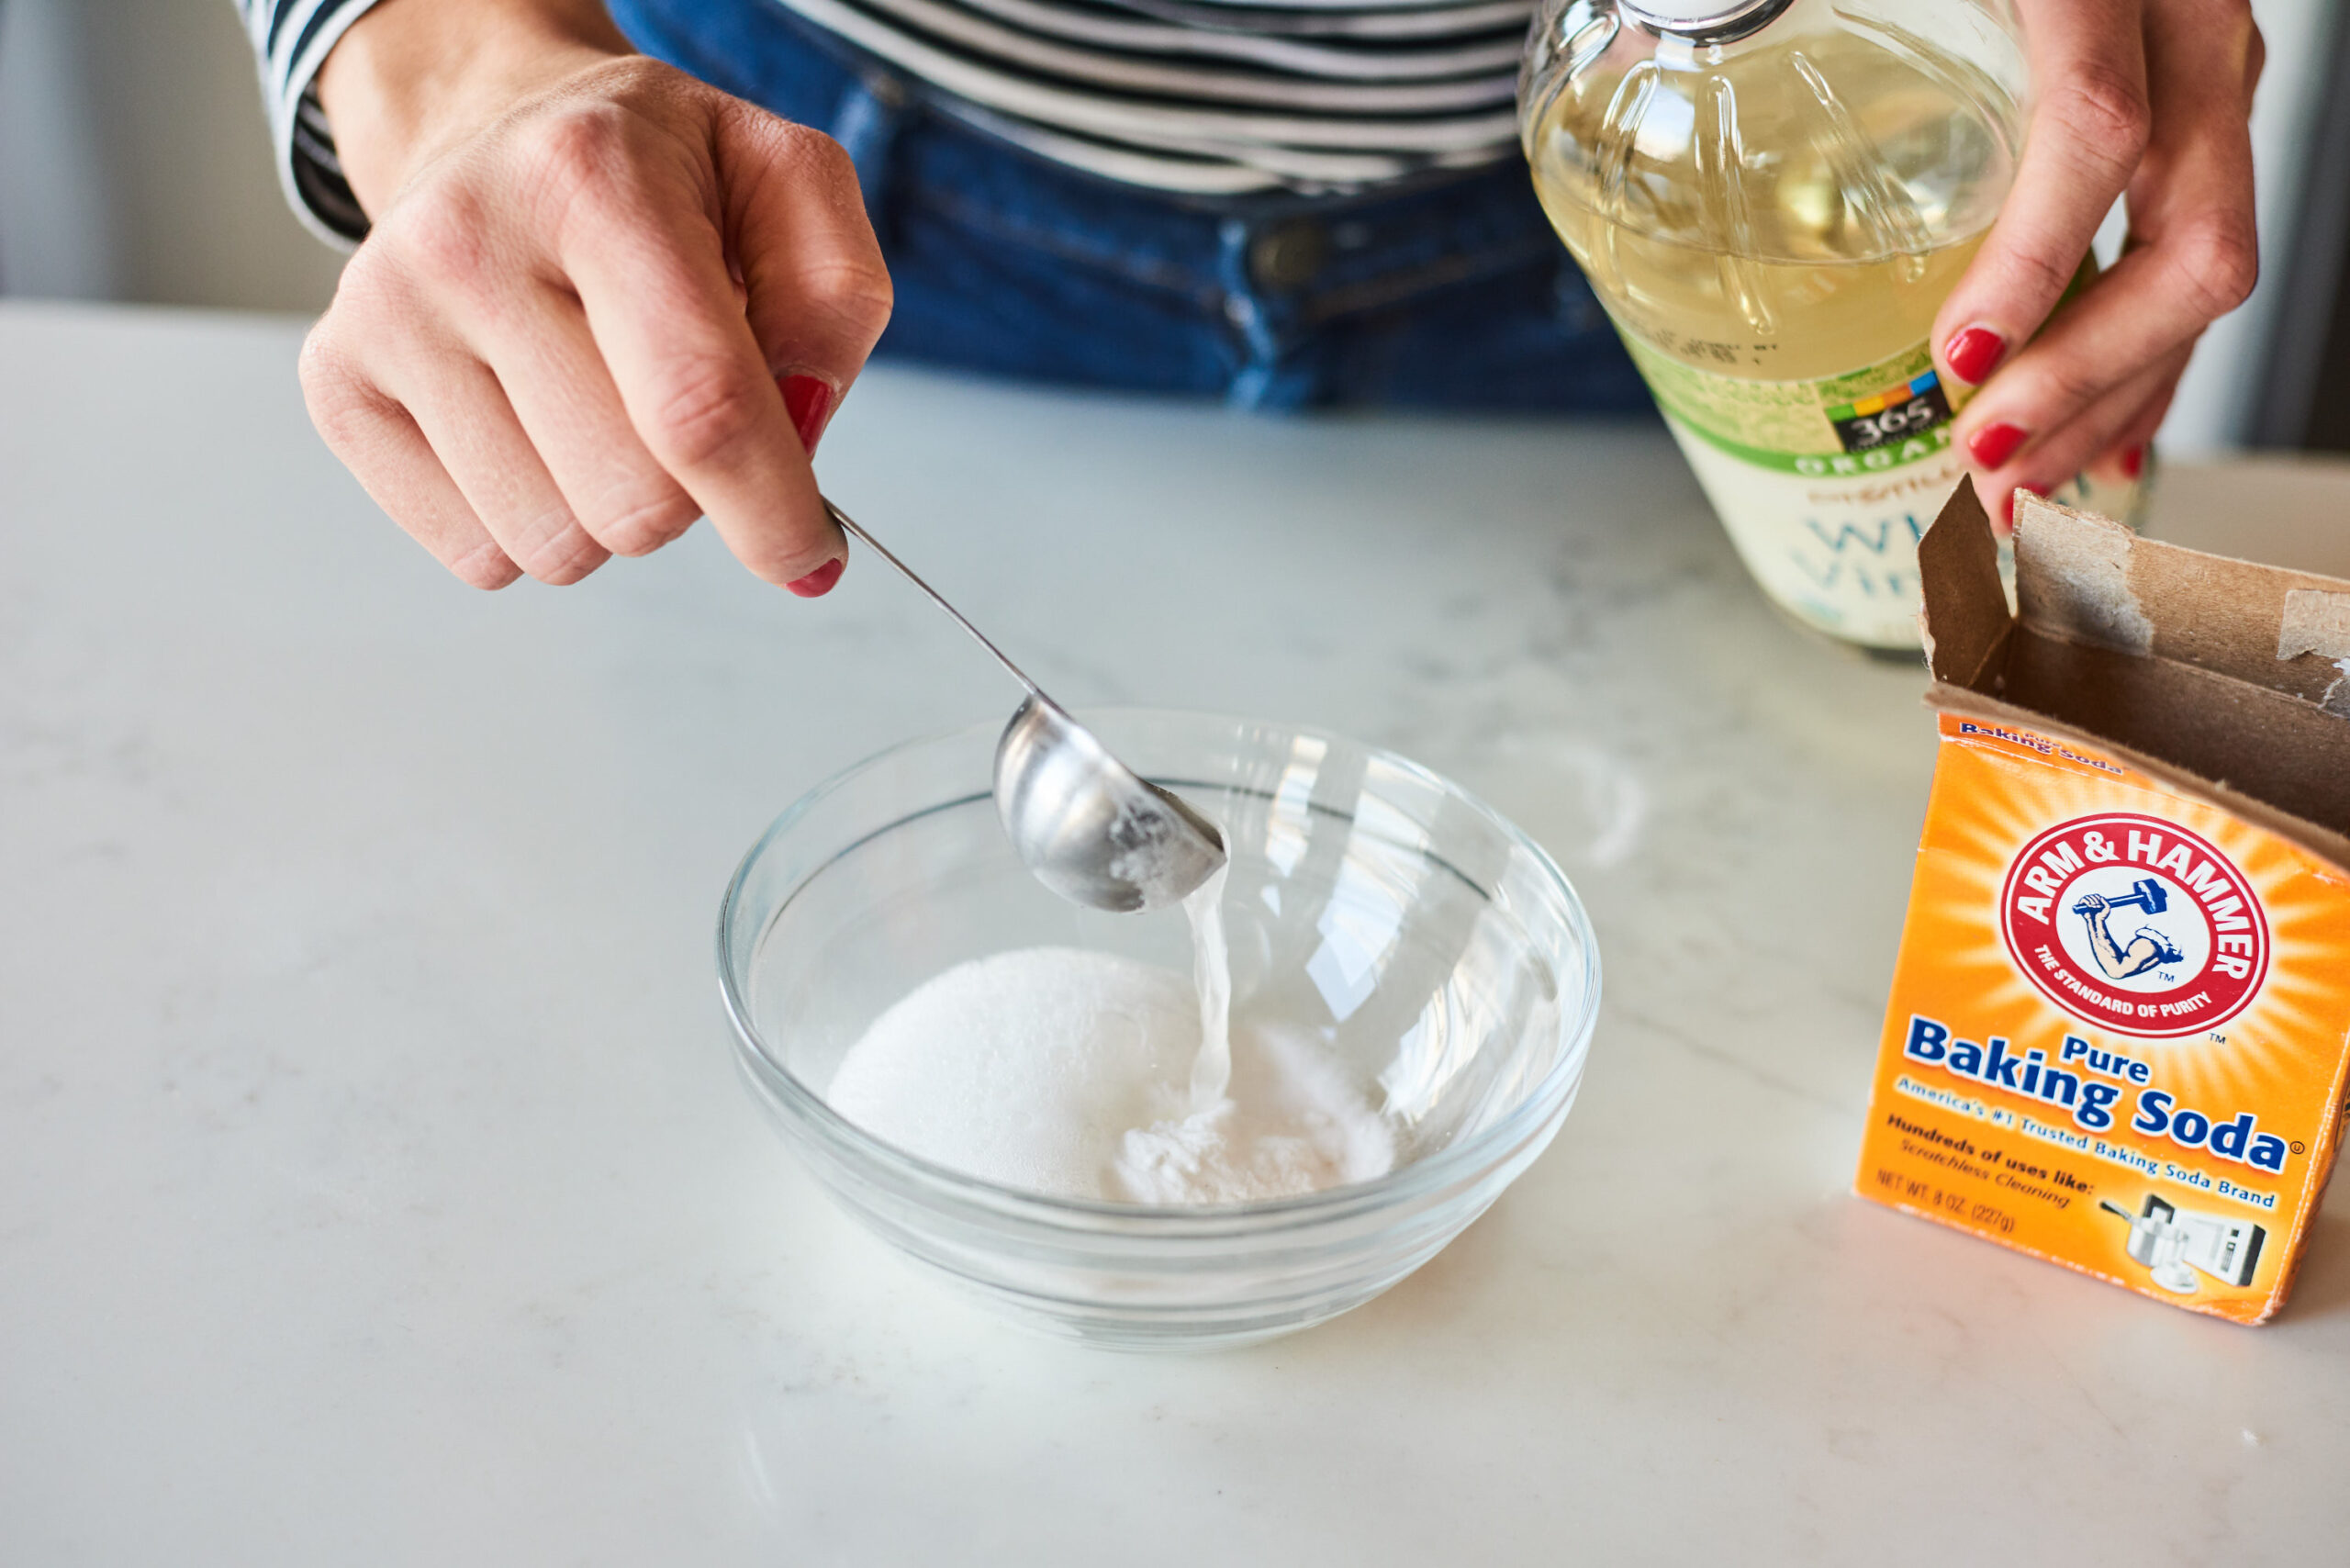
When regular maintenance fails to address heavy carbon deposits, create a paste of equal parts baking soda and water. Apply this thick mixture to heavily soiled areas and let it sit for 15-20 minutes—the mild alkalinity loosens carbon bonds without damaging cast iron. Gently scrub with a stiff brush, working parallel to the grate surface to avoid scoring.
For extreme buildup, some experienced grillers carefully use a putty knife held at a shallow 15-degree angle, though this requires precision to avoid gouging the metal. Always test deep cleaning methods on a small area first. After treatment, rinse thoroughly, dry completely, and apply multiple fresh oil coats to restore the seasoning layer compromised during intensive cleaning.
Rust Removal and Prevention Strategies
Discovering surface rust doesn’t mean your grates are ruined—most rust is shallow and treatable. For light rust spots, apply a 1:1 mixture of white vinegar and water using a spray bottle. Let it work for 5-10 minutes before scrubbing with a stiff brush; the acetic acid dissolves iron oxide without harming cast iron.
For stubborn rust, create a paste of vinegar and coarse salt for mild abrasion. After rust removal, rinse thoroughly, dry completely, and apply several fresh oil layers to re-season the affected area. To prevent future rust, always ensure grates are completely dry before storage and maintain consistent seasoning through regular oiling. Deep pitting indicates advanced corrosion requiring professional restoration or replacement.
Optimal Storage Practices for Off-Season
How you store your cast iron barbecue grill between uses significantly impacts its longevity. Never leave grates in a closed grill during storage—trapped moisture accelerates rust. If storing outdoors, leave the lid slightly ajar for air circulation. For extended storage, remove grates completely and wrap them in breathable materials like cotton towels or brown paper bags that absorb moisture while allowing air exchange.
Avoid plastic storage containers or zip-top bags, which create humid microclimates where rust develops rapidly. Before seasonal storage, perform a thorough cleaning, apply multiple oil layers, and check grates periodically for moisture accumulation. Proper storage transforms what many consider seasonal maintenance into simple year-round protection that preserves your investment.
Common Cleaning Mistakes That Damage Cast Iron
Understanding what not to do protects your grill more effectively than knowing proper techniques. Never use steel wool, metal scrapers, or oven cleaners on cast iron—they strip seasoning and leave rough surfaces where food sticks and rust forms. Avoid dishwasher cleaning at all costs; the prolonged moisture exposure destroys seasoning while leaving chemical residues that affect food safety.
Never soak cast iron grates in water, even for deep cleaning—the porous metal absorbs moisture rapidly, inviting rust beneath the surface. Skipping the re-seasoning step after cleaning is equally damaging, as bare cast iron oxidizes quickly. Finally, don’t neglect regular maintenance; addressing minor buildup takes minutes, while ignoring it creates problems requiring hours of remediation.
Proper cast iron barbecue grill cleaning preserves that factory-fresh performance for decades rather than seasons. By following these specific techniques—cooling completely before cleaning, using dry brushing first, applying minimal moisture when needed, drying thoroughly, and re-seasoning regularly—you maintain the natural non-stick surface that makes cast iron grills superior. When faced with stubborn carbon or surface rust, the deep cleaning methods outlined here restore functionality without compromising the metal’s integrity. Remember that consistent, simple maintenance after each use prevents the need for intensive cleaning sessions later. Treat your cast iron grill with this level of care, and it will reward you with perfectly seared steaks, non-stick cooking surfaces, and decades of reliable service—far outlasting cheaper alternatives that require frequent replacement.


