
Cast iron burners deliver exceptional heat distribution and retention for both stovetops and outdoor grills, but they require proper maintenance to maintain peak performance. Grease splatters, carbon deposits, and food residue accumulate over time, creating hot spots and reducing heating efficiency. Knowing exactly how to clean cast iron burners preserves their functionality while protecting the valuable seasoning that makes them so effective. This guide provides step-by-step instructions for restoring your burners to optimal condition without damaging the cast iron surface, helping you extend their lifespan and maintain consistent cooking results.
Ignoring burner maintenance leads to serious consequences—blocked gas ports cause uneven flames, heavy carbon buildup creates dangerous flare-ups, and moisture exposure triggers rust that weakens the metal structure. Whether you’re dealing with light residue from regular cooking or severe carbon deposits from neglected maintenance, these proven techniques will safely restore your burners. With the right approach and household supplies, you can keep your cast iron burners performing like new for decades of reliable service.
Remove Burners Only After Complete Cooling
Never attempt to clean cast iron burners while they’re still warm—a critical safety mistake many home cooks make. These dense metal components retain heat for 30-120 minutes after use, and handling them too soon risks severe burns while potentially causing thermal shock cracks. Wait until the burners feel completely cool to the touch before removal. When extracting them from your stove or grill, follow your appliance’s specific instructions—most lift out after removing securing clips, but some require unscrewing mounting hardware.
Prepare your workspace before handling the burners to avoid mess and damage. Cover countertops with newspaper or old towels to catch debris and protect surfaces from cleaning solutions. Working outdoors or in a well-ventilated area prevents inhaling fumes from loosened grease and carbon. Have all necessary supplies ready: stiff wire brush, plastic scraper, lint-free cloths, warm water, mild dish soap, and white vinegar (optional). Crucially, avoid steel wool and abrasive pads that scratch cast iron surfaces and destroy protective seasoning.
Brush Away Loose Debris Before Wet Cleaning
Start cleaning by removing loose particles without introducing moisture. Use a stiff wire brush to dislodge food crumbs, ash, and carbon flakes from the burner surface, working in circular motions that follow the cast iron’s natural grain. Pay special attention to gas ports—those small openings where residue accumulates most heavily. For ports clogged with stubborn debris, gently insert a sewing needle or thin wire to clear obstructions. Blocked ports cause uneven flames and potential safety hazards, so thorough cleaning here is essential for proper burner function.
After brushing, wipe the burner with a barely damp cloth to remove surface grease. For light residue, mix warm water with a few drops of mild dish soap, but never soak cast iron burners—brief contact only. Dip your cloth in the solution, wring it thoroughly, and wipe all surfaces while avoiding excessive moisture. Focus on areas around gas ports where grease collects, but keep the cloth just damp enough to lift residue without saturating the metal. If residue persists, a 15-20 minute soak in warm soapy water may be necessary, but never exceed 20 minutes to prevent rust formation. After soaking, use a plastic scraper to lift softened residue, then wipe clean with a damp cloth.
Eliminate Heavy Carbon Buildup With Baking Soda

When cast iron burners develop dark, hard carbon layers that resist basic cleaning, baking soda becomes your best friend. This gentle abrasive removes stubborn deposits without damaging the cast iron surface. Create a thick paste using equal parts baking soda and water—aim for toothpaste consistency. Apply generously to affected areas, focusing on sections with visible carbon buildup. Using a soft-bristled brush, work the paste into residue with circular motions, applying moderate pressure on tough spots.
For severe buildup, let the paste sit for 5-10 minutes to penetrate carbon deposits before scrubbing. Repeat applications may be necessary for heavily neglected burners—never rush this process as excessive force can damage the cast iron. Alternatively, commercial cast iron cleaners formulated specifically for this purpose work effectively but require strict adherence to manufacturer instructions. Regardless of your chosen method, preserve the seasoning layer that gives cast iron its cooking advantages—aggressive scrubbing removes this protective coating and invites rust.
Unclog Gas Ports Without Damaging Openings
Blocked gas ports create weak, uneven flames or prevent ignition entirely, making proper port maintenance critical. Identify clogged ports by examining burner surfaces—they appear darker with visible debris at the openings. Using a thin wire or specialized burner cleaning tool, gently insert into each blocked port and work back-and-forth to dislodge obstructions. Never force the wire or attempt to enlarge ports, as this creates uneven flame patterns and safety hazards. Your goal is restoring original opening size, not creating larger holes.
After clearing visible blockages, blow through each port or use compressed air to remove loosened debris. Wipe the burner again with a damp cloth to eliminate remaining residue, then proceed immediately to thorough drying. Incomplete port cleaning causes persistent performance issues, so verify each port allows unobstructed gas flow before reassembly. Properly cleared ports ensure consistent flame distribution across the entire burner surface for even cooking results.
Dry Burners Completely Within 30 Minutes
Moisture exposure triggers rust formation on bare cast iron within hours, making immediate drying essential. Wipe each burner with a clean, dry cloth, paying special attention to gas ports and crevices where water collects. For complete drying, place burners in a warm, ventilated area for 60-120 minutes or until absolutely dry. Never skip the drying step—even invisible moisture causes rust.
In humid climates or after significant water exposure, heat dry burners on low stove heat for 10-15 minutes. This gentle warming drives out residual moisture trapped in cast iron pores while preparing the surface for re-seasoning. Place burners on the stovetop with heat set to low, allowing gradual warming without smoking the metal. If storing cleaned burners temporarily, keep them in a dry location away from humidity sources—never store damp cast iron components.
Re-Season Burners With High Smoke Point Oil
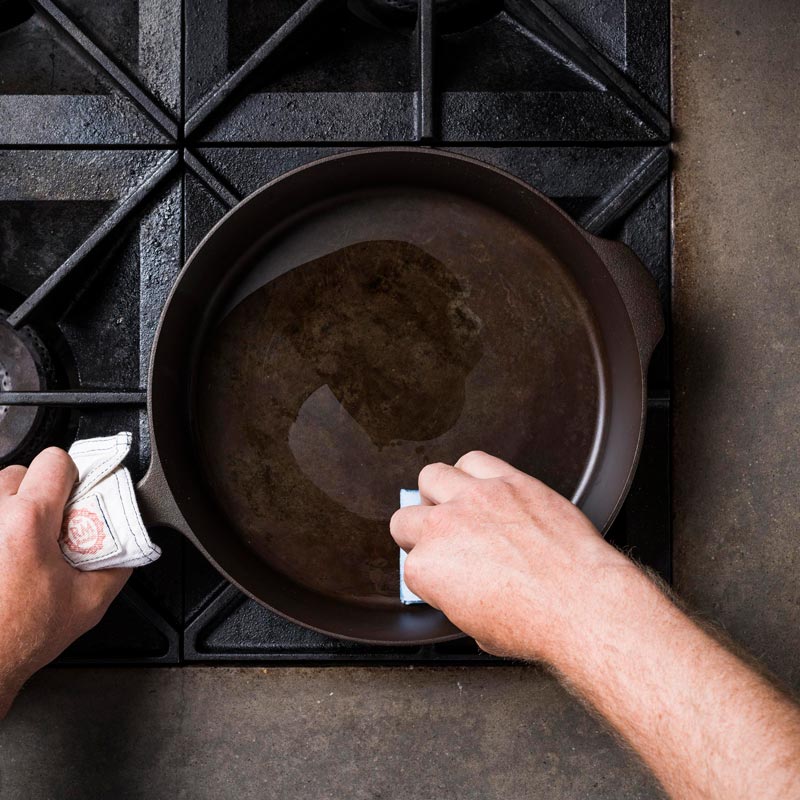
Cleaning often strips cast iron’s protective seasoning layer, requiring reapplication to prevent rust and maintain cooking performance. Choose an oil with high smoke point like grapeseed, canola, or vegetable oil—avoid olive oil as its low smoke point prevents proper polymerization. Apply an extremely thin oil coat using a lint-free cloth, then wipe away all visible excess until the surface appears dry. Excess oil creates sticky, uneven seasoning that flakes during use.
Heat oiled burners upside down in a 350°F oven (if they fit) or on low stovetop heat for 30-60 minutes. Proper seasoning appears glossy and dry to the touch with no tackiness. Severely stripped burners may require 2-3 seasoning layers for adequate protection—allow each layer to cool completely before applying the next. Correct seasoning creates a natural non-stick surface while protecting against moisture damage.
Implement Weekly Maintenance Routine
Prevent heavy buildup with simple post-cooking habits. While burners are still warm (but safe to touch), wipe with a damp cloth to remove residue before it hardens. Weekly, perform thorough cleaning with mild soapy water followed by complete drying and light oil application if seasoning appears worn. Never use harsh chemicals or abrasives that damage seasoning—stick to baking soda paste or specialized cast iron cleaners.
Monitor burner performance as an early warning system. Weak flames, uneven heating, or longer preheat times indicate buildup requiring attention. Install burner covers during greasy cooking sessions to minimize splatter accumulation. Consistent light maintenance prevents the need for intensive cleaning sessions while extending burner lifespan dramatically.
Recognize When to Replace Burners

Some damage requires professional assessment rather than home repair. Severe rust that pits or weakens metal surfaces often cannot be fully restored. If gas ports become enlarged or deformed during cleaning attempts, replacement becomes necessary for safe operation. Never attempt to repair cracked cast iron burners—the structural integrity is compromised.
For appliances with electronic ignition systems, improper reinstallation creates gas leaks or electrical issues. If you detect gas odors after reassembly, shut off the gas supply immediately and contact a professional. Outdoor grill burners with extensive corrosion from weather exposure are usually more cost-effective to replace than restore—many manufacturers offer affordable replacement assemblies.
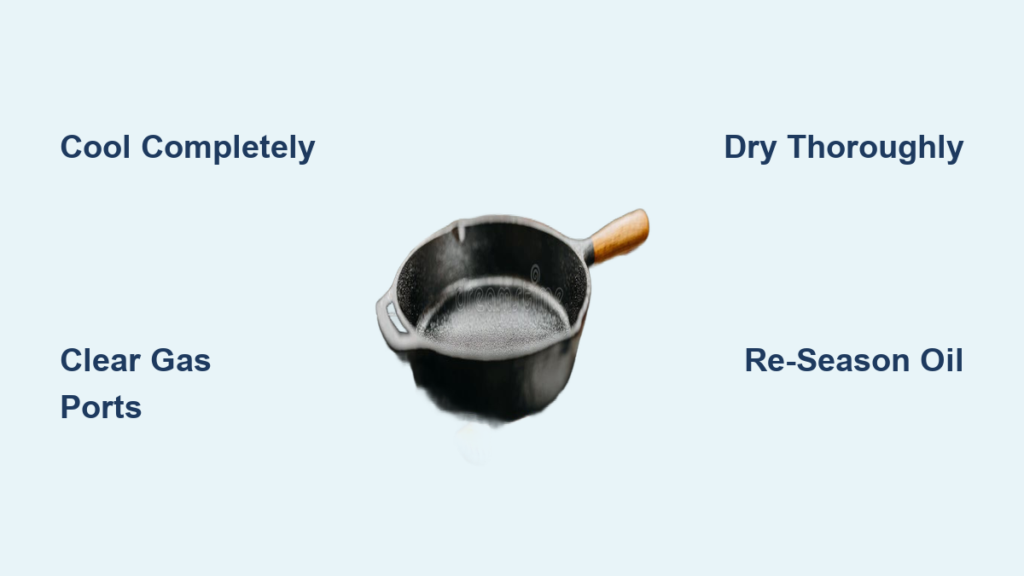
Proper cast iron burner maintenance delivers exceptional longevity when performed correctly. By following these specific cleaning protocols—cooling completely before handling, removing debris without damaging surfaces, clearing gas ports carefully, drying thoroughly, and maintaining proper seasoning—you’ll ensure consistent cooking performance for years. The key to success lies in regular light maintenance rather than waiting for severe buildup to necessitate intensive cleaning. With just minutes of weekly attention, your cast iron burners will continue delivering professional-quality heat distribution that enhances every meal you prepare.


