

Nothing ruins the cozy ambiance of a crackling fire like a grimy cast iron wood burner that’s lost its luster and efficiency. When soot, ash, and creosote accumulate on your stove’s surfaces, it not only looks unsightly but can seriously compromise performance and safety. Proper cleaning restores heat output, prevents dangerous buildup, and extends your stove’s lifespan for decades of reliable service. This guide reveals exactly how to clean cast iron wood burner surfaces safely and effectively using methods that protect rather than damage your valuable appliance.
Most wood burner owners make the critical mistake of treating cast iron like ordinary steel, using harsh abrasives or improper techniques that strip protective seasoning. The right approach combines gentle mechanical removal with careful surface treatment to maintain that essential barrier against rust. By following these proven methods, you’ll transform your neglected stove into a gleaming centerpiece that burns hotter, cleaner, and safer with every use.
Gather Essential Cleaning Supplies Before Starting

Having the right tools organized and ready prevents frustration during cleaning and ensures you won’t resort to damaging substitutes when you realize you’re missing something crucial. Professional stove technicians recommend assembling a dedicated cleaning kit that covers everything from light maintenance to intensive restoration work.
Your basic cleaning kit should include:
– Wire brushes with brass or steel bristles of varying stiffness (stiff for tough deposits, soft for final polishing)
– Replaceable-blade scraper for removing baked-on creosote without gouging surfaces
– Shop vacuum with HEPA filter specifically for ash and soot removal
– Microfiber cloths for drying and polishing (avoid paper towels that leave lint)
– Heat-resistant gloves rated for residual warmth (never clean a hot stove)
Safety equipment is non-negotiable—invest in safety glasses to protect your eyes from dislodged debris and a N95 respirator mask to prevent inhaling fine soot particles. For cleaning solutions, stick with vinegar-based formulas, baking soda, or commercial cast iron stove cleaners specifically formulated for high-heat appliances. Never use oven cleaners or chlorine-based products that can damage protective coatings or leave hazardous residues.
Prepare Your Stove Properly Before Cleaning
Skipping preparation steps leads to unnecessary messes and potential damage to both your stove and your home. Always begin by ensuring your wood burner has cooled completely—this typically requires 12-24 hours after the last fire. Never attempt cleaning while the stove retains significant heat, as thermal shock from cleaning solutions can crack cast iron.
Remove all detachable components including grates, andirons, and ash pans before starting. Carefully sweep out loose ash using a metal ash shovel, but leave a thin layer (about 1/4 inch) to protect the firebox surface during cleaning. Cover surrounding floors with newspapers or a drop cloth to catch falling debris, and position your shop vacuum nearby with attachments ready. For stoves with glass doors, remove them according to manufacturer instructions, taking special care with any gaskets or seals that could tear if handled roughly.
Why Proper Ventilation Matters During Cleaning
Open windows or set up fans to create cross-ventilation in your cleaning area—soot particles become airborne easily and can spread throughout your home if not contained. Seal off nearby HVAC vents with plastic sheeting to prevent soot from entering your ductwork. Working in a well-ventilated space protects your respiratory health and prevents creating additional cleanup work in other areas of your home.
Remove Loose Ash and Soot Without Creating More Mess
Begin your cleaning process with dry removal techniques before introducing any moisture. Using your soft-bristled brush, gently sweep interior surfaces from top to bottom, allowing dislodged debris to fall naturally toward the ash pan area. Work systematically around the firebox, paying special attention to corners and textured areas where soot tends to accumulate.
For exterior surfaces, use a dry brush to remove loose dust and debris from decorative elements, legs, and any carved details. If your stove features an air wash system, clear blocked air intake holes using a small wire or toothpick—these tiny openings dramatically affect combustion efficiency when clogged. Avoid mixing ash with water at this stage, as the resulting paste becomes exponentially harder to remove than dry ash.
Eliminate Stubborn Creosote Buildup Safely

When faced with thick, tar-like creosote deposits, approach removal methodically to avoid damaging cast iron surfaces. Hold your scraper at a shallow 30-degree angle and apply steady, even pressure—let the tool do the work rather than forcing it, which can leave permanent scratches.
For particularly challenging areas, alternate between scraping and brushing to gradually loosen deposits without excessive force. If dealing with third-degree creosote (shiny, hard deposits), consider professional assistance as this highly flammable substance requires specialized removal techniques. For most household cleaning, create a baking soda paste with just enough water to form a thick consistency, apply it to problem areas, and let it dwell for 10-15 minutes before scrubbing with medium-stiffness brushes.
Critical Warning: Never Use These Common Household Items
Avoid steel wool, harsh abrasives, or chlorine-based cleaners that strip protective seasoning and accelerate rust formation. Never immerse cast iron components in water or leave them soaking, as prolonged moisture exposure causes irreversible damage. These seemingly helpful shortcuts actually shorten your stove’s lifespan and create more maintenance headaches down the road.
Restore Glass Doors to Crystal Clarity
Glass doors require specialized cleaning techniques since they face extreme temperature fluctuations that bake deposits onto the surface. For light buildup, dampen newspaper with water, dip in wood ash from your stove, and rub in circular motions—the mild abrasiveness of ash works surprisingly well without scratching.
For stubborn deposits, apply baking soda paste and allow 20-30 minutes of dwell time before gentle scrubbing with non-abrasive pads. Always clean both sides of the glass, but use different techniques for interior versus exterior surfaces. Never apply commercial glass cleaners directly to hot glass or allow cleaning solutions to contact door seals, which can deteriorate when exposed to chemicals.
Re-Season Cast Iron Surfaces After Cleaning
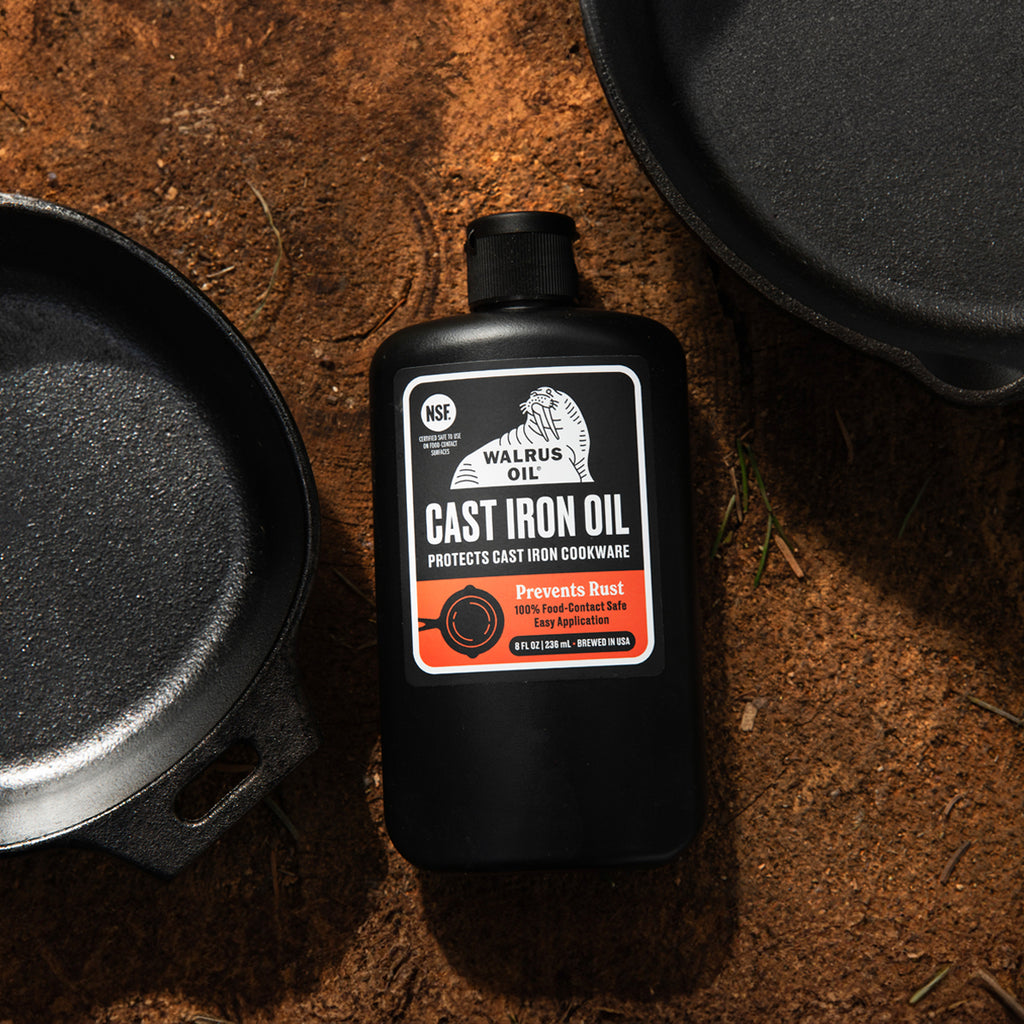
The final, crucial step that most owners overlook is proper re-seasoning after cleaning. Apply a thin, even layer of food-grade mineral oil or dedicated stove polish to all exterior cast iron surfaces using lint-free cloths. Work the product into the metal with circular motions, focusing on any areas that appeared dull or showed early rust signs.
Allow the oil to penetrate for 20-30 minutes, then buff vigorously with clean, dry cloths until surfaces develop a subtle sheen. This process creates the protective barrier that prevents rust and makes future cleaning easier. Proper seasoning transforms your stove from merely clean to beautifully maintained with that classic cast iron patina.
Establish a Simple Maintenance Schedule
Prevent minor buildup from becoming major cleaning projects by implementing a straightforward maintenance routine. Perform light weekly wiping of exterior surfaces with dry cloths, monthly interior brushing, and seasonal deep cleaning with full re-seasoning.
Schedule professional chimney inspections annually before heating season begins—certified sweeps identify hidden issues and ensure your entire system operates safely. Consistent care prevents the heavy buildup that makes cleaning sessions overwhelming and keeps your stove operating at peak efficiency throughout its decades-long lifespan.
Troubleshoot Common Cleaning Challenges
Rust spots indicate compromised seasoning—address them immediately by gently removing surface rust with baking soda paste, then applying multiple thin oil layers. For white residue on glass doors (often from improper cleaners), use vinegar-water solutions rather than commercial glass cleaners.
When creosote appears thick, shiny, or tar-like, stop using your stove and contact a professional—this third-degree creosote is highly flammable and dangerous to remove without proper equipment. Adjust your burning practices by using properly seasoned wood and ensuring adequate air supply to prevent future excessive buildup.
Regular cleaning transforms your cast iron wood burner from a functional appliance into a beautiful, efficient home centerpiece that provides reliable warmth for generations. By following these specific techniques, you protect your investment while ensuring safer, cleaner burns with maximum heat output. The few hours you invest in proper maintenance now will pay dividends in performance, efficiency, and longevity throughout your stove’s service life. Start implementing these methods today and enjoy the satisfaction of a perfectly maintained wood burner that operates exactly as designed through countless winters to come.


