
Nothing transforms an affordable cut of beef into a restaurant-worthy meal quite like the sizzle of skirt steak hitting a scorching cast iron skillet. The intense heat retention of cast iron creates an unparalleled crust while preserving the juicy interior of this flavorful cut. When done right, your kitchen will fill with that irresistible aroma of perfectly seared beef that makes mouths water before the first bite. How to cook skirt steak on cast iron properly separates good steak from truly exceptional steak—especially with this thin, quick-cooking cut that demands precision.
Skirt steak’s reputation as a budget-friendly option often leads to disappointing results when cooked incorrectly. Its long, fibrous structure can become chewy if sliced wrong, and its thin profile means it goes from rare to well-done in mere seconds. But when you master the cast iron technique—bringing it to room temperature, achieving that critical dry surface, and searing at the perfect temperature—you’ll unlock skirt steak’s full potential. This guide delivers the exact steps to consistently achieve juicy, tender skirt steak with a deep, caramelized crust that rivals any steakhouse.
Choose Quality Skirt Steak
Your skirt steak journey begins at the meat counter, where selecting the right cut makes all the difference. Look for bright red meat with a moist but not wet surface—avoid any pieces showing brown discoloration or off-odors. The fat cap should appear white rather than yellow, signaling freshness. Press gently on the surface; quality skirt steak should feel firm yet yield slightly under pressure.
Inside skirt steak generally delivers better results than outside skirt steak for cast iron cooking. The inside cut comes from the front of the cow’s diaphragm and offers superior tenderness, while the outside skirt (from the back) contains more connective tissue requiring careful preparation. For optimal cooking, select skirt steak at least 1/4 inch thick—thinner pieces cook too quickly and become tough. When possible, request grass-fed skirt steak for more intense beef flavor, though grain-fed options provide additional marbling for juiciness.
Identify Proper Thickness and Texture
Thickness consistency matters significantly for even cooking. Skirt steak should measure approximately 1/4 to 1/2 inch thick across its entire surface. If you find pieces with dramatic thickness variations, ask your butcher to butterfly the thicker sections. The ideal skirt steak feels substantial in your hand—not flimsy or paper-thin—yet remains flexible rather than stiff.
Check for visible marbling, though skirt steak naturally contains less fat than premium cuts like ribeye. Some marbling indicates better flavor potential, but don’t expect the abundant fat streaks found in more expensive steaks. If purchasing pre-packaged meat, examine the sell-by date and choose the freshest option available. For best results, use your skirt steak within 1-3 days of purchase, or within 3-5 days if vacuum-sealed.
Prep Skirt Steak for Cooking
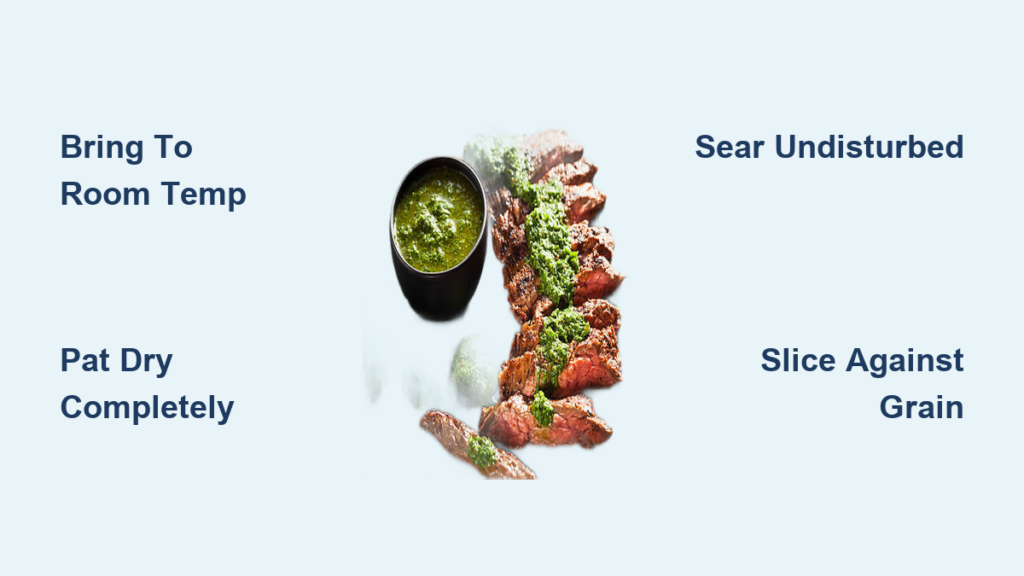
Bring Steak to Room Temperature
Remove your skirt steak from the refrigerator 30-60 minutes before cooking to bring it closer to room temperature. Never skip this critical step—a cold steak creates uneven cooking with an underdone center surrounded by an overcooked exterior. Place the steak uncovered on a clean plate or cutting board, allowing air circulation around all sides. The ideal pre-cooking temperature sits between 65-70°F.
If short on time, even 15-20 minutes helps, but never leave raw meat at room temperature longer than 2 hours to prevent bacterial growth. As the steak warms, the surface naturally dries slightly, which is essential for achieving that perfect sear. This drying process creates the ideal conditions for the Maillard reaction—the chemical process responsible for that delicious brown crust.
Pat Surface Completely Dry
After trimming any excess fat or silver skin with a sharp knife, grab several paper towels and press firmly against both sides of the steak. Moisture is the enemy of a good sear—any surface water will steam the meat rather than allowing proper browning. Continue pressing until the paper towels come away dry, flipping the steak to dry both sides thoroughly.
For even better results, place the trimmed steak uncovered on a wire rack in your refrigerator for several hours or overnight. This extended drying time creates a drier surface that promotes exceptional crust formation while lightly seasoning the meat. Think of this as a dry brine that enhances both flavor and texture without the mess of a wet marinade.
Heat Cast Iron Properly

Select and Preheat Your Pan
Grab your well-seasoned 12-inch cast iron skillet—this size provides ample space for one or two skirt steaks without overcrowding. Place it over your highest heat setting and let it preheat for 5-10 minutes until the entire pan, including the sides, reaches optimal temperature. Your pan is ready when a drop of water flicked onto the surface sizzles and evaporates instantly, indicating temperatures around 400-450°F.
Gas stoves typically require 5-8 minutes of preheating, while electric ranges need 8-12 minutes due to slower heat transfer. If your pan begins smoking heavily, reduce the heat slightly—this indicates temperatures exceeding 500°F, which may burn the steak’s exterior before the interior cooks properly. The goal is a hot but controlled cooking environment that sears without scorching.
Add High Smoke-Point Oil
Once your pan reaches proper temperature, add 1-2 tablespoons of high smoke-point oil like avocado, vegetable, or grapeseed oil. Swirl to coat the entire cooking surface evenly. The oil should shimmer and flow easily across the pan—if it smokes immediately, remove the pan from heat for 30 seconds to reduce the temperature slightly.
Avoid olive oil for this application, as its lower smoke point (around 375°F for extra virgin) causes it to burn at skirt steak searing temperatures. The shimmering oil creates the perfect medium for heat transfer while preventing sticking. Add your prepared skirt steak immediately after oiling the pan to prevent the oil from burning before contact with the meat.
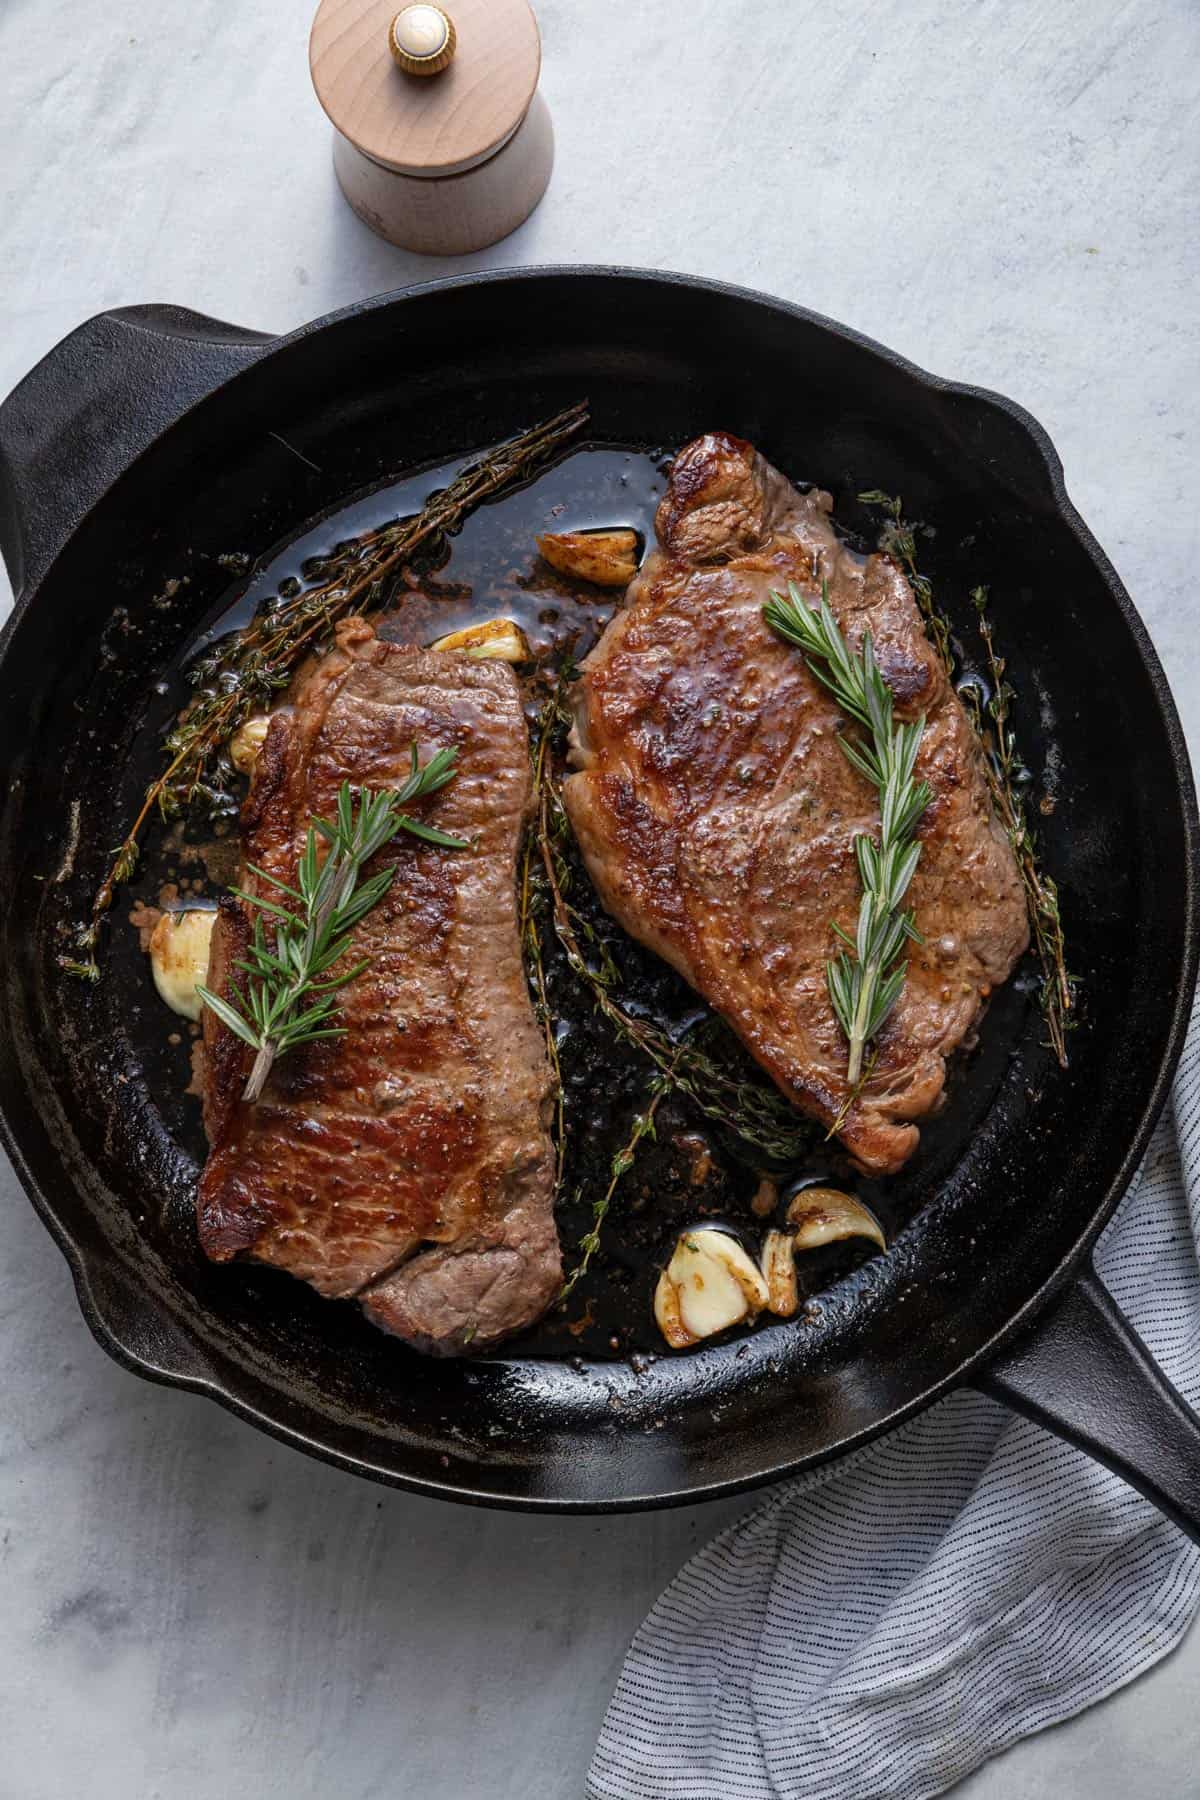
Sear on Cast Iron Perfectly
First Side: Undisturbed Searing
Place your dried, room-temperature skirt steak in the preheated pan and listen for that aggressive sizzle confirming proper heat. If you don’t hear immediate sizzling, remove the steak and continue preheating—the pan isn’t hot enough yet. Cook the first side undisturbed for 2-3 minutes to allow a deep brown crust to form through the Maillard reaction.
Resist the urge to press down on the steak—this squeezes out precious juices and creates steaming rather than searing. After 2-3 minutes, test one corner with tongs; if it releases easily, it’s ready to flip. If it sticks, give it another 30 seconds. The first side should develop an almost caramelized, deep brown appearance with visible grill marks across the surface.
Second Side: Timing and Temperature Check
Flip using tongs without piercing the meat, which allows juices to escape. The second side cooks slightly faster, typically 1-2 minutes for medium-rare doneness. For skirt steak, 130-135°F represents the ideal internal temperature where tenderness and juiciness peak. Insert an instant-read thermometer horizontally into the thickest part, removing the steak 5-10°F below your target temperature since carryover cooking raises internal temperature during resting.
Due to skirt steak’s thin profile, achieving rare (120-125°F) without burning the exterior proves difficult—most cooks aim for medium-rare to medium. Remember that overcooking by even 30 seconds can transform tender skirt steak into chewy disappointment. When in doubt, err toward undercooking—you can always return it to the heat, but you cannot undo overcooking.
Rest and Slice Correctly
Mandatory Resting Period
Transfer your cooked skirt steak to a clean cutting board and let it rest for 5-10 minutes—never skip this step. During cooking, heat drives juices toward the center; resting allows them to redistribute throughout the meat for maximum juiciness. Slicing immediately causes those precious juices to pool uselessly on your cutting board.
Loosely tent the resting steak with aluminum foil to maintain warmth, though this is optional if serving immediately. The internal temperature will rise 5-10°F during resting, which is why removing from heat slightly below target temperature matters. Use this resting time to prepare sides or make a quick pan sauce with the flavorful drippings left in your cast iron.
Slice Against the Grain
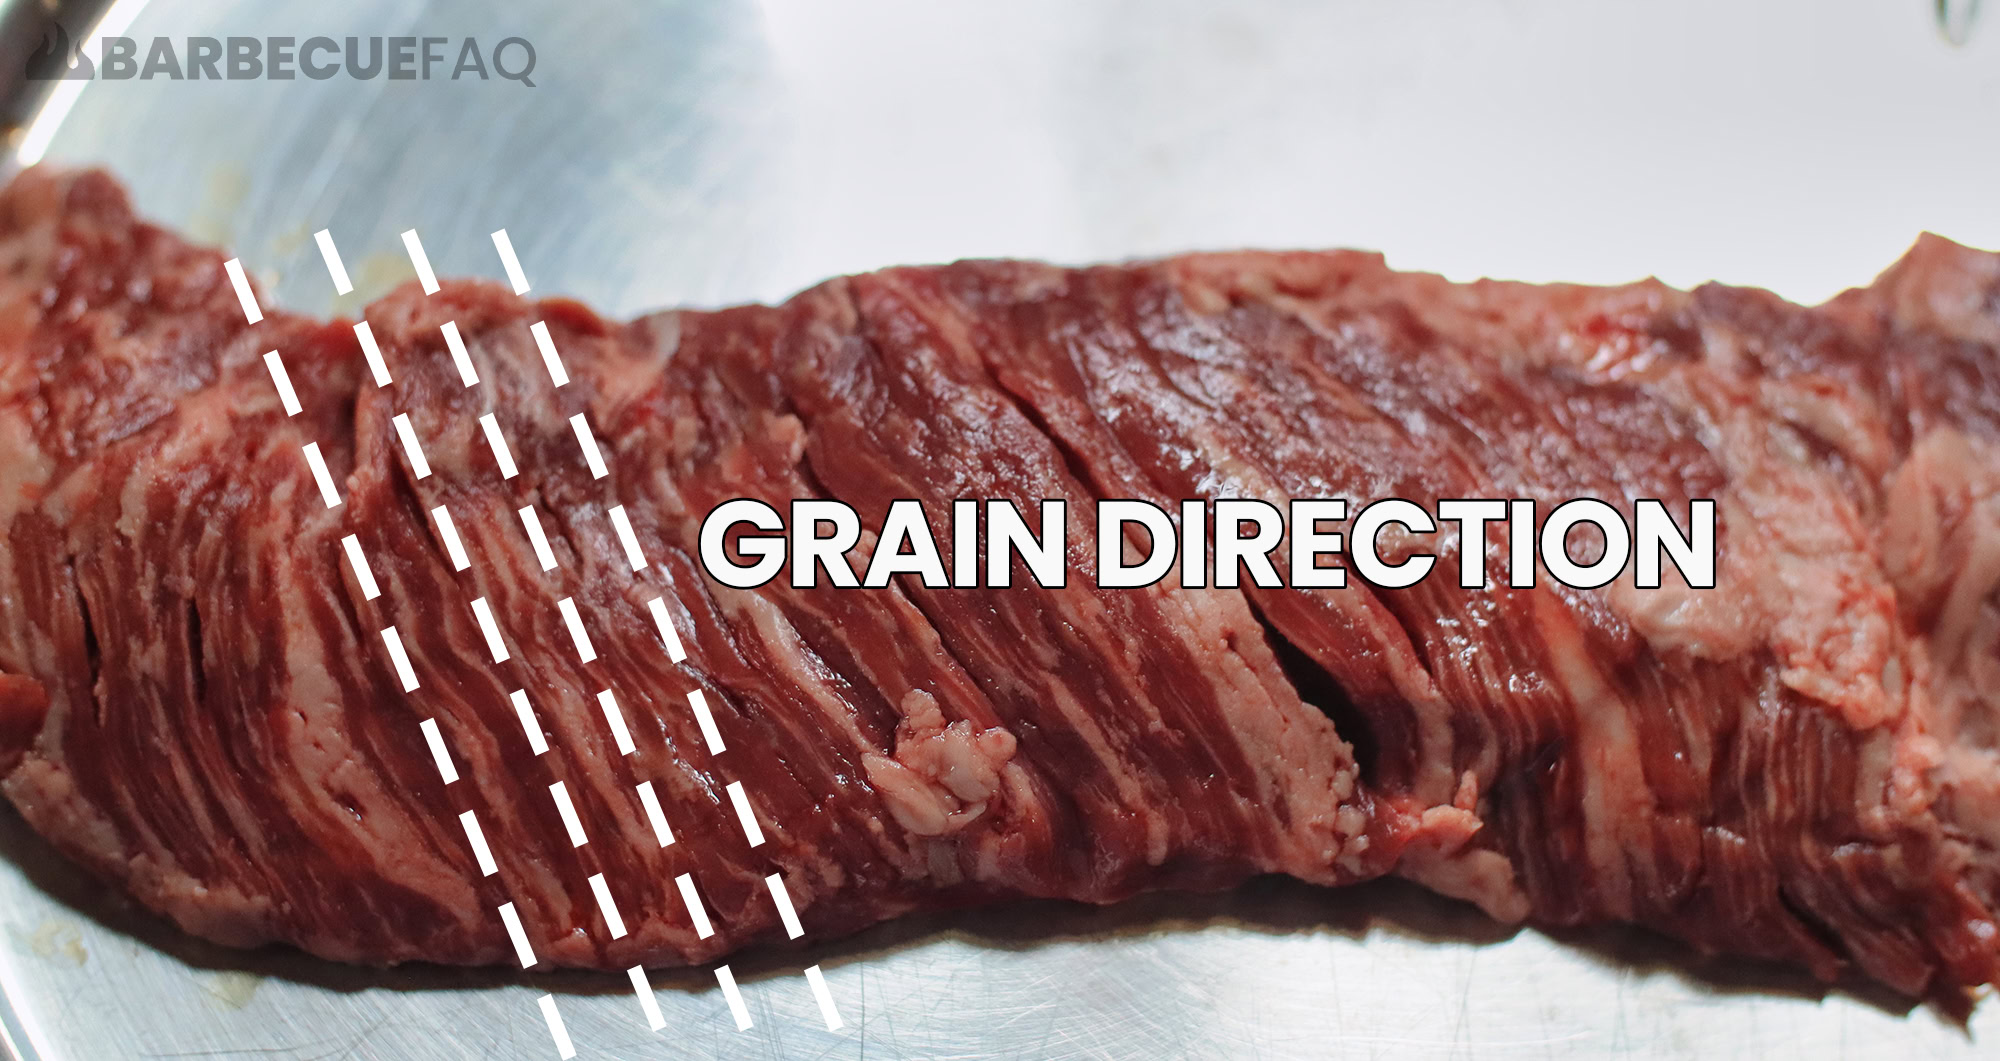
Identify the direction of the muscle fibers (the “grain”), visible as long parallel lines running through the steak. Cut perpendicular to these lines, slicing across the fibers rather than parallel to them. This critical technique shortens the long muscle fibers, making the steak significantly more tender and easier to chew.
For fajitas or carne asada, cut into 1/4-inch wide strips about 2-3 inches long. For serving as a standalone steak, slice into 1/2-inch thick pieces. Keep your knife sharp and use a smooth, single-motion cut rather than sawing back and forth, which can tear the delicate cooked meat. Proper slicing transforms potentially chewy skirt steak into melt-in-your-mouth perfection.
Avoid Common Mistakes
Don’t Overcrowd the Pan
Adding multiple skirt steaks to the pan simultaneously drops the temperature dramatically, causing the meat to release moisture rather than sear. Cook in batches with at least one inch of space between pieces, allowing the pan to reheat fully between batches. Overcrowding creates steaming rather than searing, resulting in gray, soggy meat without that desirable crust.
If cooking for a crowd, use two cast iron skillets simultaneously or enlist a second burner. The extra effort pays off with properly seared, restaurant-quality results rather than a pan of steamed, flavorless steak. Remember that patience with batch cooking produces dramatically better results than rushing with overcrowding.
Never Cut Before Resting
Slicing into skirt steak immediately after cooking is a critical error that results in dry, tough meat. The juices, driven to the center by heat, need time to redistribute throughout the meat. Without resting, these juices flow out onto your cutting board instead of remaining in the steak. Resting is not optional—it’s essential for juicy results.
Plan your cooking schedule to include resting time, typically about half the cooking duration. Use this period to prepare sides or make a sauce—the steak remains sufficiently warm during resting. The brief wait delivers dramatically better results, transforming what could be a dry disappointment into a juicy, flavorful triumph.
Final Thoughts
Mastering how to cook skirt steak on cast iron consistently delivers impressive results with minimal equipment. The combination of proper meat selection, surface drying, intense heat, and precise timing creates a crusty exterior while maintaining a juicy, tender interior that showcases this affordable cut’s potential. Remember the critical sequence: bring to room temperature, dry thoroughly, preheat pan until smoking, sear without moving, cook to correct temperature, rest before slicing, and always cut against the grain.
With practice, this technique becomes intuitive, producing reliable, delicious results that transform an inexpensive skirt steak into something extraordinary. Whether you’re preparing quick weeknight fajitas or an elegant dinner for guests, the cast iron method delivers restaurant-quality results that will have everyone asking for your secret. The next time you see skirt steak at your market, grab it with confidence—you now possess the knowledge to make it shine.


