
That first bite of a perfectly seared strip steak—crisp, caramelized crust giving way to tender, juicy interior—can make any home cook feel like a culinary master. When you learn how to cook strip steak in cast iron, you unlock restaurant-quality results without needing professional equipment. The cast iron skillet’s superior heat retention creates the intense, even heat required for the Maillard reaction—the chemical process that transforms raw meat into that irresistible golden-brown crust while preserving moisture inside. This guide delivers the exact steps to achieve steakhouse perfection in your kitchen, from selecting the right cut to serving a masterpiece that will impress even the most discerning palates.
Mastering strip steak in cast iron requires understanding three critical elements: temperature control, timing, and technique. Many home cooks sabotage their efforts before the steak even hits the pan by making preventable mistakes—using a cold steak, skipping the drying step, or rushing the sear. By following the science-backed methods outlined here, you’ll consistently produce strip steaks with a deep mahogany crust and perfect medium-rare center from edge to edge. Whether you’re cooking for a special occasion or elevating your weeknight dinner routine, these techniques transform an ordinary meal into something extraordinary.
Select the Perfect Strip Steak for Cast Iron
Your journey to perfect cast iron steak begins at the meat counter—quality ingredients make quality results inevitable. Look for strip steak (also called New York strip or Kansas City strip) with bright cherry-red coloring and firm texture that springs back when pressed. The marbling—those delicate white flecks of fat running through the meat—is crucial; this intramuscular fat melts during cooking, basting the steak from within and creating unparalleled flavor and tenderness. Avoid steaks with excessive surface moisture, as this prevents proper browning and causes dangerous splattering in the hot pan.
Choose Prime grade for maximum marbling and tenderness if budget allows, or select Choice grade for excellent quality at a more accessible price point. Whatever grade you choose, prioritize thickness—aim for steaks at least 1.25 inches thick. Thinner cuts cook too rapidly, making it nearly impossible to develop a proper crust before the center overcooks. A standard strip steak portion weighs between 12-16 ounces, providing ample surface area for browning while ensuring even cooking. If your steak arrives wrapped in plastic with visible moisture, plan to pat it thoroughly dry before cooking—this simple step makes all the difference in achieving that restaurant-quality sear.
Prepare Your Strip Steak for Maximum Flavor
The difference between good steak and great steak often comes down to preparation—a step many home cooks rush or skip entirely. Remove your strip steak from the refrigerator 45 minutes before cooking to bring it to room temperature. A cold steak dropped into a hot pan creates uneven cooking, with the exterior potentially burning while the center remains undercooked. Room temperature steak ensures consistent heat transfer throughout the meat, resulting in perfect doneness from edge to edge.
Why Drying Your Steak Matters
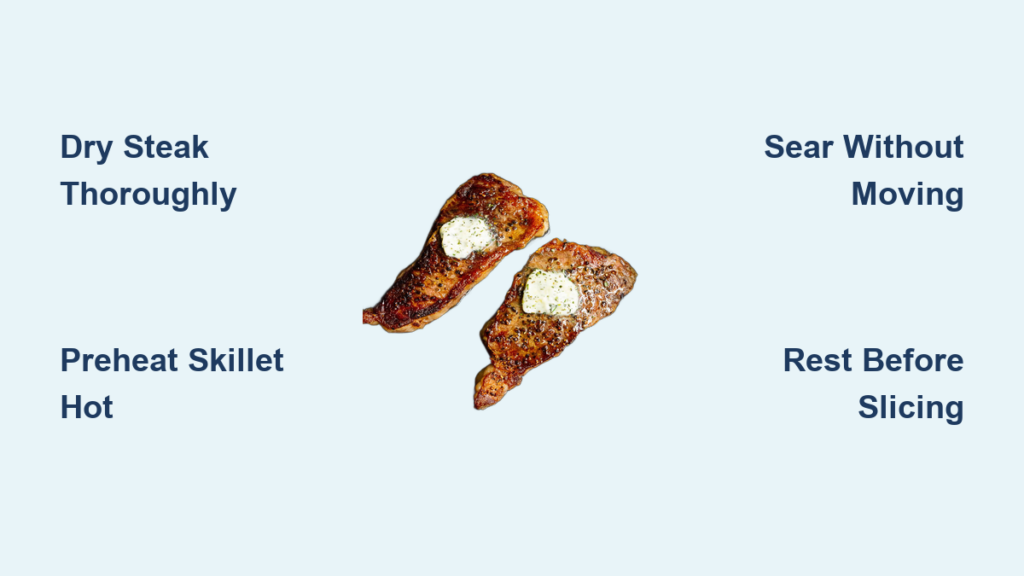
Pat your steak completely dry with paper towels, pressing firmly to absorb every trace of surface moisture. This step is non-negotiable—excess moisture creates steam when the steak hits the hot pan, preventing the Maillard reaction that creates that coveted crust. Many professional chefs consider this the single most important preparation step, yet it’s frequently overlooked by home cooks. Take your time with this process; the extra 30 seconds of thorough drying pays enormous dividends in your final result.
Seasoning Secrets for Perfectly Balanced Flavor
Season generously with kosher salt—approximately 1 teaspoon per pound of meat—about 45 minutes before cooking. This timing allows the salt to penetrate the surface, enhancing flavor and improving texture. Many chefs recommend adding black pepper after cooking, as its delicate compounds can burn at high temperatures and turn bitter. Some cooks apply a thin layer of high smoke-point oil directly to the steak surface, while others rely solely on oil in the pan; both methods work effectively when executed properly. At this stage, your steak should be dry, properly seasoned, and at room temperature—ready to transform into something spectacular.
Achieve Cast Iron Searing Perfection
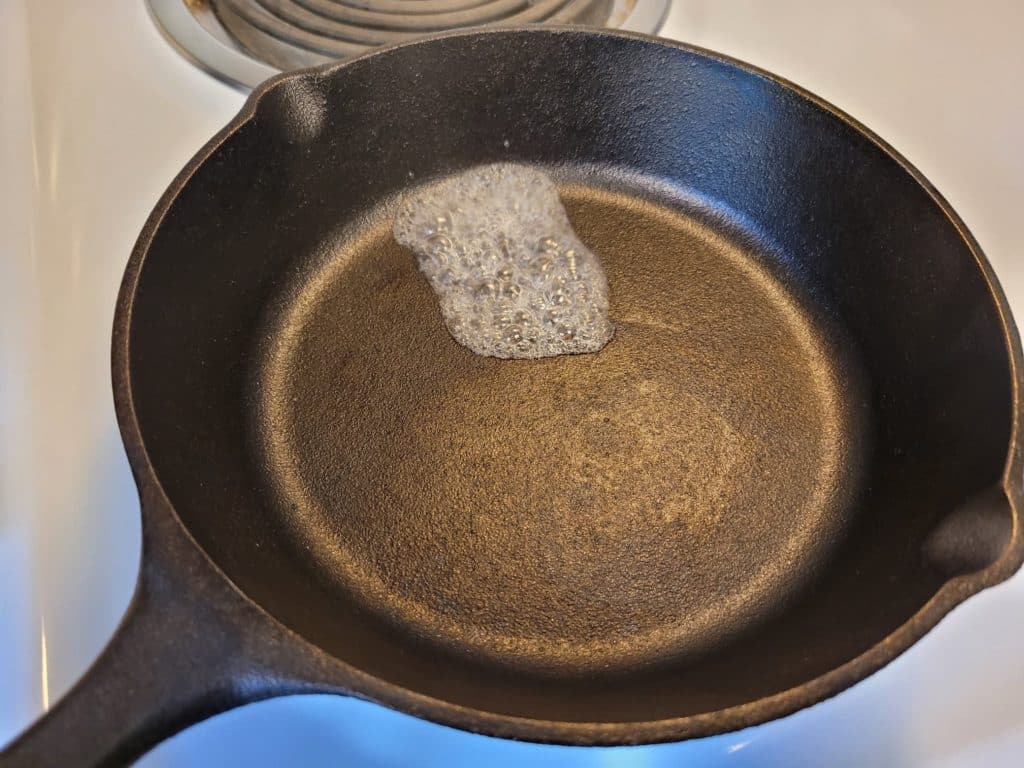
Your cast iron skillet is the secret weapon that makes this cooking method so effective, but it must be properly preheated to deliver results. Place your 10-12 inch skillet on the stovetop over medium-high heat and allow it to heat for 4-5 minutes before adding oil. Properly heated cast iron should be hot enough that water droplets dance and evaporate instantly upon contact—a critical indicator many home cooks miss.
Oil Selection and Temperature Control
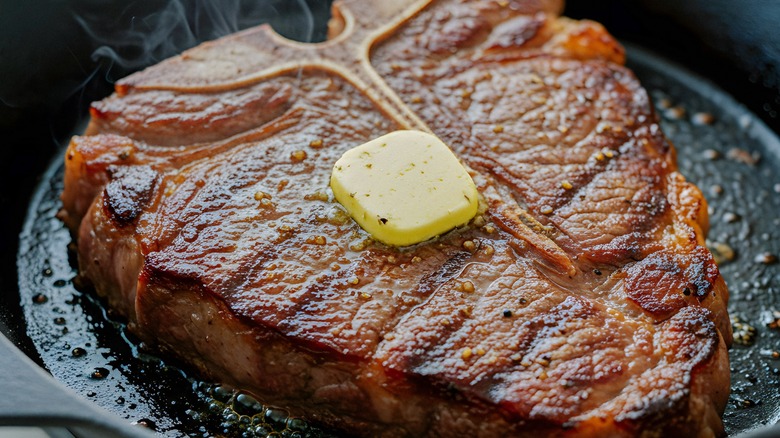
Add 1-2 tablespoons of high smoke-point oil like avocado, grapeseed, or refined vegetable oil. The oil should shimmer and flow easily across the pan’s surface like water; if it smokes vigorously, reduce heat slightly. This is the sweet spot for searing—hot enough for browning but not so hot that it burns the steak’s exterior before the center cooks. For additional flavor complexity, add 1 tablespoon of butter during the final minute of cooking, along with garlic cloves and fresh thyme sprigs. The butter’s rich flavor complements the steak beautifully, but its low smoke point means it works best as a finishing touch rather than your primary cooking fat.
Execute the Perfect Sear for Your Strip Steak
Place your prepared steak in the hot skillet and listen for that distinctive, vigorous sizzle—the sound of success. Resist the urge to move it for the first 3-4 minutes to allow the crust to develop undisturbed. The Maillard reaction requires sustained, direct contact with high heat to create that deep, flavorful crust. Flip only once using sturdy tongs, applying gentle pressure to ensure full contact with the skillet surface.
Temperature Guidelines for Perfect Doneness
For medium-rare strip steak (the ideal doneness for this cut), target an internal temperature of 130-135°F (54-57°C). Use an instant-read thermometer for accuracy, removing the steak from the pan at 125°F to account for carryover cooking during resting. Typical cooking times are 3-4 minutes per side for medium-rare, but thickness and exact pan temperature affect timing significantly. During the final minute, baste the steak repeatedly with melted butter and aromatics using a spoon—a technique that adds richness and helps prevent burning.
Rest Your Steak Like a Professional
The resting period is where many home cooks sabotage their hard work by cutting into the steak too soon. Transfer your cooked strip steak to a clean plate and allow it to rest for 5-8 minutes before slicing. During this time, the internal temperature will rise 5-10 degrees (carryover cooking), and the juices redistribute throughout the meat. Cutting immediately releases all those precious juices onto your cutting board rather than keeping them locked inside the steak.
Loosely tent with aluminum foil to retain warmth without creating a steaming environment that would soften your beautiful crust. This brief wait transforms good steak into great steak—more tender, more flavorful, and noticeably juicier with every bite. While your steak rests, warm your serving plates or prepare any finishing sauces to complete your meal.
Avoid These 5 Cast Iron Steak Mistakes
Even experienced home cooks fall into patterns that compromise their results. Overcrowding the pan causes steaks to steam rather than sear, resulting in rubbery exteriors. If cooking multiple steaks, work in batches or use two pans simultaneously. Moving the steak too frequently disrupts crust formation—limit flipping to once per side.
Insufficient pan heat prevents proper browning, while excessive heat burns the exterior before the interior cooks through. Failing to dry the steak adequately introduces moisture that creates steam and inhibits browning. Finally, skipping the rest period results in dry, disappointing steak regardless of how perfectly you seared it. Recognizing these pitfalls transforms your results more dramatically than any secret technique.
Serve Your Strip Steak Like a Steakhouse Pro
Slice your rested strip steak against the grain—the visible parallel lines running along the steak’s length—to maximize tenderness. Cutting perpendicular to these lines shortens the muscle fibers, making each bite easier to chew. Angle your knife at 45 degrees for elegant presentation that showcases the perfect pink center.
Garnish with compound butter, fresh herbs, or a drizzle of high-quality olive oil. Classic accompaniments include roasted garlic, sautéed mushrooms, or a red wine reduction. Pair your steak with creamy mashed potatoes, crispy french fries, or grilled asparagus for a complete steakhouse experience at home. When you learn how to cook strip steak in cast iron properly, you create meals worthy of celebration—every single time.
Maintain Your Cast Iron for Future Steak Success
After cooking, allow your skillet to cool slightly before cleaning. Wipe out excess grease with paper towels, then use hot water and a stiff brush for stubborn residue—never soap, which strips seasoning. Dry completely with a towel, then apply a thin layer of neutral oil while still warm. Store in a dry location with good air circulation to prevent rust.
With proper care, your cast iron develops a natural non-stick patina that improves with each use. This seasoning makes future steaks even better—creating that perfect crust with less oil and easier cleanup. Your investment in proper maintenance pays dividends in every future meal, making your cast iron skillet an heirloom-quality tool for generations of delicious steaks.


