
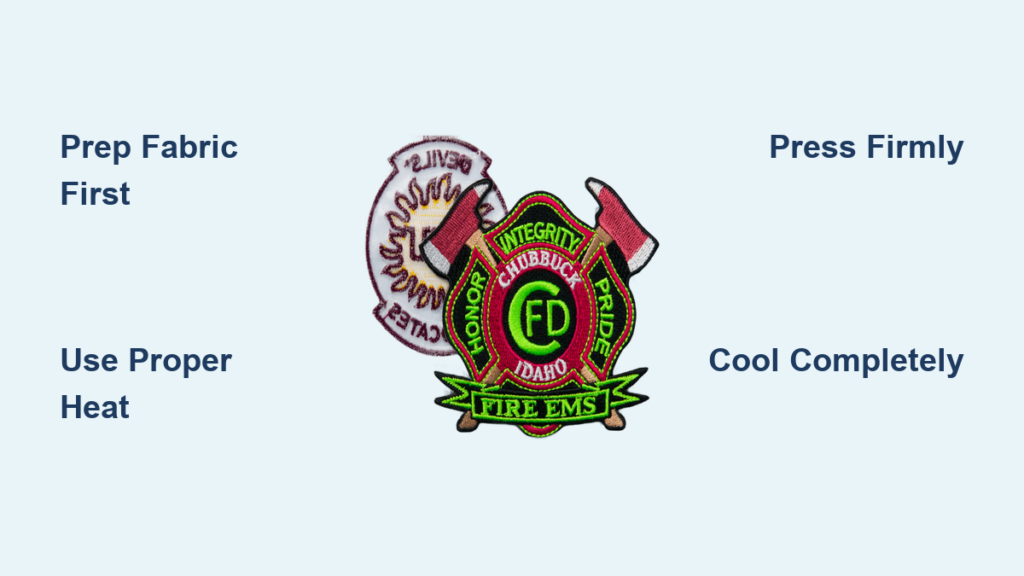
Your favorite denim jacket has seen better days, or maybe you want to personalize your backpack with unique designs. Iron on patches offer the perfect solution for customizing clothing and accessories without sewing skills. When applied correctly, these adhesive-backed decorations create professional-looking results that withstand regular wear and washing. Yet most people unknowingly make critical errors during application that cause patches to peel, bubble, or damage fabrics. This guide reveals the precise techniques professionals use to achieve permanent, flawless patch application every time—saving you from the frustration of failed attempts and ruined garments.
Gather Your Materials Before Starting
Skipping proper preparation causes most patch application failures before you even begin heating. Having everything ready prevents rushed decisions that compromise results when working with time-sensitive heat activation.
Essential tools include your iron-on patches, a household iron with consistent temperature control, and a pressing cloth made of thin cotton. Avoid using terry cloth towels as they create textured impressions on patches. A hard, flat surface like a wooden board covered with a thin towel provides better heat transfer than a cushioned ironing board. If working with delicate fabrics, keep parchment paper on hand to create a protective barrier between iron and material.
Quality patches significantly impact your success rate. Look for patches with clear manufacturer instructions indicating recommended heat settings and application times. Higher quality patches use thermoplastic adhesive that activates at specific temperatures rather than generic glue that fails after minimal washing. Embroidered patches typically require slightly higher heat than printed designs, so check packaging details before starting your project.
Prepare Your Fabric Surface Properly
Fabric surface conditions make or break patch adhesion. Invisible residues from manufacturing, handling, or previous washing create barriers that prevent proper bonding between patch adhesive and fabric fibers.
Wash and completely dry your item before applying patches, especially for new clothing. Fabric softeners and dryer sheets leave waxy residues that interfere with adhesion. For frequently worn items like jeans or jackets, consider spot-cleaning the application area with isopropyl alcohol to remove body oils, then allow to dry fully. Never apply patches to damp or recently washed fabric that hasn’t completely dried.
Remove all wrinkles from your fabric before positioning patches. Iron your garment first using appropriate heat settings for the fabric type. Work on a firm, flat surface—avoid curved areas like elbows or knees unless you’re experienced with contour application. If working on curved surfaces, roll a towel tightly and place it under the application area to create a flatter work surface that follows the garment’s natural shape.
Position Patches Perfectly Before Heat Activation
Once heat activates the adhesive, you have mere seconds to adjust positioning before the bond becomes permanent. Proper pre-positioning prevents crooked, uneven, or misaligned patches that ruin your project’s appearance.
Lay your fabric flat and arrange patches without removing backing first. Use small pieces of low-tack painter’s tape to temporarily secure patches if needed. Step back and view from multiple angles—taking a photo with your phone often reveals alignment issues invisible at close range. For symmetrical designs like shoulder patches, use a ruler or measuring tape to ensure equal spacing on both sides.
Avoid placing patches directly over seams, zippers, or buttons. These structural elements create uneven surfaces that prevent full adhesive contact. If you must position patches near seams, place a thin cotton cloth between the patch and seam line, then apply additional pressure specifically over the seam area during heating. For curved surfaces like hats or shoes, consider using a specialized heat press designed for 3D objects rather than a standard household iron.
Apply Heat With Precise Temperature Control

The critical moment of heat application requires balancing three factors: temperature, pressure, and duration. Most failed applications result from incorrect temperature settings rather than other factors.
Set your iron to medium heat without steam for most cotton and denim fabrics. Synthetic materials like polyester require lower temperatures to prevent melting. Always test on an inconspicuous area first when working with unfamiliar fabrics. If your patch includes manufacturer instructions, follow those temperature guidelines precisely—most quality patches specify optimal heat ranges. Never use maximum heat settings as they often scorch fabrics before properly activating adhesive.
Apply firm, consistent pressure while moving the iron in small circles for even heat distribution. Stay in one spot for 15-20 seconds per patch section, overlapping areas to ensure complete coverage. Larger patches require section-by-section application rather than trying to heat the entire patch at once. Maintain steady pressure—pressing too lightly prevents proper adhesive activation, while excessive force can squeeze out melted adhesive before bonding occurs.
Secure Adhesion With Proper Cooling Technique
The bonding process continues after you remove heat, making the cooling phase as critical as the heating phase for long-term durability.
Leave the pressing cloth in place and allow patches to cool completely before checking adhesion—typically 3-5 minutes. Rushing this step by lifting the patch too soon breaks the molecular bonds forming between adhesive and fabric. Some crafters place a heavy book on top of the cooling patch to maintain consistent pressure during this critical phase, significantly improving adhesion strength.
Test adhesion by gently lifting a corner only after complete cooling. If edges lift easily, reapply heat for an additional 10-15 seconds with increased pressure. For stubborn areas, place a damp cloth over the patch and apply heat—steam helps reactivate adhesive without direct iron contact. Never attempt to reposition a partially adhered patch as this creates weak spots in the adhesive layer.
Wash and Maintain Patched Items Correctly
Many beautifully applied patches fail prematurely due to improper washing techniques that degrade adhesive bonds over time.
Wait at least 24 hours before washing newly patched items to allow full adhesive curing. During this period, avoid excessive sweating or rain exposure that might weaken the initial bond. When washing, turn items inside out to protect patch surfaces from abrasion against other garments. Use cold water settings and gentle detergent without bleach or fabric softeners that break down adhesive properties.
Air dry patched items whenever possible. Repeated exposure to dryer heat stresses adhesive bonds with each cycle. If using a dryer, select the lowest heat setting and remove items while still slightly damp to finish air drying. For high-stress areas like knees or elbows, consider sewing around the patch perimeter after heat application for added security against frequent washing.
Troubleshoot Common Patch Failures

Even with careful technique, problems sometimes occur. Understanding failure modes helps diagnose and fix issues before they ruin your project.
Patches peeling off typically indicates insufficient heat or pressure during application. Reapply using higher temperature (within fabric safety limits) and firmer pressure, extending application time by 5-10 seconds. For fabrics that tolerate it, slightly dampening the fabric surface before reapplication helps heat penetrate more effectively. If patches repeatedly fail on a particular garment, the fabric’s texture may be incompatible—consider permanent sewing attachment.
Scorch marks usually result from excessive heat or direct iron contact. Always use a pressing cloth barrier between iron and patch. If scorching occurs on natural fibers, try soaking in white vinegar before washing with enzyme-based stain remover. Synthetic fabrics that have melted from high heat typically cannot be repaired.
Wrinkled or bubbled patches often indicate trapped moisture or uneven pressure. If caught immediately, apply gentle heat and smooth from center to edges. For persistent bubbling, a sewing machine zigzag stitch around the perimeter provides both aesthetic cover and mechanical security.
Master Advanced Patch Application Techniques
Once you’ve perfected basic application, several advanced methods expand your creative possibilities significantly.
Layering patches creates dimensional, custom designs. Apply larger background patches first, allowing full cooling between layers. Smaller accent patches can then be layered on top using slightly reduced heat to avoid damaging underlying patches. Some crafters use fabric glue as a temporary bond between layers before final heat-sealing.
Applying patches to challenging materials like nylon or waterproof fabrics requires modified approaches. Use lower heat settings and shorter application times. A double layer of pressing cloth provides better heat control. Specialty patches designed specifically for synthetic fabrics often yield better results than standard options.
Sewing patches after heat-sealing combines speed with security. A simple running stitch around the perimeter using matching thread creates permanent bonds that withstand years of wear. This hybrid approach proves especially valuable for patches on high-stress areas like backpack straps or children’s clothing.
Iron on patches transform ordinary clothing into personalized statement pieces while extending garment life through creative repair. The key to professional results lies in understanding that successful application depends on precise temperature control, proper surface preparation, and adequate cooling time—not just following basic instructions. Start with simple projects on forgiving fabrics like cotton or denim, then advance to challenging materials as your skills develop. Remember that quality patches from reputable suppliers dramatically improve your success rate compared to budget options with unreliable adhesive. With practice, you’ll develop the intuition needed to adjust techniques for different fabrics and patch types, making each project faster and more successful than the last.


