
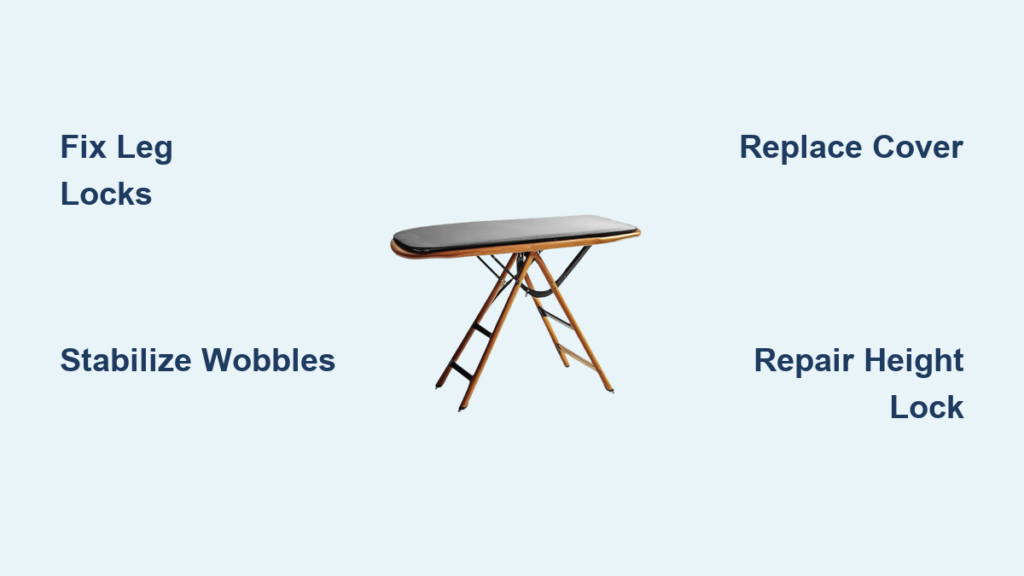
Nothing disrupts your laundry routine faster than an ironing board that won’t stay upright, wobbles dangerously, or has a torn cover that snags your clothes. Whether you’re dealing with a broken leg, unstable height adjustment, damaged wheels, or worn padding, most ironing board problems can be fixed at home with basic tools and minimal expense. This guide delivers step-by-step solutions to common ironing board issues so you can restore your equipment to perfect working condition without replacing the entire unit. You’ll learn exactly what tools to use, how to diagnose specific problems, and practical repair techniques that extend your ironing board’s lifespan for years.
Diagnose Common Ironing Board Problems
Before grabbing your toolbox, take 10 minutes to thoroughly inspect your ironing board while it’s fully extended. Push down firmly on all four corners and the center to identify weak spots that flex or creak. Test the leg locks by extending and collapsing the board three times to determine if the mechanism catches reliably. Examine the cover for visible damage like burns, tears, or areas where the padding has compressed unevenly. Check each wheel or glide for smooth movement and secure attachment to the frame.
Most ironing board failures fall into specific categories that require different repair approaches. If your board collapses unexpectedly, the issue likely involves broken leg locks or worn adjustment mechanisms. A board that wobbles side-to-side typically has loose hardware or bent frame components. Cover problems range from minor burns to complete detachment from the board surface. Wheels that won’t roll properly often have seized bearings or broken mounting brackets. Document exactly what happens when you use the board—does it fail suddenly at a certain height? Does the wobble worsen when pressing firmly? This diagnostic information determines which repair section applies to your specific situation.
Why Your Ironing Board Won’t Stay Extended
When your ironing board collapses during use, immediately stop ironing to prevent injury or damage to your iron. This dangerous failure usually stems from three specific issues: broken leg lock springs, misaligned adjustment pins, or severely worn height adjustment holes. For lever-lock systems, remove the plastic housing covering the lock mechanism to inspect the internal spring—broken springs appear visibly separated or stretched beyond functionality. Pin-lock systems fail when the spring-loaded pin no longer protrudes far enough to engage the adjustment holes, often due to a compressed spring or debris blocking the mechanism. Examine the adjustment holes along the leg channels for excessive wear that prevents the pin from catching securely.
How to Identify Worn Padding Underneath the Cover
Tears in your ironing board cover often indicate underlying padding problems. Lift the cover edges at the corners to peek underneath without fully removing the cover. Look for areas where the padding has compressed to less than half its original thickness, particularly in the center where you apply the most pressure during ironing. Water stains or discoloration on the padding indicate previous moisture exposure that degrades both padding and cover material over time. If you feel hard spots or lumps beneath the cover, the padding has likely shifted or torn internally. Padding that feels damp or shows mold growth requires complete replacement for hygiene reasons.
Stabilize a Wobbly or Unstable Ironing Board

A wobbling ironing board creates uneven ironing surfaces and safety hazards. Begin by tightening all visible hardware using the correct size screwdriver or wrench—many stability issues stem from gradually loosened bolts rather than broken components. Focus on the four leg-to-frame connection points and the crossbar that connects opposing legs. Check both sides of each connection since some hardware sits flush against the frame.
Fixing Loose Leg Joints in Minutes
For boards with persistent wobble after tightening, isolate which leg joint is causing instability. Have someone apply downward pressure on different board areas while you watch the leg connections. When you identify the loose joint, disassemble it completely by removing all screws and bolts. Clean any debris from the joint mechanism and inspect for stripped threads or bent metal components. Apply thread-locking compound to screw threads before reassembly to prevent future loosening, but avoid getting compound on moving parts. Reassemble the joint and tighten hardware to firm but not excessive force—over-tightening can strip threads in plastic components.
Straightening Bent Metal Frame Components
Metal frames can develop bends from improper storage or accidental impacts. To straighten a bent leg, secure it in a vise with protective padding to prevent marring the metal. Apply gradual, controlled pressure using a pipe wrench until the leg returns to true alignment. Test the straightness by rolling the leg on a flat surface—any wobble indicates remaining curvature. For minor bends in the crossbar, clamp both ends securely and apply pressure to the high point using a rubber mallet. Work slowly with small adjustments, checking alignment frequently, as metal fatigue can cause sudden breaks if over-stressed.
Repair or Replace the Ironing Board Cover and Padding
A damaged cover affects both ironing performance and clothing results. For small burns under 1 inch in diameter, cut a heat-resistant patch from an old ironing board cover or heavy cotton fabric. Apply high-temperature fabric adhesive around the burn edges, press the patch firmly in place, and allow 24 hours for complete curing before use. Larger tears or multiple damage points require full cover replacement for professional results.
Complete Cover Replacement Step-by-Step
- Fully extend your ironing board and remove any iron rest or accessories
- Locate the cover attachment method—most use either a drawstring, bungee cord, or plastic clips
- Loosen the attachment system evenly around the entire board perimeter
- Carefully peel the old cover away from the board surface, noting how padding layers are arranged
- Remove and inspect the padding—replace any sections thinner than 1/4 inch or showing visible wear
- Position your new cover with the correct side facing up (usually labeled)
- Secure one edge completely before moving to the opposite side to maintain even tension
- Work around the perimeter, smoothing out wrinkles as you secure the cover
- Tighten the attachment system incrementally, checking for even tension across the entire surface
Fix Height Adjustment Mechanisms

Height adjustment failures typically involve three specific components: the locking spring, adjustment pin, or wear in the height adjustment channels. For lever-lock systems that won’t engage, remove the plastic housing to access the internal spring mechanism. If the spring has broken completely, search online for “universal ironing board lock spring” using your board’s manufacturer name. Compressed springs can sometimes be restored by carefully stretching them with pliers—grip the spring ends and gently pull outward in small increments.
Repairing Pin-Style Height Locks
Pin-lock systems fail when the spring-loaded pin doesn’t extend far enough to catch in the adjustment holes. Disassemble the lock mechanism by removing the retaining clip or screw that holds it in place. Clean all components with a soft brush to remove dust and debris that might be blocking movement. Test the spring by compressing it between your fingers—it should return to full length immediately when released. Weak springs can be slightly stretched but often require replacement. When reassembling, apply a small drop of silicone lubricant to the pin mechanism for smooth operation without attracting dust.
Replace Broken Hinges and Hardware
Hinge failures typically manifest as uneven board surfaces or difficulty folding the unit. Support the board surface with one hand while inspecting both hinge sides for cracks, bent metal, or stripped screw holes. For minor hinge misalignment, loosen but don’t remove the mounting screws, adjust the hinge position, then retighten. Stripped screw holes in wooden frames can be repaired by filling with wood glue and toothpicks before reinserting screws.
Installing New Hinges Properly
- Fully extend the board and place it on a stable work surface
- Support the board surface with your non-dominant hand
- Remove all hinge mounting screws slowly, keeping tension on the board
- Transfer the old hinge to your work surface and compare with the replacement
- Position the new hinge exactly as the original, ensuring proper orientation
- Insert screws gradually, alternating between top and bottom holes
- Tighten screws firmly but stop when resistance increases to avoid stripping
- Test the folding mechanism through multiple cycles before using with an iron
Repair or Replace Damaged Wheels and Glides
Wheels that won’t roll properly often have simple fixes. Remove the wheel assembly by unscrewing the mounting hardware or releasing the retaining clip. Soak the wheel in penetrating oil for 15 minutes if bearings are seized, then work the wheel through its full range of motion repeatedly. Clean any debris from the wheel housing with a soft brush. For plastic wheels with cracked housings, replacement is the only safe option—search for “universal ironing board wheel” with your wheel diameter measurement.
Installing New Glides Correctly
Glides that have worn down create instability and uneven height. Remove the old glide by unscrewing mounting hardware or prying out snap-in models. Clean the mounting area thoroughly to ensure proper adhesion for new glides. Position replacement glides so they sit perfectly flush with the frame—any height discrepancy will cause wobbling. Tighten mounting screws gradually, checking glide alignment after each turn. For adhesive-backed glides, press firmly for 30 seconds and allow 24 hours for full bond strength before using the board.
Maintain Your Ironing Board for Longevity
Prevent future problems with a simple monthly maintenance routine. Fully extend the board and check all hardware tightness using the appropriate tool—don’t rely on finger-tightening alone. Clean the cover with a damp microfiber cloth and mild detergent, avoiding harsh chemicals that degrade heat-resistant coatings. Store the board fully collapsed in a dry location away from direct sunlight, which fades covers and weakens adhesives over time. Lubricate moving parts twice yearly with silicone-based spray, wiping away excess to prevent fabric stains during ironing.
When Replacement Makes More Sense Than Repair
Consider replacing your entire ironing board if multiple major components have failed simultaneously or repair costs exceed 50% of a new unit’s price. Boards with severely bent frames, cracked main platforms, or extensive rust damage typically aren’t worth repairing. Modern ironing boards often include useful upgrades like adjustable iron rests, non-slip surfaces, and improved height adjustment systems that justify replacement when your current unit has reached the end of its service life.


