
There’s nothing quite like the sizzle of a thick steak hitting a blazing-hot cast iron pan—the unmistakable sound that signals something delicious is about to happen. When you master how to fry steak in cast iron pan, you unlock restaurant-quality results in your own kitchen, with that irresistible crust and juicy interior that makes steak lovers weak in the knees. The cast iron skillet’s exceptional heat retention creates the perfect environment for the Maillard reaction, that magical chemical process that transforms ordinary meat into extraordinary cuisine. If you’ve ever wondered why your home-cooked steaks never quite match what you get at high-end restaurants, the answer often lies in proper cast iron technique. In this guide, you’ll discover exactly how to achieve that perfect sear, control doneness, and serve steak that will make everyone at your table ask for seconds.
Cooking steak in cast iron isn’t complicated, but it does require understanding a few critical principles that separate good steaks from great ones. The heavy-bottomed pan holds heat exceptionally well, withstands high temperatures without warping, and develops a natural non-stick surface over time. Whether you’re working with a budget-friendly sirloin or a premium ribeye, the right technique with your cast iron pan delivers consistent, mouthwatering results. Forget complicated equipment or special ingredients—just your trusty cast iron skillet, quality meat, and these proven methods will transform your steak game forever.
Choose the Right Steak Cut for Cast Iron Cooking
Selecting the appropriate cut makes or breaks your how to fry steak in cast iron pan experience. Not all steaks behave the same way under high heat, and understanding the differences helps you choose wisely based on your budget and taste preferences.
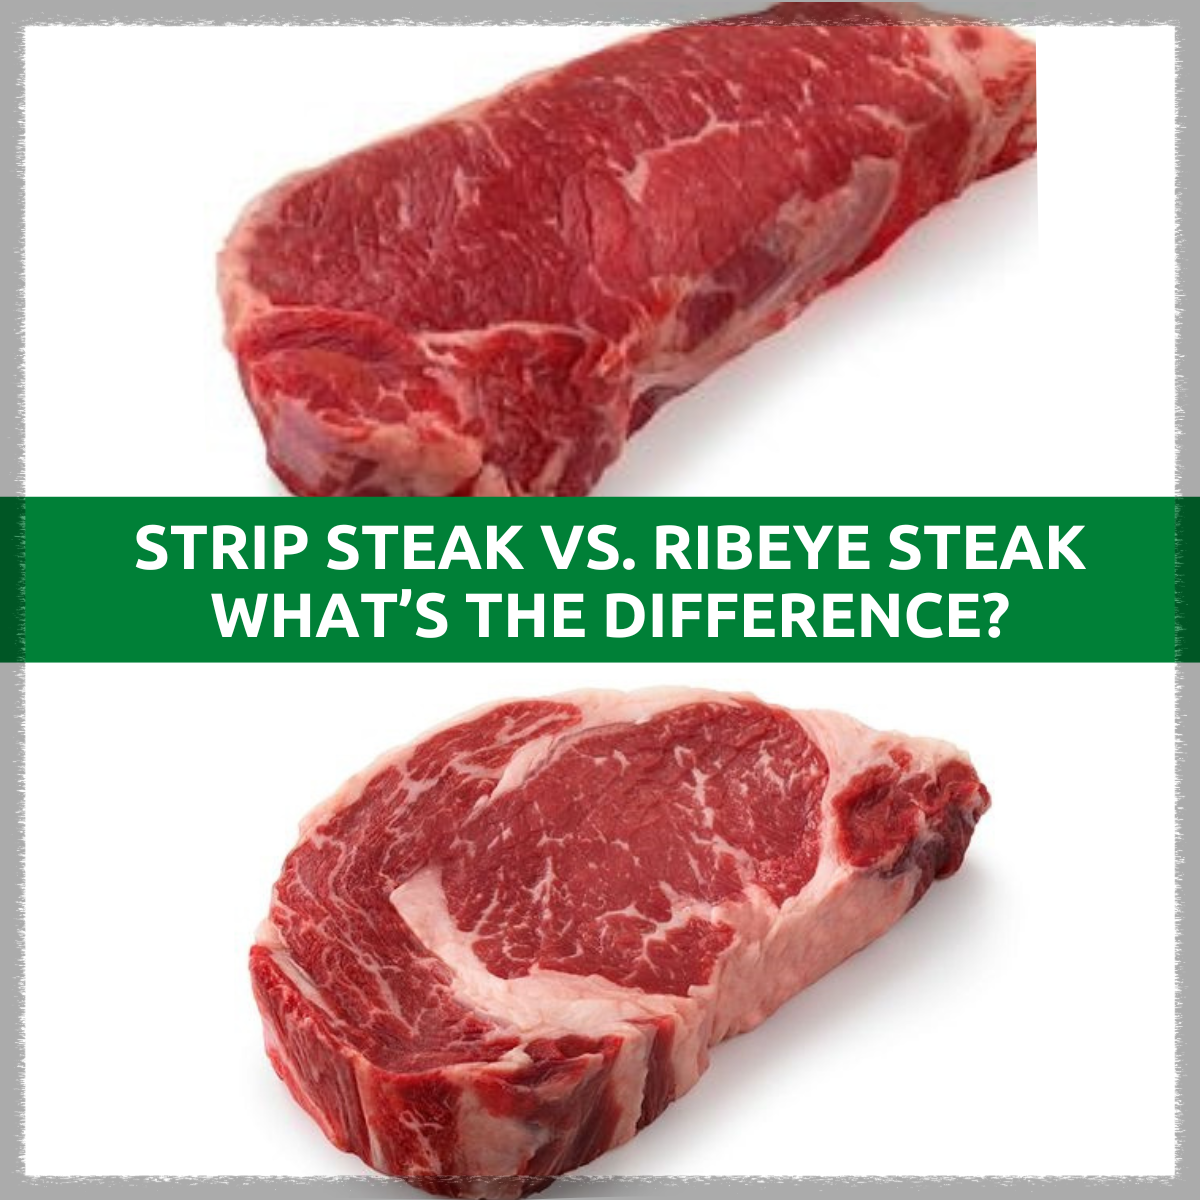
Ribeye stands out as the gold standard for pan-searing thanks to its generous marbling. This well-marbled cut contains fat deposits that baste the meat from within as it cooks, delivering exceptional juiciness and rich flavor. The intermuscular fat renders beautifully in a hot cast iron pan, creating those crispy, caramelized edges that steak lovers crave. For best results, look for ribeyes at least 1.5 inches thick—thinner cuts can overcook before developing a proper crust.
New York strip offers a leaner but still flavorful alternative with a tighter grain than ribeye. This cut from the short loin has less marbling but more focused beefy taste. Strip steaks cook remarkably well in cast iron and appeal to those who prefer less fattiness. The meat’s firm texture holds up beautifully to high heat, producing a satisfying crust without becoming tough.
Sirloin provides the most budget-friendly option without sacrificing too much quality. While sirloin lacks the marbling of premium cuts, it’s still tender enough for quick, high-heat cooking when sourced from the center cut. Thinly slice against the grain after cooking to maximize tenderness, and consider marinating sirloin for 30 minutes to add moisture and flavor.
Preheat Your Cast Iron Pan Properly for Maximum Sear
Your cast iron pan requires proper preparation before the steak ever touches its surface. A 10 to 12-inch skillet provides adequate surface area for most steak sizes while maintaining the heavy mass necessary for consistent heat retention.
Seasoning matters more than you might think. A well-seasoned cast iron pan has developed layers of polymerized oil that create a naturally non-stick surface. If your pan is new, take time to build up the seasoning first by coating it lightly with oil and baking it at 350°F for an hour. For regular maintenance, wipe a thin layer of oil onto the pan after each use while it’s still warm.
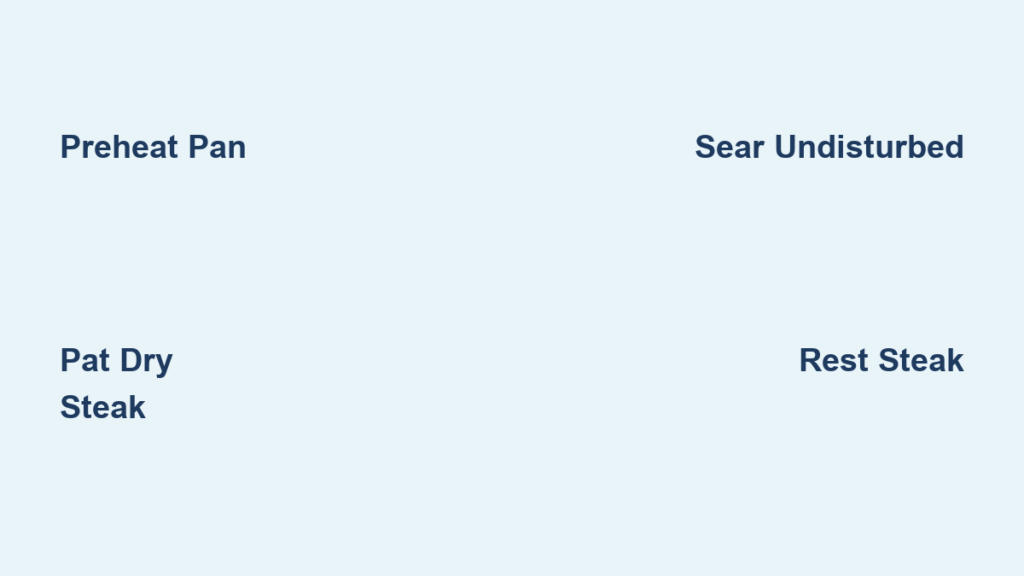
Preheat the pan properly—this step is non-negotiable. Place your empty cast iron skillet on the burner and set it to medium-high to high heat. Allow 5 to 10 minutes for the pan to fully heat through. Test readiness by flicking a few drops of water onto the surface; they should dance and evaporate almost instantly, indicating the pan has reached the proper temperature for searing. A properly heated pan is the difference between a beautiful crust and a steamed, gray steak.
Prepare Your Steak for Optimal Results
Proper preparation separates mediocre steaks from memorable ones. Taking a few extra minutes to prep your meat pays enormous dividends in the final result.
Bring steak to room temperature before cooking. This crucial step ensures even cooking throughout the steak. Remove your steak from the refrigerator 30 to 60 minutes before cooking, depending on thickness. A cold steak placed in a hot pan cooks unevenly—the exterior burns while the center remains cold and undercooked.
Pat the steak completely dry with paper towels. Surface moisture is the enemy of a good sear. Water vaporizes on contact with the hot pan, creating steam that prevents browning. Gently press paper towels onto both sides and all edges of the steak until no moisture remains. This simple step dramatically improves crust formation.
Season generously with salt and pepper. Use kosher salt rather than table salt—the larger crystals distribute more evenly and create a better crust. Apply about one teaspoon of salt per pound of meat, coating all surfaces generously. Freshly cracked black pepper adds complexity and that classic steakhouse flavor.
Master the Searing Process for Perfect Crust

The moment of truth has arrived—it’s time to sear your steak to perfection. This is where technique truly matters, as the difference between a good steak and a great one often comes down to these few critical minutes.
Place steak in the pan and resist the urge to move it. As soon as you set the steak down, listen for that aggressive sizzle. If you don’t hear it, your pan wasn’t hot enough—remove the steak, reheat the pan, and try again. Once the steak is in place, let it cook undisturbed for 2 to 3 minutes. Moving the steak disrupts the searing process and prevents the crust from developing properly.
Flip only once for optimal results. Contrary to popular belief, frequent flipping doesn’t cook steak more evenly—it actually prevents proper crust formation. Use tongs to flip the steak just once, positioning it at a 90-degree angle if you want attractive crosshatch grill marks. Cook for another 2 to 4 minutes on the second side, again leaving it undisturbed.
Use an instant-read thermometer for precise doneness. For foolproof accuracy: 120°F for rare, 125°F for medium-rare, 130°F for medium, 140°F for medium-well, and 150°F or higher for well-done. Remember that carryover cooking will raise the temperature 5-10 degrees after removal from heat.
Account for Thickness When Cooking Steak in Cast Iron

Steak thickness dramatically affects cooking time and technique. Understanding these relationships helps you adapt your approach for any cut.
Thin steaks under 1 inch require different handling. These cook so quickly that the interior can overcook before a proper crust forms. For thin cuts, finish cooking in a lower-temperature oven after an initial sear, or slice the steak and cook it stir-fry style.
Thick steaks 1.5 inches or more benefit from the reverse sear method. This technique involves slow-cooking the steak in a 275°F oven until it reaches 10 to 15°F below target temperature, then finishing with a quick sear in your blazing-hot cast iron pan. The result is remarkably even doneness from edge to edge with a perfect crust.
Add Flavor with Butter Basting Technique
Taking your steak from good to extraordinary often happens in the final minutes of cooking, when butter and aromatics transform simple seared beef into something restaurant-worthy.
Add butter during the final minutes of cooking. Once you’ve seared both sides and the steak is nearly done, reduce heat to medium and add two tablespoons of butter to the pan. As the butter melts and foams, tilt the pan and spoon the bubbling butter continuously over the steak for 1 to 2 minutes. This butter basting adds richness and creates an incredibly glossy, flavorful crust.
Incorporate aromatics for depth. Drop whole garlic cloves, fresh thyme sprigs, or rosemary branches into the butter as it melts. The hot fat extracts flavor from these aromatics, infusing both the butter and the steak with incredible complexity. Press the herbs against the steak as you baste to release their oils directly onto the meat’s surface.
Let Your Steak Rest Before Slicing
Resting might seem like passive waiting, but this step is actively essential for optimal results. Skipping the rest ruins otherwise perfect steaks.
Resting allows juices to redistribute. During cooking, the intense heat forces meat juices toward the center of the steak. Cutting into a steak immediately after cooking causes these juices to spill out onto the cutting board, leaving you with a dry, flavorless piece of meat.
Five minutes is the minimum, ten is ideal. Small steaks need about 5 minutes, while thick cuts benefit from 8 to 10 minutes of resting. Tent the steak loosely with aluminum foil to keep it warm without steaming the crust. The internal temperature will continue rising slightly during this time.
Avoid Common Cast Iron Steak Mistakes
Even experienced home cooks fall into these pitfalls. Awareness helps you sidestep problems before they ruin your steak.
Crowding the pan steams rather than sears. Each steak needs its own space with several inches of separation. If cooking for a crowd, use two pans or work in batches. Your pan should look slightly empty—that’s the right amount of space for proper heat circulation.
Moving the steak too frequently prevents crust formation. Once you place the steak in the pan, let it cook undisturbed for the full recommended time. The natural release from the pan’s surface tells you when it’s ready to flip.
Skipping the rest results in dry, juice-less meat. This might be the most commonly ignored step, but it truly makes or breaks your steak’s texture. Set a timer and walk away.
Mastering how to fry steak in cast iron pan transforms an ordinary dinner into something special, giving you complete control over the cooking process. The beauty of cast iron cooking lies in its simplicity and the profound results that simplicity yields when executed thoughtfully. With these techniques, you’ll consistently produce steaks with that perfect crust and juicy interior that will have everyone asking for your secret. Remember that practice makes perfect—each steak you cook in your cast iron pan builds your confidence and refines your technique until achieving restaurant-quality results becomes second nature.


