
A wrinkled sports coat instantly makes even the most expensive outfit look sloppy, but many men avoid ironing their blazers at home for fear of ruining the fabric or structure. Learning how to iron a sports coat properly is actually simpler than you think and can save you hundreds in dry cleaning costs annually. The right technique preserves your jacket’s shape while removing unsightly creases that develop from storage or wear. Whether you’ve just pulled your favorite navy blazer from the closet for a special occasion or need to refresh your work wardrobe, this guide shows you exactly how to achieve professional results at home without damaging delicate fabrics or compromising the garment’s structure.
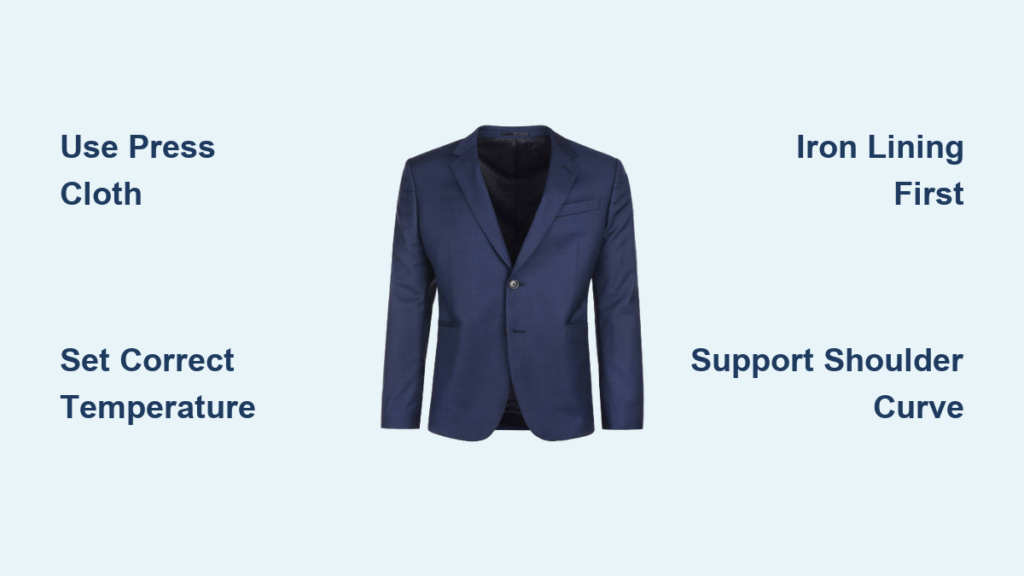
Essential Tools for Perfect Sports Coat Ironing
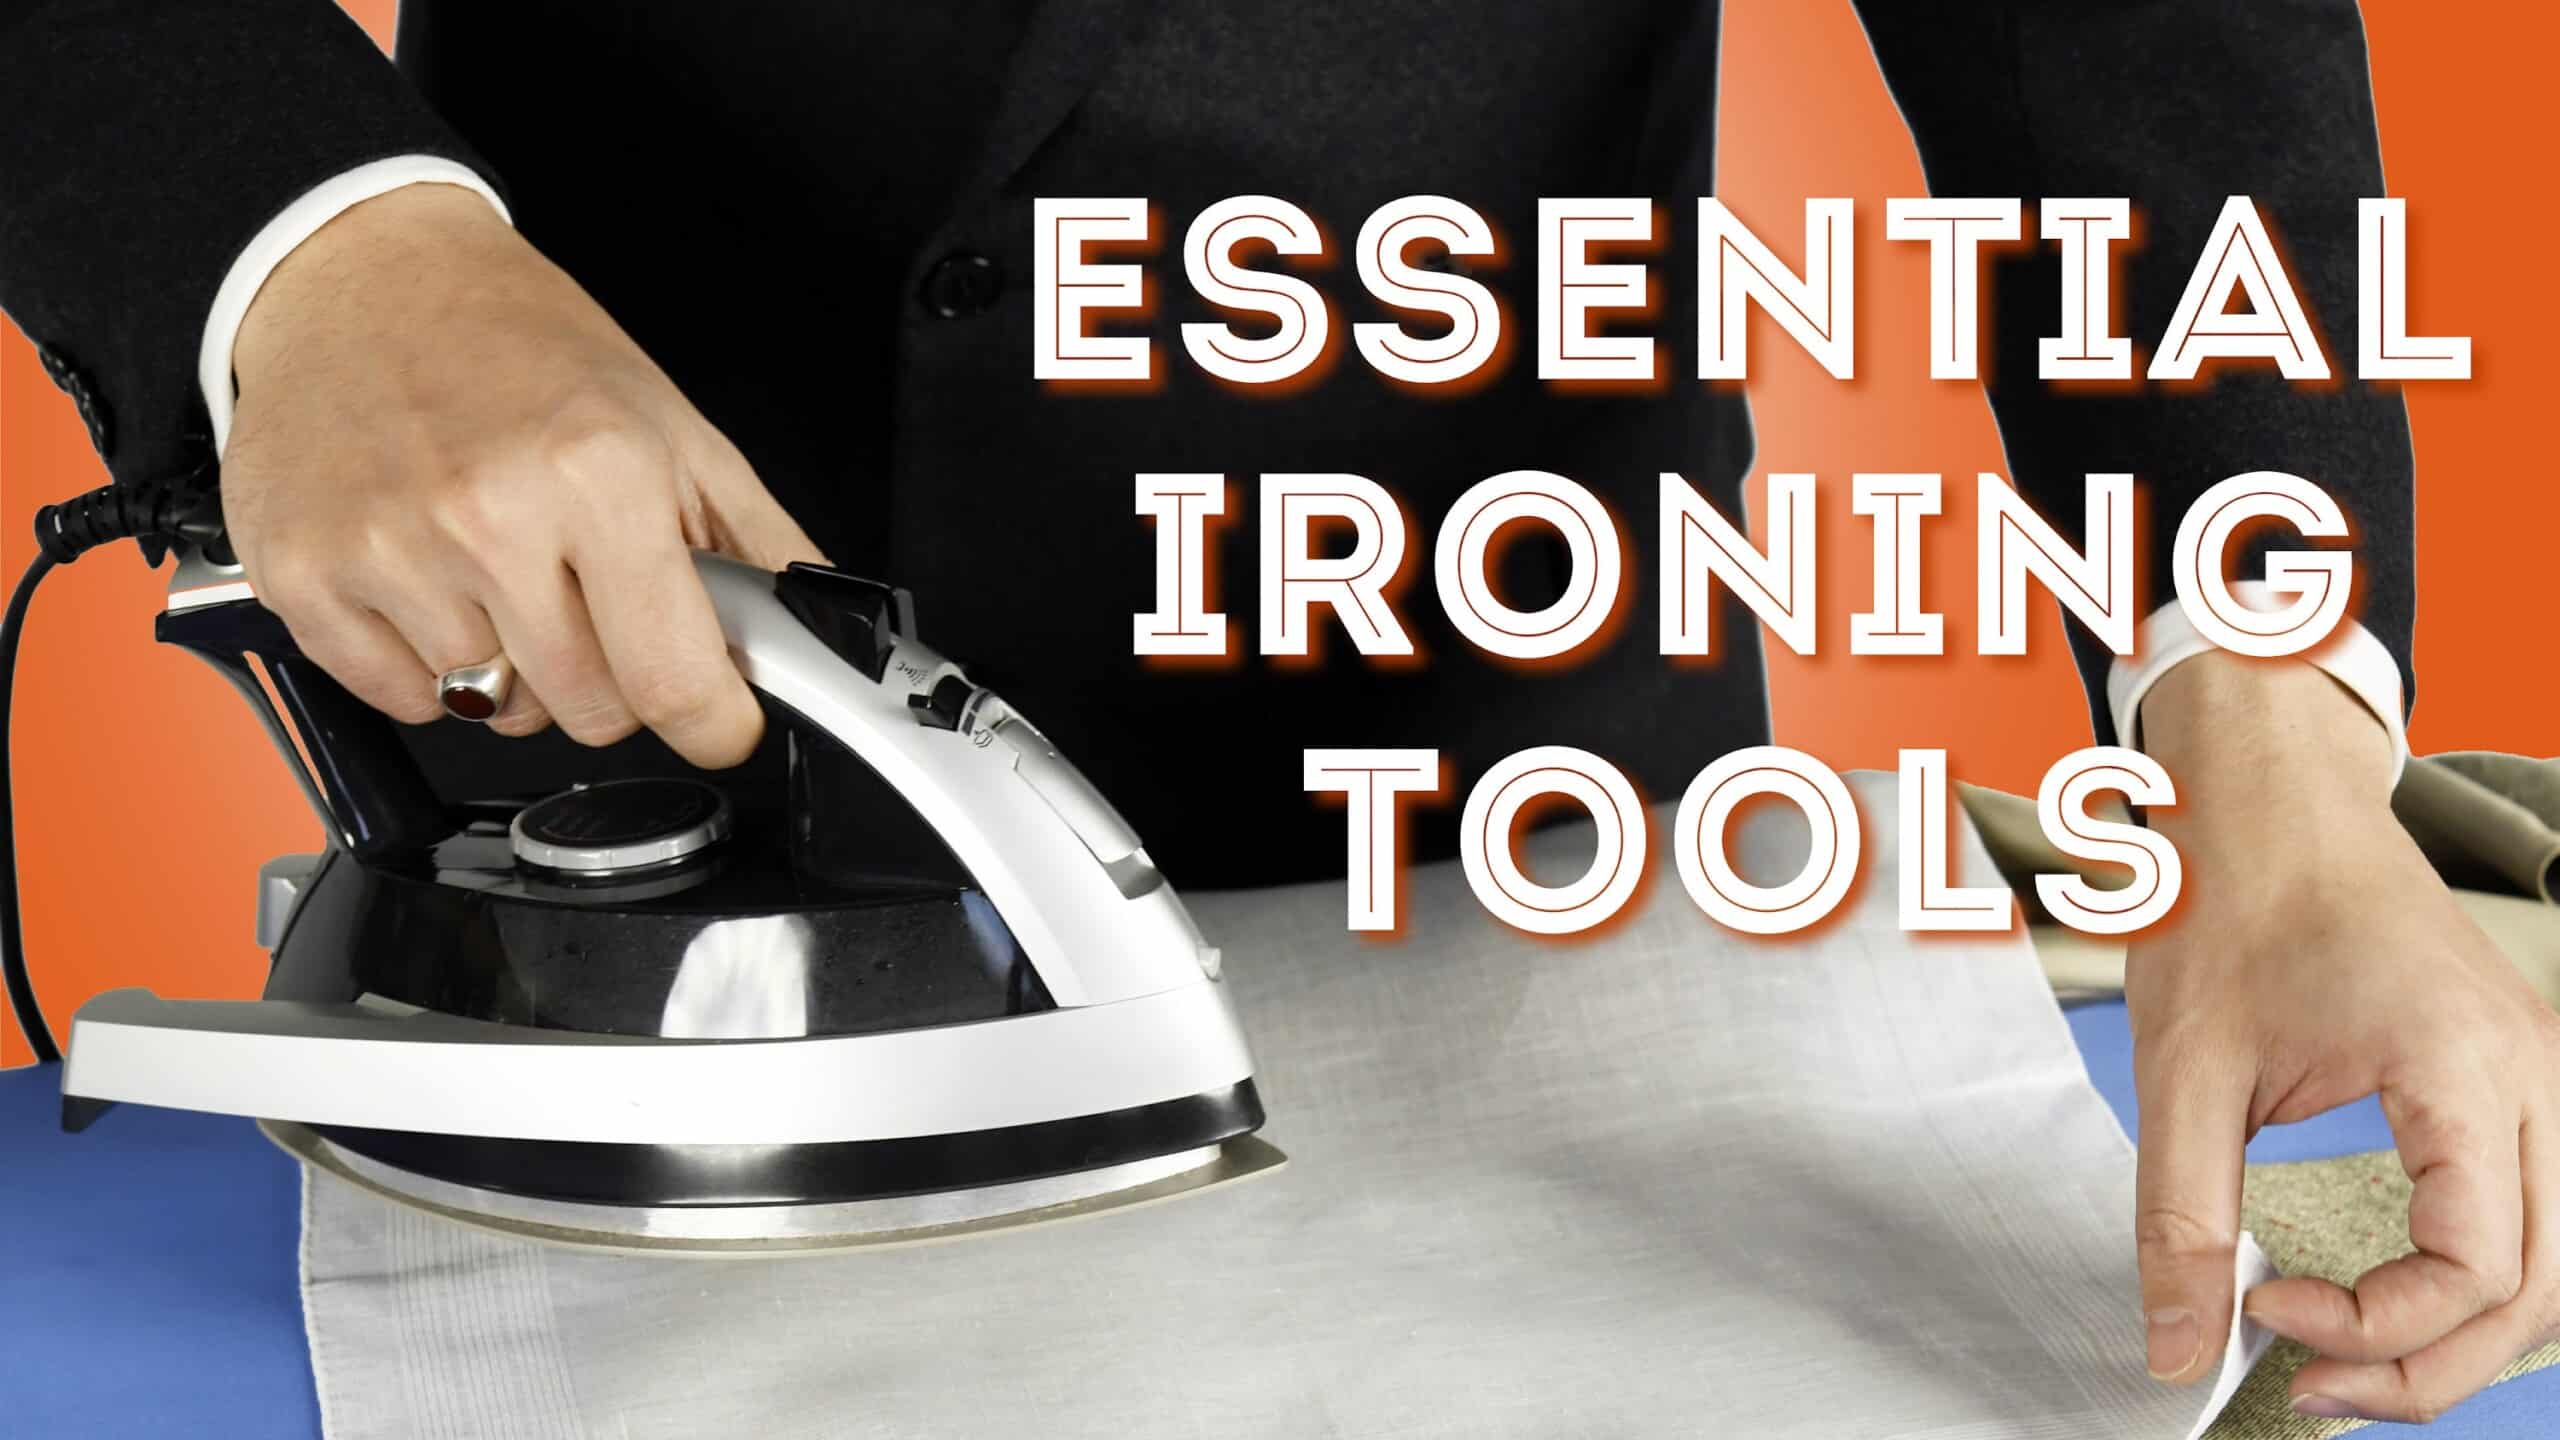
Before attempting to iron a sports coat, gather these specific tools that make all the difference between professional results and accidental damage. Start with a variable-temperature steam iron featuring a stainless steel soleplate that glides smoothly without snagging delicate fabrics. The temperature control is non-negotiable—wool, cotton, and synthetic blends each require different heat settings that could ruin your jacket if mismatched.
A white cotton press cloth serves as your first line of defense against shine marks and fabric damage. This thin barrier prevents direct heat contact while allowing steam to penetrate the fibers. Never skip this critical component, as direct ironing often flattens the fabric nap and creates reflective patches that ruin the jacket’s appearance. If you don’t own a dedicated press cloth, a clean white handkerchief or pillowcase works as an emergency substitute.
Your ironing board must provide firm, even support without creating new creases. Standard boards work well, but consider adding a thick towel beneath the board cover for extra padding that better supports the jacket’s structure. Finally, prepare a spray bottle filled with distilled water—never tap water, which leaves mineral deposits that can stain both your iron and jacket. Keep a soft-bristled clothes brush nearby to lift fabric nap after ironing for that professional finish.
Pre-Ironing Inspection and Preparation
Begin by examining your sports coat’s care label for specific ironing instructions. Most wool jackets require medium heat (around 300°F), while cotton and linen tolerate higher temperatures. Synthetic blends often need cooler settings to prevent melting or shine marks. When in doubt, always start with the lowest heat setting and test on an inconspicuous area like the inside seam.
Empty all pockets completely and unbutton every closure to prevent distortion during ironing. Remove collar stays if present, as these rigid pieces can transfer impressions to the fabric when compressed. Lay the jacket on your ironing board with the lining facing up—this protects the visible exterior while allowing you to assess the lining’s condition. Brush the entire garment with a soft clothes brush to remove dust and lift the fabric nap, paying special attention to textured materials like tweed where particles embed easily.
Proper Lining Ironing Technique
Iron the lining first since it’s typically made from more heat-resistant synthetic materials than the exterior fabric. Work methodically through each panel using downward strokes without excessive pressure. For satin or silk linings, reduce heat to the synthetic setting and use a press cloth even on the interior to prevent scorching.
Focus on the shoulder areas inside the jacket, where wrinkles commonly form from wearing and storage. Use the pointed end of your ironing board to support the natural shoulder curve while gently pressing with the iron’s tip. Avoid pressing too firmly on shoulder pads, as this compresses their structure and ruins the jacket’s silhouette. For sleeves, turn them inside out if possible to press the interior seam allowances, reducing bulk that creates visible wrinkles on the exterior.
Correct Temperature Settings for Different Fabrics
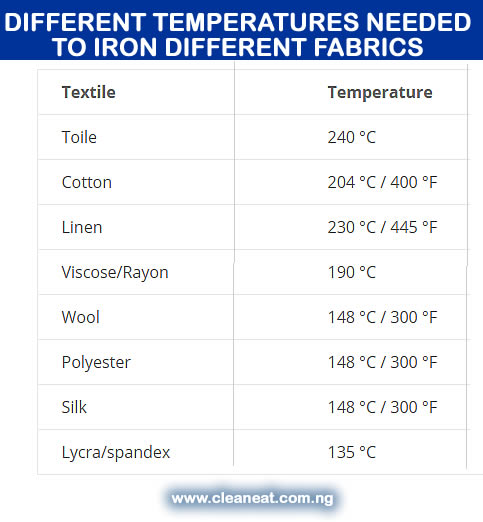
Setting the proper temperature is the most critical step when learning how to iron a sports coat. Wool jackets require medium heat (wool setting, approximately 275-300°F), as excessive heat causes shrinkage and felting that destroys the fabric’s texture. If your iron lacks a dedicated wool setting, start at the lowest heat level and gradually increase only if needed.
Cotton sports coats tolerate higher temperatures (cotton setting, 350-400°F), but many cotton blends contain synthetic fibers that lower their heat tolerance. Linen responds best to steam at medium-high heat, while synthetic blends require the lowest settings to prevent melting. When uncertain, always err toward cooler temperatures and rely more on steam than direct heat. Fill your iron with distilled water and allow it to heat fully before beginning—steam is your primary wrinkle-releasing tool for most sports coat fabrics.
Exterior Panel Ironing Without Shine Marks
When pressing the exterior, always use a press cloth between the iron and fabric to prevent shine marks. Position one panel at a time on your ironing board, ensuring the fabric lies flat without stretching. For wool and textured fabrics, use the “lift and press” technique—lifting the iron straight up and down rather than sliding it—to relax fibers without crushing them.
Work systematically from top to bottom, applying light to medium pressure with smooth passes in the direction of the fabric grain. Pay special attention to high-wear areas like the upper chest (where the jacket contacts your shirt) and lower back (which wrinkles from sitting). Avoid pressing directly over buttons, buttonholes, or hardware—press around these elements instead, then use the iron’s tip to carefully address the immediate surrounding fabric.
Professional Shoulder Shaping Method
Shoulders define your sports coat’s silhouette, so improper pressing can ruin the jacket’s fit. Position the jacket so the pointed end of your ironing board supports the shoulder seam, allowing the curved edge to follow the natural shoulder slope. Press from the outside edge toward the center using short, light strokes with your press cloth in place.
Respect the shoulder pads’ structure by avoiding excessive pressure on the thickest areas. If your board lacks a dedicated shoulder curve, place a rolled towel under the jacket’s shoulder for proper support. For canvas-interfaced jackets, slightly more pressure helps shape the fabric, but constantly monitor the fabric’s response. The sleeve head (where shoulder meets sleeve) requires special attention—use the iron’s tip to maintain the natural curve without creating sharp creases.
Sleeve and Lapel Ironing Secrets
For sleeves, position one flat across your board with the seam aligned with the edge to prevent new creases. Press from cuff to shoulder with long, smooth passes, giving special attention to the cuff area where wrinkles develop from hand movements. Use the iron’s tip to carefully press around buttons without direct contact.
Press lapels with the jacket buttoned to maintain proper alignment. Position the lapel flat on your board, supporting the roll line (where the lapel folds back) with the board’s edge. Press from the roll line outward toward the edge, using a press cloth to protect the fabric. For the notch lapel (V-shaped opening), use the iron’s tip to press from both sides, maintaining crisp definition without creating cross-creases.
Fixing Common Ironing Mistakes
Shine marks develop when fibers flatten under heat and pressure. To fix them on wool, dampen a press cloth with equal parts white vinegar and water, then press briefly with your iron on wool setting. Immediately brush the area vigorously with a soft-bristled brush to lift the nap. For stubborn marks, use the steam-and-brush method: hold steam over the area without contact, then brush quickly in the fabric’s grain direction.
If you’ve created an unwanted crease, dampen it with your spray bottle, then press perpendicular to the crease with a press cloth. For button impressions, place a thick towel over the area and press briefly with a warm iron to redistribute fibers. Always let the jacket cool completely before handling to set the corrected area.
Proper Cooling and Storage
After ironing, leave your sports coat on the ironing board for 15-20 minutes to cool completely—this sets the fibers in their smooth state. Avoid touching the fabric with your hands during this period, as skin oils can affect the pressed appearance. Transfer the jacket to a sturdy wooden or padded hanger that matches the shoulder width, never using wire hangers that create impressions.
Hang the jacket in a well-ventilated area away from direct sunlight, which can fade fabric and set remaining wrinkles. Allow it to hang for several hours before wearing or storing. When storing, use a breathable garment bag that protects against dust without trapping moisture. Rotate between multiple sports coats to extend the life of each garment and reduce ironing frequency.
Mastering how to iron a sports coat properly transforms your wardrobe maintenance routine, saving money while keeping your professional appearance sharp. With practice, you’ll develop the confidence to handle even your finest wool blazers at home, knowing exactly when to attempt DIY pressing and when to seek professional help for delicate fabrics or special circumstances. The key is respecting the jacket’s construction while applying the right combination of heat, steam, and pressure to achieve that crisp, tailored look without compromising the garment’s integrity.


