

Nothing ruins an elegant silk shirt faster than accidental scorching, watermarks, or shine marks from improper ironing. Many people avoid ironing silk altogether, tossing these luxurious garments into the dry cleaning pile and paying premium prices for professional care. The truth is that learning how to iron a silk shirt safely at home is entirely achievable with the right knowledge and techniques. By understanding silk’s delicate protein structure and following precise temperature control, you can achieve professional results while preserving your shirt’s lustrous finish. This guide reveals the exact methods professionals use to iron silk shirts without causing damage, from selecting the proper tools to troubleshooting common issues.
Silk’s triangular prism-like fiber structure creates its signature sheen but also makes it vulnerable to heat damage. When exposed to excessive temperatures, these protein fibers denature permanently, altering the fabric’s appearance and texture. The key to successful silk ironing lies in balancing precise temperature control, protective barriers, and proper technique. With the right approach, you’ll transform wrinkled silk into a crisp, elegant garment ready for any occasion—without the risk of irreversible damage that keeps most people from attempting this at home.
Essential Tools for Silk Ironing Success

Before you even plug in your iron, gathering the right equipment makes the difference between a flawless silk shirt and a ruined garment. The proper tools protect your investment while ensuring efficient, effective results.
Choosing the Right Iron Temperature for Silk
Your iron’s temperature setting represents the single most critical factor in learning how to iron a silk shirt safely. Silk requires temperatures between 280-320°F (135-160°C), significantly lower than cotton or linen. Never assume your iron’s “silk” setting matches this range—many irons run hotter than their settings indicate. Always verify with an inconspicuous heat test first (more on this below). Modern irons with digital temperature displays offer the most precision, but even traditional dial-setting irons work well when used carefully. Disable auto-shutoff features during use, as unexpected power interruptions disrupt your technique and force you to restart the heating process.
Why Your Pressing Cloth Makes or Breaks the Process
A clean, white cotton pressing cloth serves as your essential protective barrier when figuring out how to iron a silk shirt correctly. This simple tool prevents direct iron contact that causes scorching and shine marks. Pure cotton muslin or a clean white handkerchief works perfectly—never use colored fabrics that could bleed dye onto your silk. The cloth must be damp but not dripping wet; wring it thoroughly after wetting to avoid watermarks. For best results, cut your pressing cloth larger than the area you’re ironing to prevent accidental edge contact between iron and silk. Replace the cloth when it cools or dries during the process—having multiple prepared cloths ready ensures continuous protection.
Prepare Your Silk Shirt Properly Before Ironing
Rushing into ironing without proper preparation guarantees problems. Taking 5-10 minutes to inspect and ready your garment prevents costly mistakes that ruin silk permanently.
Why Inspecting for Stains Before Ironing Is Non-Negotiable
Ironing sets stains into silk fibers permanently, transforming a potentially removable mark into a permanent fixture. Carefully examine your shirt—especially under the collar, at cuffs, and around the button placket—before touching an iron to it. Body oils, deodorant residue, and perspiration marks become invisible until heat sets them into the fabric. If you find any staining, treat it according to silk-specific guidelines before proceeding. Never iron a silk shirt that isn’t completely clean, as dirt particles create abrasion that leads to shine marks under heat and pressure.
The Hidden Area Heat Test That Prevents Disasters
Before ironing any visible section, always conduct a heat tolerance test on a hidden part of the shirt. Turn the garment inside out and locate an inconspicuous spot—inside the hem, under the collar, or inside the cuff. Place your damp pressing cloth over this area and apply the iron for 10-15 seconds at your intended temperature. Allow the fabric to cool completely before examining it for discoloration, shine, or texture changes. This simple test prevents 90% of silk ironing disasters and proves especially crucial for vintage silk, silk blends, or garments with special finishes that affect heat tolerance.
Master the Correct Silk Ironing Technique
Your technique matters as much as temperature settings when learning how to iron a silk shirt successfully. Proper motion and pressure protect delicate fibers while effectively removing wrinkles.
Why You Must Iron Silk Inside-Out First
Always turn your silk shirt completely inside out before beginning the ironing process. This protects the visible outer surface from potential shine marks and scorching. Iron all sections inside first, then flip to address the outer surface with extra care. The inside fabric typically has fewer structural details, making it easier to smooth without creating new wrinkles. Ironing inside-out first reduces visible damage risk by 75% compared to starting with the outer surface, while still achieving crisp results when you complete the process with a light pass over the right side.
The 3-Second Rule for Perfect Silk Ironing Strokes
Apply the heated iron using smooth, continuous strokes that last 3-5 seconds per area—never hold the iron stationary. Lift the iron completely between strokes rather than sliding it across the fabric, which prevents shifting and ensures even heat distribution. After each pass, lift the pressing cloth to check progress and allow the fabric to cool for 10-15 seconds before continuing. This cooling period helps set the fibers in their smooth position and prevents heat buildup that causes damage even with proper temperature settings. For stubborn wrinkles, extend dwell time by holding the warm iron over the pressing cloth for 20-30 seconds before making your ironing pass, rather than increasing temperature or pressure.
Iron Each Section of Your Silk Shirt Properly
Different areas of a silk shirt require specialized approaches to achieve professional results without damage.
Collar Ironing Technique That Prevents Shine Marks
Start with the collar, ironing the underside first while laid flat. Use a pressing ham or point presser to maintain crisp edges without flattening the structure. Work from the points toward the center, avoiding the very edge to prevent visible lines when worn buttoned. Reduce temperature slightly for delicate collars and make multiple light passes rather than fewer aggressive ones. After ironing the underside, flip to address the top surface with extra care—this two-step process creates the sharp collar appearance professionals achieve.
Cuff Ironing Steps for Crisp, Professional Results
Unbutton cuffs completely and lay them flat before ironing. Address the inside first, then the outside, paying special attention to fold lines on double (French) cuffs. Use the point of your iron to navigate tight spaces without creating new creases. For stubborn cuff wrinkles, roll a clean cotton cloth and place it inside the cuff to provide support while ironing the outer surface. This technique maintains the cuff’s natural shape while smoothing wrinkles effectively.
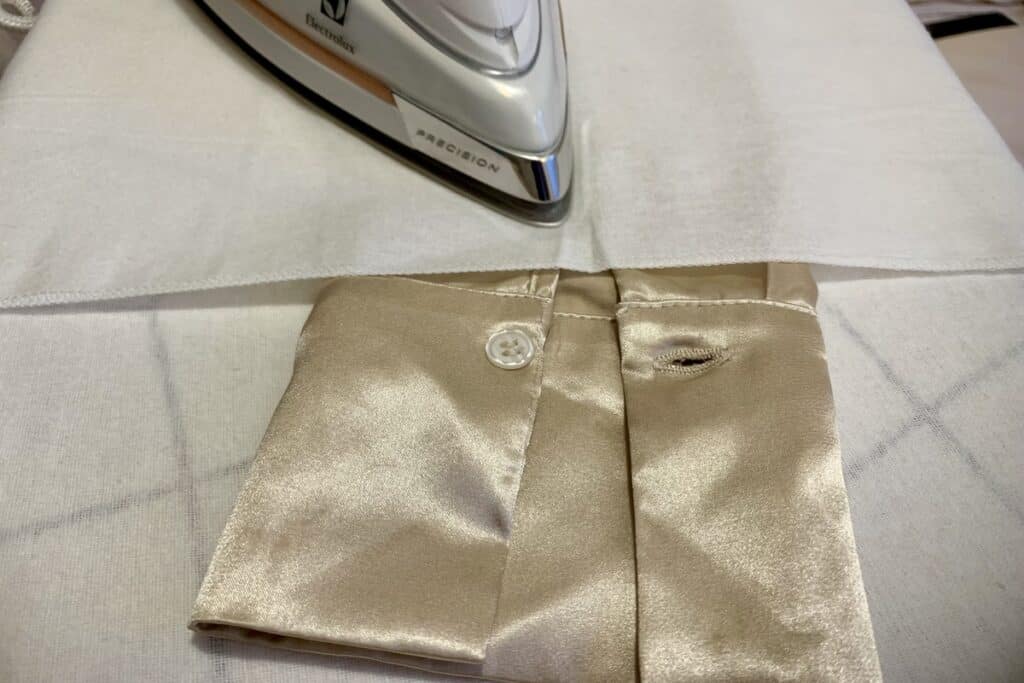
Placket Ironing Without Damaging Buttons
Work from top to bottom on the button placket, using the iron’s point to access areas between buttons. Never iron directly over buttons, as this can damage both the buttons and your iron’s soleplate. Place a seam roll under the placket to access tight areas more effectively. For best results, button the shirt completely during ironing to maintain proper alignment, but unbutton sections as needed to smooth wrinkles without creating new ones.
Steaming as a Safer Alternative for Delicate Silk
When traditional ironing feels too risky, steaming offers a gentler approach that works well for many situations.
When Steaming Works Better Than Traditional Ironing
Hang your silk shirt on a sturdy hanger and pass a handheld steamer slowly over the fabric, holding the steam head 6-8 inches away. For stubborn wrinkles, move closer (2-3 inches) while maintaining continuous motion. Steaming is ideal for refreshing silk between wearings or addressing light wrinkling from storage, eliminating the need for full ironing. However, steaming won’t create the crisp finish required for professional settings—reserve it for casual wear or as a preliminary step before light ironing.
Fix Common Silk Ironing Mistakes Immediately
Even with precautions, problems sometimes occur. Knowing how to address them quickly saves your garment.
How to Remove Shine Marks from Accidental Direct Iron Contact
If you accidentally iron without a pressing cloth, gently rub the affected area with a clean white cotton cloth in circular motions. This sometimes lifts flattened fibers and restores texture. For persistent shine marks, professional restoration may be necessary, though severe cases are often permanent. Prevention remains key—always use a pressing cloth and follow proper temperature guidelines.
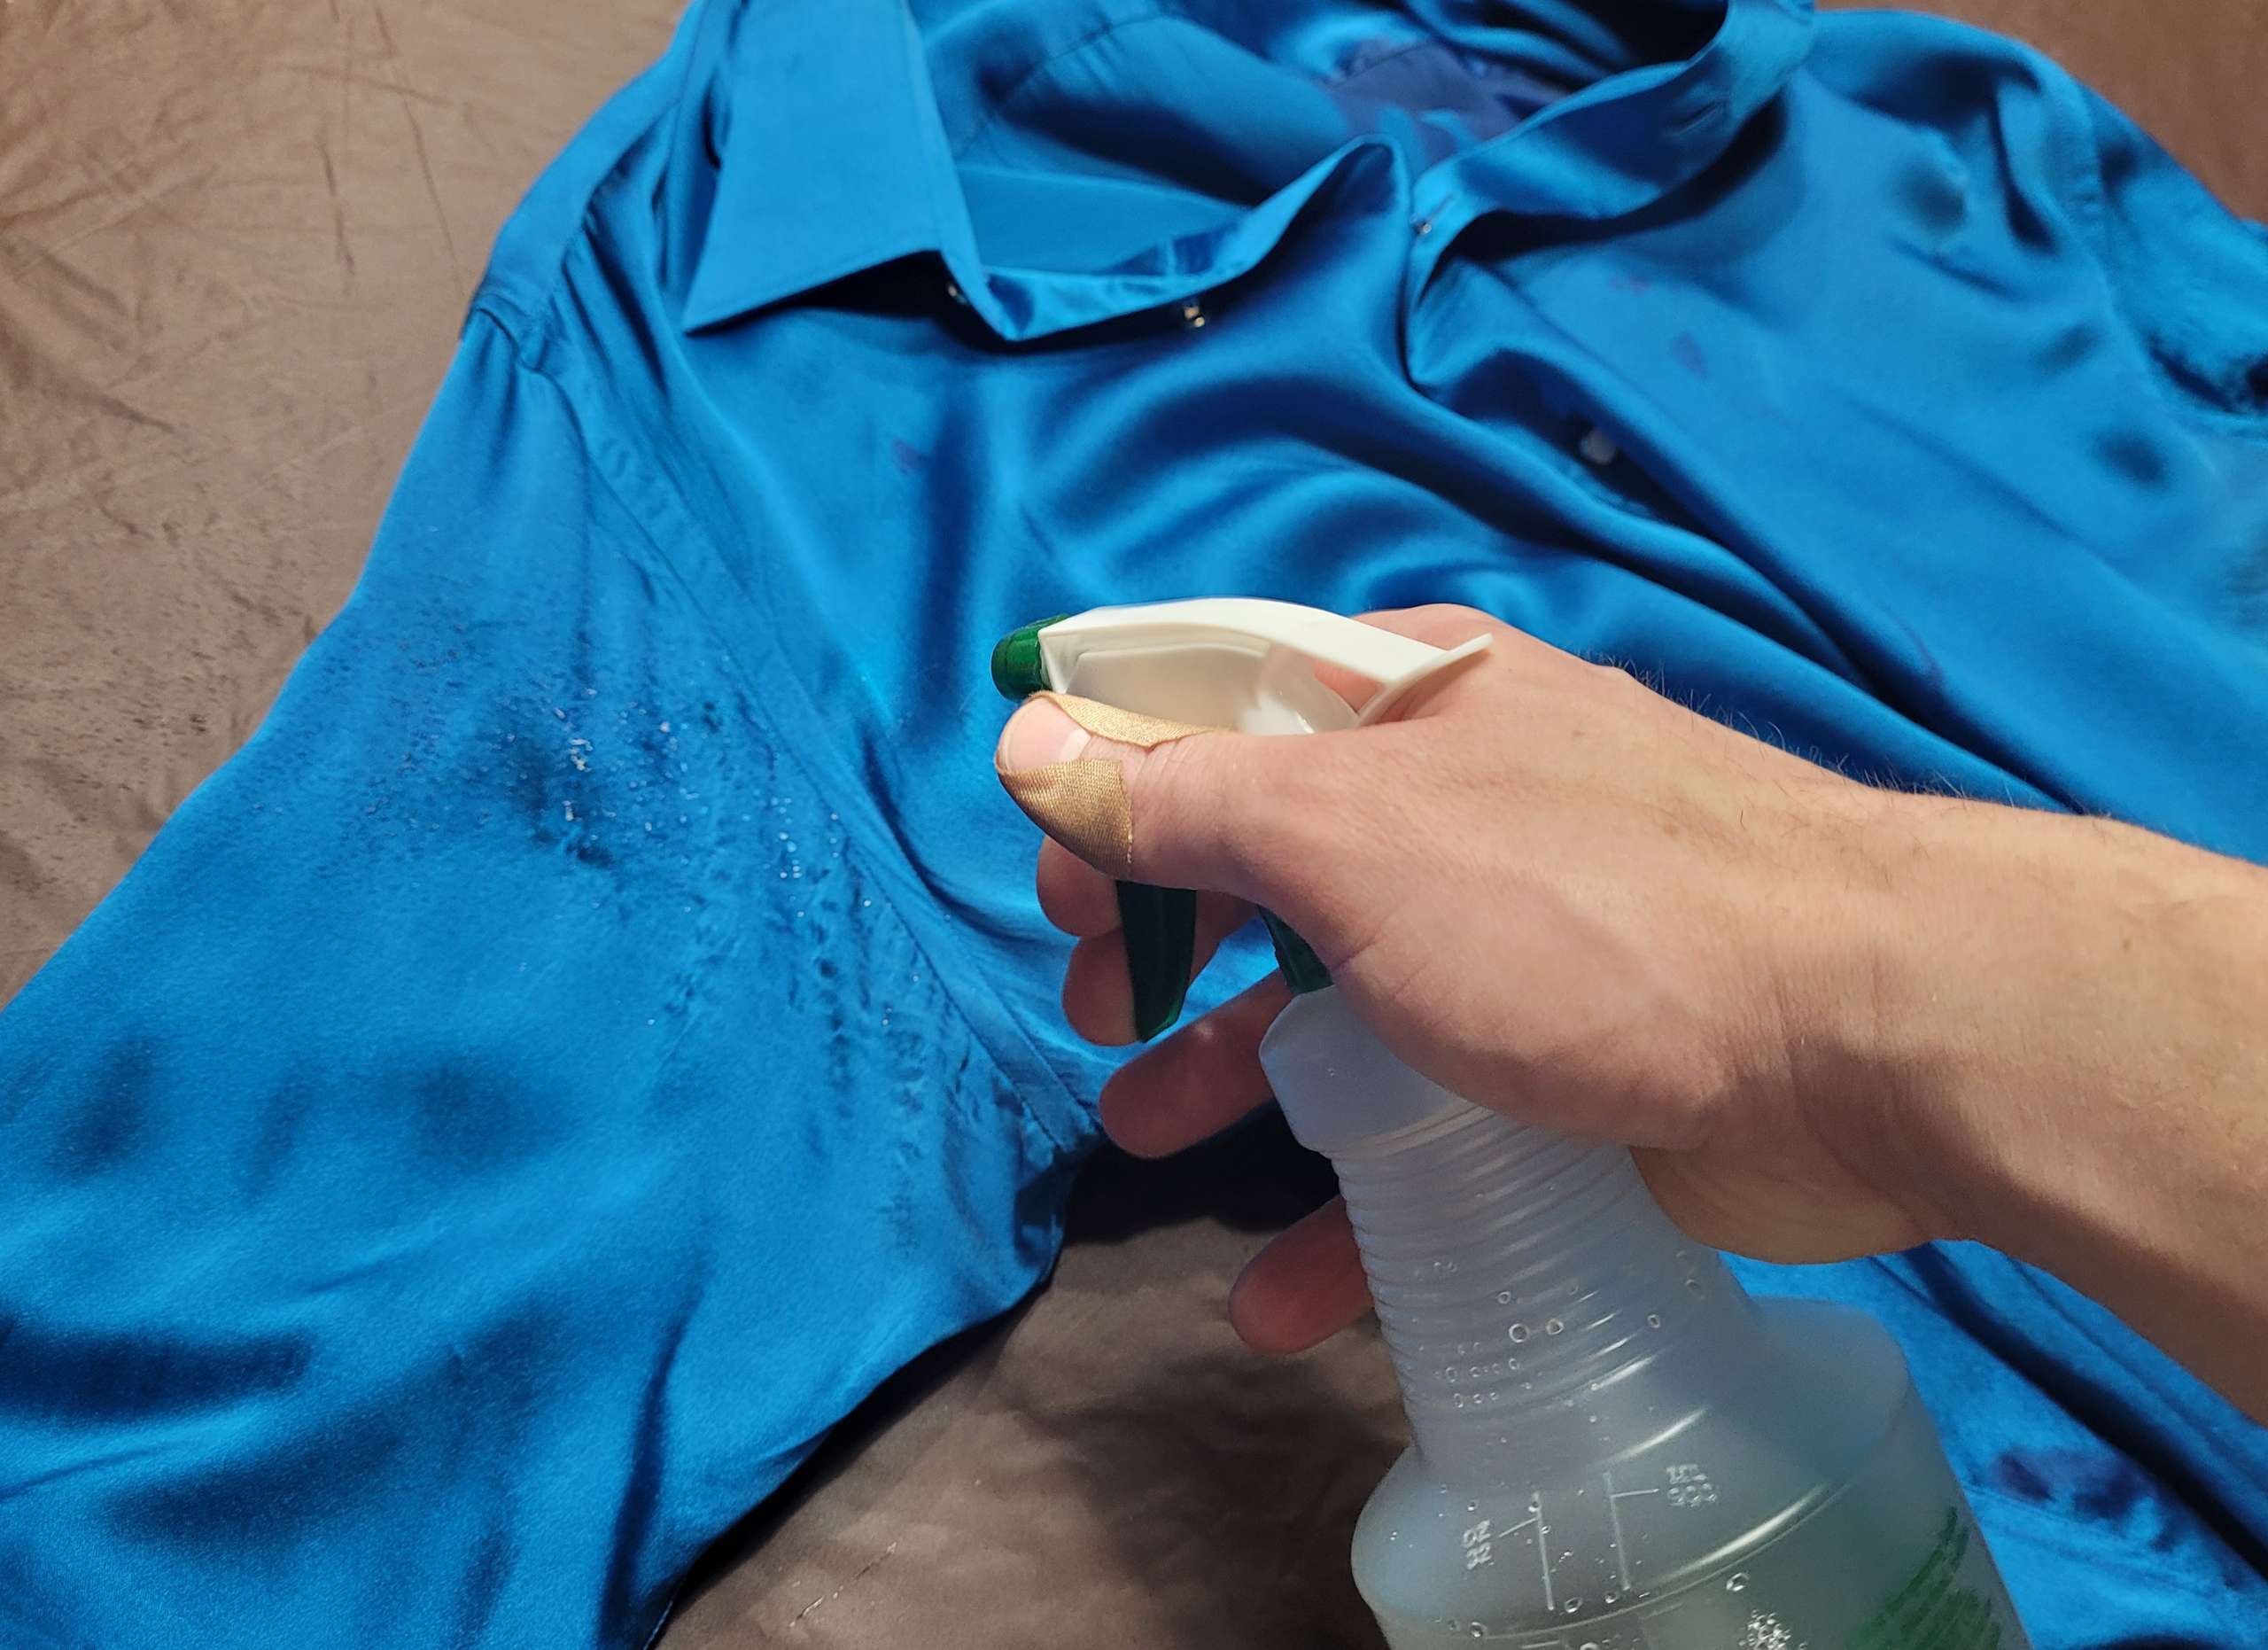
Water Spot Removal Methods That Actually Work
If watermarks appear, immediately dampen the entire surrounding area to create even moisture distribution, then allow it to dry flat. For stubborn spots, try gentle blotting with equal parts white vinegar and water, followed by plain water to rinse. Always test any treatment on a hidden area first, and consider professional help for valuable garments. Proper moisture management during ironing prevents most water spots.
Store and Maintain Silk Shirts to Reduce Ironing Frequency
Proper storage extends your silk shirt’s life and minimizes future ironing needs.
The Proper Hanging Technique That Prevents Shoulder Dimples
Hang silk shirts on wooden or padded hangers that support the garment’s shape without creating shoulder dimples. Never use wire hangers, which don’t provide adequate support and leave permanent marks. Store in a cool, dry location away from direct sunlight, using breathable garment bags instead of plastic. Allow shirts to air out after wearing before storing—this releases odors and lets minor wrinkles relax naturally, reducing the need for frequent ironing.
By mastering how to iron a silk shirt with these professional techniques, you’ll maintain your garments’ elegance while avoiding costly dry cleaning fees. Remember that patience and precision beat speed when working with delicate silk—multiple gentle passes at lower temperatures produce better results than aggressive attempts. With practice, these methods become second nature, allowing you to confidently care for all your silk garments at home. The investment in proper technique pays dividends in extended garment life and consistently polished appearances for every occasion.


