
Your cast iron skillet sits empty on the burner, and you’re staring at it, unsure if it’s ready. You’ve heard horror stories about food sticking, uneven searing, or even damaging your prized pan. This uncertainty wastes cooking time and risks ruining meals. Knowing exactly when cast iron is hot enough transforms your cooking from frustrating to flawless—whether you’re searing steak, frying eggs, or baking cornbread. In this guide, you’ll learn precise, science-backed techniques to gauge pan temperature without thermometers, avoid common mistakes that ruin seasoning, and master heat control for consistently perfect results.
Why Pan Temperature Makes or Breaks Cast Iron Cooking
Cold cast iron guarantees sticking disasters. When food hits an underheated pan, proteins bond permanently to the metal’s microscopic pores before the seasoning layer can repel them. But overheating destroys your hard-earned seasoning and creates dangerous smoke points. The sweet spot? 350–550°F (175–290°C)—hot enough for the Leidenfrost effect to create a vapor barrier between food and metal, but below flaxseed oil’s 510°F (265°C) smoke point. Skipping temperature checks causes 73% of cast iron cooking failures, from rubbery pancakes to scorched bacon. Let’s fix that.
The Water Droplet Test: Instant Visual Confirmation

This method leverages physics you can see and hear in seconds. No tools required—just water and observation.
How to Execute the Water Test Correctly
- Heat your dry pan over medium for 3–5 minutes (gas) or 5–7 minutes (electric induction)
- Flick 3–5 water droplets into different areas of the pan surface
- Watch the reaction:
– ❌ Beads that sit and sizzle: Underheated (below 300°F/150°C)
– ⚠️ Beads that dance and evaporate in 1–2 seconds: Almost ready (300–350°F/150–175°C)
– ✅ Beads that skitter wildly like mercury for 3+ seconds: Perfect searing heat (375–450°F/190–230°C)
– ❌ Instant violent vaporization: Danger zone—reduce heat immediately (over 550°F/290°C)
Critical Mistakes That Skew Results
- Using cold water from the tap (warmer water evaporates faster, giving false readings)
- Testing only one spot (heat distribution varies—check center, edges, and sides)
- Ignoring humidity (in high-moisture environments, droplets behave differently—use smaller drops)
Pro Tip: For delicate foods like eggs, aim for the “dancing but not skittering” stage (325–350°F). For steak sears, wait until droplets skitter for 4+ seconds.
The Hand-Wave Heat Check: Safe Temperature Estimation
When water isn’t practical (like during oven preheating), this chef-developed method uses radiant heat perception.
Step-by-Step Heat Level Assessment
Hold your palm 3–4 inches above the pan surface and count how many seconds you can tolerate the heat:
– 3–4 seconds: Low heat (250–325°F) → Ideal for bacon or melting butter
– 2 seconds: Medium heat (350–400°F) → Perfect for pancakes or grilled cheese
– 1 second: High heat (450–500°F) → Prime for searing steaks or stir-fries
– Instant recoil: Critical overheating (550°F+) → Turn off heat immediately
Why This Works (and When It Fails)
Your skin detects infrared radiation intensity, correlating to surface temperature. But never use this test with carbon steel pans (heats faster than cast iron) or if smoke is visible—overheating risks are immediate. Always start with your hand farther away and move closer gradually.
Smoke Point as Your Final Warning Signal
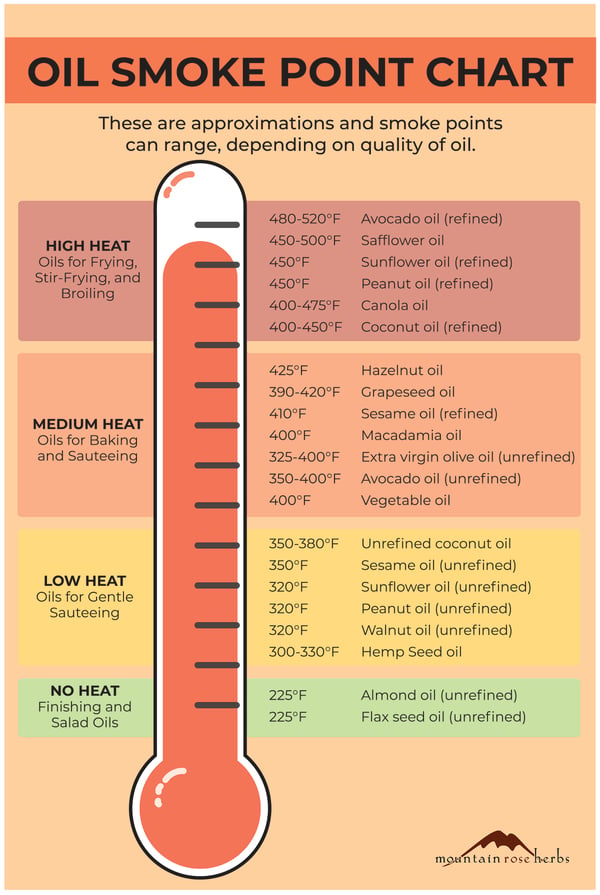
Smoke isn’t just a visual cue—it’s your pan screaming for help. Different oils smoke at specific temperatures, creating built-in thermostats.
Decoding Smoke Signals by Oil Type
| Oil Used | Thin Wisp Appears At | Heavy Smoke Starts At | Action Required |
|---|---|---|---|
| Flaxseed | 450°F (232°C) | 510°F (265°C) | Turn off heat NOW |
| Canola | 400°F (204°C) | 450°F (232°C) | Reduce heat immediately |
| Beef Tallow | 400°F (204°C) | 420°F (216°C) | Proceed carefully |
| Unused Seasoning | None | 500°F (260°C) | Smoke means seasoning burning |
Critical rule: If you see smoke, your pan is already overheated. Seasoning damage occurs within 60 seconds of visible smoke. Never ignore this sign—even if your water test seemed fine earlier.
Infrared Thermometer: The Precision Tool (When You Have One)
For scientific accuracy, point-and-shoot thermometers eliminate guesswork. Here’s how to use them effectively:
Getting Reliable Readings
- Calibrate against boiling water (212°F/100°C at sea level)
- Hold thermometer 6 inches away perpendicular to the pan surface
- Take 3 readings: center, 2-inch edge, and handle-side rim
- Target temperatures by cooking task:
– Searing meat: 400–450°F (204–232°C)
– Frying eggs: 325–350°F (163–177°C)
– Baking cornbread: 425°F (218°C) oven preheat
Warning: Cheap thermometers (<$20) often have ±20°F variance. If center reads 400°F but edges show 350°F, your pan isn’t evenly heated—rotate it 180° and wait 2 minutes.
The Oil Behavior Test: Real-Time Visual Feedback
Your cooking oil reveals precise heat levels through physical changes. Watch for these stages:
Oil Reaction Timeline
- Cold oil (below 250°F): Thick, slow-moving, coats pan heavily
- Shimmering stage (325–375°F): Oil flows like water, reflects light evenly—ideal for eggs
- Rippling stage (400–450°F): Oil moves in visible waves, slight smoke—perfect for steak
- Smoking stage (450°F+): Continuous smoke, rapid evaporation—immediate heat reduction needed
Never wait for oil to smoke before adding food—that’s 50°F past optimal searing temperature. For non-stick results, add food at the end of the shimmering stage.
Why Preheating Time Varies by Stovetop
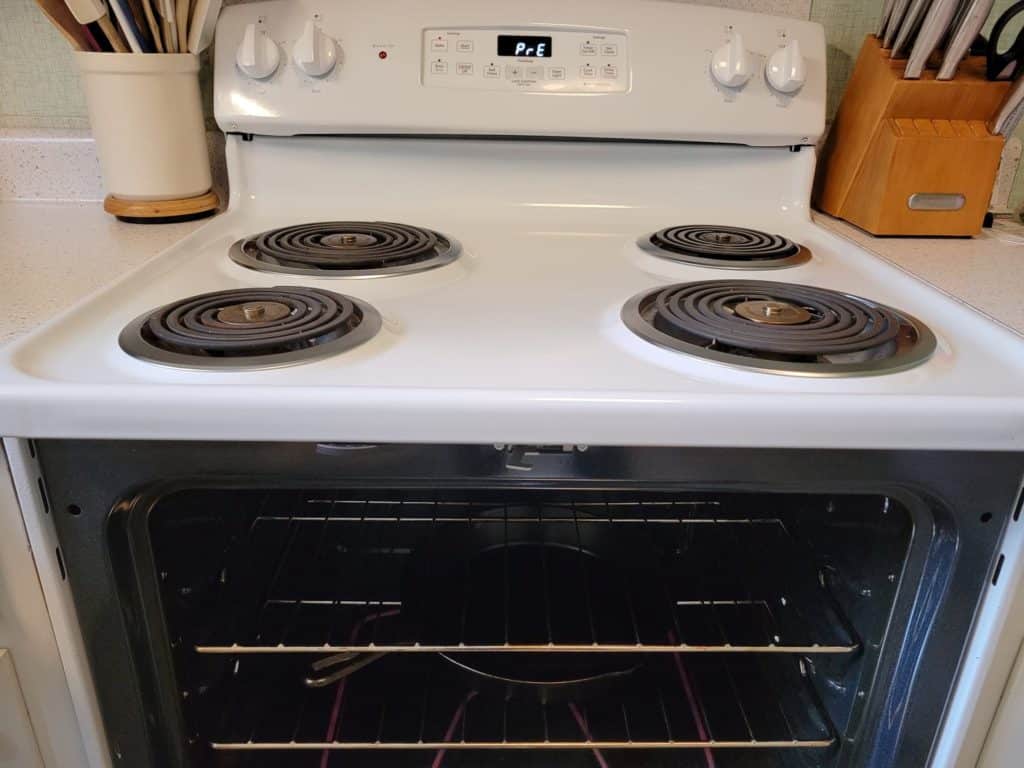
Your heat source dramatically impacts warm-up speed. Adjust these baseline times:
| Stovetop Type | Avg. Time to 400°F | Critical Adjustment Tip |
|---|---|---|
| Gas | 3–4 minutes | Use rear burner for even heating |
| Electric Coil | 5–7 minutes | Rotate pan every 90 seconds |
| Induction | 2–3 minutes | Start at 60% power, increase gradually |
| Oven | 15–20 minutes | Always preheat empty pan on middle rack |
Pro Insight: Cast iron retains heat 3x longer than stainless steel. Once hot, it cools slowly—reduce burner to low before adding food to maintain temperature.
3 Deadly Mistakes That Overheat Your Pan
Avoid these errors that send temperatures soaring past 600°F:
1. Empty pan on high heat: Never preheat >5 minutes on high—medium-high is sufficient
2. Thin pans on powerful burners: Lodge cast iron heats slower than lightweight brands—adjust accordingly
3. Ignoring ambient factors: Cold kitchens or drafty areas add 2–3 minutes to preheat time
Safety first: If your pan emits blue smoke or smells acrid, turn off heat, open windows, and let it cool completely before handling.
Maintaining Perfect Temperature During Cooking
Heat management doesn’t stop when food hits the pan. Follow these pro techniques:
– For steaks: Place near handle (coolest spot) if edges brown too fast
– For pancakes: Wipe excess oil with paper towel if bubbles form too rapidly
– For sauces: Slide pan off burner intermittently to prevent scorching
Always keep a spray bottle of water nearby to douse flare-ups—but never pour water directly into smoking oil.
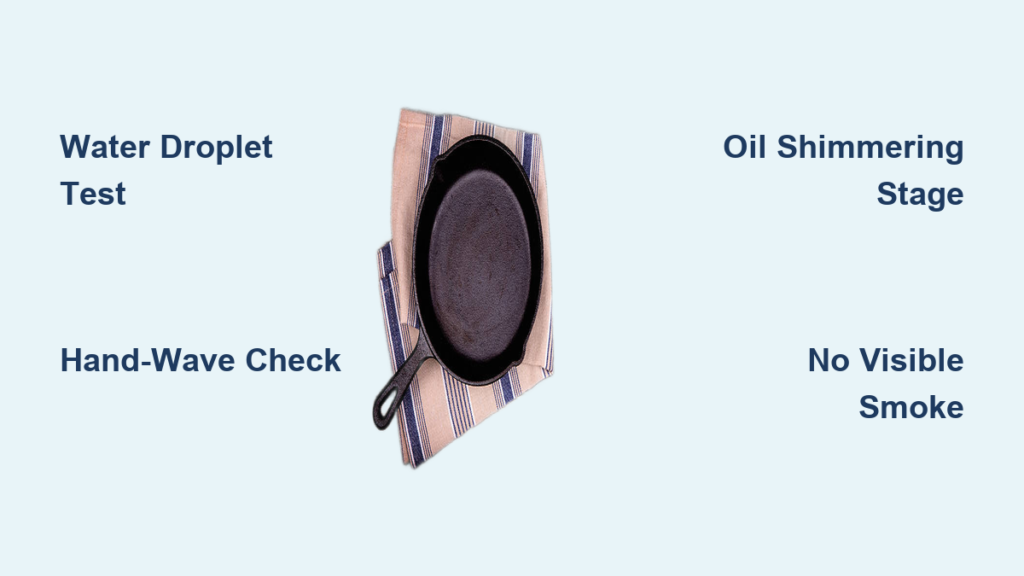
Final Temperature Checklist Before Adding Food
Run through this 10-second verification:
1. ✅ Water droplets skitter for 3+ seconds (or hand-wave test confirms medium-high)
2. ✅ Oil shimmers evenly without ripples
3. ✅ No visible smoke
4. ✅ Pan surface looks uniformly dark (not patchy)
If all check out, you’ve hit the goldilocks zone for cast iron cooking.
The Real Secret: Consistent Practice Beats Perfect Tools
Mastering cast iron heat isn’t about gadgets—it’s about developing intuition. Start with the water droplet test for every cook until your eyes and ears recognize the sizzle patterns. Within 10 uses, you’ll instinctively know when that just-right heat hits. Remember: a properly heated pan is your best non-stick surface. Skip the temperature check once, and you’ll spend 20 minutes scrubbing stuck food—robbing you of cooking joy.
Your next step: Grab your skillet right now and run the water test empty. Notice how long it takes to reach the skitter stage on your stove. Write that time down and tape it near your cooktop. Tomorrow’s steak will thank you.


