
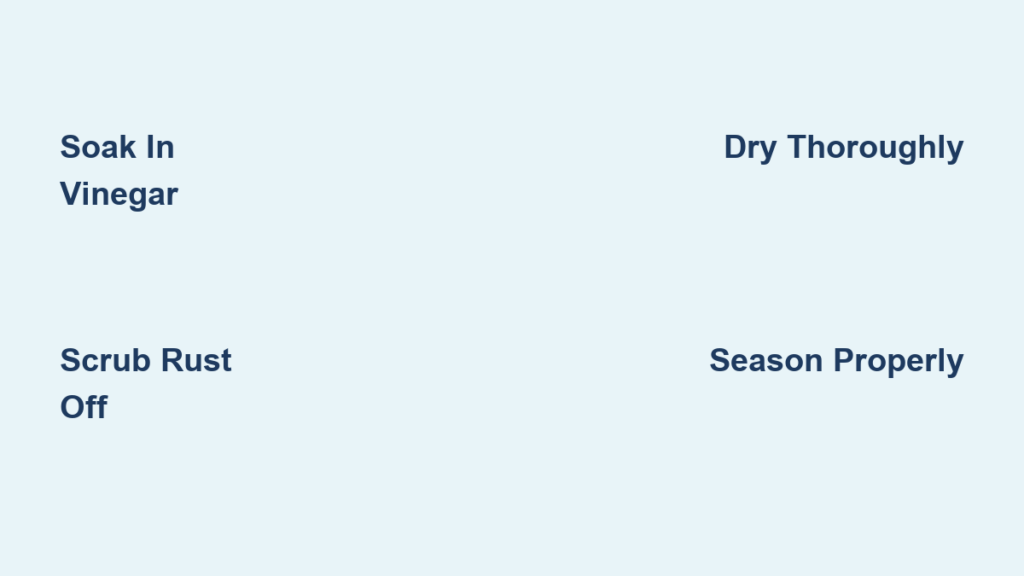
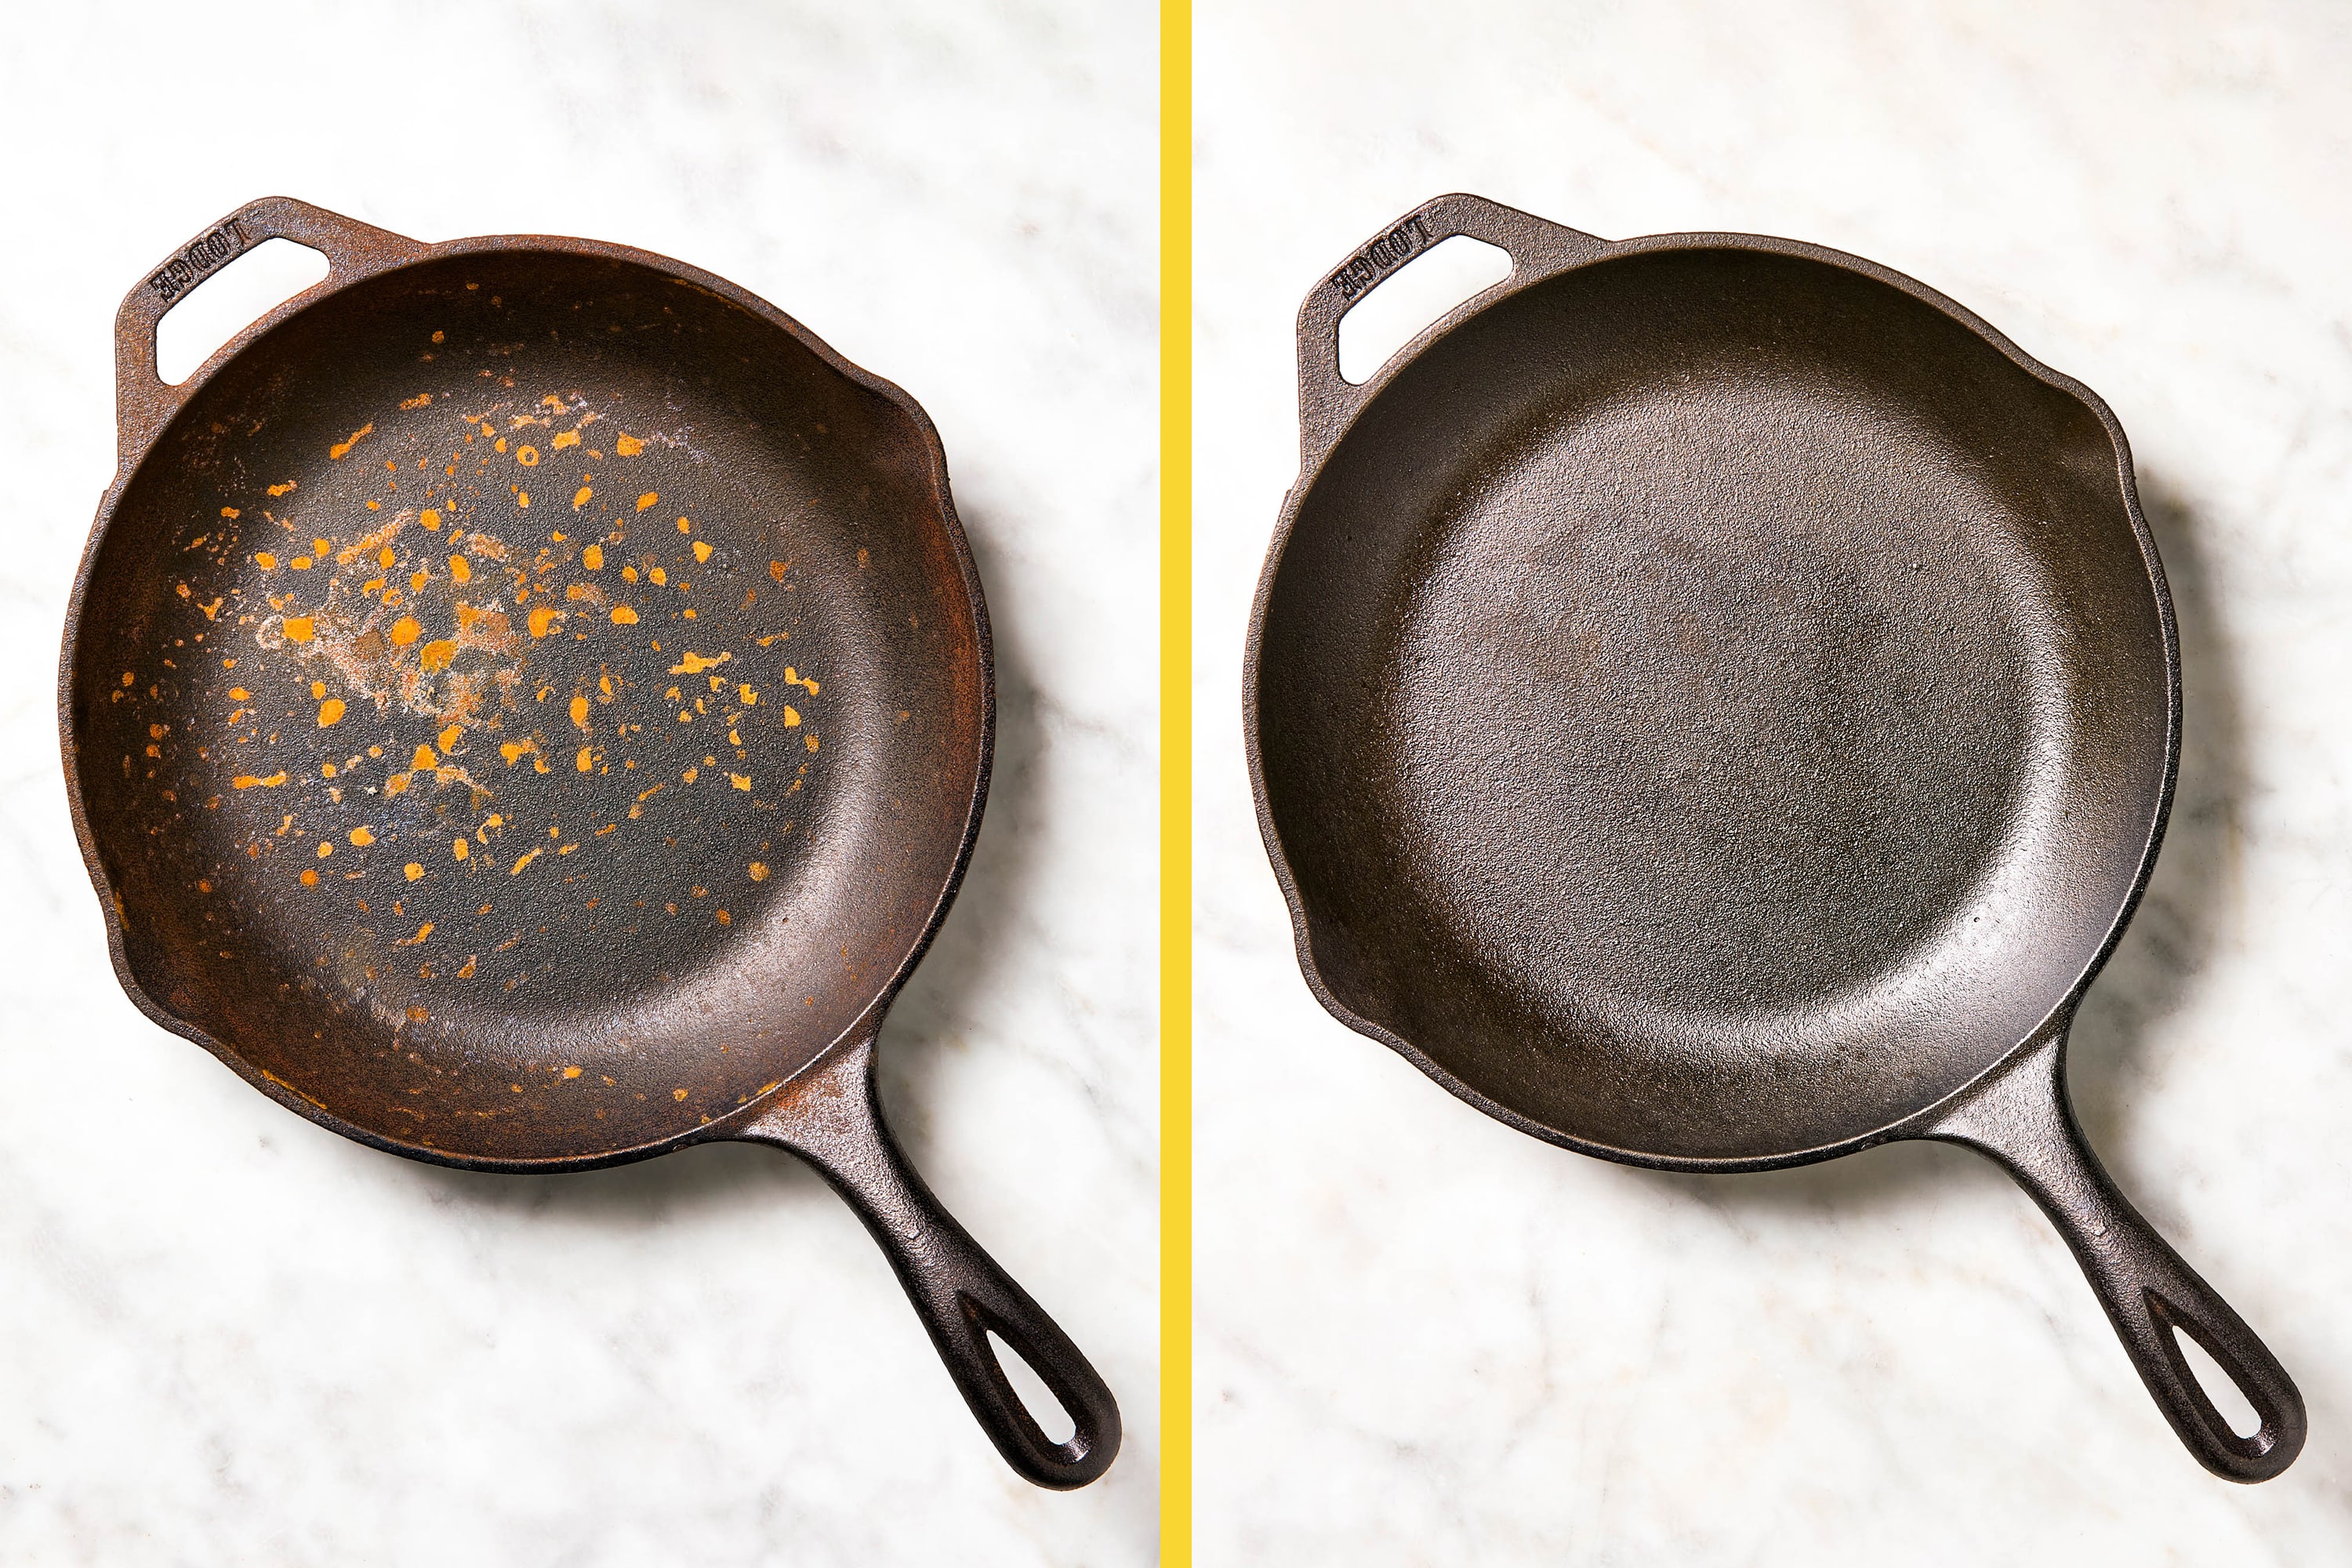
That neglected cast iron skillet with flaky orange rust doesn’t belong in the trash—it belongs on your stovetop, ready to become your most reliable cooking companion. How to restore a rusty cast iron skillet is a question countless home cooks face when discovering a forgotten heirloom or bargain find at a yard sale. The good news? Rust is almost always treatable, and your rusty pan can be revived to better-than-new condition with patience and the right technique. Cast iron’s legendary heat retention and natural non-stick properties return once you remove surface corrosion and rebuild proper seasoning. This guide cuts through the confusion and gives you exactly what you need to know to transform that rusted relic into kitchen gold.
Rust forms when iron molecules react with oxygen and moisture through oxidation—a process that accelerates in humid environments or when food residues are left on unseasoned surfaces. Despite its fearsome appearance, rust is purely a surface issue in most cases, confined to the porous outer layer of your cast iron without degrading the metal beneath. The severity of rust penetration determines your restoration approach: light surface rust wipes away easily, moderate rust requires scrubbing, while heavy rust with deep pitting needs chemical or electrolytic treatment. Before grabbing steel wool, take time to assess your skillet’s condition—this honest evaluation prevents wasted effort and ensures you select the most effective method for your specific situation.
Assess Your Skillet’s Rust Damage
Run your finger across the surface to determine rust severity before selecting your restoration method. Light rust appears as scattered orange spots that wipe away with minimal pressure, while moderate rust forms thicker deposits requiring firm scrubbing but hasn’t yet caused deep pitting. Heavy rust presents as flaky layers that feel rough to the touch and may have eaten into the metal surface. Check also for cracks, chips, or warping that might compromise functionality—these structural issues cannot be fixed through restoration alone.
Gather appropriate safety equipment before proceeding with any restoration method. Rubber gloves protect your hands from cleaning solutions and rust residue, while safety glasses prevent splashes from vinegar or commercial rust removers from entering your eyes. Work in a well-ventilated area, preferably outdoors or in a garage with open windows, as vinegar solutions produce strong odors and some rust removal methods can release potentially harmful fumes. Lay down protective coverings for your work surface to prevent staining, and keep plenty of paper towels and old rags readily available for immediate cleanup.
Gather Essential Restoration Supplies
Physical scrubbing tools form the foundation of any restoration project and should be assembled before you begin. Stainless steel wool in coarse and fine grades allows you to tackle heavy rust and then smooth the surface for finishing. Brass or bronze bristle brushes work effectively on stubborn deposits without risk of embedding steel particles in the cast iron. Plastic scrubbing pads and abrasive sponges provide gentler abrasion for light rust or final polishing. A plastic bucket large enough to submerge your skillet is essential for soaking methods, while a large pot may be needed for boiling water treatments.
Natural cleaning agents offer effective, safe options for cast iron restoration. White distilled vinegar serves as the workhorse of rust removal due to its acetic acid content, which dissolves iron oxide without damaging underlying metal. Baking soda creates a gentle abrasive paste for targeted treatment of rust spots. Kosher salt or coarse sea salt provides additional scrubbing power when combined with oil or water. For the seasoning phase, you’ll need a high-smoke-point oil such as flaxseed oil, grapeseed oil, or avocado oil—these polymerize into durable, non-stick coatings under high heat.
Choose Your Rust Removal Approach
Three primary methods exist for removing rust from cast iron, and selecting the right one depends on the severity of corrosion and your comfort level with the process. The vinegar soak uses mild acetic acid to chemically dissolve rust, making it ideal for moderate to heavy corrosion without requiring special equipment. Electrolysis reverses the electrochemical oxidation process at the molecular level, providing the most thorough cleaning for heavily corroded pieces but requiring more setup. Mechanical scrubbing uses physical abrasion to strip away rust and works best for light rust or for touch-up work after other methods. Most successful restorations combine multiple approaches, using chemical or electrolytic methods to loosen rust followed by mechanical scrubbing for final cleanup.
Soak in Vinegar for Deep Rust
Prepare a vinegar solution using equal parts white distilled vinegar and water, increasing concentration to two parts vinegar to one part water for heavily rusted pieces. Select a plastic container large enough to completely submerge your skillet—avoid metal containers, which will react with the vinegar, and be cautious with glass, which may crack under the weight of cast iron. Place the container in a well-ventilated area, as the fermentation process produces a strong vinegar odor that becomes overwhelming in enclosed spaces.
Submerge the skillet completely, ensuring all rusted areas remain below the liquid line throughout the soaking process. Light surface rust typically requires 30 minutes to one hour of soaking, while moderate rust needs 2 to 4 hours. Heavily rusted or pitted cast iron may require 12 to 24 hours, but avoid exceeding 48 hours of soaking, as prolonged acid exposure can begin affecting the underlying iron. Monitor progress periodically by checking whether rust wipes away easily with a soft cloth. The solution will become cloudy and develop dark sediment as it extracts iron oxide—these changes indicate the solution is working effectively.
Try Electrolysis for Stubborn Rust
Set up an electrolysis tank using a plastic container large enough to hold your skillet with several inches of clearance on all sides. Fill with plain water and add washing soda at approximately one tablespoon per gallon, stirring until completely dissolved. The washing soda increases water conductivity without producing harmful byproducts. Connect a battery charger set to its lowest amperage setting—at least 2 amps is recommended for effective rust removal.
Attach the positive lead to your sacrificial anode, which should be a piece of plain steel significantly larger than the skillet for optimal results. Attach the negative lead to the cast iron skillet, ensuring the clip contacts clean metal by scraping away rust at the contact point if necessary. Submerge both pieces in the washing soda solution with the anode facing the most heavily rusted areas of the skillet. Turn on the charger—you should see bubbles rising from both pieces as the electrolysis process begins, with rust particles floating free from the skillet surface.
Scrub Away Rust Mechanically
Mechanical removal works well for light rust, localized problem areas, or for final cleanup after chemical methods have loosened the majority of corrosion. Select your abrasive based on rust severity—coarse stainless steel wool for heavy deposits, brass brushes for moderate rust, and fine sandpaper or plastic pads for light rust and finishing work. The key is matching abrasive aggressiveness to the job to avoid unnecessarily damaging the underlying metal.
Work in circular motions across affected areas with firm, consistent pressure, allowing the abrasive to do the work rather than pressing excessively hard. Periodically wipe the surface with a damp cloth to remove accumulated rust particles and assess progress—areas still appearing orange or rough need additional attention. Progress through progressively finer abrasives as rust diminishes, switching to finer materials for the final stages. This graduated approach ensures efficient rust removal while minimizing scratches and damage to the underlying metal.
Dry Your Skillet Properly
Proper drying represents the most critical yet frequently overlooked step in cast iron restoration. The transition from wet to completely dry is the window during which flash rusting can rapidly recontaminate your freshly cleaned surface, as clean iron begins oxidizing immediately upon exposure to oxygen and moisture. Taking extra time at this stage prevents hours of work from being undone within minutes.
Pat and wipe the skillet completely dry with clean, cotton towels immediately after your final rinse, working in sections and changing to dry towels as they become damp. For skillets with rough surfaces or complicated geometries, use a hair dryer on high heat to ensure all moisture evaporates from crevices and textured areas. Alternatively, heat the skillet on a stovetop over medium heat for several minutes to drive off residual moisture—this warming also prepares the metal for the seasoning process. Allow the skillet to cool only after you are certain it is completely dry throughout.
Season to Create Protective Layer
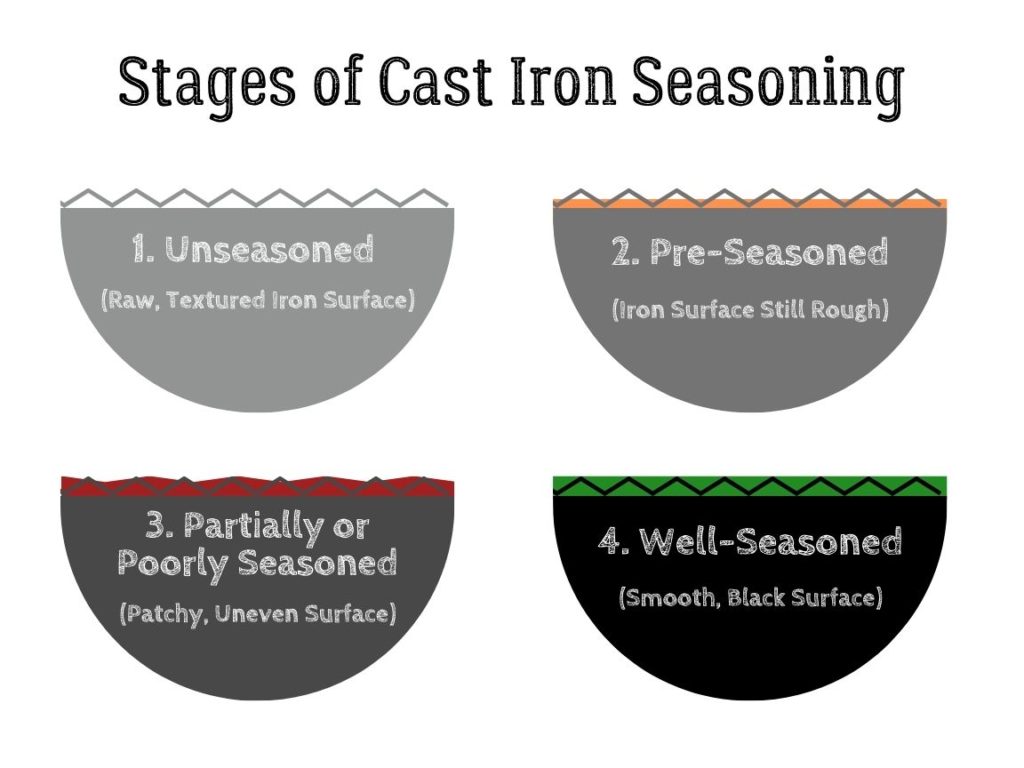
Seasoning polymerizes thin oil layers into a durable, non-stick, rust-resistant coating that transforms your restored skillet into premium cookware. This process requires understanding the science: under high heat exceeding the oil’s smoke point, oil molecules undergo polymerization, transforming from liquid fat to a solid, cross-linked plastic-like coating. The key to success lies in applying extremely thin oil layers and subjecting them to sustained high heat for proper polymerization rather than simple burning.
Select an oil based on polymerization properties and availability. Flaxseed oil creates one of the most durable seasoning layers due to its high omega-3 content and smoke point of approximately 450°F, though it can be expensive. Grapeseed oil offers similar results at a lower price point with a smoke point around 420°F. Avocado oil provides excellent results with a very high smoke point of 520°F, making it forgiving for home cooks. Vegetable shortening works adequately and is readily available but requires higher temperatures and longer baking times.
Apply a vanishingly thin oil layer to a warm, completely dry skillet using a clean cloth or paper towel. The layer should be so thin that you can barely see it—when you think you’ve used too little, you’re probably using the right amount. Wipe away all visible excess with a dry section of cloth, repeating until the surface feels dry to the touch despite the molecular oil layer remaining. Preheat your oven to 450°F to 500°F, place the oiled skillet upside down on the middle rack with foil below to catch drips, and bake for one hour before allowing it to cool completely inside the oven. Apply and bake two to three additional thin layers for optimal durability.
Maintain Your Restored Skillet
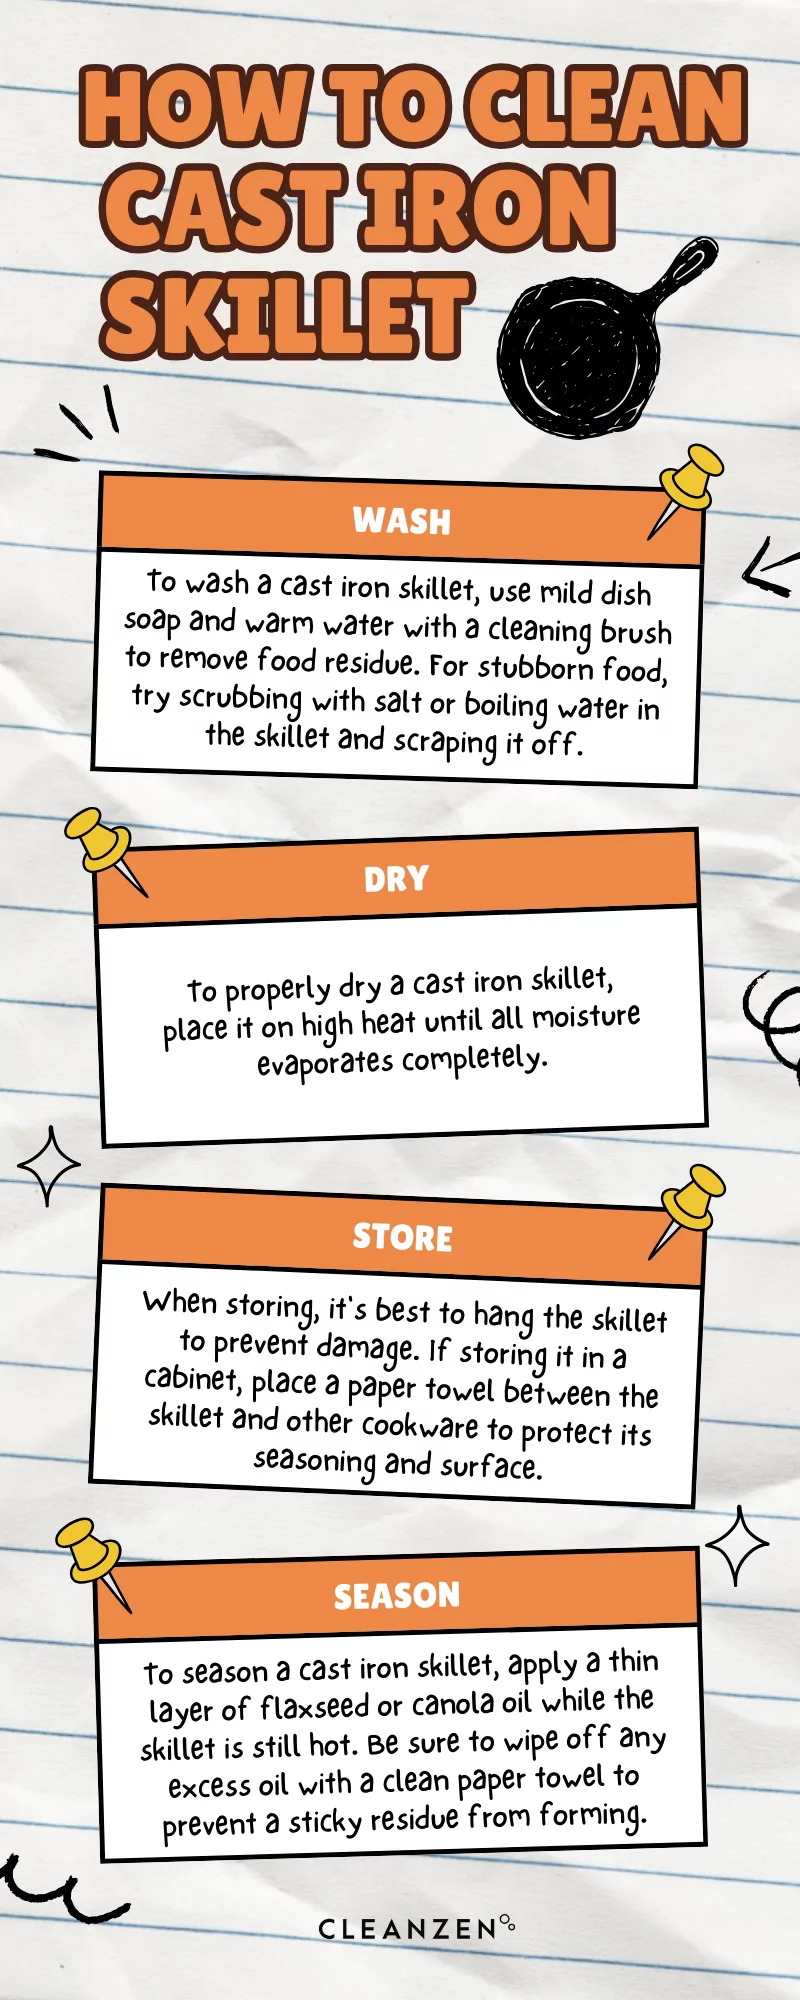
Proper maintenance preserves your restoration investment and allows the seasoning to develop into an increasingly non-stick surface that improves with use. The fundamental principle is simple: clean properly after each use, dry thoroughly, and apply a thin layer of oil while the pan retains some warmth. These three steps take only minutes but prevent the moisture damage that undoes most cast iron care.
Clean the skillet after each use rather than allowing residue to accumulate, but avoid harsh detergents and aggressive scrubbing that damage seasoning. A quick rinse with hot water and gentle scrub using a stiff brush or non-metal sponge removes food residue without disturbing the protective coating. For stubborn, stuck-on food, bring a small amount of water to a boil in the skillet and use a wooden spatula to loosen debris while steam softens the attachment. Use soap only when necessary, as even mild detergents can strip seasoning over time.
Dry the skillet immediately after cleaning and place it on a warm stovetop for a few minutes to ensure all moisture evaporates. While the skillet is still warm (not hot), apply a thin oil layer to the cooking surface—enough to coat lightly without leaving visible puddles. Store in a dry environment with adequate air circulation, placing a paper towel between stacked pans to absorb any moisture that might develop.
Troubleshoot Common Restoration Issues
Stubborn rust that persists despite treatment typically involves deeply bonded deposits or protective rust layers that resist chemical attack. Extend vinegar soaks by another 12 to 24 hours with adequate solution concentration, or create a baking soda and hydrogen peroxide paste for spot treatment over several hours. Repeat electrolysis with fresh solution and extended treatment time, as this method often succeeds where chemicals fail.
Sticky or gummy seasoning results from applying too much oil or from insufficient heat for proper polymerization. Strip the sticky coating completely using coarse steel wool and dish soap, then rinse, dry, and re-season with thinner oil applications and longer baking times. Always wipe away all visible excess before baking—the surface should appear dry despite the molecular oil layer remaining.
Uneven seasoning or patchy appearance stems from inconsistent oil application or uneven oven heat distribution. Strip the coating and reapply using a fresh approach: warm the skillet slightly, apply oil, then wipe vigorously with a dry towel to remove excess before baking. Rotate the skillet halfway through baking for even heat exposure. Some natural variation in seasoning is normal and will even out over time with regular use.
Rust reappearing after seasoning indicates moisture exposure or damage to the protective layer. Examine storage areas for humidity sources and ensure the skillet dries completely before storing. Check for chips or cracks in the seasoning that expose bare metal—these areas need additional oil applications until they reseason naturally. Avoid cooking highly acidic foods in newly seasoned pans, as acidity breaks down seasoning and exposes underlying metal.


