
Rusted corrugated iron has become increasingly popular for decorative and architectural applications, offering that sought-after weathered, industrial aesthetic. Whether you’re working on a home renovation project, creating garden art, or designing commercial space, achieving an authentic rust finish can dramatically transform ordinary metal sheets. The challenge many DIYers face is that natural rusting takes months or even years to develop properly, leaving them searching for reliable accelerated methods. Without the right technique, you might end up with uneven discoloration, weak rust that flakes off, or worse—damage to surrounding materials from improper chemical use. This guide explains proven approaches to safely and effectively create a rusted finish on corrugated iron, helping you achieve professional-looking results without waiting for nature to take its course.
Many homeowners and creators mistakenly believe rusting metal is as simple as leaving it outside to weather. While exposure to elements will eventually create rust, the process is unpredictable and often produces inconsistent results. Properly rusting corrugated iron requires understanding metal composition, chemical reactions, and surface preparation techniques. When done correctly, you can transform plain galvanized or painted corrugated sheets into beautifully patinated surfaces in just days rather than years. In this guide, you’ll learn specific methods to control the rusting process, create uniform finishes, and properly seal your rusted metal to preserve its appearance for years to come.
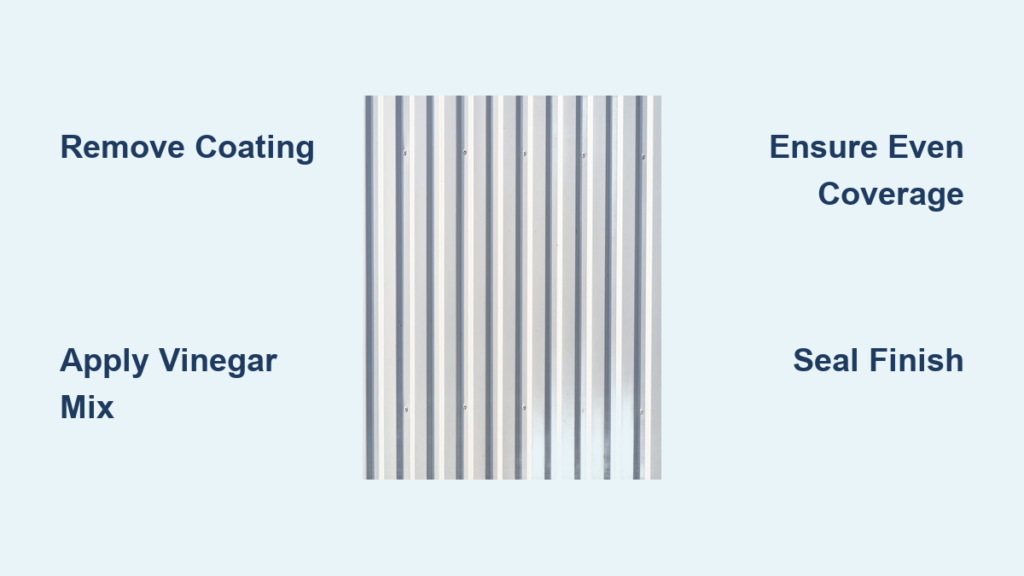
Essential Preparation Steps Before Rusting Corrugated Iron

Before applying any rusting technique, proper surface preparation determines whether your finish will be uniform and long-lasting. Most corrugated iron sheets come with protective coatings that must be removed to allow proper oxidation. Galvanized steel, commonly used for roofing and siding, has a zinc coating that prevents rust formation—the exact opposite of what you want to achieve.
Removing Protective Coatings Effectively
Start by thoroughly cleaning the metal surface with a degreaser to remove oils and contaminants. For galvanized sheets, use a vinegar solution (1 part white vinegar to 4 parts water) and scrub with a stiff brush to remove the zinc coating. You’ll know you’ve succeeded when the metal surface appears dull gray rather than shiny. For painted corrugated iron, use a chemical paint stripper or sand the surface until bare metal is exposed. Always work in a well-ventilated area and wear appropriate protective gear including gloves and eye protection during this process.
Surface Cleaning and Degreasing Techniques
After removing the primary coating, wipe the entire surface with acetone or denatured alcohol to eliminate any remaining residues. This step is crucial because oils from your hands or environmental contaminants can create barriers that prevent uniform rusting. Inspect the metal under bright light to ensure no shiny spots remain—these areas will resist rust formation and create an uneven finish. For best results, complete your preparation work just before applying your rusting solution to prevent new contaminants from settling on the clean surface.
Chemical Methods for Accelerating Rust Formation
Several chemical solutions can reliably accelerate the rusting process on corrugated iron. The key is understanding which method produces the specific rust appearance you desire, as different solutions create varying shades and textures of rust.
Vinegar and Hydrogen Peroxide Rusting Technique
This popular DIY method creates a deep, rich rust patina with excellent adhesion. Mix equal parts white vinegar and 3% hydrogen peroxide in a plastic container, then add 1-2 tablespoons of table salt per cup of solution. Apply this mixture liberally to your prepared corrugated iron using a spray bottle or paintbrush. The vinegar removes surface impurities while the hydrogen peroxide accelerates oxidation. You should see rust beginning to form within hours. For a darker finish, reapply the solution every 12-24 hours until you achieve your desired color depth. This method typically produces a uniform rust layer within 3-5 days.
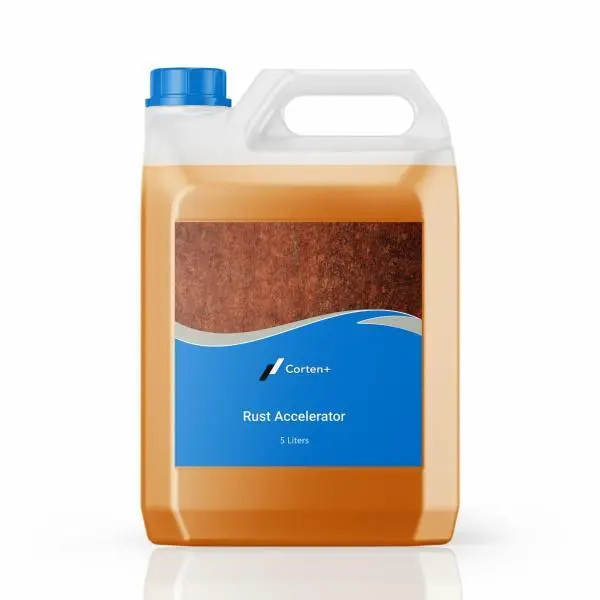
Commercial Rust Accelerators and Patina Solutions
For more consistent results, especially on larger projects, commercial rust accelerators offer controlled oxidation. These products contain proprietary blends of acids and catalysts designed specifically for metal patination. Apply according to manufacturer instructions, usually by spraying or brushing onto clean metal. Commercial solutions often include additives that help create specific rust colors—from light orange to deep brown—and can produce professional results in 24-72 hours. While more expensive than DIY solutions, they eliminate the guesswork and provide reliable, repeatable finishes.
Achieving Uniform Rust Coverage on Corrugated Surfaces
Corrugated iron’s distinctive ridged pattern presents unique challenges for achieving even rust coverage. The valleys and peaks create areas where solutions pool or evaporate at different rates, leading to inconsistent results.
Proper Application Techniques for Ridged Metal
When applying rust solutions, work methodically across the surface, paying special attention to the valleys between corrugations where liquid tends to collect. Use a spray bottle for initial coverage, then follow with a brush to ensure solution reaches all recessed areas. For best results, apply solutions in the morning when temperatures are cooler and humidity is higher—this slows evaporation and allows more even oxidation. Rotate your work position regularly to view the surface from different angles, identifying any areas that may need additional solution.
Troubleshooting Uneven Rust Patterns
If you notice patchy rust development, don’t panic—this is common with first attempts. Lightly sand any areas with no rust formation using fine-grit sandpaper, then reapply your rust solution. For areas that are rusting too quickly, gently wipe away excess solution with a clean cloth. Remember that rust develops in stages: first yellow/orange, then reddish-brown, and finally deep brown. Allow each stage to develop fully before proceeding to avoid an artificial appearance. Patience is crucial—rushing the process often leads to poor results that require starting over.
Sealing and Preserving Your Rusted Corrugated Iron
Once you’ve achieved your desired rust finish, proper sealing is essential to preserve the appearance and prevent further oxidation that could lead to structural weakness.
Choosing the Right Protective Finish
For indoor applications, a clear acrylic sealer provides excellent protection while maintaining the rust’s natural appearance. Apply 2-3 thin coats with a foam brush, allowing proper drying time between applications. For outdoor projects, use a marine-grade spar urethane that can withstand UV exposure and moisture. Some artisans prefer wax finishes for a more traditional look, though these require more frequent maintenance. Avoid oil-based sealers that can yellow over time and alter the rust color.
Maintenance Tips for Long-Lasting Rust Effects
Even properly sealed rusted metal may require occasional maintenance, especially for outdoor installations. Inspect your rusted corrugated iron annually for any areas where the sealant has worn thin. Touch up these spots with additional sealer before moisture penetrates and causes excessive rusting. For interior pieces, simply dust gently with a soft cloth—avoid water cleaning that could compromise the sealant. With proper care, your artificially rusted corrugated iron can maintain its beautiful patina for many years.
Final Note: Achieving the perfect rust finish on corrugated iron requires attention to preparation, application technique, and proper sealing. By following these methods instead of waiting for natural weathering, you can create beautiful rusted metal features in days rather than years. Remember that each piece of metal reacts slightly differently, so test your chosen method on a small scrap piece first. With practice, you’ll develop an eye for predicting how different solutions interact with various metal surfaces, allowing you to consistently produce the exact rust aesthetic you envision for your projects.


