
Nothing ruins a crisp outfit faster than stubborn wrinkles that refuse to disappear. If you’ve ever struggled with an unsteady ironing board or wondered why your clothes still look uneven after pressing, you’re not alone. Most people don’t realize that proper ironing board technique can cut your ironing time in half while delivering professional-quality results. This guide reveals everything you need to know about how to use an ironing board correctly—from initial setup to advanced techniques that preserve your garments and protect your back during the process.
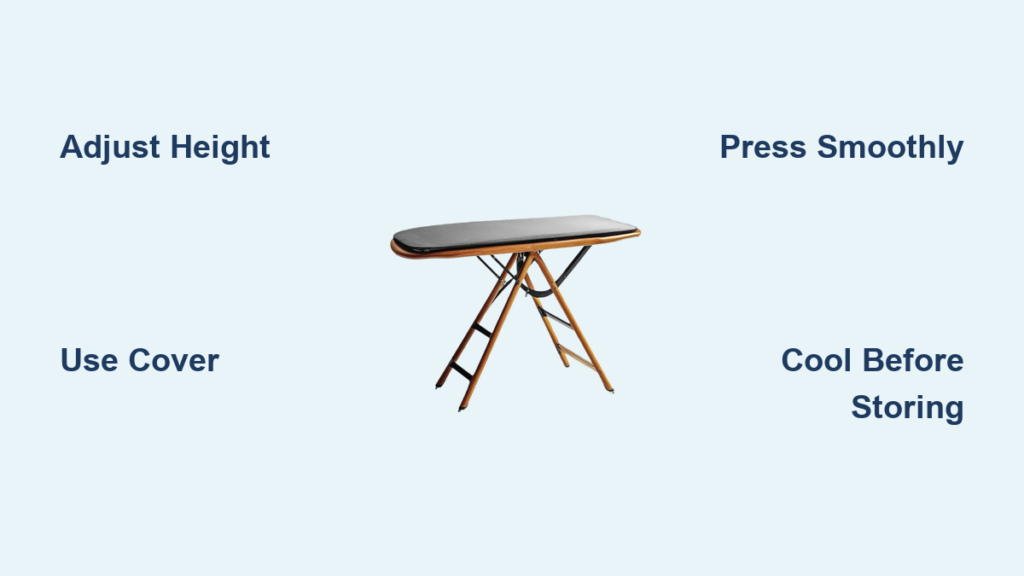
Position Your Ironing Board at the Right Height

The foundation of efficient ironing starts with proper board positioning. An incorrectly set height forces you to strain your back or arms, making the task more difficult and less effective. Stand beside your ironing board and adjust it so the top surface reaches the height of your hip bone—this allows you to press with your body weight rather than arm strength alone.
Lock all leg mechanisms securely before placing any garments on the board. Give the board a firm shake to test stability—any wobble means you’ll waste energy fighting the board instead of smoothing wrinkles. If you’re working with heavy fabrics like denim or curtains, lower the board slightly to generate more downward pressure through your shoulders. For delicate items like silk blouses or children’s clothing, raise the board to eye level so you can see fine details and apply lighter pressure.
Pro Tip: Place your ironing board perpendicular to natural light sources rather than facing them directly. This positioning prevents glare on the iron’s soleplate while casting shadows that highlight remaining wrinkles.
Prepare the Ironing Surface for Optimal Results
Before you even plug in your iron, proper surface preparation makes a dramatic difference in your results. Begin by inspecting your board cover for wear, thin spots, or burns. A damaged cover doesn’t distribute heat evenly, causing inconsistent pressing and stubborn wrinkles that seem impossible to remove.
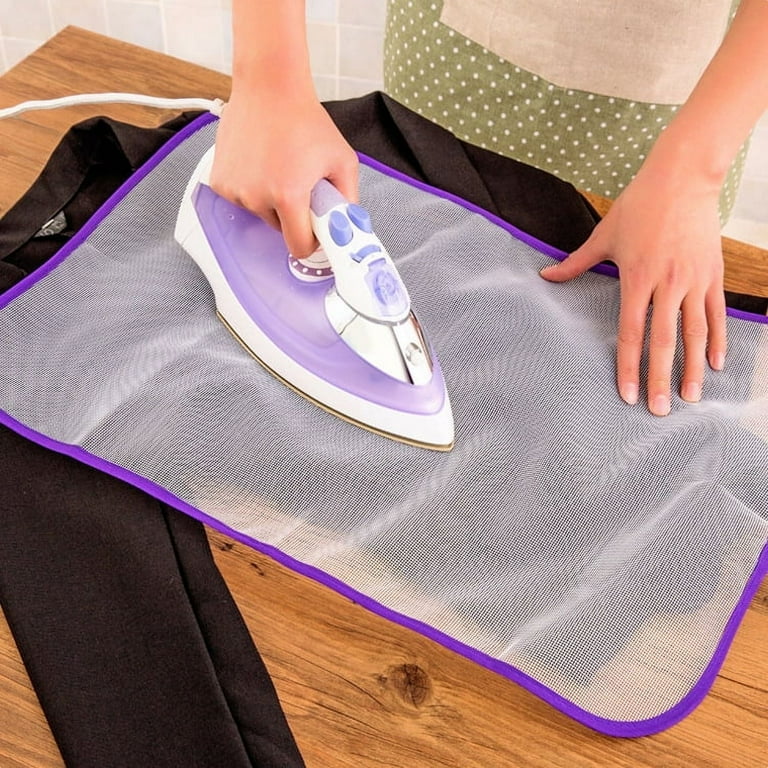
Choose the right board cover for your needs—most modern covers feature a heat-reflective metallic side that should face upward to bounce heat back into your fabric. If you’re working with delicate fabrics prone to shine, place a thin cotton pressing cloth between the garment and the board cover. This double layer provides cushioning that prevents harsh creases while allowing steam to penetrate evenly.
Critical Mistake to Avoid: Never iron directly on a bare board frame. The metal mesh creates permanent impression lines in your fabric that no amount of re-pressing can remove. Always use a properly fitted cover with adequate padding.
Master the Correct Ironing Motion Technique
The way you move the iron across fabric determines whether you smooth wrinkles or create new ones. Professional ironers use long, continuous strokes rather than short, choppy movements that push fabric around instead of relaxing fibers. Place the hot iron on a wrinkled section, hold it momentarily to let heat penetrate, then pull it smoothly backward in one fluid motion.
Work systematically from top to bottom and inside to outside on garments. For dress shirts, start with the collar points, then move to the yoke, sleeves from shoulder to cuff, and finally the front and back panels. Always lift and reposition the iron rather than dragging it sideways across fabric—this prevents stretching delicate weaves and knits.
Time-Saving Shortcut: For stubborn wrinkles, spray a light mist of water directly onto the fabric before pressing, or use your iron’s steam burst function generously. The added moisture helps relax fibers more effectively than dry heat alone.
Create Professional-Quality Creases on Trouser Legs
Perfectly pressed trousers separate amateur efforts from professional results. Start by folding each leg along the natural crease line, matching the front and back seams precisely. Use the pointed end of your ironing board to press from the waistband downward in 6-inch sections, holding the crease firmly at the top while you work.
For the sharpest creases, apply steam generously along the fold line and allow the fabric to cool completely before moving the garment. Some fabrics benefit from a light spray of starch solution—apply evenly and allow it to absorb for two minutes before pressing for enhanced crispness that lasts through multiple wears.
Troubleshooting Tip: If your trouser creases keep disappearing after wearing, you’re likely not applying enough heat penetration. Increase your iron’s temperature setting (within fabric safety limits) and make slower, more deliberate passes with firm pressure.
Prevent Shine Marks on Dark Fabrics
Shiny patches on dark clothing occur when excessive heat flattens fabric fibers permanently. This frustrating problem affects even experienced ironers, but proper technique prevents it entirely. Always use a pressing cloth between the iron and dark fabrics, especially synthetics and delicate wools that show shine most easily.
Set your iron to the appropriate temperature for the fabric type and avoid lingering in one spot. Make continuous, overlapping passes rather than pressing the same area repeatedly. If you accidentally create a shine mark, try steaming the area vigorously while the fabric is still damp, then gently brush with a soft fabric brush in the direction of the weave to lift flattened fibers.
Expert Note: For black and dark navy fabrics, iron inside-out whenever possible. This protects the visible surface while still removing wrinkles from the garment’s structure.
Maintain Your Equipment Between Uses

Regular maintenance extends the life of both your iron and ironing board while ensuring consistent performance. After each ironing session, empty your iron’s water reservoir completely to prevent mineral buildup from hard water. Monthly, descale your iron using equal parts white vinegar and water run through the steam function, followed by two cycles of clean water.
Inspect your ironing board cover weekly for signs of wear or thinning. Replace covers that show shiny patches from heat exposure, as these areas no longer distribute heat evenly. Between full replacements, spot-clean your cover with a soft cloth dampened with mild detergent, focusing on high-contact areas like the board’s center.
Common Oversight: Many people store their ironing board while still warm, causing moisture buildup that promotes mold growth. Always allow both your iron and board cover to cool completely before folding for storage.
Store Your Ironing Board Properly After Use
Improper storage damages equipment and creates safety hazards in your home. Before collapsing your board, ensure the iron has cooled completely and been stored separately. Most boards fold vertically with legs collapsing inward—never force stubborn mechanisms if they don’t close smoothly.
Store your ironing board in a dry, climate-controlled space away from direct sunlight, which fades colors and degrades materials over time. If storing in a closet, position it so the board surface doesn’t press against walls or other objects that could cause permanent impressions in the cover.
Space-Saving Trick: For apartments or small homes, mount a wall hook at shoulder height to hang your folded ironing board vertically. This keeps it accessible while freeing up floor space—just ensure the hook can support the board’s full weight.
Troubleshoot Common Ironing Problems Immediately
When issues arise during ironing, quick intervention prevents permanent damage to your garments. Water spots indicate mineral buildup in your iron—immediately descale using the vinegar method and switch to distilled water for future use. Brown stains typically mean the soleplate needs cleaning; use a baking soda paste on a cool iron to remove residue.
If your iron keeps sticking to fabric, you’ve likely set the temperature too high for the material. Turn off the iron immediately and allow it to cool completely before checking the fabric content label. Never pull stuck fabric away from a hot iron—this causes tears and snags that ruin the garment.
Emergency Fix: For accidental scorch marks, apply a paste of baking soda and water to the affected area, let it sit for 15 minutes, then rinse thoroughly. For severe burns, professional textile restoration may be your only option.
Mastering how to use an ironing board correctly transforms a tedious chore into a quick, satisfying routine that elevates your entire wardrobe. The key lies in proper setup, understanding fabric requirements, and developing smooth ironing motions that work with rather than against your materials. Start with simpler garments to build confidence, then tackle more challenging pieces as your skills develop. With these techniques, you’ll achieve professional results at home while protecting your garments and extending the life of your equipment. Before long, ironing will feel effortless—and your clothes will look impeccably pressed every time.


