

You’ve just brought home your first cast iron skillet, and now you’re wondering exactly how to use cast iron for the first time without ruining this kitchen heirloom. Many beginners make critical mistakes that damage their pan’s seasoning or cause rust before they even cook their first meal. The good news is that with proper preparation and technique, your cast iron will develop that coveted non-stick surface and become your most reliable kitchen tool. This guide cuts through the confusion and gives you exactly what you need to know to successfully use your cast iron cookware from day one, avoiding common pitfalls that turn beginners away from this timeless kitchen essential.
Season Your New Cast Iron Before Cooking
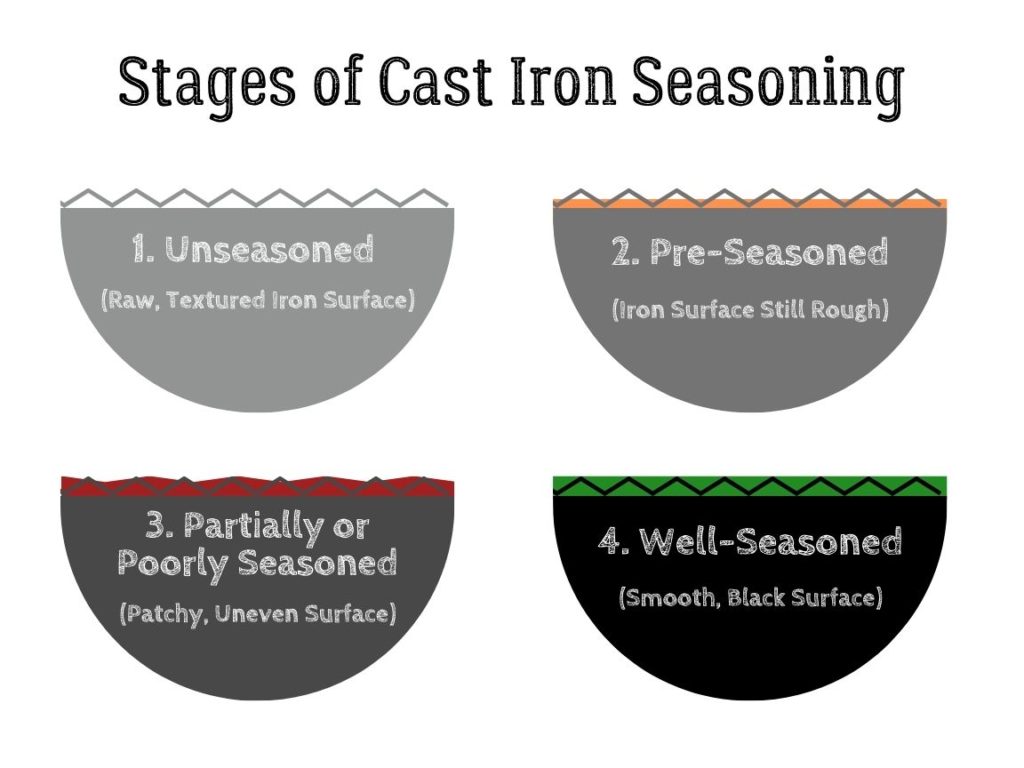
Before you toss an egg in your new skillet, you must properly season your cast iron—that critical process that transforms raw metal into a naturally non-stick cooking surface. Even if your pan came “pre-seasoned” from the manufacturer, that factory coating is typically thin and needs reinforcement before serious cooking begins. Proper seasoning creates a protective polymerized oil layer that prevents rust and food sticking while building the foundation for years of reliable cooking performance.
How to Apply Oil for Maximum Protection
Applying oil correctly makes or breaks your seasoning results. Start with a completely clean, dry pan and use a paper towel to apply the thinnest possible layer of high-smoke-point oil like vegetable, canola, or grapeseed oil—any visible pooling means you’ve used too much. Work the oil into every surface, including the handle and bottom, then flip the pan upside down in your oven with a baking sheet below to catch drips. The key is using barely enough oil to create a slight sheen; multiple thin layers always outperform one thick application that leaves a sticky residue.
Perfect Oven Seasoning Technique
Set your oven to 400-450°F and place your oiled pan upside down on the middle rack for 1-2 hours. The upside-down position prevents oil from pooling in the cooking surface, while the high heat polymerizes the oil into a hard, protective coating. After heating, turn off the oven and let the pan cool completely inside—this gradual cooling prevents thermal shock. Repeat this process 3-4 times before your first cooking use to build a solid foundation of seasoning that will withstand regular use and cleaning.
Prepare for Your First Cooking Experience
With proper seasoning complete, you’re ready for your first cooking session, but taking these preliminary steps ensures success and begins building habits that protect your investment long-term. Understanding how cast iron responds to heat differs significantly from other cookware, and adjusting your techniques accordingly prevents frustration and damage to your new pan’s delicate seasoning.
Warm Cast Iron Gradually for Even Heating
Cast iron requires patience—rushing the heating process damages seasoning and creates hot spots. Place your dry pan on medium-low heat and allow 5-10 minutes for gradual warming before adding oil or food. You’ll feel distinct warmth radiating from the pan when it’s properly preheated. Skipping this step by cranking the heat to high causes uneven heating that burns off seasoning and may even crack the pan from thermal shock, especially with thinner vintage pieces.
Select Ideal First Foods for Seasoning Development
Your initial cooking sessions should focus on building seasoning while learning your pan’s behavior. Fatty meats like bacon, burgers, or searing steaks work perfectly because they release natural oils that enhance the polymerized surface. Avoid acidic foods like tomato sauce or lemon-based dishes for your first several uses, as acid breaks down new seasoning. Delicate foods requiring precise temperature control—such as thin omelets or fish fillets—are better saved until you’ve built more seasoning layers and become familiar with your pan’s heat characteristics.
Master Cast Iron Cooking Techniques
Cooking with cast iron differs significantly from other materials due to its exceptional heat retention and distribution properties. Understanding these unique characteristics allows you to achieve restaurant-quality results while protecting your pan’s seasoning. The thermal mass that makes cast iron ideal for searing also requires technique adjustments to prevent overheating and ensure optimal cooking performance.
Achieve Restaurant-Quality Searing
Cast iron’s ability to maintain high temperatures makes it perfect for creating deeply browned, flavorful crusts on proteins. Preheat your pan over medium-high heat for 5-10 minutes until nearly smoking, then add a thin layer of oil. Pat proteins completely dry before adding them—moisture creates steam that prevents proper browning. Don’t overcrowd the pan, as adding too much food at once drops the temperature dramatically; cook in batches, allowing the pan to recover heat between additions for consistently perfect sears.
Avoid Common First-Time Mistakes
Several preventable errors plague new cast iron users. Never add cold liquid to a hot pan, as thermal shock can crack the metal or flake seasoning. Choose wooden, silicone, or plastic utensils rather than metal that scratches your seasoning. Skip the dishwasher and prolonged soaking—water exposure causes rust that damages both performance and appearance. Most importantly, never skip the post-cooking cleaning and re-oiling routine; this maintenance preserves your seasoning and ensures long-term performance.
Clean and Maintain After Every Use

Proper cleaning after each use separates cast iron that becomes a family heirloom from cookware that rusts in the back of a cabinet. The process takes minutes but provides essential protection, becoming a satisfying ritual rather than a chore when done correctly. Developing these habits immediately establishes the foundation for decades of reliable cooking performance.
Clean While Warm for Easy Residue Removal
Clean your cast iron while it’s still warm but safe to touch—typically within minutes after cooking. For most meals, a quick wipe with a paper towel removes excess oil and food particles. For stubborn residue, use hot water and a stiff non-metal brush in circular motions to lift stuck-on food without damaging seasoning. Never use soap on well-seasoned pans unless absolutely necessary, as it can strip the protective layer you’ve carefully built.
Dry Completely to Prevent Rust
Water is cast iron’s greatest enemy, and any moisture left on the surface eventually causes rust. Immediately after cleaning, dry your pan thoroughly with a clean towel, then return it to a warm burner for 2-3 minutes to evaporate all remaining moisture. This simple step takes less than five minutes but provides critical protection. Your pan is completely dry when it feels warm to the touch with no remaining dampness in the cooking grooves or around the handle.
Apply Protective Oil Layer After Cleaning
After drying, apply an extremely thin oil coating to the entire cooking surface using the same high-smoke-point oil as your initial seasoning. Use just enough to create a slight sheen without visible pooling—too much oil creates a sticky surface. Some cooks prefer heating the pan briefly after oiling to help absorption, but this step isn’t essential for protection. Store your properly oiled pan in a dry location with adequate air circulation to prevent moisture buildup until next use.
Build Long-Term Seasoning Through Regular Use
Your relationship with cast iron improves with time and consistent care—the more you cook, the better your pan performs. Each cooking session naturally builds additional seasoning layers, creating that sought-after dark, glassy surface that makes cooking a pure pleasure. Patience and regular use transform your new pan into a treasured kitchen tool that becomes increasingly non-stick with every meal.
Cook Fatty Foods to Accelerate Seasoning
Regular cooking with fatty foods builds seasoning naturally through polymerization. Bacon, seared meats, and oil-based sautés contribute small amounts of fat that bond with the iron surface during cooking, gradually enhancing non-stick properties. This is why well-used cast iron develops that beautiful dark patina—decades of regular cooking have layered seasoning into a smooth, protective coating. Embrace cooking with fats rather than avoiding them; these are opportunities to improve your pan’s performance.
Restore Damaged Seasoning When Needed
Even with proper care, seasoning can wear thin or develop rust spots over time, but cast iron can always be restored. For minor issues, heat the pan, scrub with coarse salt and oil, then reapply a thin oil layer. For significant damage or rust, strip the pan completely using steel wool or a self-cleaning oven cycle, then re-season following the initial process. The beauty of cast iron is its resilience—unlike non-stick coatings that degrade permanently, your pan can be brought back to like-new condition with proper restoration techniques.
Your journey with cast iron cookware begins with these foundational steps, but the real magic happens through regular use and consistent care. As you cook with your pan, you’ll develop an intuitive understanding of its heat response and seasoning needs that no guide can fully capture. Remember that perfection isn’t the goal—consistent care creates a well-loved pan with character that tells the story of countless meals prepared with attention and care. With these techniques mastered, your cast iron will reward your efforts with exceptional cooking performance for generations to come.


