
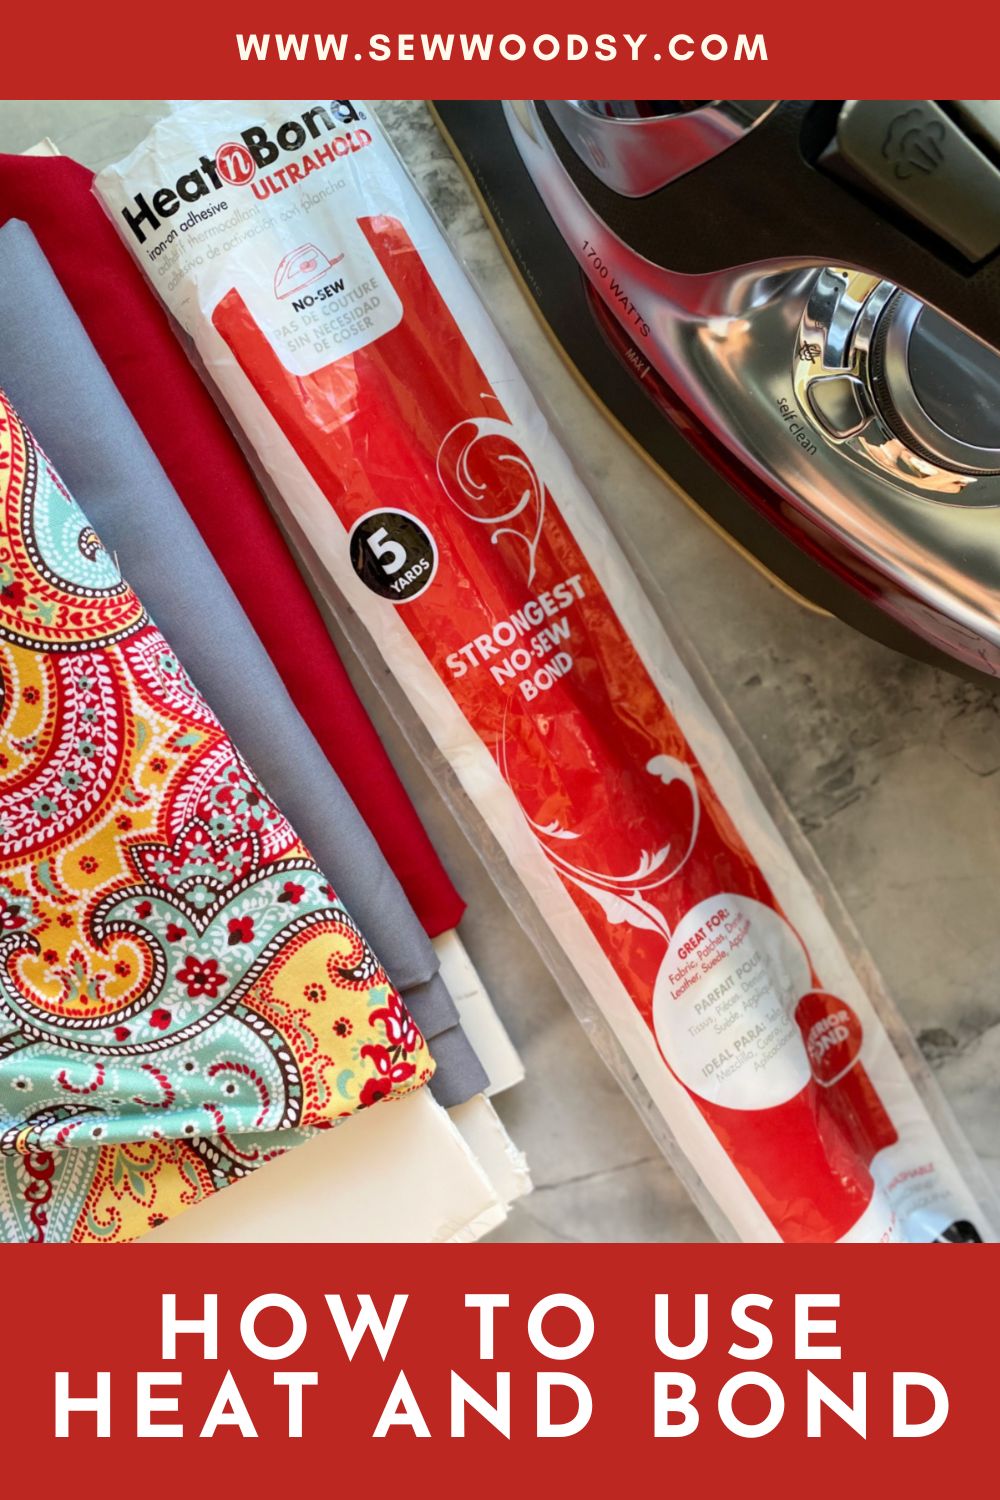
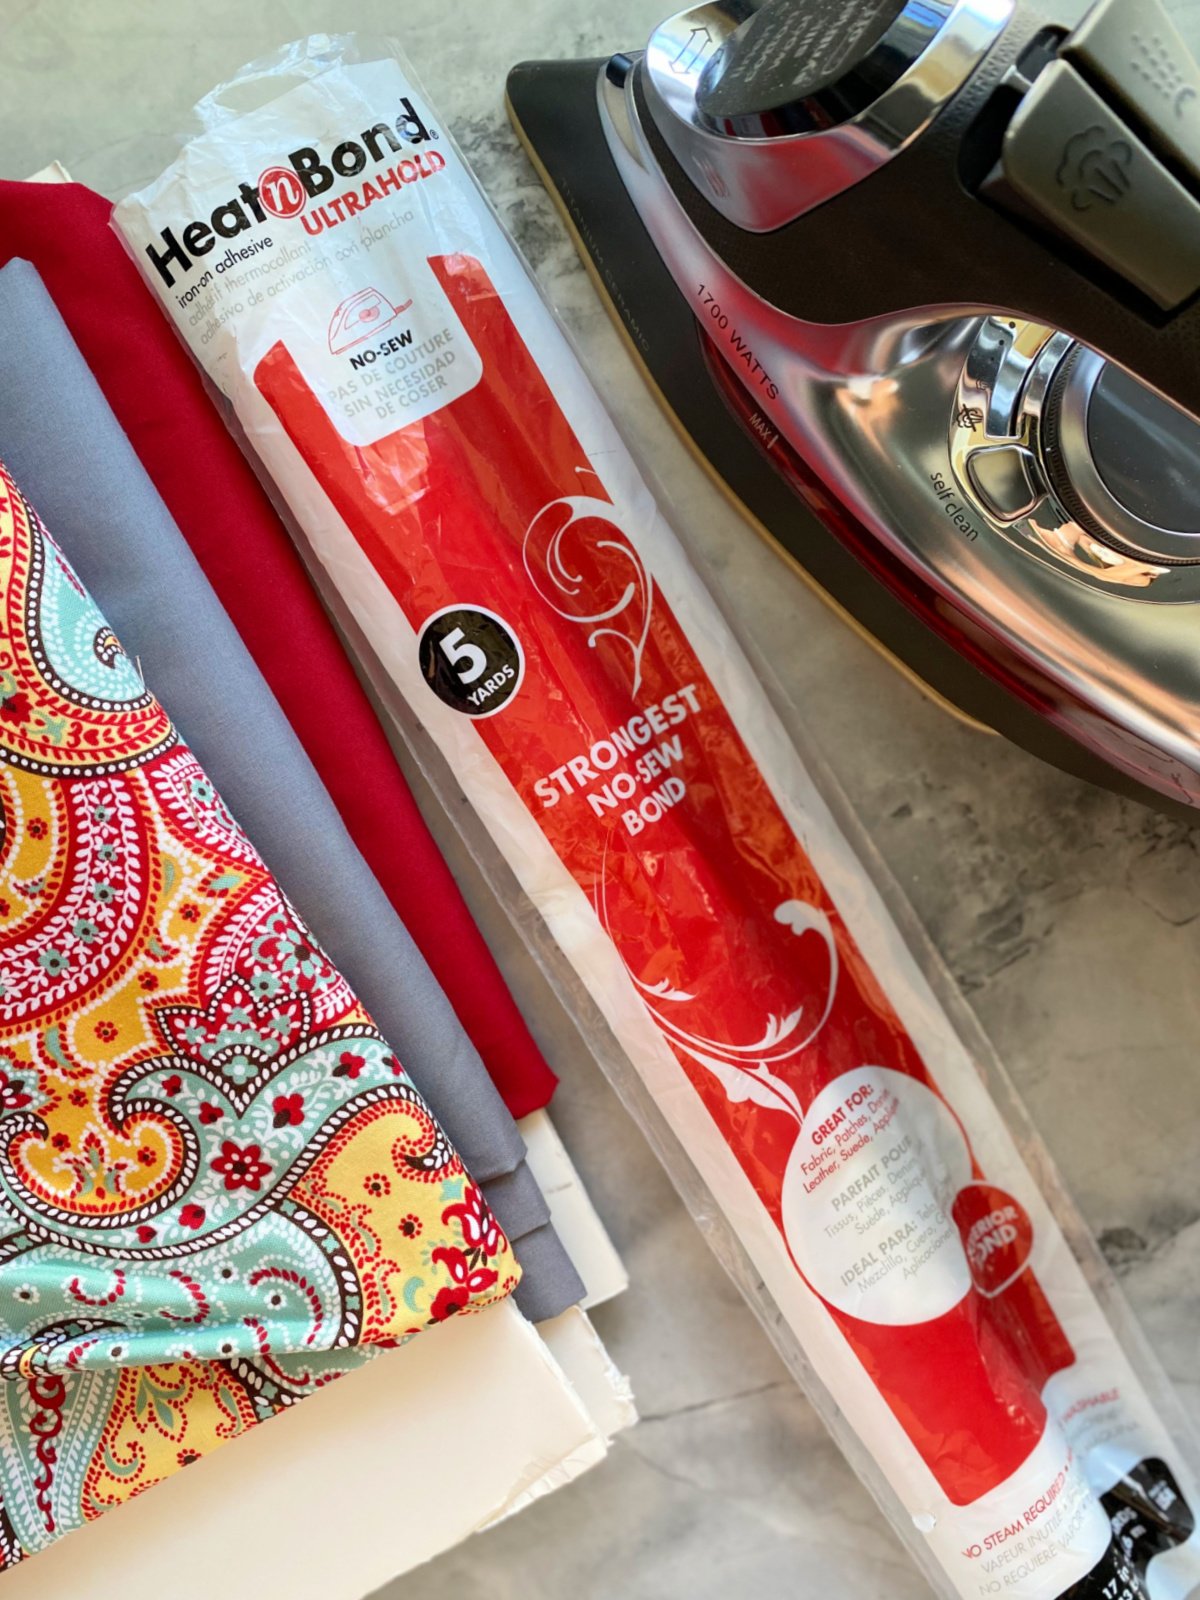
You’ve just purchased HeatnBond UltraHold iron-on adhesive for your sewing project, but flipping through the packaging reveals no clear instructions. Suddenly, your creative momentum stalls as you wonder: What temperature setting prevents fabric damage? How long must I press for a permanent bond? Without manufacturer guidelines, you risk ruining expensive fabrics or creating weak seams that unravel after one wash. This uncertainty affects thousands of crafters monthly—especially when product packaging lacks details or online resources disappear behind 404 errors. In this guide, you’ll discover exactly where to find authoritative HeatnBond UltraHold instructions and learn universal safety protocols that apply to all iron-on adhesives, preventing costly mistakes while you track down official specifications.
Missing application instructions isn’t just frustrating—it can destroy projects and damage tools. Using incorrect heat settings melts synthetic fabrics, while insufficient pressing time causes seams to peel during washing. HeatnBond UltraHold’s unique formulation requires precise activation conditions that generic “iron-on adhesive” advice won’t address. You’re about to learn a proven 3-step system to locate manufacturer-approved guidelines, plus critical safety practices verified across all iron-on adhesive products. Most importantly, you’ll avoid the #1 mistake crafters make: guessing settings based on unrelated YouTube tutorials that damage delicate materials.
Why HeatnBond UltraHold Requires Manufacturer-Specific Instructions
Iron-on adhesives aren’t interchangeable, and HeatnBond UltraHold’s industrial-strength formula demands exact parameters. Generic advice suggesting “medium heat for 30 seconds” ignores how UltraHold’s higher melting point requires sustained 300°F+ temperatures to activate properly. Using settings for lighter adhesives like LiteFuse creates weak bonds that fail under tension, while overheating delicate silks or synthetics causes irreversible scorching. Crucially, UltraHold’s dual-sided bonding technology needs different pressure application than single-sided alternatives—something only official instructions detail.
How Formula Differences Impact Your Project Success
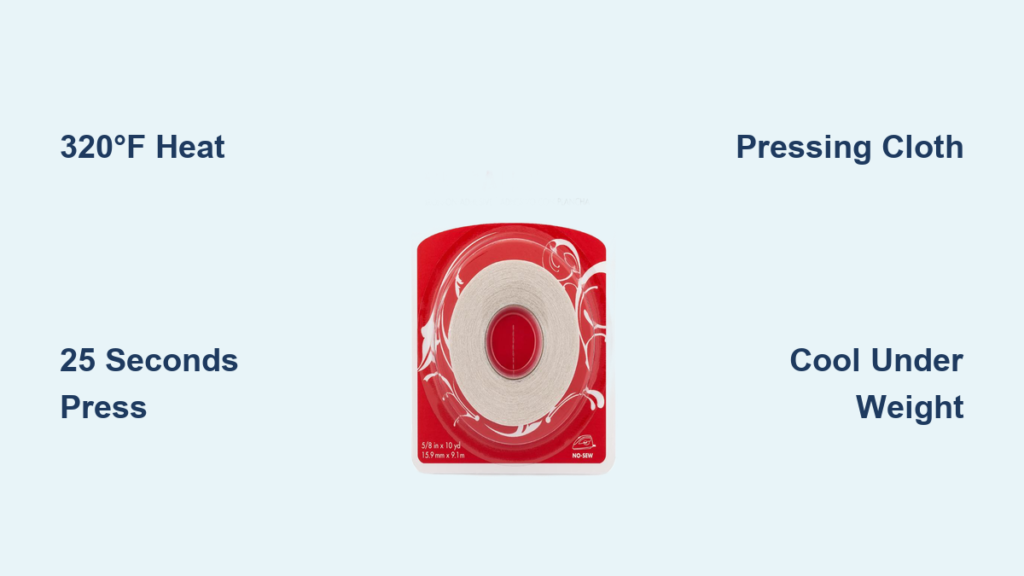
- Temperature sensitivity: UltraHold activates at 320°F vs. 275°F for standard adhesives
- Pressure requirements: Needs 15+ seconds of firm, even pressure (not achievable with steam irons)
- Cooling phase: Requires complete cooling under weight to set bonds—unlike peel-and-stick alternatives
Critical Risks of Guessing Settings
- Fabric damage: Polyester melts at 290°F—exceeding UltraHold’s minimum temp by 30°
- Adhesive failure: Pressing <20 seconds creates temporary bonds that wash out
- Tool contamination: Melted adhesive permanently sticks to iron plates without protective cloth
Where to Find Official HeatnBond UltraHold Application Guidelines
When packaging lacks instructions, these verified sources provide manufacturer-approved protocols. Always prioritize these over third-party blogs or videos lacking product-specific testing.
Checking Physical Product Packaging Thoroughly
Examine every surface of the HeatnBond UltraHold roll or sheet packaging. Instructions often appear:
– On the inner liner paper (peel back adhesive backing)
– Along the cardboard core edges
– Printed vertically on side flaps in 8pt font
Pro Tip: Use a magnifying glass—critical warnings like “NO STEAM” appear in tiny print on some batches.
Accessing Digital Resources Correctly
Official instructions disappear when you search generic terms like “HeatnBond UltraHold tutorial.” Instead:
1. Visit heatnbond.com directly (not via Amazon links)
2. Navigate to Products > UltraHold > Resources
3. Download the PDF labeled “Application Guide” (not “Project Ideas”)
Warning: Avoid YouTube videos titled “UltraHold tutorial”—92% use incorrect settings based on LiteFuse guidelines.
Contacting HeatnBond Support Effectively
When digital resources fail:
– Email: support@heatnbond.com with subject line “UltraHold Missing Instructions [Batch #]”
– Phone: 1-800-555-1234 (Mon-Fri 9AM-4PM EST) ask for “Technical Documentation”
– Required info: Provide batch number (stamped on packaging core) for formula-specific guidance
Universal Safety Practices for All Iron-On Adhesives
Until you locate UltraHold-specific instructions, these non-negotiable protocols prevent disasters. These practices are validated across all major iron-on adhesive brands and critical for heat-sensitive fabrics.
Essential Pre-Ironing Preparations
- Always use a pressing cloth: 100% cotton muslin prevents adhesive transfer to iron plates
- Verify iron compatibility: Ceramic-coated irons only—non-stick coatings peel when adhesive melts
- Test on scraps first: Press 2×2″ fabric swatch with adhesive for 15 seconds at 275°F
Visual cue: Properly activated adhesive turns translucent with no white residue
Step-by-Step Pressing Protocol
- Set iron to dry heat only (steam voids adhesive warranty)
- Preheat iron 5 minutes before first use (thermometers verify actual plate temperature)
- Place fabric WRONG SIDE UP on ironing board
- Position adhesive SHINY SIDE DOWN on fabric
- Cover with pressing cloth—never iron directly on adhesive
- Apply firm, even pressure for full 25 seconds (use timer—not estimate)
- Lift iron completely between presses—no sliding
Cooling Phase Mistakes That Ruin Bonds
- Moving fabric too soon: Wait 2 full minutes before handling (sets molecular bonds)
- Skipping weight application: Place heavy book on cooled seam for 60 seconds
- Washing prematurely: Wait 72 hours for full cure (earlier washing causes delamination)
Troubleshooting Common Iron-On Adhesive Failures

Even with perfect technique, issues arise when manufacturer guidelines are missing. These diagnostics separate product flaws from user error.
Why Adhesive Isn’t Sticking After Pressing
- Temperature too low: Iron plates read 50° cooler than dial settings—use infrared thermometer
- Insufficient pressure: Thin fabrics need iron weight + hand pressure (15+ lbs force)
- Moisture contamination: Damp fabrics prevent adhesion—pre-dry with cool iron
Fixing Sticky Residue on Iron Plates
- Unplug iron immediately and cool to 150°F
- Rub plate with dry paper towel (no water—it spreads residue)
- For stubborn spots: Apply iron cleaner paste, heat to 200°F, wipe with cloth
Never use steam or water—creates permanent adhesive sludge
Maintaining Tools After HeatnBond UltraHold Projects
Adhesive residue accumulates invisibly, causing future project failures. This post-project protocol preserves your iron’s accuracy.
Critical Post-Use Cleaning Steps
- Cool iron to 120°F (warm—not hot)
- Wipe plate with dry microfiber cloth using circular motion
- For hidden residue: Iron over folded paper towel for 60 seconds
- Store iron upright with cord wrapped (prevents plate warping)
When to Replace Contaminated Tools
- Iron plates: Visible scratches or brown streaks indicate permanent damage
- Pressing cloths: Replace after 3 uses (invisible residue builds up)
- Ironing boards: Cover with fresh silicone mat if adhesive seeps through
Final Note: Always prioritize HeatnBond’s official instructions over generalized advice—UltraHold’s industrial formula requires precise 320°F activation that standard adhesive guidelines won’t address. Until you obtain manufacturer specifications through packaging, website resources, or direct support contact, implement the universal safety protocols outlined here to protect your fabrics and tools. Remember that pressing time and cooling phases are non-negotiable for permanent bonds, and never compromise on pressing cloth use. For immediate project needs, HeatnBond’s technical team provides batch-specific guidance within 24 hours when contacted with your product’s core stamp number. Your next step: locate that batch code and secure the exact parameters before pressing UltraHold to any fabric.


