

Your Oster waffle iron can transform ordinary breakfasts into extraordinary morning experiences, but only if you know how to operate it correctly. Many home cooks end up with soggy, unevenly cooked waffles simply because they skip crucial preparation steps or misunderstand the appliance’s capabilities. This guide reveals the exact techniques needed to consistently produce golden-brown, crispy-on-the-outside and fluffy-on-the-inside waffles that rival professional breakfast spots. By the time you finish reading, you’ll understand how to properly preheat, batter application, cooking duration, and maintenance that makes all the difference in waffle quality.
Mastering your Oster waffle iron isn’t just about following basic instructions—it’s about understanding the science behind perfect waffle making. Most users don’t realize that improper preheating or incorrect batter consistency can sabotage their results before they even close the lid. The good news is that with a few simple adjustments to your routine, you can avoid common pitfalls and create restaurant-quality waffles that impress family and friends. This comprehensive guide walks you through every step of the process, from initial setup to advanced techniques that guarantee success.
Prepare Your Oster Waffle Iron Before First Use
Before making your first batch of waffles, proper preparation prevents sticking and ensures even cooking results. Start by removing all packaging materials and protective films from the cooking plates. Wipe both the top and bottom plates with a clean, damp cloth to eliminate any manufacturing residue or dust particles that could affect your first cooking session.
Apply a minimal amount of cooking oil to the plates using a paper towel for models that require initial seasoning. Some newer Oster waffle irons come pre-seasoned, but a light coating of vegetable oil helps protect the non-stick surface. Heat the iron for 3-5 minutes after applying oil to create a protective layer. Always inspect the power cord for damage before plugging in, and place the iron on a stable, heat-resistant surface away from water sources and flammable materials.
Never immerse your Oster waffle iron in water, as this damages electrical components and creates safety hazards. Instead, ensure the appliance has proper ventilation space around it during operation—maintain at least 4 inches of clearance on all sides to prevent overheating. Position the iron away from cabinet edges to avoid accidental tipping while cooking.
Achieve Perfect Preheating for Consistent Results
Proper preheating determines whether your waffles cook evenly or end up with raw spots. Most Oster waffle irons feature indicator lights that signal when optimal temperature is reached—typically changing from red to green or turning off completely. Allow 3-5 minutes for the iron to fully heat before adding batter, as this is one of the most commonly overlooked steps that leads to disappointing results.
Why Preheating Matters for Waffle Texture
When batter hits a properly heated surface, immediate steam creation forms the characteristic crispy exterior while maintaining a light interior. Underheated irons produce soggy waffles because they don’t generate sufficient steam quickly enough. You can test if your iron is ready by sprinkling a few drops of water on the surface—if they sizzle and evaporate immediately, your iron has reached the right temperature.
Adjust Temperature Settings Based on Waffle Preference
Many Oster models offer adjustable temperature controls that let you customize results. Higher settings (typically around 375-425°F) create crispier waffles with deeper browning, while lower temperatures produce softer, more delicate results. Start with the medium setting for your first batch, then adjust based on your preference. Remember that darker settings usually require slightly longer cooking times to ensure the interior cooks through without burning the exterior.
Create Waffle Batter That Delivers Professional Results
The quality of your batter directly impacts final waffle texture and flavor, so proper preparation is essential. Most traditional waffle recipes combine flour, eggs, milk, butter, sugar, baking powder, and salt, but the mixing technique matters as much as the ingredients.
Mix Ingredients Correctly for Light, Fluffy Waffles
Combine dry ingredients separately from wet ingredients to prevent overmixing, which develops gluten and creates tough waffles. Whisk dry ingredients thoroughly in one bowl, then blend wet ingredients in another. Gently pour wet ingredients into dry ingredients and stir only until combined—lumps are acceptable and preferable to overworked batter. Overmixing is the #1 cause of dense, chewy waffles that lack that signature lightness.
Let Batter Rest for Optimal Texture
Allow your batter to rest for 5-10 minutes before cooking. This crucial step lets the flour fully hydrate and the gluten relax, resulting in noticeably lighter waffles. For even better results, prepare batter the night before and refrigerate it—this extended resting period improves flavor development and creates superior texture. Cold batter poured into a hot iron creates more dramatic steam expansion, which contributes to those desirable airy pockets inside your waffles.
Cook Waffles with Precision Timing and Technique

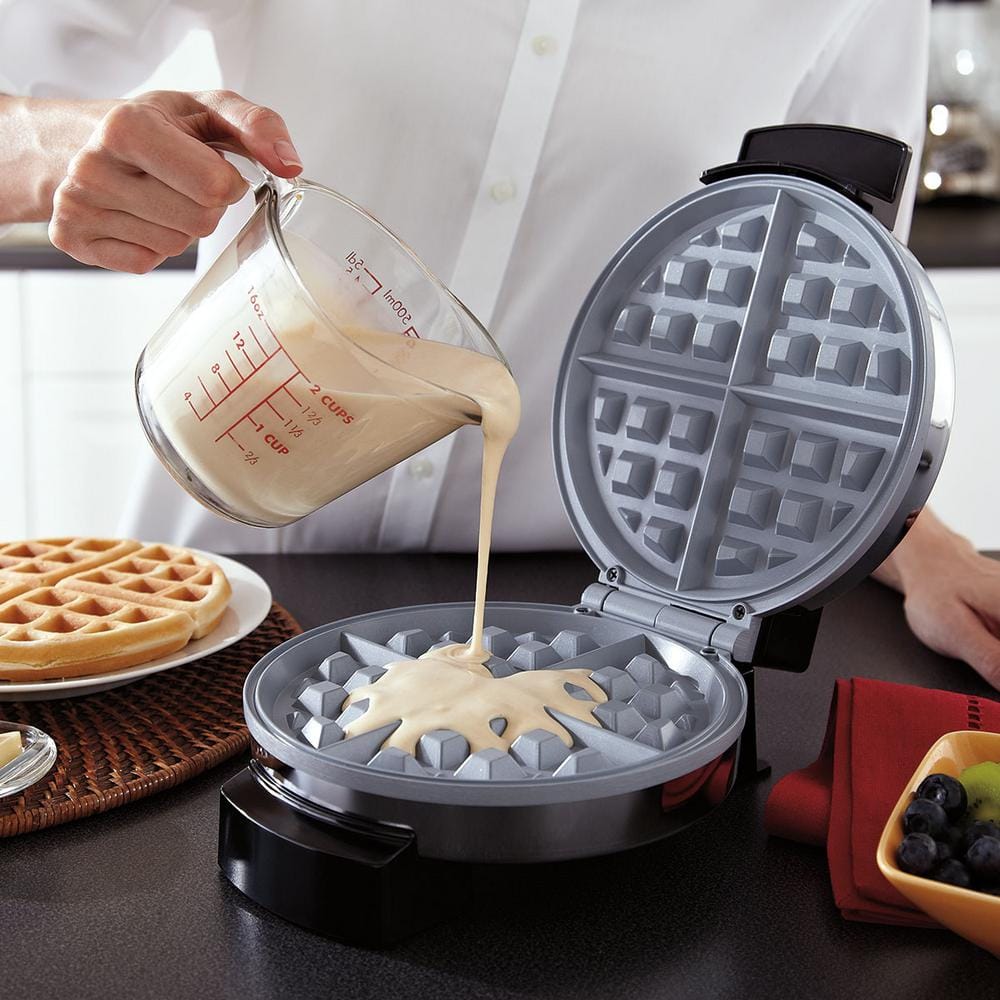
Once your Oster waffle iron is properly preheated and your batter is ready, follow these techniques for perfect results every time. Pour the recommended amount of batter onto the center of the bottom plate—most models have a fill line indicator to prevent overflow. Using too much batter causes messy spills that harden around the edges, while too little produces thin, incomplete waffles.
Apply the Right Amount of Batter
For standard 7-inch round waffle irons, use approximately 1/2 to 3/4 cup of batter per waffle. Pour slowly in the center and let it spread naturally—don’t spread it with a spoon, as this disrupts the even distribution needed for uniform cooking. Close the lid gently without pressing down, as the steam created during cooking naturally expands the batter to fill the plates.
Determine Perfect Cooking Time Without Guessing
Cooking time typically ranges from 3-5 minutes depending on your desired crispness and iron temperature setting. The best indicator that waffles are done is when steam emission significantly decreases or stops entirely. Resist the urge to open the iron frequently to check progress, as this releases essential steam and creates uneven cooking. When properly cooked, waffles should release easily from the plates and show a consistent golden-brown color across the entire surface.
Clean Your Oster Waffle Iron for Long-Lasting Performance
Proper cleaning after each use prevents residue buildup that affects future cooking performance. Always let your waffle iron cool completely before cleaning—typically 15-20 minutes after cooking. Attempting to clean a hot iron can damage the non-stick coating and create safety hazards.
Remove Residue Without Damaging Non-Stick Surfaces
Wipe the cooking plates with a soft, damp cloth while the iron is still slightly warm but cool to the touch. Most batter residue wipes away easily at this stage. For stubborn spots, use a soft-bristled brush or nylon spatula—never metal utensils or abrasive cleaners that scratch the non-stick surface. Some Oster models feature removable plates that can be washed separately in warm, soapy water.
Store Properly to Maintain Optimal Function
Store your Oster waffle iron in a clean, dry location with the plates slightly ajar if possible. This prevents moisture accumulation and allows any residual batter to dry out completely. Never wrap the iron in cloth or store it near heat sources, as this can degrade internal components over time. Proper storage extends your appliance’s lifespan and ensures consistent performance for years.
Troubleshoot Common Waffle Iron Problems

Even with careful technique, occasional issues may arise during waffle making. Understanding how to address these problems quickly gets you back to making perfect waffles.
Fix Sticking Waffles Immediately
If your waffles stick to the plates, first ensure you’re using enough oil in your batter—most recipes require melted butter or oil as a key ingredient. Also verify that your iron is sufficiently preheated before adding batter. For persistent sticking, lightly oil the plates before each batch using a paper towel dipped in vegetable oil.
Solve Undercooked or Pale Waffles
Waffles that appear pale or remain doughy inside despite a browned exterior usually indicate insufficient cooking time or too much batter. Reduce your pour amount slightly and extend cooking time by 30-60 seconds. If the problem continues, your iron may not be reaching proper temperature—consider testing with an oven thermometer placed between the plates during preheating.
Prevent Messy Overflow During Cooking
Batter leaking from the edges typically means you’re using too much batter. Reduce your pour amount by 25% and distribute it more evenly across the cooking surface rather than piling it in the center. Also ensure your batter has the proper consistency—not too thick, which prevents even spreading during cooking.
Maximize Your Oster Waffle Iron’s Versatility
Your Oster waffle iron can do more than just traditional breakfast waffles. Experiment with different batters and cooking techniques to create savory dishes, dessert bases, and creative brunch specialties. Try making cinnamon roll waffles by spreading filling between layers of batter, or create waffle sandwiches with scrambled eggs and bacon for a portable breakfast solution.
For special occasions, prepare a waffle bar with multiple topping options so guests can customize their creations. Keep finished waffles warm in a low oven (200°F) on a wire rack to maintain crispness while you cook additional batches. Leftover waffles freeze beautifully—reheat them in a toaster for quick future breakfasts that taste freshly made.
By following these precise techniques for using your Oster waffle iron, you’ll consistently produce waffles that impress with their perfect texture and flavor. Remember that mastery comes through practice—each batch you make helps you fine-tune timing and batter consistency to match your personal preferences. With proper care and technique, your Oster waffle iron will become your most treasured kitchen appliance for creating memorable breakfast experiences.


