That frustrating moment when you’re ready to store your ironing board away, but it stubbornly refuses to fold shut. An ironing board that won’t close properly transforms a simple storage task into a household headache that disrupts your entire routine. Whether you’re dealing with a jammed safety lock, stiff hinges, or misaligned frame components, understanding why your ironing board won’t close—and knowing how to fix it—can save you time, money, and unnecessary frustration. Most closing mechanism problems can be diagnosed and resolved with basic household tools and minimal effort, avoiding the need for expensive replacements or professional repairs.
Before you consider buying a new ironing board or calling for help, know that the majority of closing failures stem from predictable issues that homeowners can address themselves. The solutions range from simple adjustments and cleaning to inexpensive part replacements that cost only a few dollars. By understanding how your specific ironing board’s closing system works, you can quickly identify the problem and apply the appropriate fix, restoring your board to proper working condition in under 30 minutes.
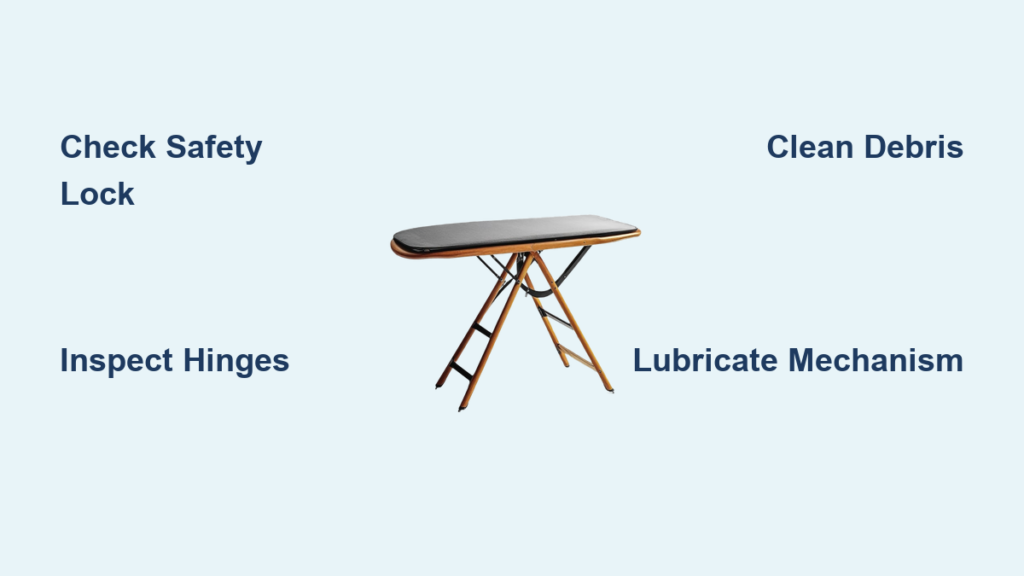
Diagnose Your Ironing Board’s Safety Lock Mechanism

The safety lock is the most common culprit when your ironing board won’t close. This critical component prevents accidental collapse during use but must release properly for storage. Begin by locating the safety lock on your specific model—typically found on the top surface or edge near the hinge mechanism. Examine this component for visible damage like bent metal, cracked plastic, or debris blocking its movement.
Try operating the lock multiple times while observing its action closely. If it moves but feels sticky or doesn’t fully release, apply a small amount of silicone-based lubricant to the moving parts. Work the lock back and forth several times to distribute the lubricant and clear accumulated grime. Wipe away excess lubricant to prevent future staining of fabrics. For locks that feel completely jammed, check whether the obstruction comes from internal rust, a bent retaining pin, or foreign material like dried fabric sizing.
Critical warning: Never force the safety lock beyond its normal resistance point, as this can cause permanent damage to the mechanism. If the lock feels loose, wobbles excessively, or fails to engage securely after cleaning, it likely needs replacement rather than repair.
Why Safety Locks Fail and How to Prevent It
Safety locks fail primarily due to three reasons: accumulated debris, mechanical wear, and improper operation. Dust, fabric fibers, and household debris collect in the lock mechanism over time, creating resistance that prevents proper release. Mechanical wear occurs naturally as plastic components become brittle and metal parts develop friction points. Improper operation—such as partially engaging the lock during use—creates misalignment that compounds over time.
Prevent future lock failures by:
– Cleaning the mechanism every 3-6 months with a soft brush
– Applying silicone lubricant after each cleaning session
– Ensuring the lock fully engages during ironing sessions
– Avoiding excessive force when operating the lock
Inspect Hinge and Frame Components for Alignment Issues
When your ironing board won’t close smoothly, hinge and frame misalignment often lies at the heart of the problem. The hinge assembly connects the two main frame sections and must pivot freely for proper folding. Start your inspection with the board in its fully open position, examining the hinge area for visible bending, warping, or damage to the metal tubes.
Run your hand along the frame length, feeling for kinks, dents, or areas where the metal doesn’t follow its intended curve. Even minor frame damage can create binding points that prevent closing. Check all fasteners connecting the hinge components—screws, bolts, or rivets can loosen over time with regular use. Gently tighten any accessible fasteners, being careful not to over-tighten and strip the threads.
How to Test Hinge Functionality
To properly test your hinge functionality, follow these steps:
- Fully open the ironing board and lock it in position
- Release the safety lock and attempt to close the board
- Note where resistance occurs during the closing motion
- Open the board again and manually manipulate each hinge
- Check for smooth movement through the full range of motion
If you discover stripped or damaged fasteners, replace them with appropriately sized hardware from a hardware store. Examine the hinge pins—the central rods around which the frame pivots—as these can work loose, bend, or wear down, causing misalignment. On some models, you can tap a loose hinge pin back into place with a hammer and small punch, but bent pins typically require replacement.
Clear Obstructions from the Mechanism to Restore Movement

Debris accumulation represents one of the simplest yet most overlooked reasons an ironing board won’t close. Over time, fabric fibers, dust, iron residue, and household debris collect in the hinge mechanisms and along frame joints, eventually creating enough resistance to prevent folding.
Begin by fully opening the ironing board and examining the hinge mechanisms at both sides. Use a flashlight if needed to illuminate dark areas. Remove any obvious debris by hand or with tweezers. For deeper cleaning, use a stiff brush—an old toothbrush works excellently—to scrub around hinge pins, along frame joints, and inside any openings in the mechanism.
After cleaning the visible areas, apply a small amount of silicone-based spray lubricant to all moving parts. Operate the opening and closing mechanism several times to work the lubricant into all contact points. Pay particular attention to any cable systems on height-adjustable or tilting ironing boards, as these can become frayed, kinked, or obstructed.
Essential Cleaning Tools for Ironing Board Maintenance
You don’t need specialized equipment to maintain your ironing board mechanism:
- Soft-bristled toothbrush for gentle cleaning
- Compressed air canister to blow out debris
- Silicone-based lubricant (never use oil-based products)
- Microfiber cloth for wiping excess lubricant
- Small flashlight for inspecting dark areas
- Tweezers for removing stubborn debris
Adjust or Replace Worn Components Causing Closure Failure
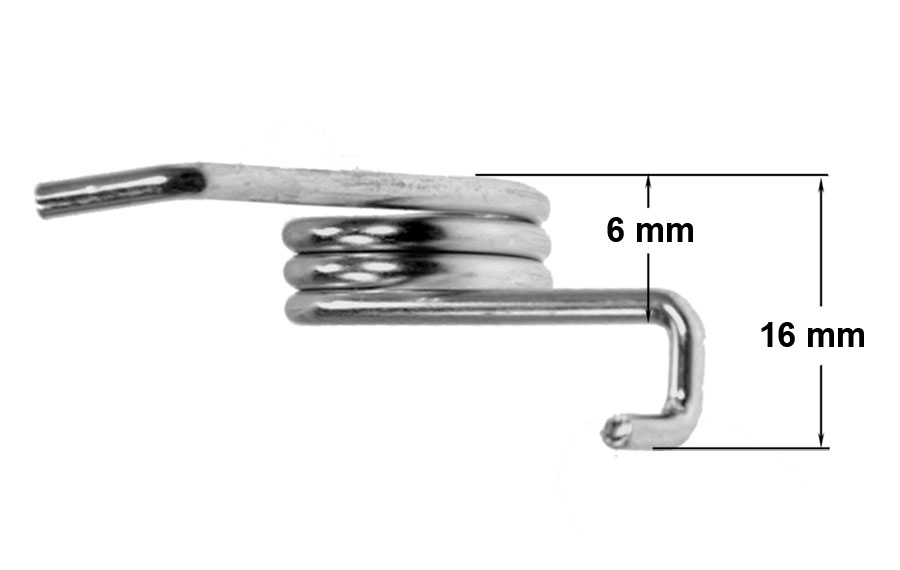
Even with proper maintenance, moving components eventually wear out. Springs lose tension, plastic parts become brittle, and metal fatigue develops in frequently stressed areas. When your ironing board won’t close due to component wear, you’ll need to either adjust the existing parts or source appropriate replacements.
Springs within the closing mechanism often lose tension over years of use. If your board uses a spring-loaded latch, test its holding strength by attempting to close the board. A weak spring may allow the latch to move but fail to maintain the locked position. Replacing a worn spring requires identifying the spring type and sourcing a matching replacement.
Plastic components, including lock levers and adjustment buttons, become brittle with age and UV exposure. Cracked or broken plastic parts typically require complete replacement. Contact the manufacturer’s parts department using your ironing board’s model number to find compatible replacement components.
When Replacement Outweighs Repair
Some components aren’t worth repairing and should be replaced immediately:
- Fractured plastic parts: These will continue to degrade and fail
- Severely bent metal components: Attempting straightening often causes more damage
- Rusted hinge pins: Corrosion compromises structural integrity
- Frayed cables: These present safety hazards if left unreplaced
Most manufacturers offer affordable replacement parts that homeowners can install with basic tools, typically costing less than 20% of a new ironing board’s price.
Prevent Future Closing Problems with Simple Maintenance
Regular maintenance prevents most ironing board closing issues and extends the life of your board’s mechanism. After each use, take a moment to wipe down the board’s surface and the areas around the hinges. Removing fabric fibers, starch deposits, and dust before they accumulate significantly reduces the debris that eventually causes problems.
Lubricate hinge mechanisms and moving parts every few months with silicone-based spray lubricant. Apply sparingly and wipe away excess to maintain a clean appearance. Store your ironing board in a dry location when not in use—moisture accelerates rust formation on metal components.
Inspect your ironing board periodically for signs of developing problems. Look for loose fasteners, worn components, or early signs of damage before they progress to complete failure. Addressing minor issues promptly prevents them from becoming major problems that require extensive repair.
Maintenance Schedule for Long-Lasting Performance
Create a simple maintenance routine:
- After each use: Wipe hinge areas with dry cloth
- Monthly: Check all fasteners for tightness
- Quarterly: Clean mechanisms and apply lubricant
- Annually: Inspect all components for wear and damage
Following this schedule ensures your ironing board will fold and unfold smoothly for years to come, avoiding the frustration of a board that won’t close when you need to store it.
When Professional Help Becomes Necessary
Some ironing board closing problems exceed what most homeowners can reasonably address. If your ironing board won’t close due to significant frame damage—such as bent tubes, broken weld points, or structural failure—professional repair or board replacement is typically necessary. Frame repairs require specialized tools and skills that most households don’t possess.
Boards with complex mechanisms, including motorized height adjustment or integrated iron storage, may require manufacturer service or authorized repair technicians. These systems contain components that are difficult to source individually and require specialized knowledge to service correctly.
If you’ve attempted troubleshooting without success, or if the repair requires tools or skills beyond your comfort level, professional assistance is the wisest choice. Many hardware stores offer repair services, and manufacturer customer service departments can often recommend authorized service providers in your area.
Final Note: Most ironing board closing issues stem from simple mechanical problems that homeowners can resolve with basic tools and minimal effort. By understanding your board’s mechanism, systematically diagnosing the problem, and applying appropriate fixes, you can restore functionality without expensive professional service. Regular maintenance—cleaning, lubricating, and inspecting your ironing board—prevents most closure problems before they start, ensuring your board folds smoothly and locks securely every time you need to store it away. With proper care, your ironing board should provide reliable service for many years, eliminating the frustration of a board that won’t close when you’re ready to put it away.