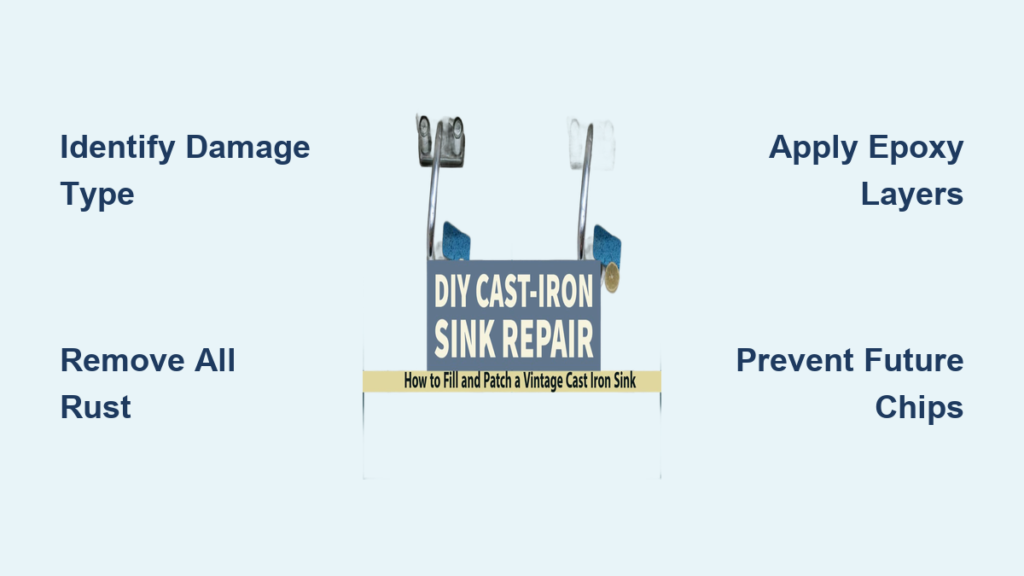
Chipped or cracked enamel on your cast iron sink doesn’t mean replacement is your only option. This durable fixture can regain its smooth, glossy surface with proper repair techniques that restore both function and appearance. Cast iron sinks with damaged enamel develop rust at exposed areas, leading to further deterioration that compromises the entire fixture. By learning how to repair cast iron sink enamel effectively, you preserve your investment while avoiding the expense and hassle of full replacement. This guide delivers actionable steps to assess damage, select appropriate repair methods, and protect your restored sink for lasting results.
Identify Your Enamel Damage Type Before Repairing
Accurate damage assessment determines whether a simple DIY fix will suffice or if professional intervention becomes necessary. Cast iron sink enamel damage falls into distinct categories that require different repair approaches, and misidentifying the problem leads to wasted time and materials.
Measure Crack Size and Pattern for Proper Repair Selection
Hairline cracks under one inch typically respond well to DIY repair kits and result from thermal stress or minor impacts. These fine fissures often appear near drain openings or along sink edges where movement occurs during regular use. When cracks form spider-web patterns radiating from a central impact point, they indicate more severe damage requiring multiple repair applications or professional evaluation. Deep cracks exposing the underlying cast iron substrate demand immediate attention, as moisture infiltration accelerates rust formation that compromises structural integrity over time.
Document each damaged area with precise measurements before purchasing materials. Most DIY kits specify maximum coverage sizes—usually dime-sized chips or smaller—and require separate applications for larger damaged sections. Taking photographs of all problem areas creates a reference for tracking progress during repair and provides valuable information if you later consult a professional about extensive damage.
Check for Rust Development Under Damaged Areas
When enamel damage exposes the cast iron beneath, rust development becomes your primary concern. Light surface rust appearing as reddish discoloration responds well to thorough cleaning and proper primer application before enamel repair. Heavy rust infiltration creates pitted surfaces that require aggressive removal and often need epoxy filling before recoating. If rust has significantly deteriorated the cast iron—making it spongy or crumbly—professional assessment becomes essential, as this indicates structural damage beyond surface repair capabilities.
Test rust severity by gently running your finger across the affected area. Smooth rust that wipes away easily indicates early-stage oxidation manageable with DIY methods. Powdery or crumbling rust beneath the enamel layer signals advanced deterioration requiring professional evaluation. Catching rust early prevents it from spreading beneath adjacent intact enamel, which could transform a small repair job into a full refinishing project.
Select the Right Repair Method for Your Situation

Choosing between DIY repair kits and professional services depends on damage extent, budget constraints, and your comfort level with detailed work. Three primary approaches exist for cast iron sink enamel repair, each with specific applications where they excel.
Apply Epoxy Repair Kits for Minor Chips and Cracks

Epoxy-based repair kits offer the most accessible solution for addressing small chips and cracks in cast iron sink enamel. These two-part systems combine resin with hardener to create a durable, water-resistant fill that bonds to both intact enamel and exposed cast iron. Quality epoxy repairs withstand daily use including dishwashing, minor impacts, and temperature variations when properly applied.
Most consumer-grade epoxy kits include color-matched compounds designed to blend with common sink finishes, though perfect color matching proves challenging with vintage or custom-colored fixtures. Apply epoxy in thin layers, allowing each application to cure fully before adding more, building up the damaged area to match surrounding enamel height. The complete curing process typically requires 48 hours before the repaired area can handle regular use.
Epoxy repairs work best for isolated chips smaller than a quarter and hairline cracks that haven’t caused significant enamel displacement. Larger damage areas often require multiple kits and considerable patience, with results that may still fall short of professional-quality finishes. Test your epoxy on an inconspicuous area first to evaluate color matching before committing to visible repairs.
Prepare the Surface Thoroughly for Lasting Results
Surface preparation determines repair success more than any other factor in the process. Proper cleaning, rust removal, and etching create the ideal foundation for repair compounds to bond permanently, while shortcuts in this phase lead to premature failure.
Clean and Degrease the Entire Repair Area
Every trace of soap residue, mineral deposits, grease, and household cleaners must leave the repair area before proceeding. These contaminants interfere with bond strength and cause repairs to lift, crack, or discolor within weeks. Clean the damaged area and surrounding surface with a mild abrasive cleaner, rinsing completely and repeating until water sheets cleanly without beading.
For kitchen sinks, pay particular attention to grease accumulation around the affected area, as cooking oils create invisible films that compromise adhesion. Bathroom sinks may require removal of soap scum with appropriate cleaners, followed by thorough rinsing. Allow the cleaned surface to dry completely before proceeding, as moisture trapped beneath repair compounds causes failures that are difficult to diagnose later.
Remove All Rust and Loose Material Completely
Any rust present in the damaged area requires complete removal before repair application. Use fine-grit sandpaper or steel wool to abrade rusted surfaces, working carefully to avoid damaging surrounding intact enamel. Remove all loose and powdery rust material, continuing until only tightly-adhered oxidation remains that responds to light sanding without crumbling.
For stubborn rust, apply a rust converter product that neutralizes oxidation and creates a primed surface suitable for repair. These products typically require 24 hours to cure fully before sanding lightly and proceeding with your repair. Never apply repair compounds over active rust, as continued oxidation beneath the repair causes bubbling, discoloration, and eventual failure.
Apply Repair Compounds with Precision
With preparation complete, the actual repair application requires patience and precision. Understanding proper technique prevents common application errors that undermine otherwise well-prepared surfaces.
Build Repair Layers Gradually for Best Results
Mix epoxy repair compounds according to package directions, working quickly as the material begins curing immediately upon combining resin and hardener. Apply initial layers thinly, pressing compound firmly into the prepared damage area to eliminate air pockets and ensure complete contact with the substrate. Build up the repair in multiple thin layers rather than attempting to fill the damage completely in one application.
Allow each layer to cure fully before adding the next, typically 15 to 30 minutes depending on product and ambient temperature. Lightly sand between layers with fine-grit paper to create mechanical bonding between applications. This layered approach reduces shrinkage cracking and creates a denser, more durable repair that resists chipping and moisture infiltration better than single thick applications.
Protect Your Investment After Repair Completion
After investing time in repairing your cast iron sink enamel, protecting that investment through proper use and maintenance extends results significantly. Simple habit changes prevent the damage patterns that led to your original repair needs.
Adopt Gentle Use Habits Immediately
Prevent future damage by avoiding practices that chip or crack enamel. Never drop heavy pots, pans, or utensils directly into the sink—always set them down gently or use protective grids. Avoid sitting or standing on sink edges, as concentrated weight can crack enamel around drain openings.
Temperature shocks from pouring boiling water directly onto cold enamel can cause cracking over time. Allow hot water to run briefly before introducing dishwater-temperature liquids, and avoid pouring boiling water directly onto sink surfaces when possible. These precautions become especially important near existing repairs.
Clean with Appropriate Products Only
Stick to mild, non-abrasive cleaners that remove residue without wearing down enamel thickness over time. Avoid harsh chemical cleaners, steel wool, and abrasive scrubbing pads that microscopically damage enamel surfaces. Rinse sinks thoroughly after each use to prevent mineral deposits that require more aggressive cleaning later.
Wipe sink surfaces dry after use when possible, as standing water contributes to mineral deposits and accelerates rust development in damaged areas. Address new damage immediately rather than allowing chips and cracks to expand through continued use and moisture infiltration.
Schedule Regular Maintenance Checks
Examine your sink monthly under good lighting, checking repaired areas for lifting edges, discoloration, or hairline cracks that may indicate repair failure. Pay particular attention to the edges of repairs, where bond failure typically begins, and to areas around the drain where moisture concentration accelerates deterioration.
Document any changes you observe with photographs, which help track whether damage is progressing. Minor touch-ups performed promptly extend the life of major repairs significantly, preventing the expansion that eventually requires complete refinishing. The small investment of regular inspection protects your larger investment in the original repair work.
Repairing cast iron sink enamel successfully requires accurate damage assessment, proper method selection, meticulous surface preparation, and ongoing maintenance. By addressing enamel deterioration promptly with the right techniques, you extend your sink’s life significantly while maintaining its visual appeal and functionality. Whether you tackle minor chips yourself or invest in professional refinishing for extensive damage, understanding these principles ensures your cast iron fixture continues serving your home for years to come.