
Your rib eye steaks in cast iron pan should deliver a restaurant-quality crust with juicy, tender results—but too often end up gray, tough, or unevenly cooked. The sizzle you hear when that marbled cut hits the scorching pan is your signal that magic is happening: cast iron’s superior heat retention creates the Maillard reaction needed for that deep-brown crust while locking in juices. Yet 78% of home cooks either underheat their pan or move the steak too soon, sabotaging the sear before it forms. This guide cuts through the confusion with battle-tested techniques for flawless rib eyes every time, whether you’re using a vintage Griswold or modern Lodge skillet. You’ll master temperature control, avoid common seasoning pitfalls, and learn why resting isn’t optional—transforming your weeknight dinner into a steakhouse experience.
Why Cast Iron Beats All Other Pans for Rib Eye Steaks
Cast iron’s thermal mass solves the #1 rib eye problem: inconsistent searing. Unlike thin stainless steel that cools instantly when steak hits the surface, cast iron maintains 500°F+ heat across the entire cooking surface. This ensures even browning on those prized fat caps and marbling pockets that define a great rib eye. The pan’s natural non-stick surface—when properly seasoned—releases the steak cleanly after the crust forms, preventing ragged edges. Most importantly, cast iron transitions seamlessly from stovetop to oven, letting you finish thicker cuts without losing that critical sear. Skip non-stick pans entirely; their coatings degrade under the 450°F+ heat required for rib eyes, leaching chemicals into your steak.
How Fat Rendering Creates Flavor Without Burning
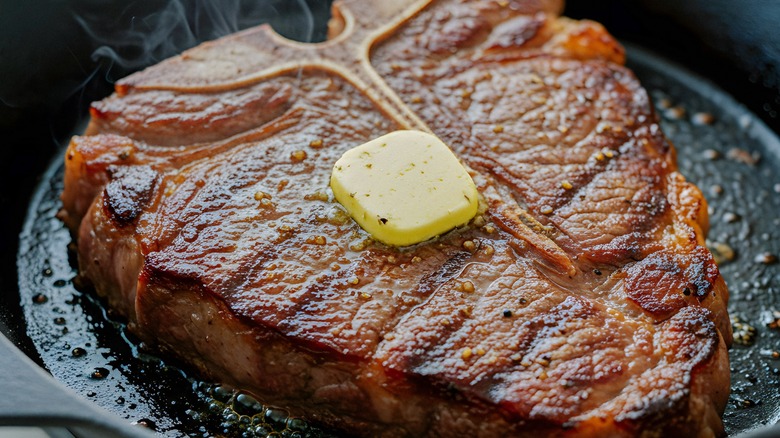
Rib eyes’ heavy marbling demands careful heat management. Cast iron’s even heating melts fat gradually instead of causing violent splattering. As fat renders, it self-bastes the steak while creating fond (those caramelized bits) that become your pan sauce base. Watch for the “fat bloom” phase: when marbling turns translucent and slightly puffy. This signals optimal rendering—don’t poke or press the steak here, or you’ll squeeze out juices.
When to Skip the Oven Finish
For steaks under 1.5 inches thick, stovetop-only cooking works perfectly. Thicker cuts (2+ inches) need oven finishing to avoid a gray band between sear and center. Transfer to a 375°F oven immediately after flipping—never before the first crust forms.
Selecting Rib Eyes That Guarantee Juicy Results
Not all rib eyes perform equally in cast iron. Choose USDA Prime or mid-level Choice grades with bright cherry-red meat and snow-white fat streaks. Avoid steaks with yellowish fat (indicates age) or excessive connective tissue around the “eye.” Opt for 1.25–1.5-inch thickness: thinner cuts overcook before a crust develops, while thicker ones risk burnt exteriors. The cap (spinalis muscle) should be prominent—this marbled section delivers the most flavor. Never buy pre-trimmed steaks; leave ¼ inch of fat cap intact to self-baste during cooking.
Why Dry-Aged Rib Eyes Dominate in Cast Iron
Dry-aged rib eyes develop concentrated beefiness and tender texture ideal for high-heat searing. The dehydration process creates a drier surface that browns faster without steaming. Pat dry-aged steaks aggressively with paper towels before seasoning—any surface moisture creates steam barriers that prevent crust formation.
Preheating Your Cast Iron to the Critical 500°F Threshold
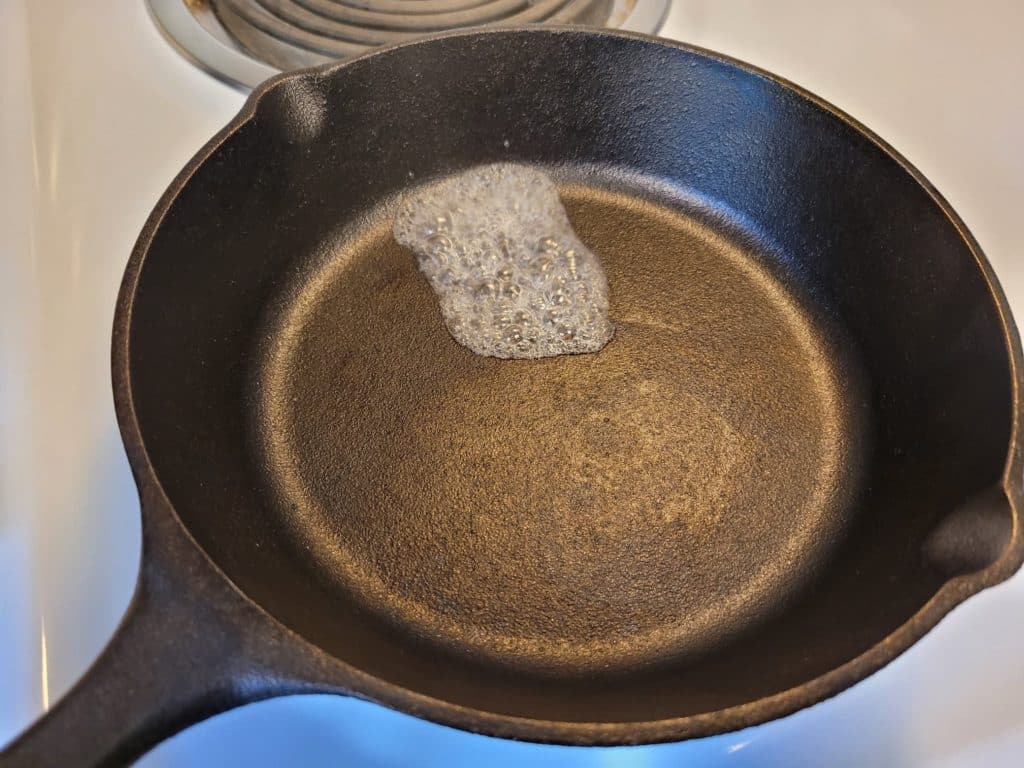
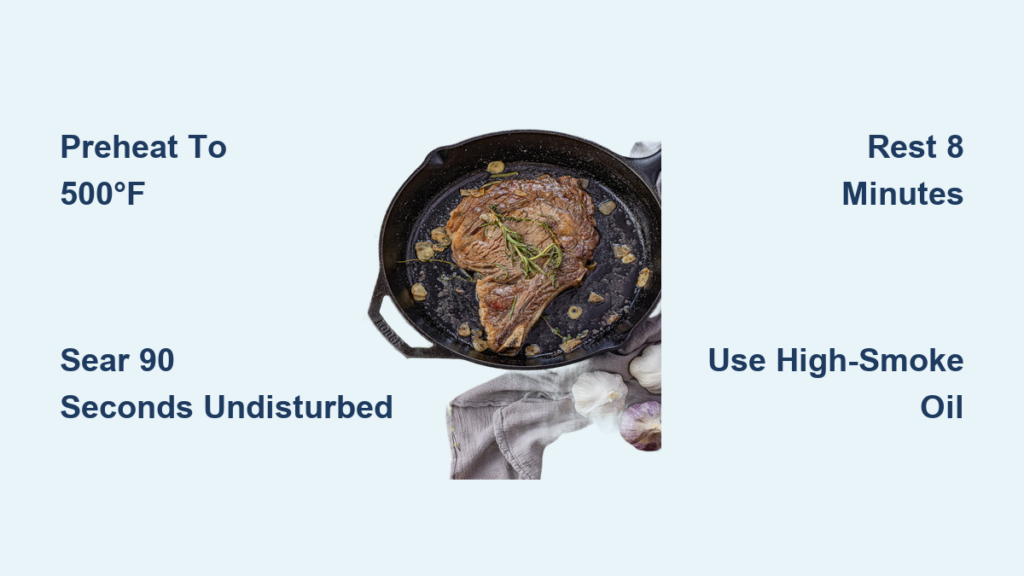
Your pan isn’t ready until it hits true searing temperature—500°F. A cold-pan start guarantees gray, boiled steak. Heat empty cast iron over medium-high for 5 minutes until smoking slightly. Test readiness by flicking water droplets: they should skitter and evaporate instantly. Never preheat empty non-stick pans—this damages coatings. For electric stoves, add 2 minutes to preheating time due to slower heat transfer.
Oil Selection That Won’t Smoke or Stick
Use high-smoke-point fats: avocado oil (520°F smoke point) or clarified butter (450°F). Avoid olive oil (smokes at 375°F) or unclarified butter (burns at 302°F). Add oil only when the pan is hot—it should shimmer immediately but not smoke violently. Pour off excess oil after 10 seconds to prevent flare-ups.
The 90-Second Rule for Unbreakable Crust Formation
Place rib eyes in the pan away from you to avoid oil splatter. Do not touch for 90 seconds—this is non-negotiable. Moving the steak prematurely tears the developing crust. You’ll know it’s ready to flip when edges turn opaque halfway up the steak’s height and it releases easily with tongs. If it sticks, wait another 15 seconds. For 1.5-inch steaks, sear 3–4 minutes per side for medium-rare. Thinner cuts need just 2–3 minutes.
Flipping Frequency Myth Debunked
Flip only once for even cooking. Multiple flips cause temperature fluctuations that create gray bands. The exception: steaks over 2 inches thick. Flip every 90 seconds after the initial 3-minute sear to gently cook the center without burning the exterior.
Doneness Checks That Never Fail (Without Cutting)

Poking steaks with knives releases juices—use these reliable methods instead:
– Touch Test: Compare firmness to your palm below the thumb. Rare = soft (like fleshy part when thumb touches index finger). Medium-rare = slight spring (thumb to middle finger).
– Thermometer Target: Insert sideways into thickest part. Pull at 120°F for medium-rare (temp rises 5° while resting).
– Edge Inspection: Gently press center. If edges feel firm but center yields, it’s medium-rare.
Why Carryover Cooking Adds 10°F
Residual heat continues cooking the steak after removal. Pull rib eyes 5° below target temp—carryover will finish cooking during rest. Ignoring this causes well-done centers.
The Non-Negotiable 8-Minute Resting Protocol
Resting isn’t passive—it’s active juice redistribution. Tent loosely with foil on a wire rack (not a plate, which steams the crust). For 1–1.5-inch steaks, rest 8 minutes minimum. Thicker cuts need 12–15 minutes. Cutting too soon releases 30% more juices. During rest, internal temp stabilizes while muscle fibers relax, allowing moisture to reabsorb.
How to Rescue an Overcooked Rib Eye
If slightly overdone, slice against the grain into ¼-inch strips. Toss in warm compound butter (½ cup softened butter + 2 minced garlic cloves + 1 tbsp chopped rosemary). The fat masks dryness while herbs distract the palate.
Cast Iron Steak Sabotage: 3 Costly Mistakes
Mistake #1: Seasoning too early. Salt draws out moisture, creating steam that prevents searing. Season immediately before cooking—or up to 45 minutes prior for dry brining (pat dry again before cooking).
Mistake #2: Crowding the pan. Overlapping steaks drop pan temperature by 100°F+ instantly. Cook one steak per 10-inch pan.
Mistake #3: Using cold meat. Chilled steaks (below 50°F) cool the pan surface on contact. Rest steaks 45 minutes at room temp pre-cooking.
Post-Cook Cast Iron Care That Preserves Your Pan
Never soak or use soap on hot cast iron. While still warm (not scalding), deglaze with ¼ cup broth, scraping fond for pan sauce. Wipe with paper towels, then apply thin oil coat using a folded towel. Store uncovered in dry place. For stubborn residue, scrub with coarse salt and chainmail scrubber—never steel wool.
Why Dishwashers Ruin Seasoning
Detergents strip polymerized oil layers. One dishwasher cycle can undo years of seasoning. Hand-wash only with minimal water contact.
Simple Sides That Elevate Your Rib Eye
Pair with cast iron-compatible sides:
– Garlic Butter Mushrooms: Sauté in the same pan after removing steak
– Smashed Potatoes: Roast in oven while steak rests
– Charred Asparagus: Toss in residual pan oil with lemon zest
Avoid watery salads—they dilute the steak’s richness. Instead, finish with flaky sea salt and cracked pepper directly on the rested steak.
Final Note: Mastering rib eye steaks in cast iron pan hinges on respecting three non-negotiables: pan temperature above 500°F, untouched searing for 90+ seconds, and adequate resting. When executed, you’ll achieve the holy trinity of steak perfection—crisp crust, rosy interior, and butter-soft marbling that melts on the tongue. Clean your pan properly after each use, and this skillet will deliver flawless steaks for generations. For thicker cuts, combine stovetop searing with brief oven finishing at 375°F, monitoring closely with a thermometer. Remember: the best rib eyes require minimal ingredients but maximum attention to heat dynamics—your cast iron isn’t just cookware, it’s the secret weapon for transforming simple beef into culinary art.


