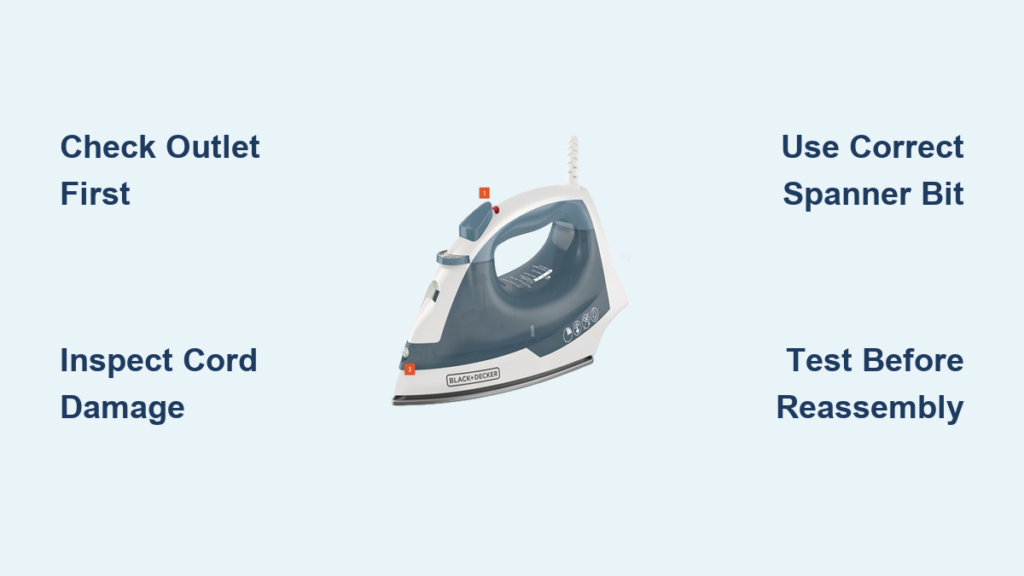
Water pooling on your ironing board or dripping onto freshly pressed clothes instantly turns a simple chore into a frustrating mess. When your Rowenta steam iron leaking water becomes a recurring problem, it’s not just inconvenient—it can damage fabrics and create safety hazards. The good news is that most leakage issues stem from preventable causes you can diagnose and fix yourself in under 30 minutes. This guide reveals exactly why your Rowenta steam iron leaking water happens and provides proven solutions to stop the drip for good.
Rowenta steam irons develop leaks for specific mechanical reasons—not random malfunctions. Whether you own a Rowenta Focus, Perfect Steam, or any other model, understanding the steam generation system helps pinpoint your exact issue. Water leakage typically occurs when the delicate balance between water volume, temperature, and steam pressure gets disrupted. By methodically working through these common failure points, you’ll restore proper function without unnecessary expense.
Before you consider replacing your iron, try these targeted fixes. Most solutions require only household items and cost nothing to implement. Even when parts need replacement, Rowenta components remain affordable and straightforward to install with basic tools.
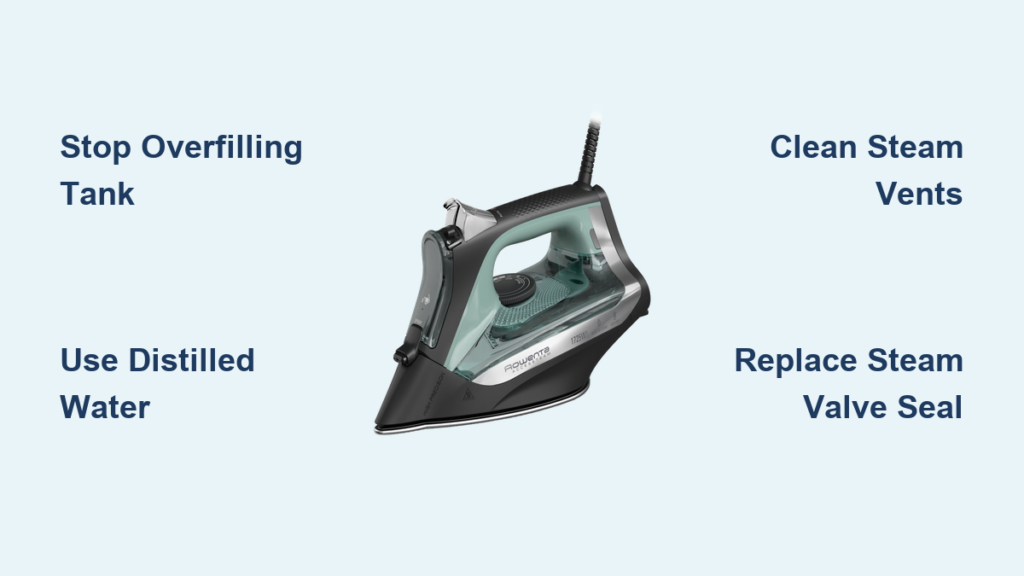
Stop Overfilling Your Rowenta Water Tank Immediately
Exceeding your Rowenta steam iron’s maximum fill line causes more leakage problems than any other single factor. When you pour water past the “MAX” indicator, excess liquid has nowhere to go but out through steam vents or around tank seals as the iron heats up.
To fix this common issue, completely empty your iron and locate the precise fill line inside the reservoir—usually marked with a raised ridge, colored line, or “MAX” symbol. Refill using distilled water only to the bottom edge of this indicator, creating a crucial air gap. This space allows water to expand safely when heated and maintains proper steam pressure throughout the system.
While checking fill levels, inspect your water tank for hairline cracks that develop from drops or thermal stress. Hold the empty tank toward a light source and look for any spider-web fractures, especially near the base or fill opening. Even microscopic cracks cause persistent leaks that worsen with each use. If you spot damage, replacement tanks cost $15-$25 for most Rowenta models and install in minutes.
Don’t overlook the water cap seal—a small rubber or silicone gasket that creates a watertight closure. Remove the cap and examine this component for cracks, deformation, or brittleness. A compromised seal allows water to seep around the fill opening even with proper fill levels. Replacement caps with new seals typically cost under $10 and solve this specific leakage path.
Switch to Distilled Water to Prevent Mineral Damage
Using tap water in your Rowenta steam iron introduces minerals that gradually destroy internal components and cause persistent leaks. Calcium, magnesium, and lime deposits accumulate in steam channels, disrupting pressure regulation and forcing water out through unintended pathways.
Distilled water contains virtually no minerals, preventing the buildup that leads to leaks and extending your iron’s lifespan dramatically. Make this switch immediately—even if your iron seems to function normally now. Mineral damage occurs invisibly over time until sudden leakage appears.
Critical warning: Never use vinegar, commercial descalers, or other cleaning solutions as regular water substitutes. These can corrode internal components and void warranties. Save vinegar treatments for specific descaling sessions only.
If you’ve previously used tap water, mineral deposits likely already clog your steam system. The next section explains how to safely remove this buildup without damaging your iron. For ongoing prevention, keep a dedicated container of distilled water near your ironing station—this simple habit eliminates the most common cause of Rowenta steam iron leaking water.
Unclog Steam Vents with Proper Cleaning Techniques

Mineral deposits and fabric fibers block steam holes, disrupting pressure balance and causing water to leak instead of vaporizing. When steam channels get restricted, excess water backs up and escapes through any available gap—including around the soleplate edges.
To clean clogged vents safely, first ensure your Rowenta iron is completely cool and unplugged. Examine the soleplate under bright light, noting any steam holes that appear blocked or discolored. Avoid using metal tools that scratch non-stick coatings—instead, use a wooden toothpick or soft plastic probe to gently dislodge debris from individual holes.
For mineral deposits, prepare a 50/50 mixture of distilled white vinegar and distilled water. Fill your tank to the MAX line with this solution, then set the iron to its highest temperature with steam function engaged. Hold the iron over an old towel and activate the steam burst button repeatedly for 2-3 minutes. The heat and acidity dissolve mineral buildup without damaging internal components.
Pro tip: Never leave vinegar solution sitting in your iron—always flush the system afterward with plain distilled water. Run two full tanks of clean water through the steam function to eliminate any residual vinegar that could cause future issues.
Replace Worn Steam Valve Seals Before They Fail Completely
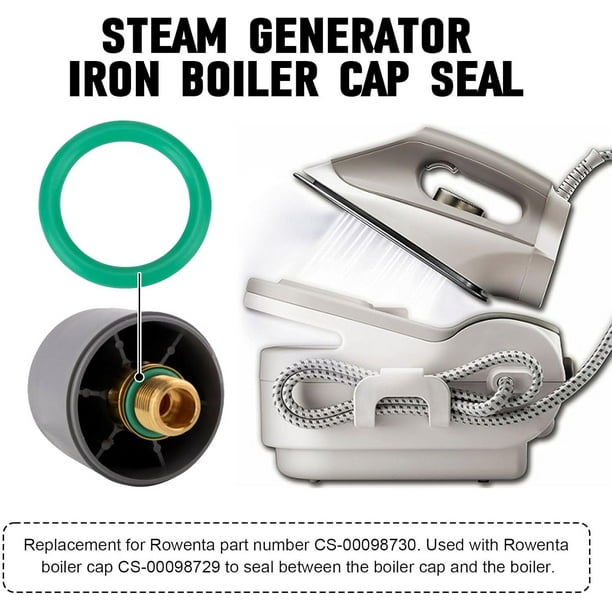
The steam valve regulates water flow from the tank to the heating chamber, and its rubber seals degrade with heat exposure over time. When these components harden, crack, or lose elasticity, they create direct leakage paths that mimic other problems.
To inspect the steam valve, first unplug your iron and let it cool completely. Remove the water tank and locate the valve assembly—typically where the tank connects to the iron body. Look for visible cracks in rubber seals or mineral crust around valve openings. Gently press on rubber components; they should feel supple, not brittle.
Replacement valve seals cost $5-$15 depending on your Rowenta model and install in minutes. Before removing old seals, photograph their exact positioning—many Rowenta valves use multiple nested gaskets that must reinstall in precise order. Apply food-grade silicone grease to new seals during installation to maintain flexibility and improve sealing.
Common mistake: Forcing misaligned components during reassembly creates new leaks. Ensure all parts seat completely before tightening screws, and alternate tightening patterns on multi-screw assemblies to distribute pressure evenly.
Match Temperature Settings to Steam Function Requirements
Rowenta steam irons require sufficient heat to convert water to steam—using steam functions at low temperatures guarantees water leakage. Many users trigger steam bursts while ironing delicate fabrics at “silk” or “wool” settings, not realizing these temperatures can’t properly vaporize water.
Check your iron’s temperature dial—the steam function works reliably only at “cotton” or “linen” settings (typically marked 3-4 dots). At lower temperatures, water remains partially liquid and drips from the soleplate. Always wait for the thermostat light to turn off completely before using steam, indicating the iron has reached full operating temperature.
If your iron has been resting idle, its auto-shutoff feature may have reduced the temperature. Allow 2-3 minutes of heating time after picking up the iron before expecting proper steam function. Similarly, when switching from low to high temperature settings, give the iron adequate time to reach the new target temperature—rushing this process causes temporary leakage.
Implement These Daily Maintenance Habits to Prevent Leaks

Preventative care stops most Rowenta steam iron leaking water problems before they start. These simple routines take seconds but dramatically extend your iron’s leak-free operation:
- Empty completely after each use: Standing water accelerates mineral buildup and promotes bacterial growth that clogs steam channels
- Store upright at all times: Laying your iron flat allows water to migrate into sensitive areas—always use the built-in heel rest
- Wipe the soleplate after cooling: Residue from fabrics or cleaning solutions can harden and block steam holes
- Check the water cap seal weekly: A quick visual inspection catches developing problems early
Monthly descaling prevents mineral accumulation that leads to leaks. Fill your tank with the vinegar solution described earlier, run it through the steam function, then flush thoroughly with distilled water. For hard water areas or frequent users, perform this maintenance every two weeks.
Know When Professional Repair Exceeds Replacement Value
While most Rowenta steam iron leaking water issues are DIY-fixable, some situations warrant professional assessment. If your iron has suffered impact damage or electrical issues accompany the leak (burning smells, inconsistent heating), stop using it immediately—these indicate potentially dangerous internal damage.
Warranty status significantly impacts repair decisions. If your Rowenta iron remains under warranty (typically 1-2 years), contact Rowenta directly—attempting self-repair voids coverage. For out-of-warranty units, compare repair costs against replacement value. Professional diagnosis typically costs $50-$100, while new Rowenta irons start around $70.
Final tip: When replacement becomes necessary, choose a model with an anti-calc system and self-cleaning function—these features specifically address the mineral buildup that causes most leakage problems. Models like the Rowenta DW5080 or DG8520 include advanced technologies that minimize future maintenance.
Your Rowenta steam iron leaking water problem almost certainly has a straightforward solution. By methodically addressing these seven common failure points, you’ll restore reliable steam function and extend your iron’s service life significantly. Start with the simplest fixes—water type and fill level—before progressing to internal component checks. Most users resolve leakage issues in under 20 minutes with basic tools and distilled water, saving the cost of premature replacement. Implement the preventative maintenance habits described here, and you’ll enjoy trouble-free ironing for years to come.