Your soldering iron suddenly stops heating mid-project, leaving you stranded with half-finished circuit boards and mounting frustration. This common workshop nightmare affects both hobbyists and professionals—when your primary tool fails, your entire workflow grinds to a halt. Most soldering iron problems stem from just a few predictable failures that you can diagnose and fix yourself in under 30 minutes. This guide reveals the exact troubleshooting steps and repair techniques to get your soldering station back in action without spending hundreds on replacement equipment.
Why Your Soldering Iron Fails to Heat Properly
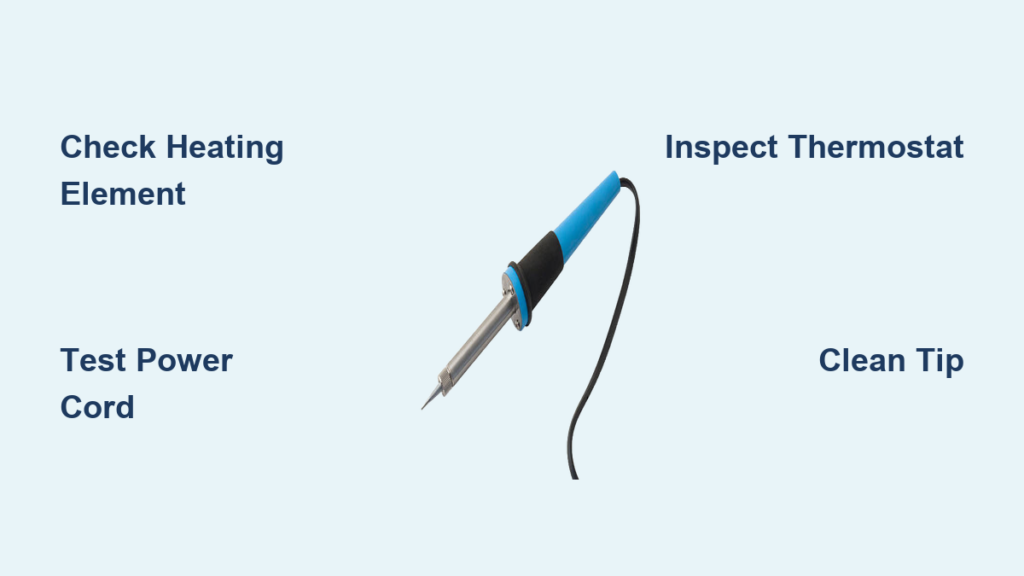
Most heating failures originate from three critical components that degrade with regular use. Understanding these failure points helps you diagnose issues faster and avoid unnecessary part replacements.
How Heating Element Failure Manifests
When your soldering iron takes longer than normal to reach working temperature or never heats beyond lukewarm, the heating element has likely burned out. Check for visible blackening at the tip base or inconsistent heating patterns across the barrel. A functional element should show 1.5-3k ohms resistance when measured with a multimeter across the tip contacts. Any reading outside this range indicates element failure requiring replacement.
Identifying Power Cord and Connector Damage
Frayed cords and loose connections cause intermittent heating that mimics more serious internal failures. Before disassembling your iron, perform this quick test: gently wiggle the cord near the handle while monitoring the temperature display. If the heating fluctuates during movement, you’ve found your culprit. Common trouble spots include the strain relief point where the cord enters the handle and the plug connection to your station.
Thermostat and Temperature Control Malfunctions
Digital soldering stations often fail due to faulty temperature sensors rather than the heating element itself. If your iron heats erratically or displays incorrect temperatures, the thermocouple has likely degraded. Perform this verification: set your station to 350°C, let it stabilize, then measure actual tip temperature with an independent thermometer. A difference exceeding 20°C confirms sensor failure requiring replacement.
Step-by-Step Soldering Iron Diagnostic Process

Follow this systematic approach to pinpoint failures without unnecessary disassembly or part replacement.
Performing Essential Electrical Tests
- Continuity Check: Set your multimeter to continuity mode and test from plug prongs to handle connections
- Resistance Measurement: With the iron unplugged, measure resistance across the tip contacts (should be 1.5-3k ohms)
- Voltage Verification: With power applied (use extreme caution), check for proper voltage at the handle connections
- Thermocouple Test: Measure resistance between thermocouple wires (typically 50-150 ohms when cold)
Visual Inspection Checklist
- Tip Condition: Pitting, erosion, or excessive oxidation indicates tip replacement needed
- Handle Integrity: Cracks or melted plastic near heating element suggest overheating
- Wire Connections: Loose or corroded terminals at connection points
- Strain Relief: Damaged cord entry point allowing wire movement
- Ventilation Holes: Blocked air channels causing internal overheating
Replacing Critical Soldering Iron Components
Most repairs require only basic tools and take less than 20 minutes when you know the correct procedures.
Heating Element Replacement Procedure
Replacing a burned-out heating element restores your iron’s core functionality when other components remain sound.
Required Tools and Parts
- Replacement heating element (match wattage and dimensions)
- Small flathead screwdriver
- Needle-nose pliers
- Thermal paste (high-temperature)
- Multimeter for verification
Replacement Steps
- Unplug and fully cool the soldering iron (minimum 30 minutes)
- Remove the tip by unscrewing the retention mechanism
- Disassemble the handle according to your model’s design
- Carefully extract the old element while noting wire connections
- Apply thermal paste to the new element’s contact surfaces
- Insert new element and reconnect wiring exactly as removed
- Reassemble the handle and verify resistance before powering on
Pro Tip: When reconnecting wires, take photos at each step to ensure correct reassembly—many irons use non-standard wiring configurations.
Fixing Damaged Power Cords Efficiently
Cord repairs prevent recurring failures that often get misdiagnosed as internal component issues.
When to Repair vs Replace
- Repair: Minor fraying away from connection points
- Replace: Damage near plug or handle connection
- Replace Immediately: Exposed conductors or melted insulation
Cord Repair Method
- Cut out damaged section using wire strippers
- Strip 1 inch of insulation from both cut ends
- Match wire colors and twist connections tightly
- Solder each connection and apply heat shrink tubing
- Reinforce with electrical tape at splice points
- Test continuity before final assembly
Restoring Performance Without Component Replacement
Many “broken” soldering irons simply need proper maintenance rather than part replacement.
Deep Cleaning Oxidized Tips

Neglected tips develop insulating oxide layers that prevent proper heat transfer to your work.
Effective Cleaning Process
- Heat iron to 300°C
- Dip tip in cleaning solution (isopropyl alcohol or specialized tip cleaner)
- Gently scrub with brass wool or dedicated tip cleaner
- Apply fresh solder to re-tin the tip
- Wipe clean with damp sponge
Warning: Never use abrasive materials like steel wool on soldering tips—they damage the protective plating and accelerate future oxidation.
Calibrating Temperature Control Systems
Digital stations often drift out of calibration, causing inconsistent soldering results.
Recalibration Steps
- Access calibration mode (consult manual for entry sequence)
- Heat iron to reference temperature (typically 350°C)
- Measure actual temperature with calibrated thermometer
- Adjust calibration offset to match measured value
- Save settings and verify across multiple temperatures
Preventing Future Soldering Iron Failures
Implement these maintenance practices to extend your equipment’s lifespan and avoid repeat repairs.
Daily Maintenance Protocol
- Always tin tips before storage
- Clean tips after each use session
- Store irons in vertical holders to prevent tip damage
- Never leave irons unattended at maximum temperature
- Check cords weekly for early damage signs
Storage Best Practices
- Completely cool irons before storing
- Use protective tip covers for transportation
- Store in dry environment away from metal debris
- Keep stands clear of flammable materials
- Periodically check storage humidity levels
Cost-Benefit Analysis: Repair vs Replace
Understanding when to repair versus replace saves both time and money in your workshop.
When Repair Makes Financial Sense
- Element failures on high-end stations ($15 part vs $150+ replacement)
- Cord damage on professional-grade irons
- Tip issues on irons with replaceable tips
- Calibration problems on digital stations
When Replacement Is More Practical
- Complete handle degradation on low-cost irons
- Multiple simultaneous failures
- Irreparable circuit board damage
- Models where parts cost exceeds 50% of new unit
Smart Strategy: For irons under $30, replacement often makes more sense than repair unless you’re using it for occasional light tasks.
Essential Tools for Soldering Iron Maintenance
Keep these items in your repair kit for immediate troubleshooting and maintenance.
Must-Have Diagnostic Tools
- Digital multimeter with continuity testing
- Non-contact infrared thermometer
- Magnifying lamp for detailed inspection
- Precision screwdriver set
- Solder sucker and desoldering braid
Recommended Replacement Parts Inventory
- Spare heating elements (match your model)
- Replacement tips (various sizes)
- High-temperature thermal paste
- Heat shrink tubing assortment
- Wire connectors and electrical tape
Final Note: Regular maintenance prevents 80% of common soldering iron failures. Implement daily tip cleaning and proper storage to avoid most heating issues. When problems do occur, systematic diagnosis saves time and money—most heating failures stem from just three components that you can test and replace in under 30 minutes. Keep this guide handy for your next soldering iron emergency, and you’ll spend less time troubleshooting and more time creating. For severe electrical failures or complex digital station issues, consult the manufacturer’s service manual before attempting advanced repairs.